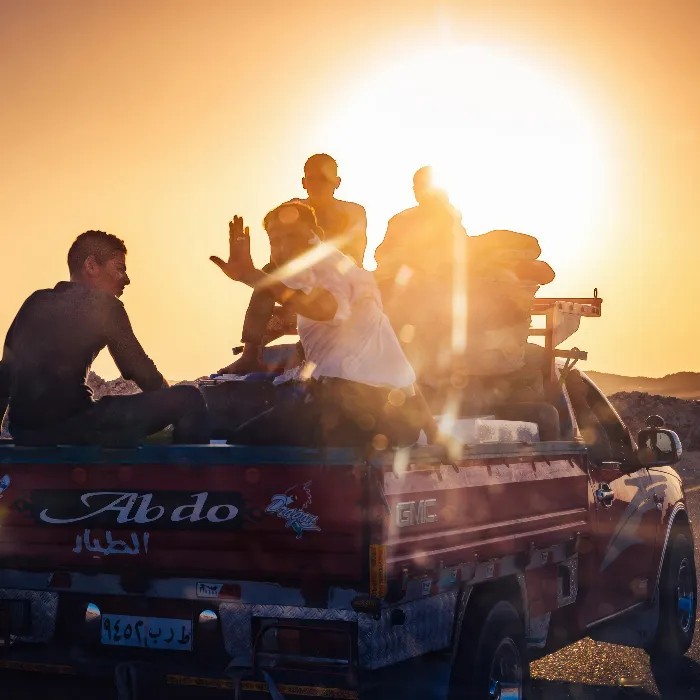
Vacation photos are often full of memories and emotions. But how do you get the best out of your images? In this guide you will learn how to effectively edit your vacation photos. The steps include local adjustments, applying gradient and radial filters, and optimizing HSL/grayscale. Get ready to take your images to the next level while preserving the charm of your vacation memories.
Key takeaways
- Local adjustments with specific tools like gradient and radial filters are important for highlighting details.
- Color temperature and exposure play a crucial role in the visual impact of the image.
- Fast and efficient editing workflows are essential for managing larger quantities of images.
Step-by-step guide
Step 1: Open an image and make the basic adjustments
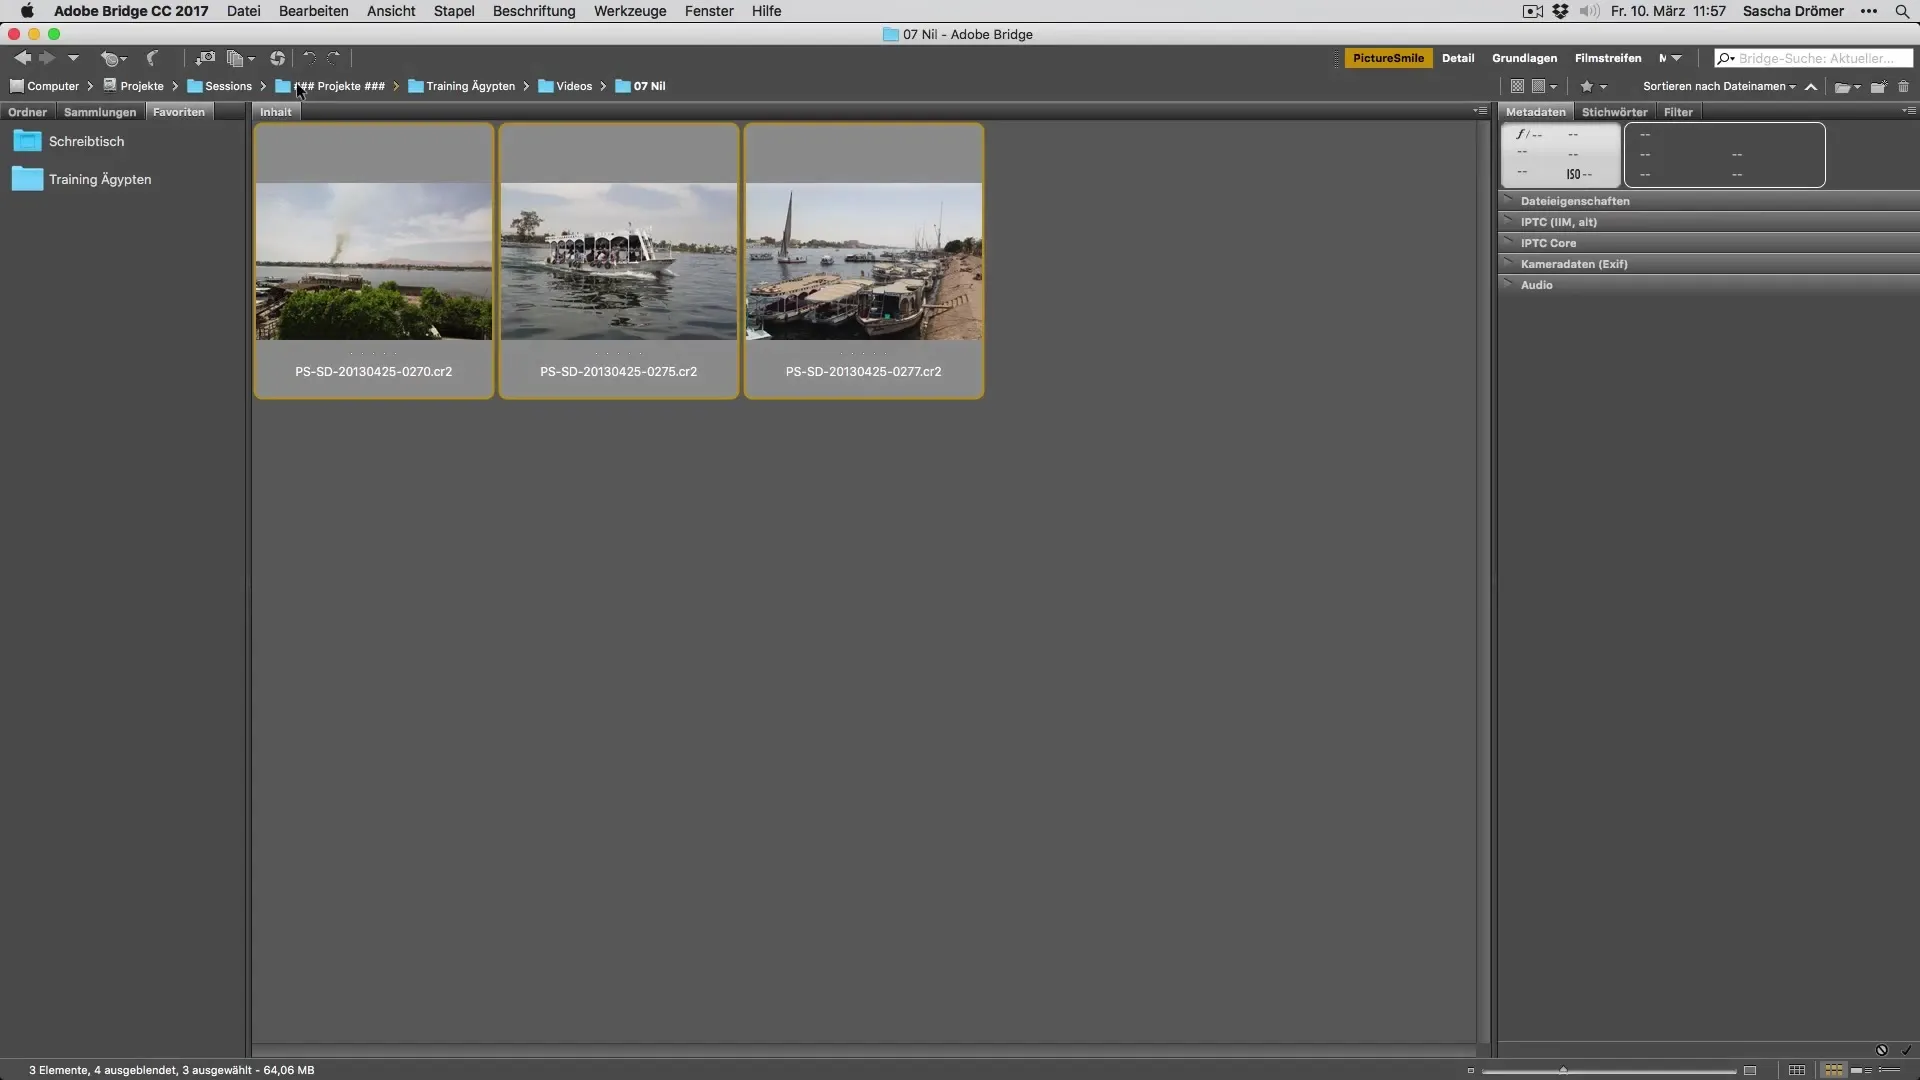
Start by opening your images in the software. If you select all of them, you can apply a uniform adjustment. First, check the exposure of your photos. In bright light on a summer day, a slight underexposure can be useful. In this case, set the exposure to -0.5.
Step 2: Straighten and crop the image
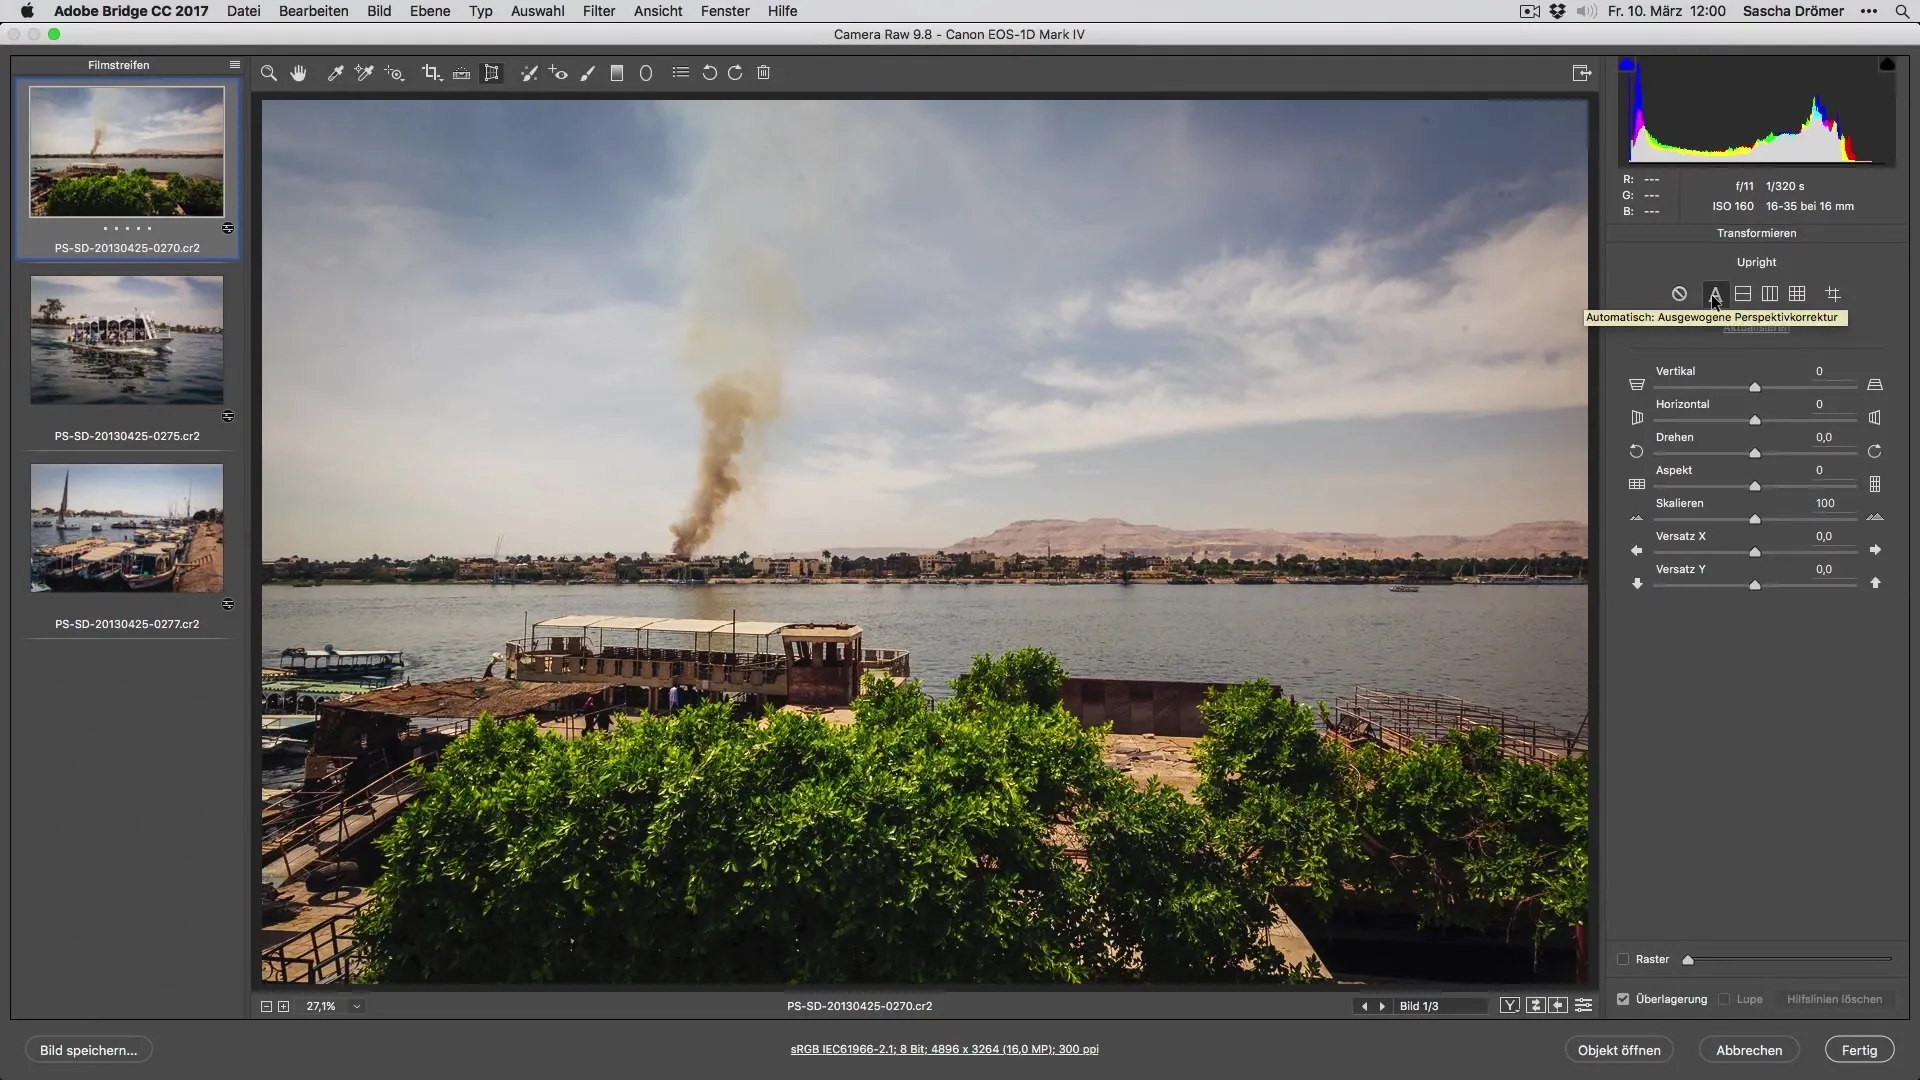
Use the "Upright" tool to align the image. Then crop it to maximize its aesthetic impact. Follow the rule of thirds to arrange key elements harmoniously. Also, review the crop to ensure that the main subject stands out in the frame.
Step 3: Adjust exposure and color temperature
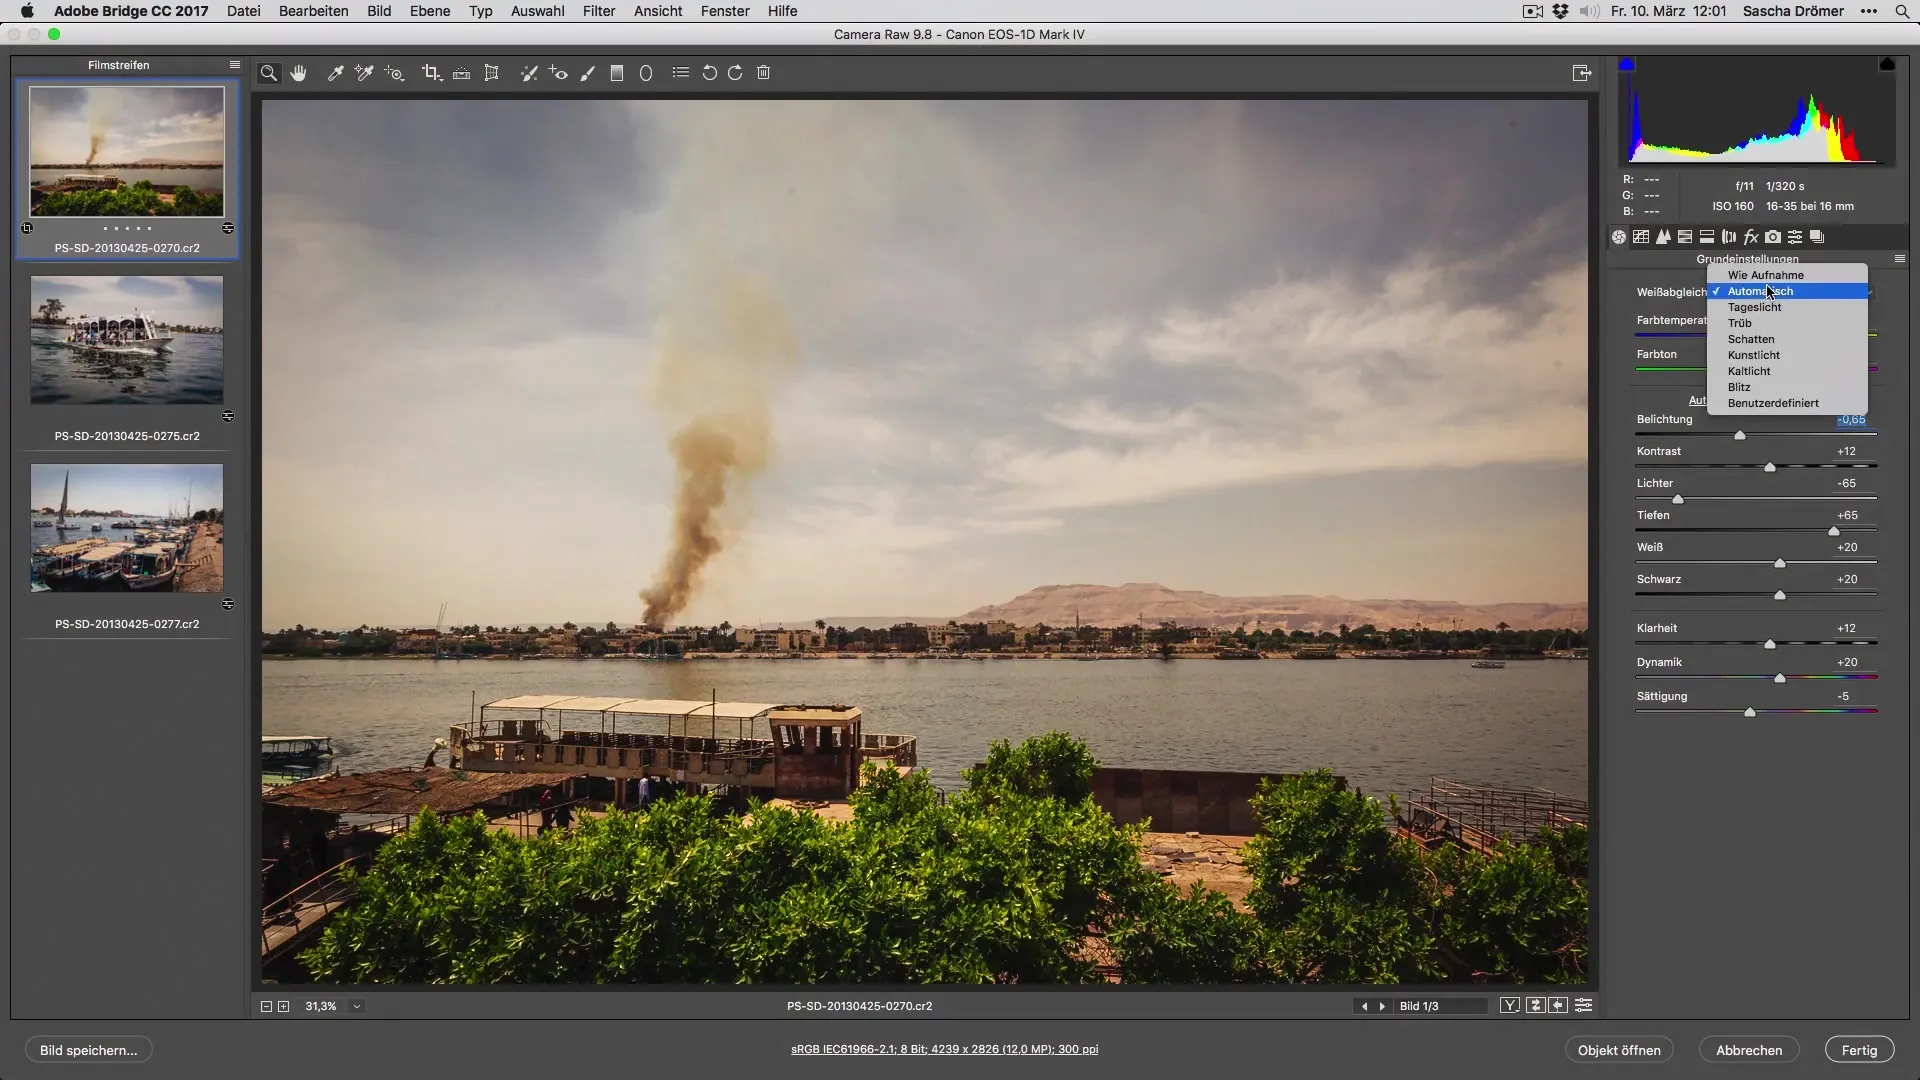
By correcting the exposure and adjusting the color temperature, you can influence the mood of the image. Experiment with different values, and compare before and after to find the combination that delivers the desired effect. It's important to create a realistic yet appealing result.
Step 4: Adjust the sky
The sky is often a central element in your photos. To boost color intensity, you can darken these areas and adjust the color temperature to add a beautiful blue. With a few clicks, you can greatly enhance the look of the sky.
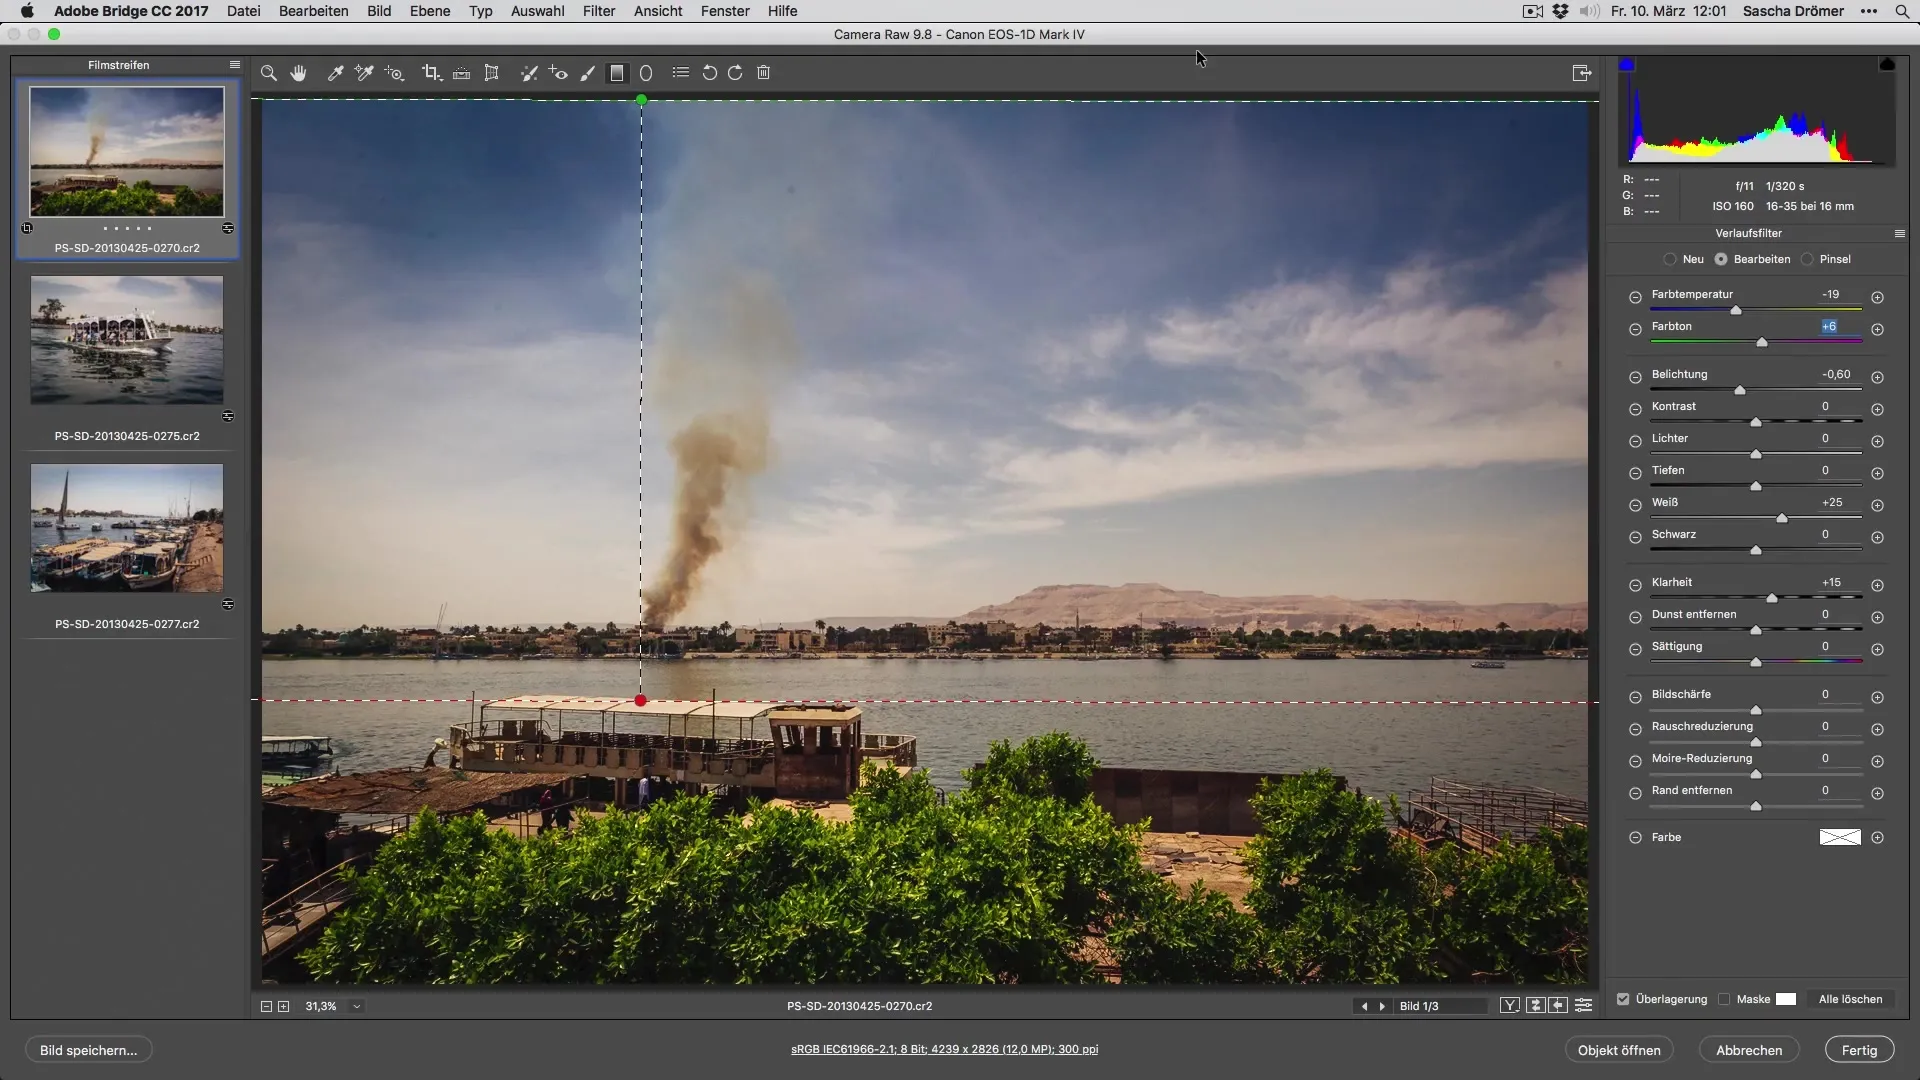
Step 5: Local adjustments with radial filters
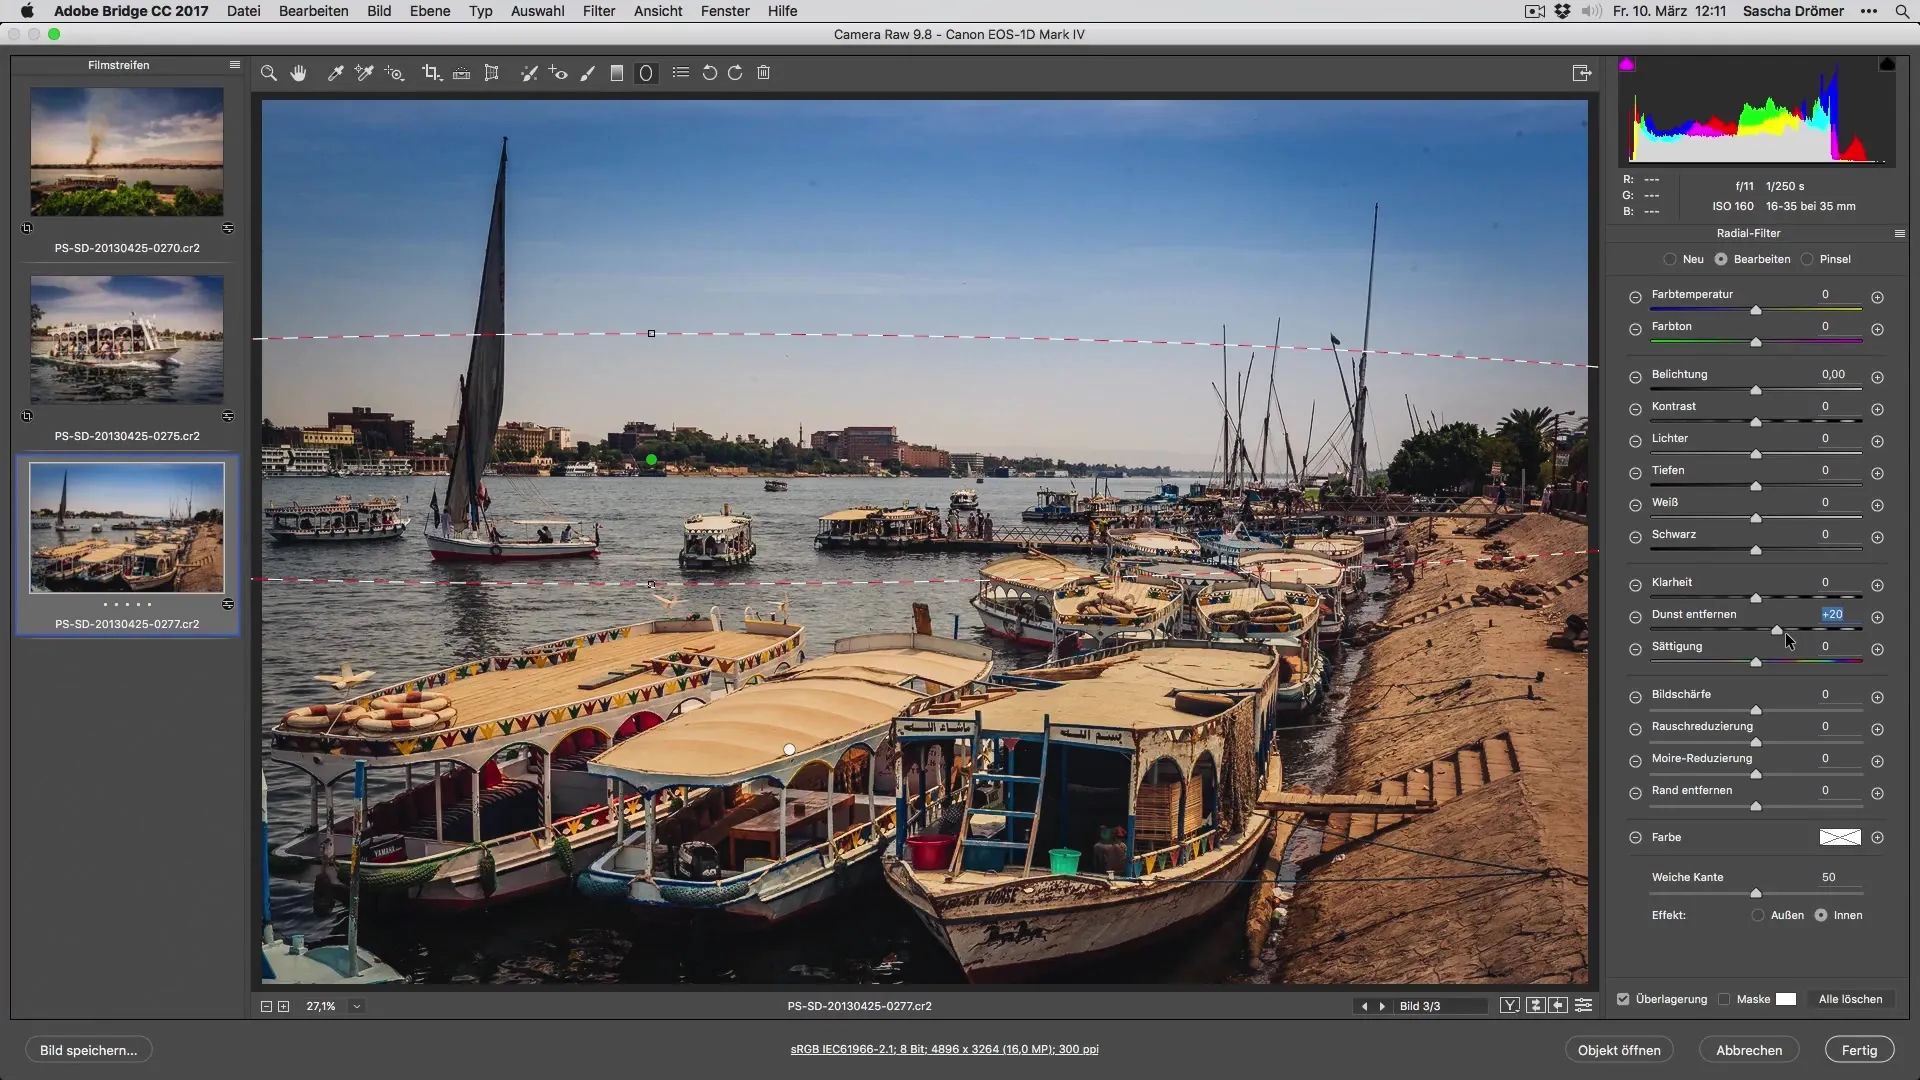
For targeted adjustments, use radial filters. Draw a radial filter over the areas you want to enhance to increase saturation, brightness, or clarity. Make sure to add structure and contrast in the darker areas too to fully bring out the overall effect.
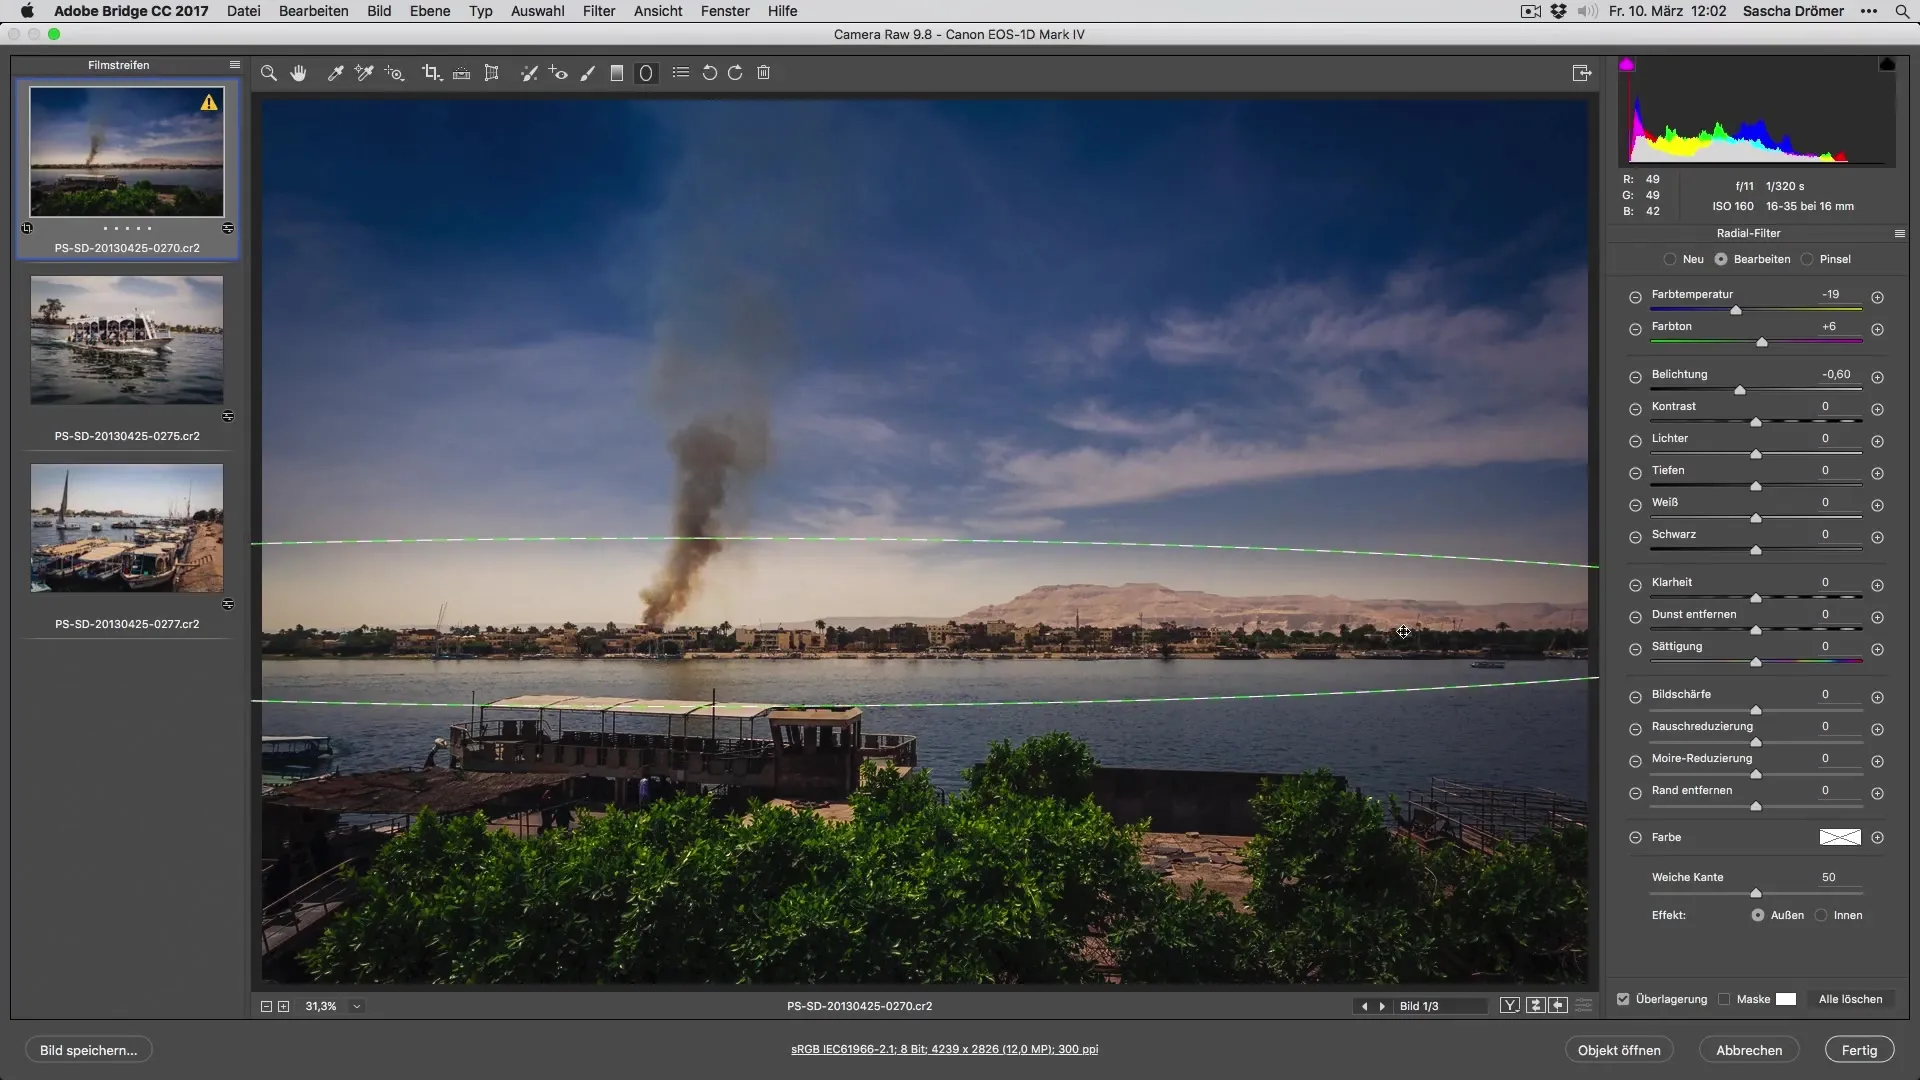
Step 6: Adjust split toning and saturation
Double the color intensity using split toning. Here, you can increase the saturation of the main colors to reinforce the summery character of the image. Alternatively, reducing certain color tones can also achieve the desired effect.
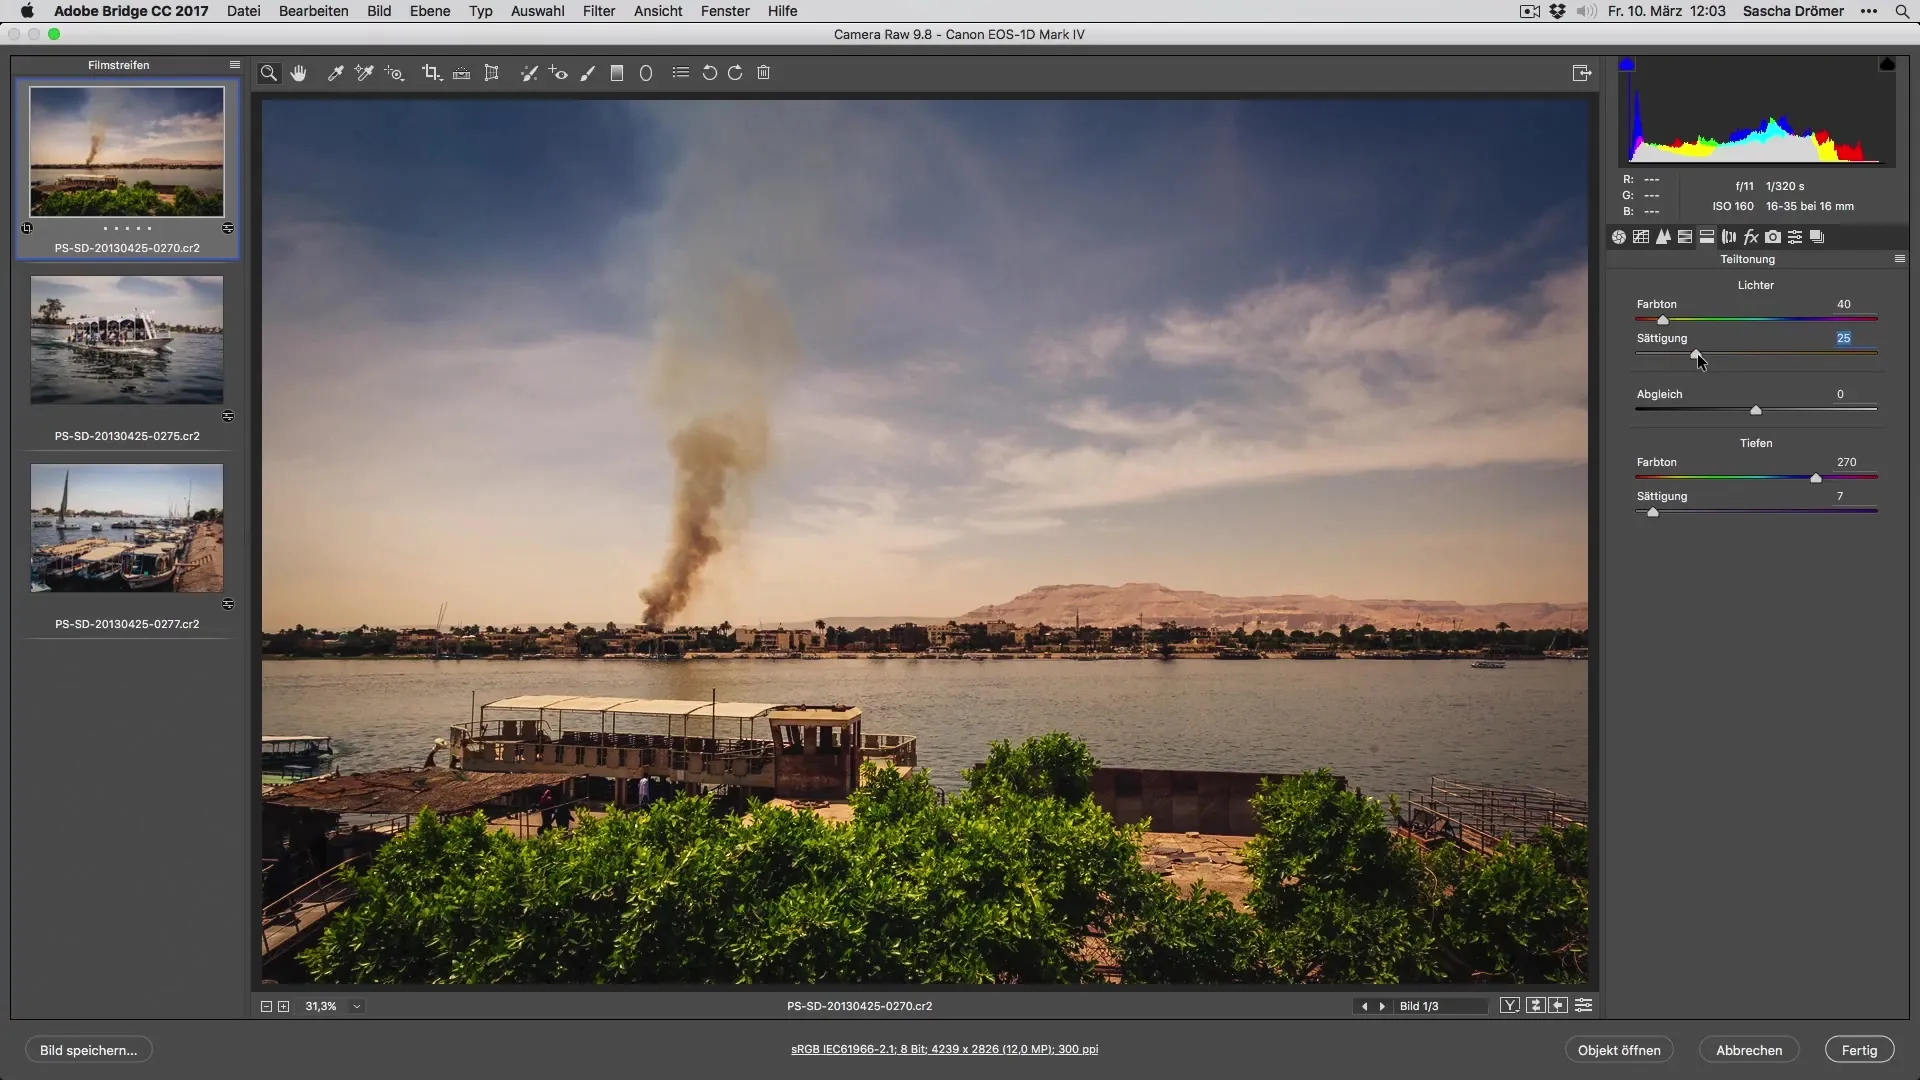
Step 7: Work with clarity and shadows
By increasing clarity and shadows, you can emphasize details in your images. Check how the people in the photo stand out after this adjustment, and make sure all elements are clearly visible without overediting.
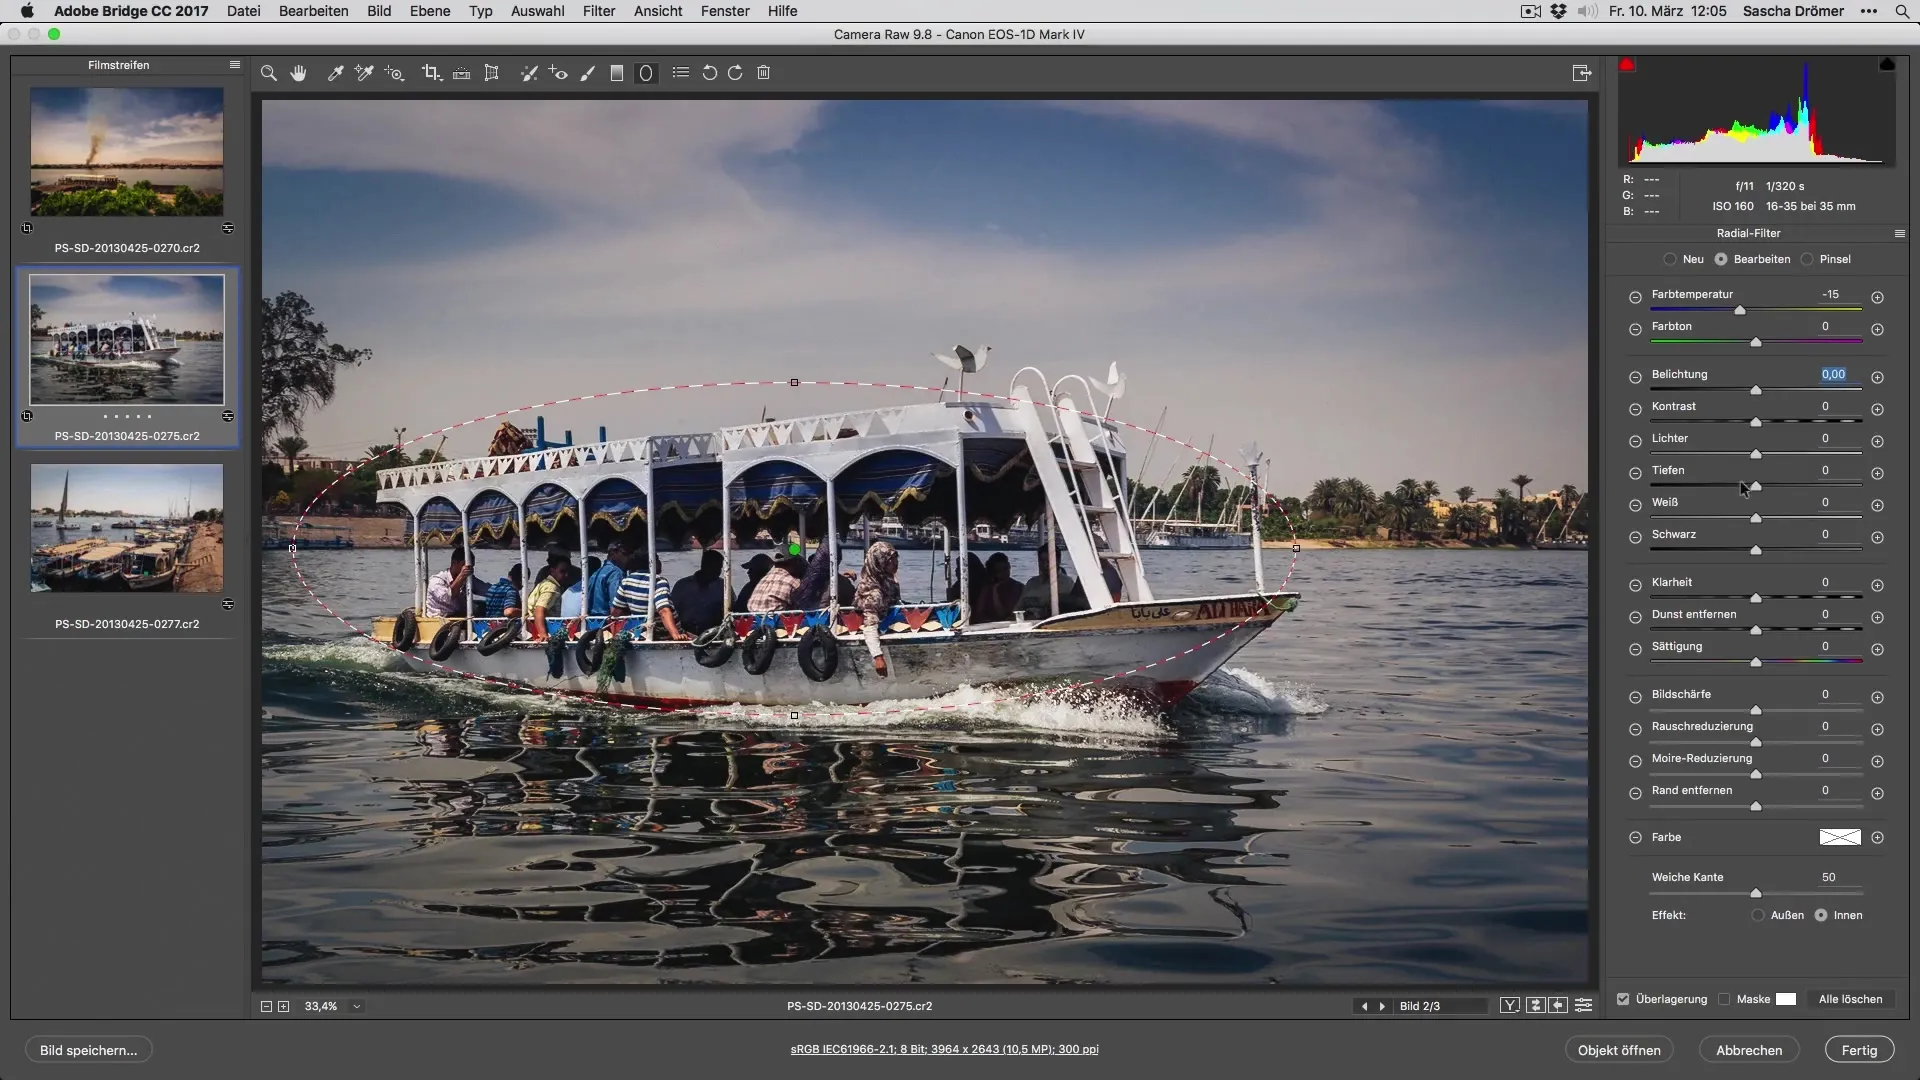
Step 8: Final fine-tuning
Finish the edit by playing with the dehaze tool to create clearer contrast. Optimize micro-contrasts and put everything through the final polish. By reviewing each step multiple times, you can enhance the overall aesthetics of the image.
Summary – Editing vacation photos optimally
In this guide, you learned step by step how to effectively edit your vacation photos. From basic adjustments to targeted local edits and final touches, you can now apply these techniques to turn every shot into a memorable keepsake. Use these methods to process your photographs quickly and efficiently, so you don’t lose precious time on editing.
Frequently Asked Questions
What is the first step in photo editing?Open your images and check the overall exposure.
How do I use the rule of thirds?Use it to harmoniously align key elements in the frame.
How can I adjust the color temperature?Change the values in the software to affect the mood of the image.
How can I improve the sky in my photos?Darken the existing sky and adjust the color temperature to create a beautiful blue.
What is a radial filter, and how can I use it?Create targeted adjustments in specific areas of the image to increase saturation or clarity.
