Vacation photos are often filled with beautiful memories that deserve to be professionally edited. This guide will show you how to optimally align, crop, and synchronize adjustments to your images in Adobe Camera Raw. You will learn how to effectively use the various features and get the most out of your pictures.
Key takeaways
- The alignment and cropping features are essential for an appealing image.
- Settings can easily be synchronized between images.
- The gradient filter helps you make targeted adjustments to the images.
Step-by-Step Guide
Image Alignment
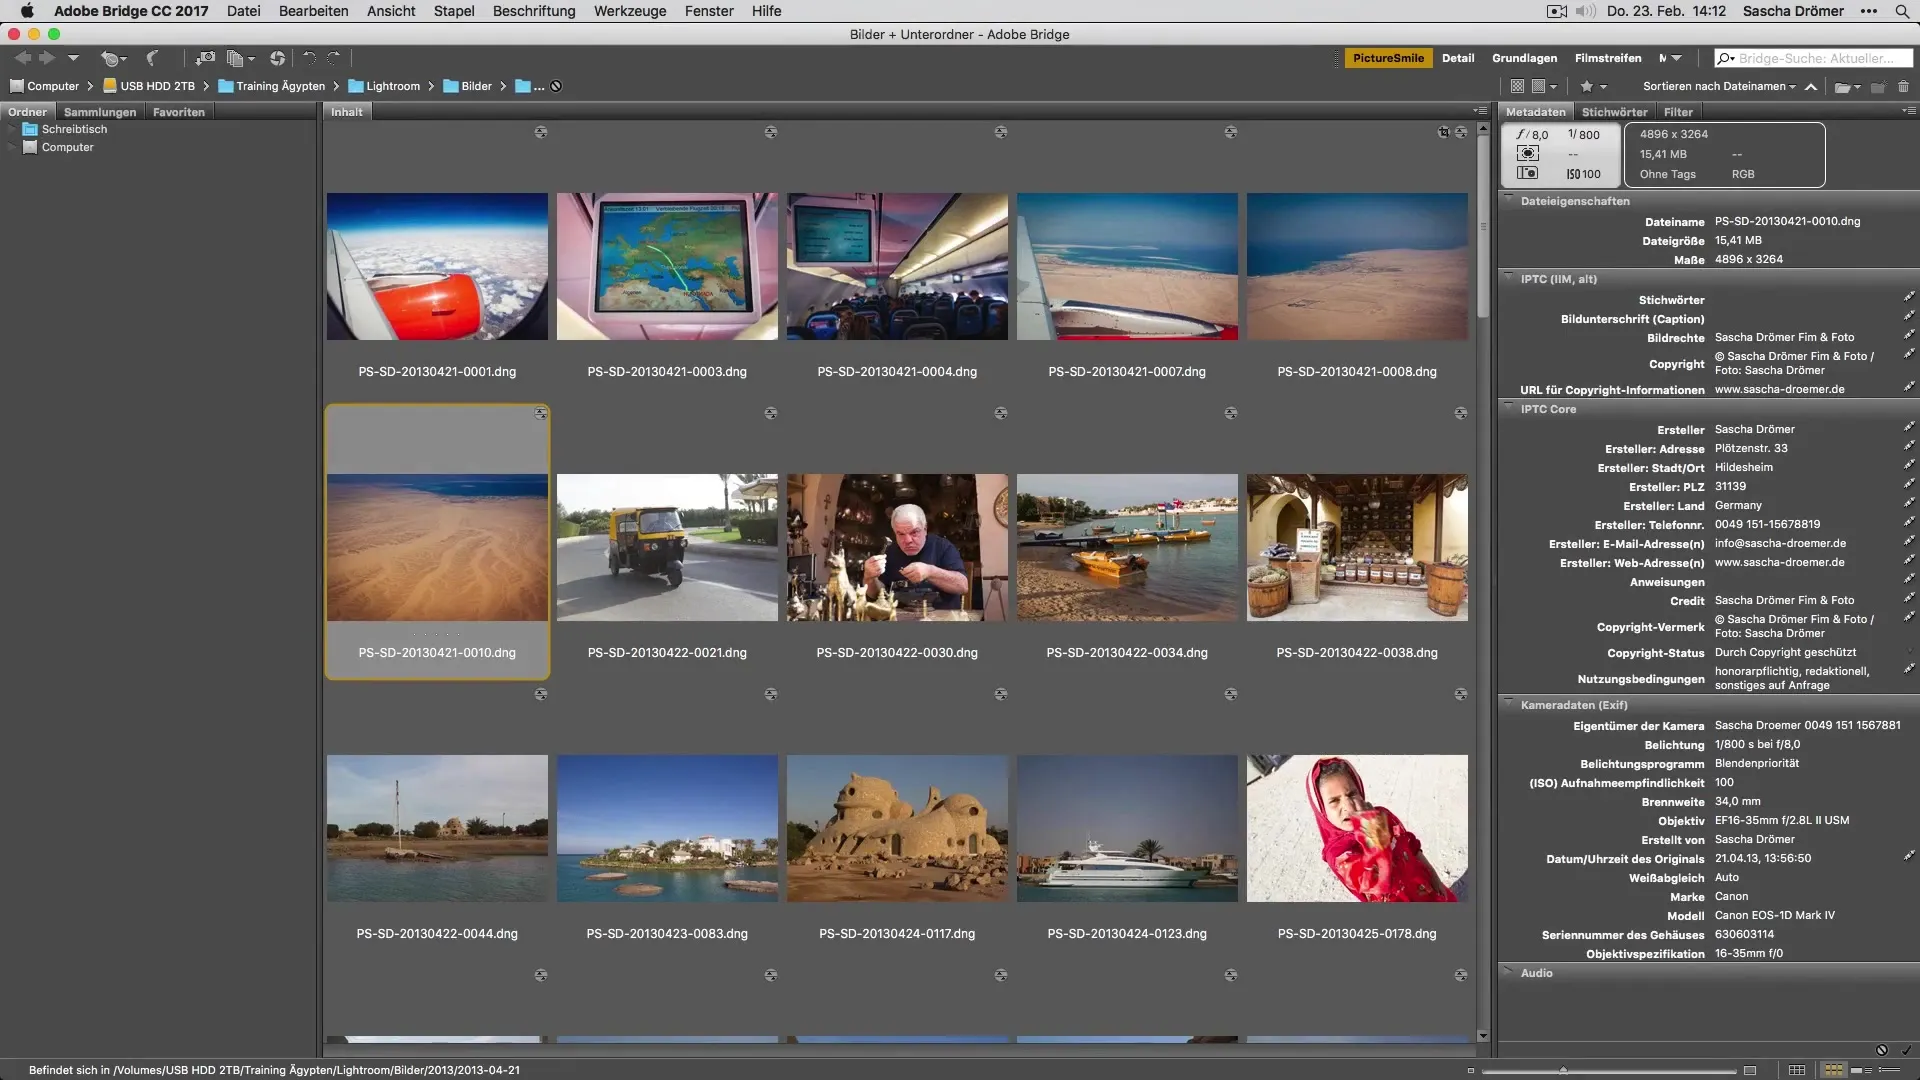
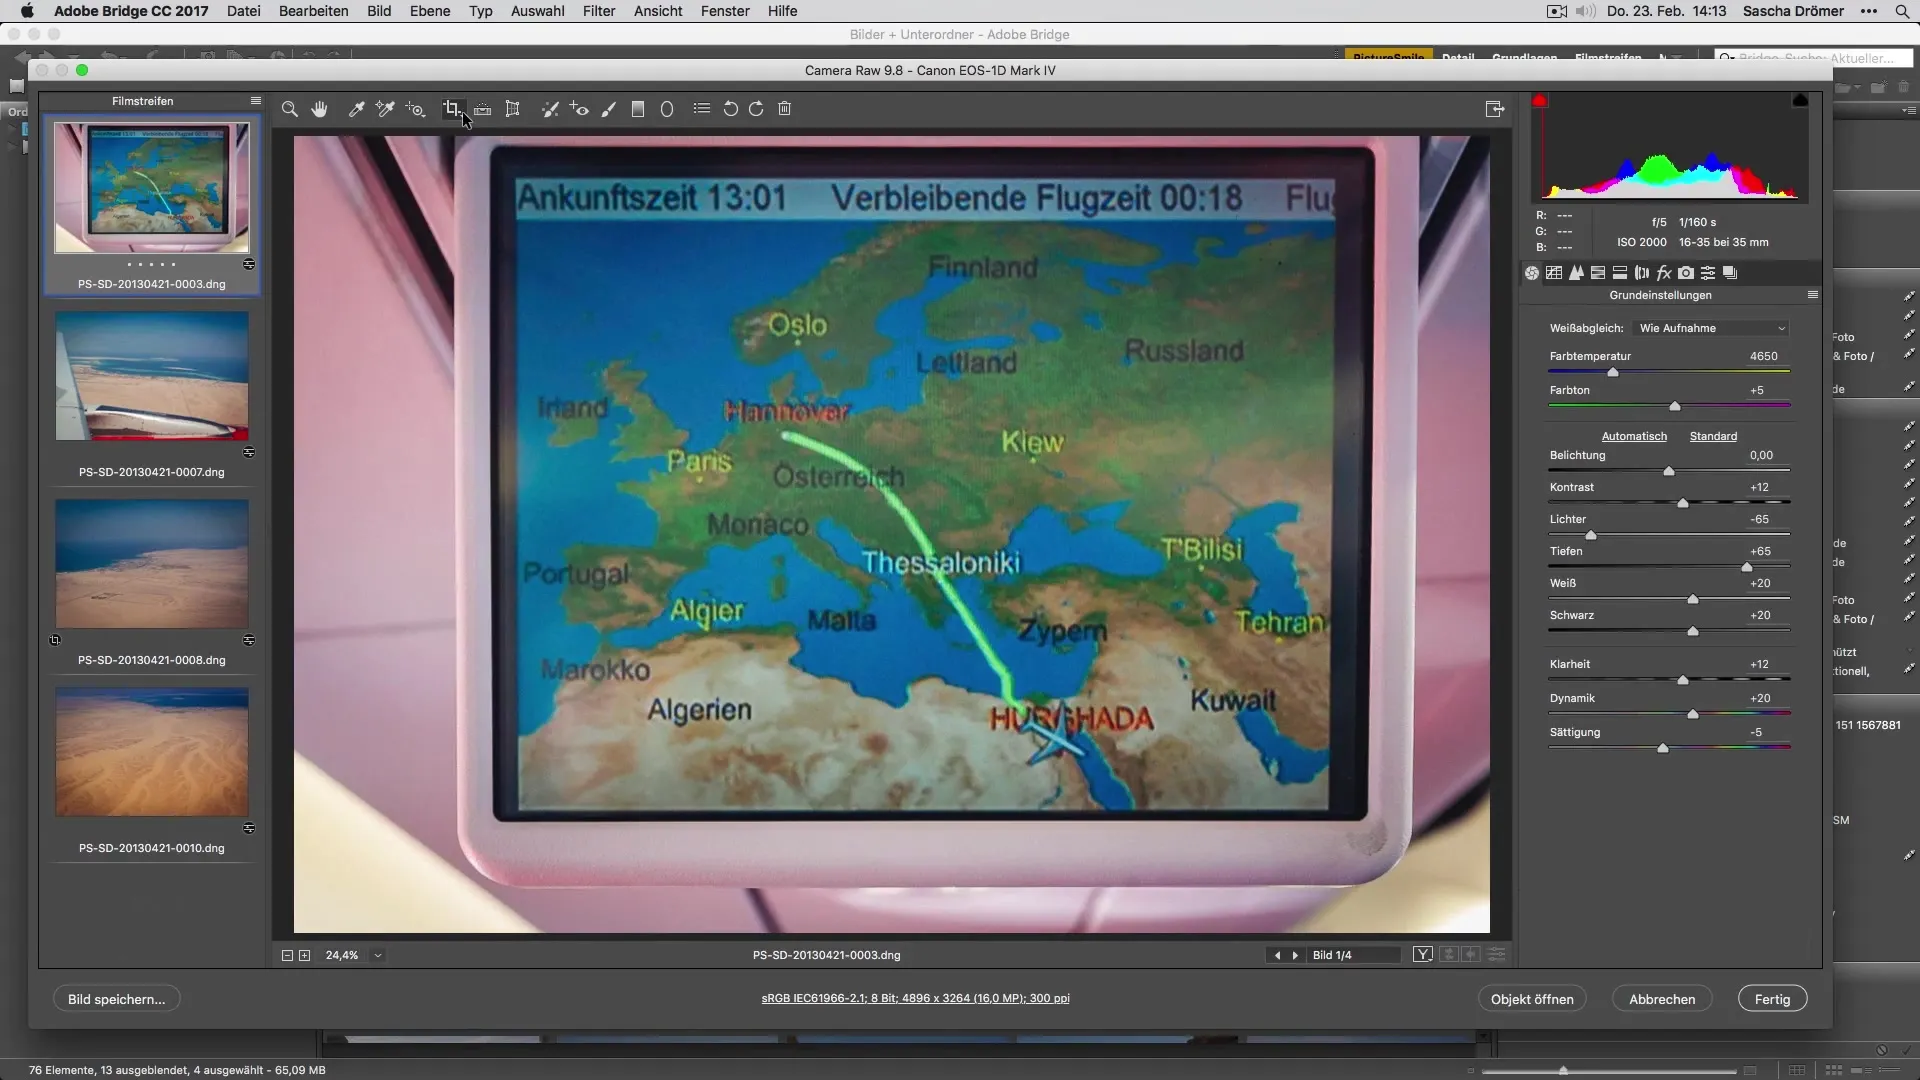
When you open an image in Adobe Camera Raw, the first step is often alignment. To make your image look straight and appealing, use the transform function. Simply click on the appropriate tool and enable automatic alignment. The image will be straightened directly, providing you with a perfect basis for further editing.
Cropping the Image
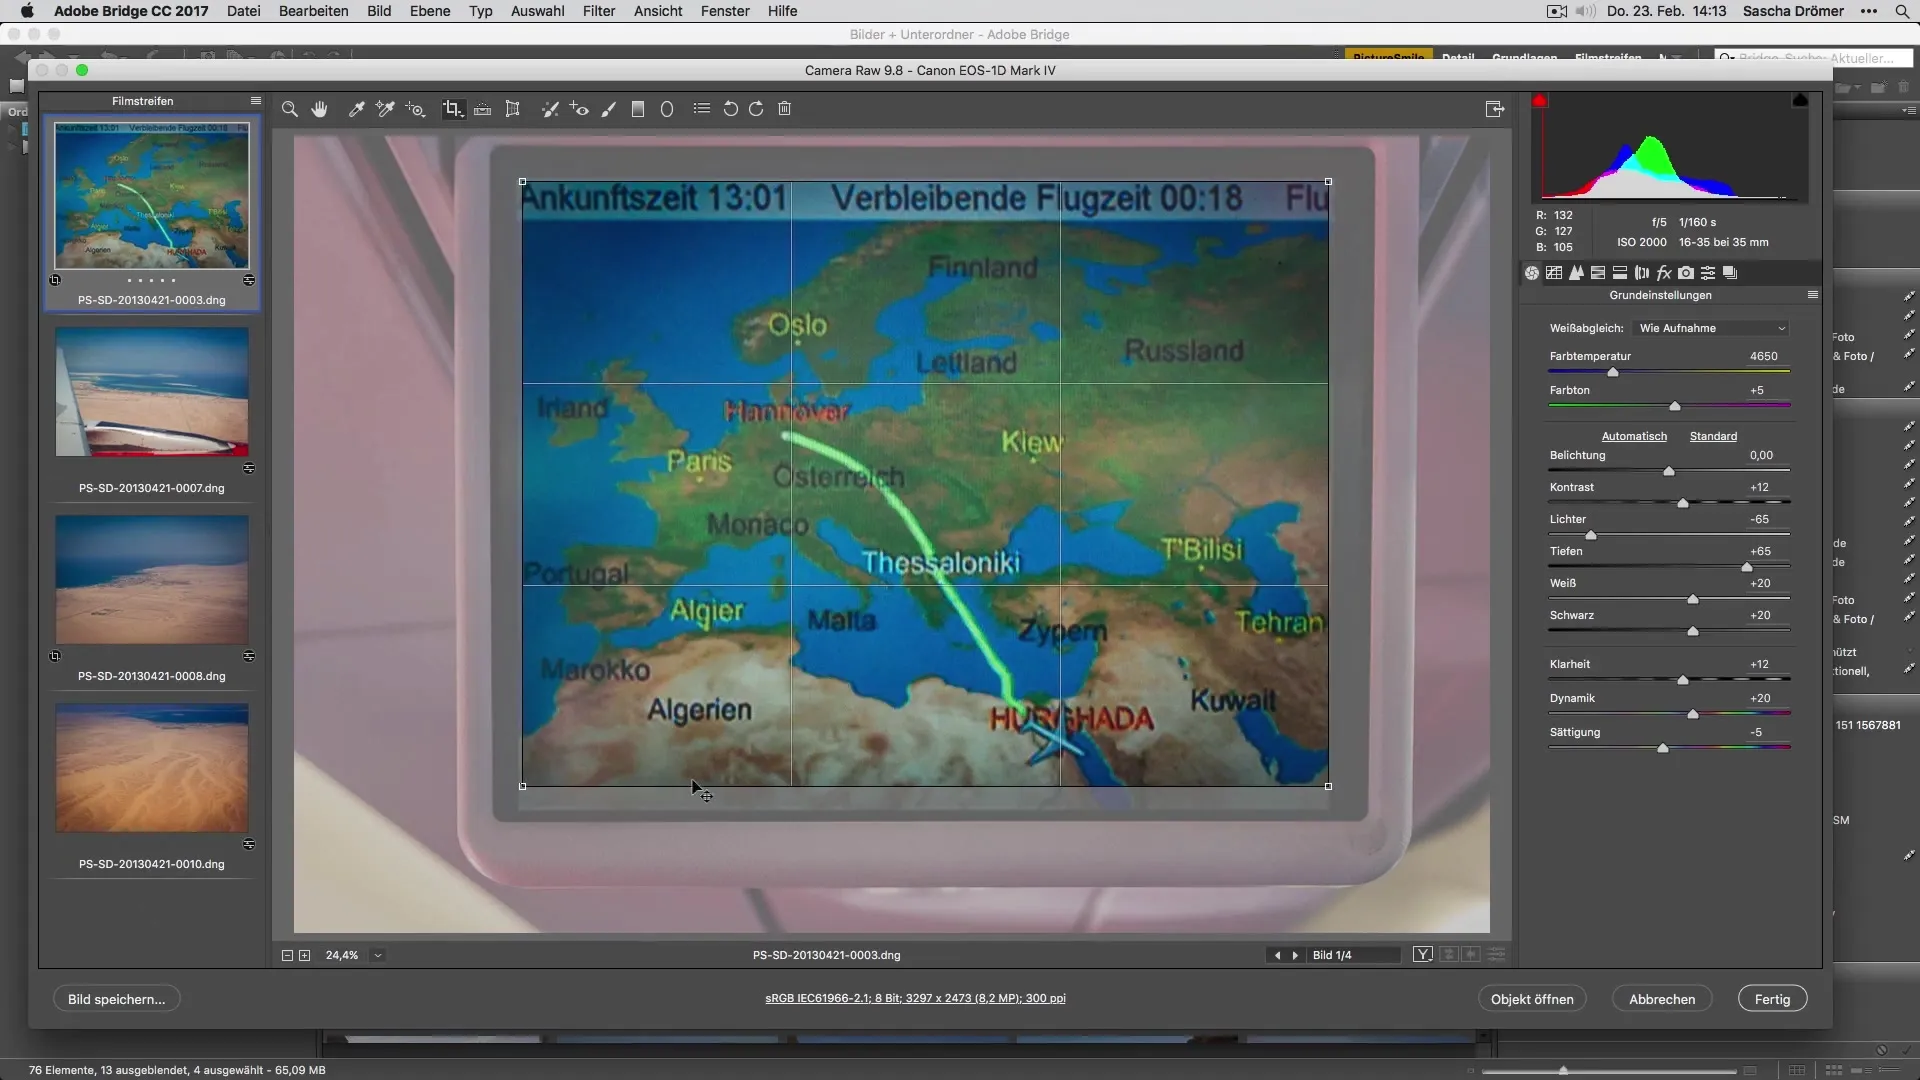
Once your image is aligned, it’s time to crop it. With the crop tool, you can easily select the desired area. Hold down the mouse button and drag to create a frame. Ensure that the image has the right composition. You can still adjust the edges slightly to achieve the desired ratio.
Adjusting Image Height and Width
To ensure that the image has the right shape, you should make slight adjustments on the sides and top or bottom. This way, you can optimize the image in height or width according to your preferences. These details ensure that the image is perfectly tailored for the screen or print version.
Improving Contrast
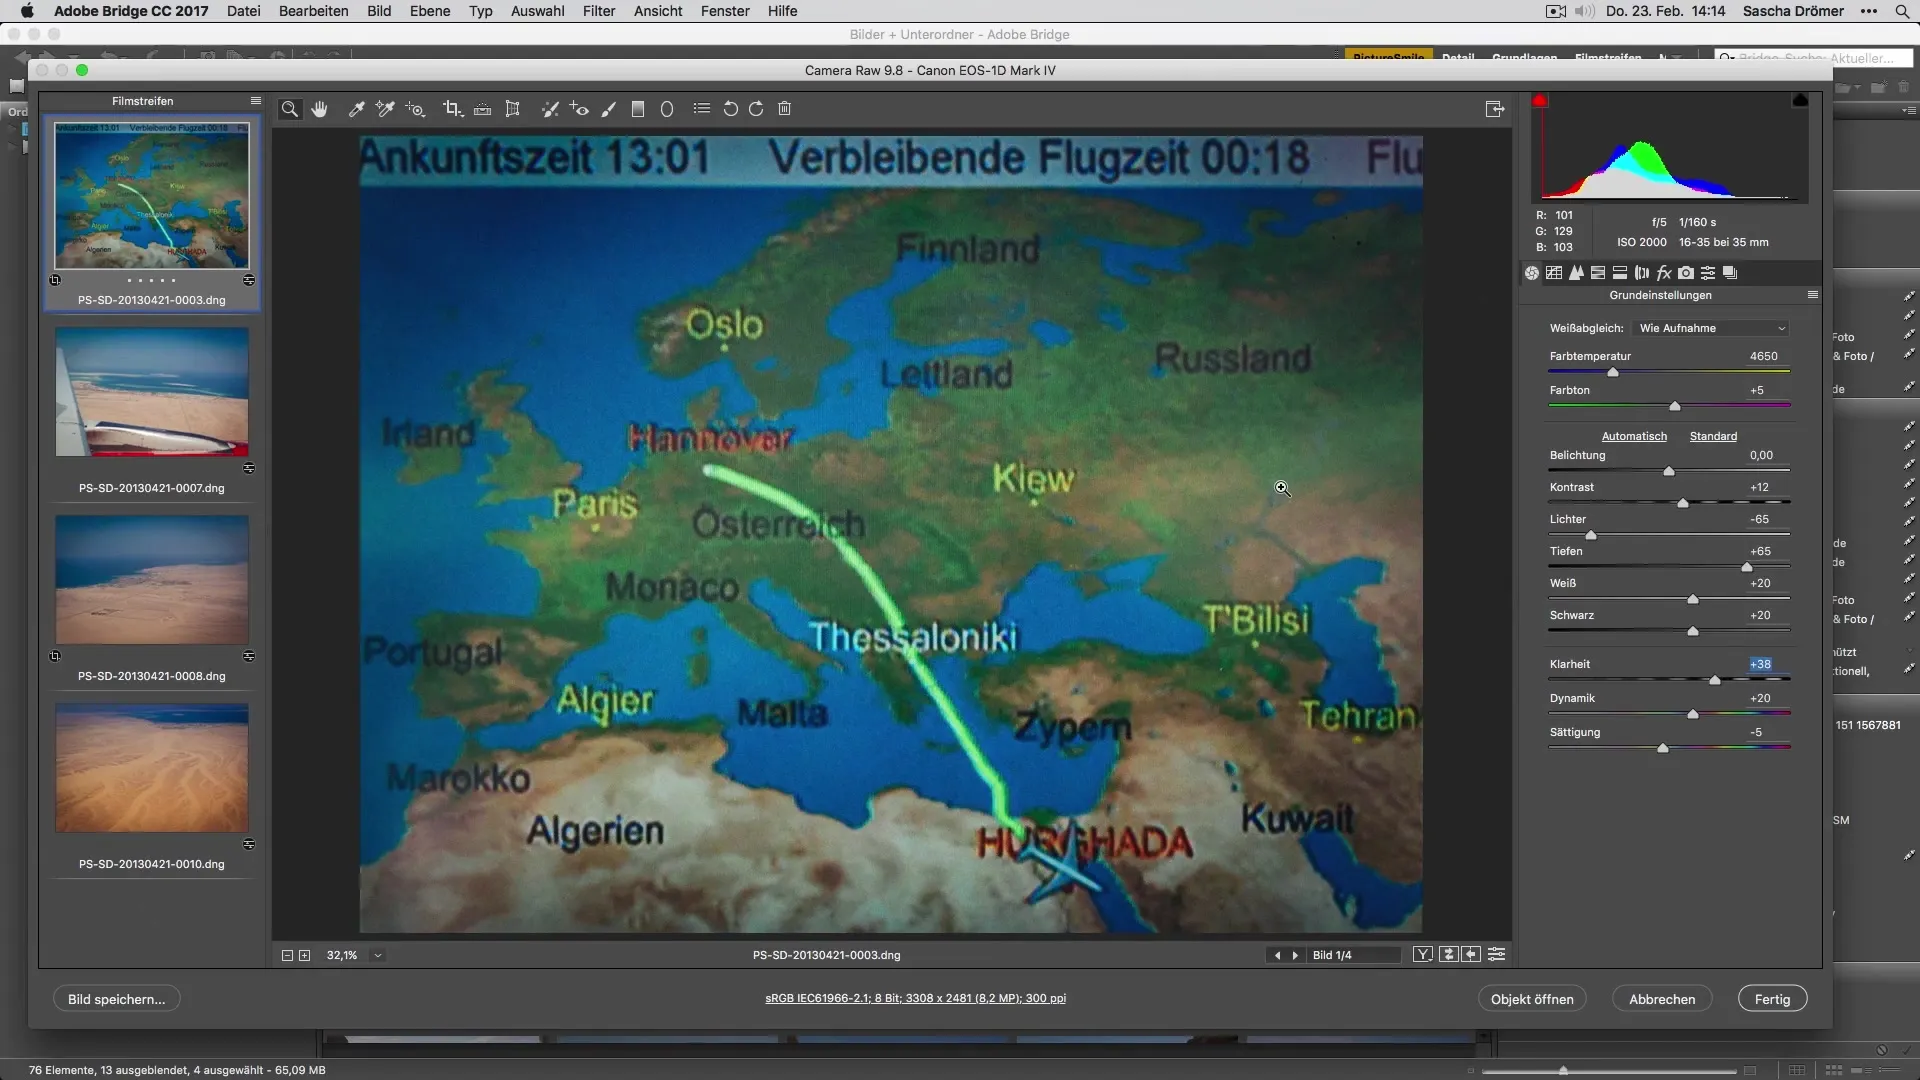
The contrast settings are crucial to make your photos look more vibrant. Simply go to the respective contrast settings and slightly increase the values. Be careful to keep the natural colors intact and not to over-edit the image. This way, you achieve a balanced representation that highlights the beauty of the subject.
Synchronizing Settings
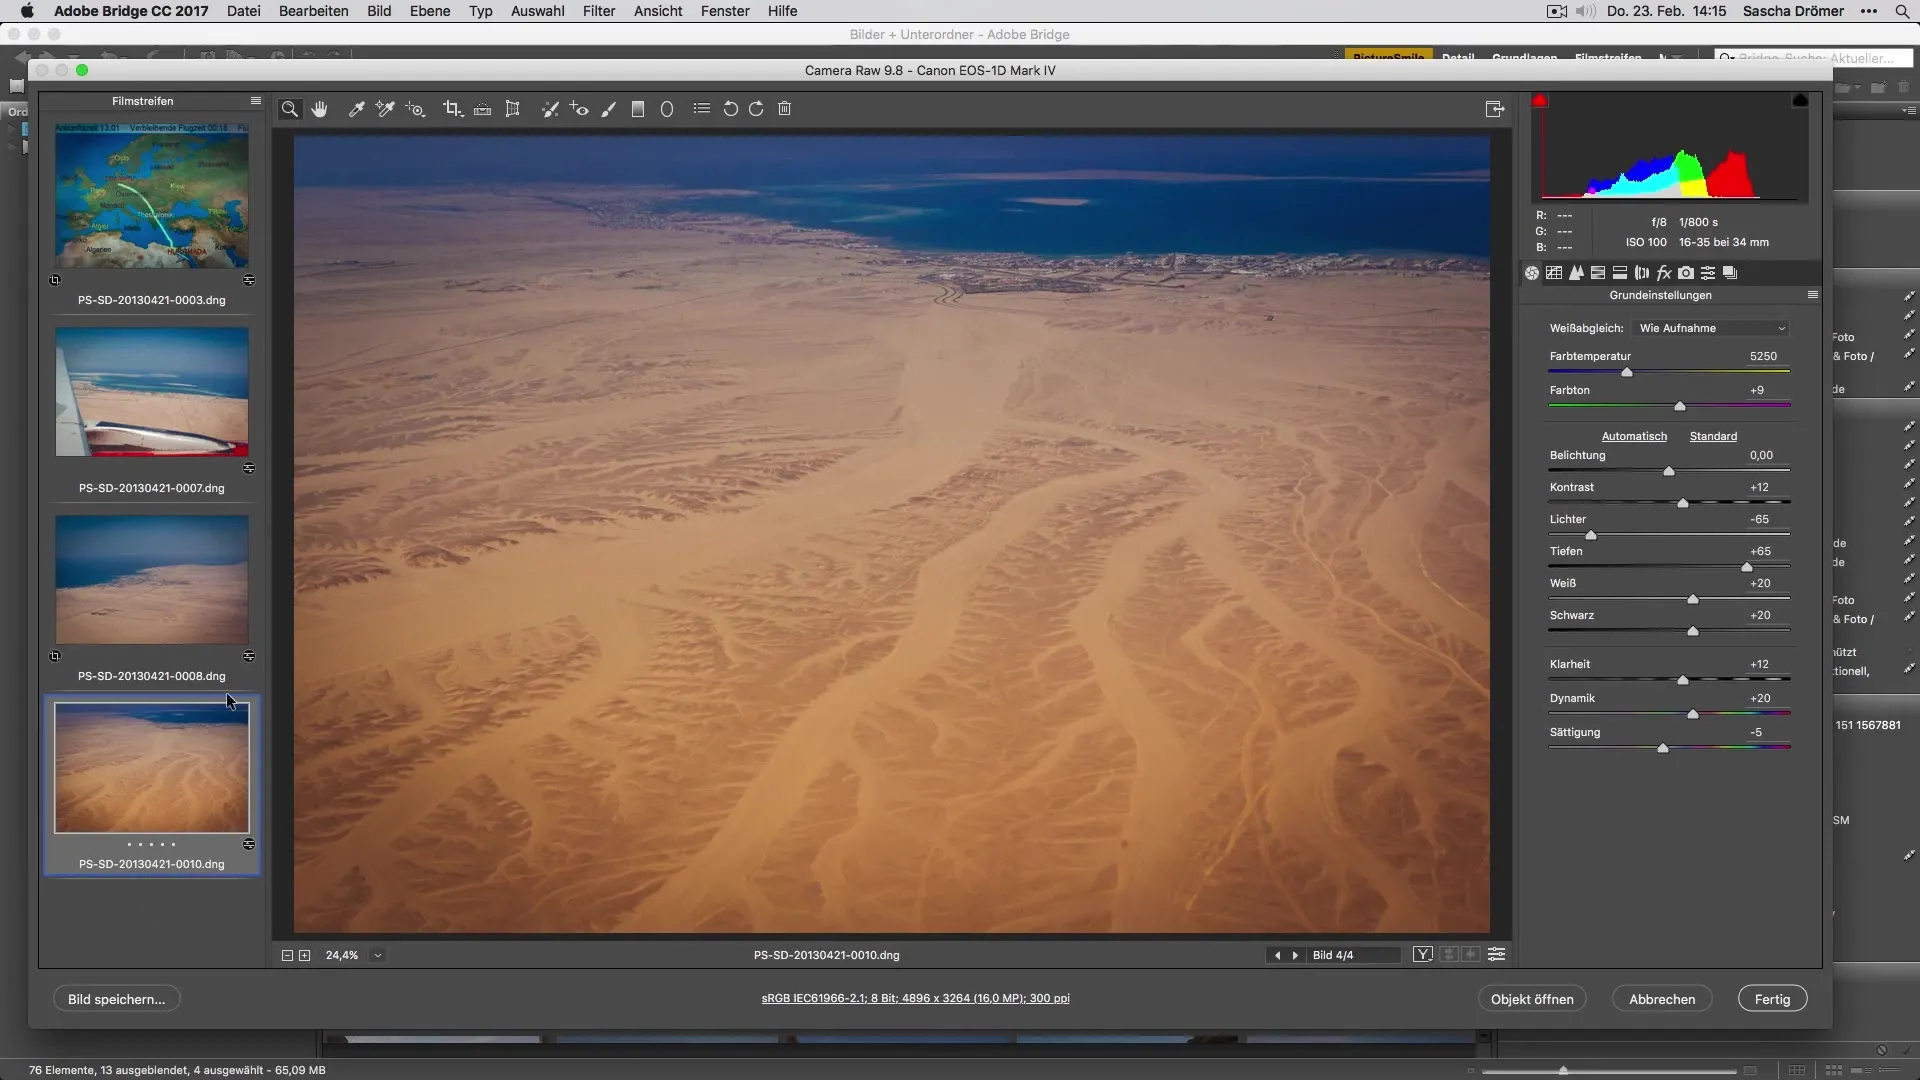
One of the most useful features of Adobe Camera Raw is the ability to transfer edited settings to other images. To do this, select the images you want to adjust and hold down the Shift key. Now go to the synchronization settings. Activate the desired adjustments, especially in the local settings, to ensure that all changes are also applied there.
Applying the Gradient Filter
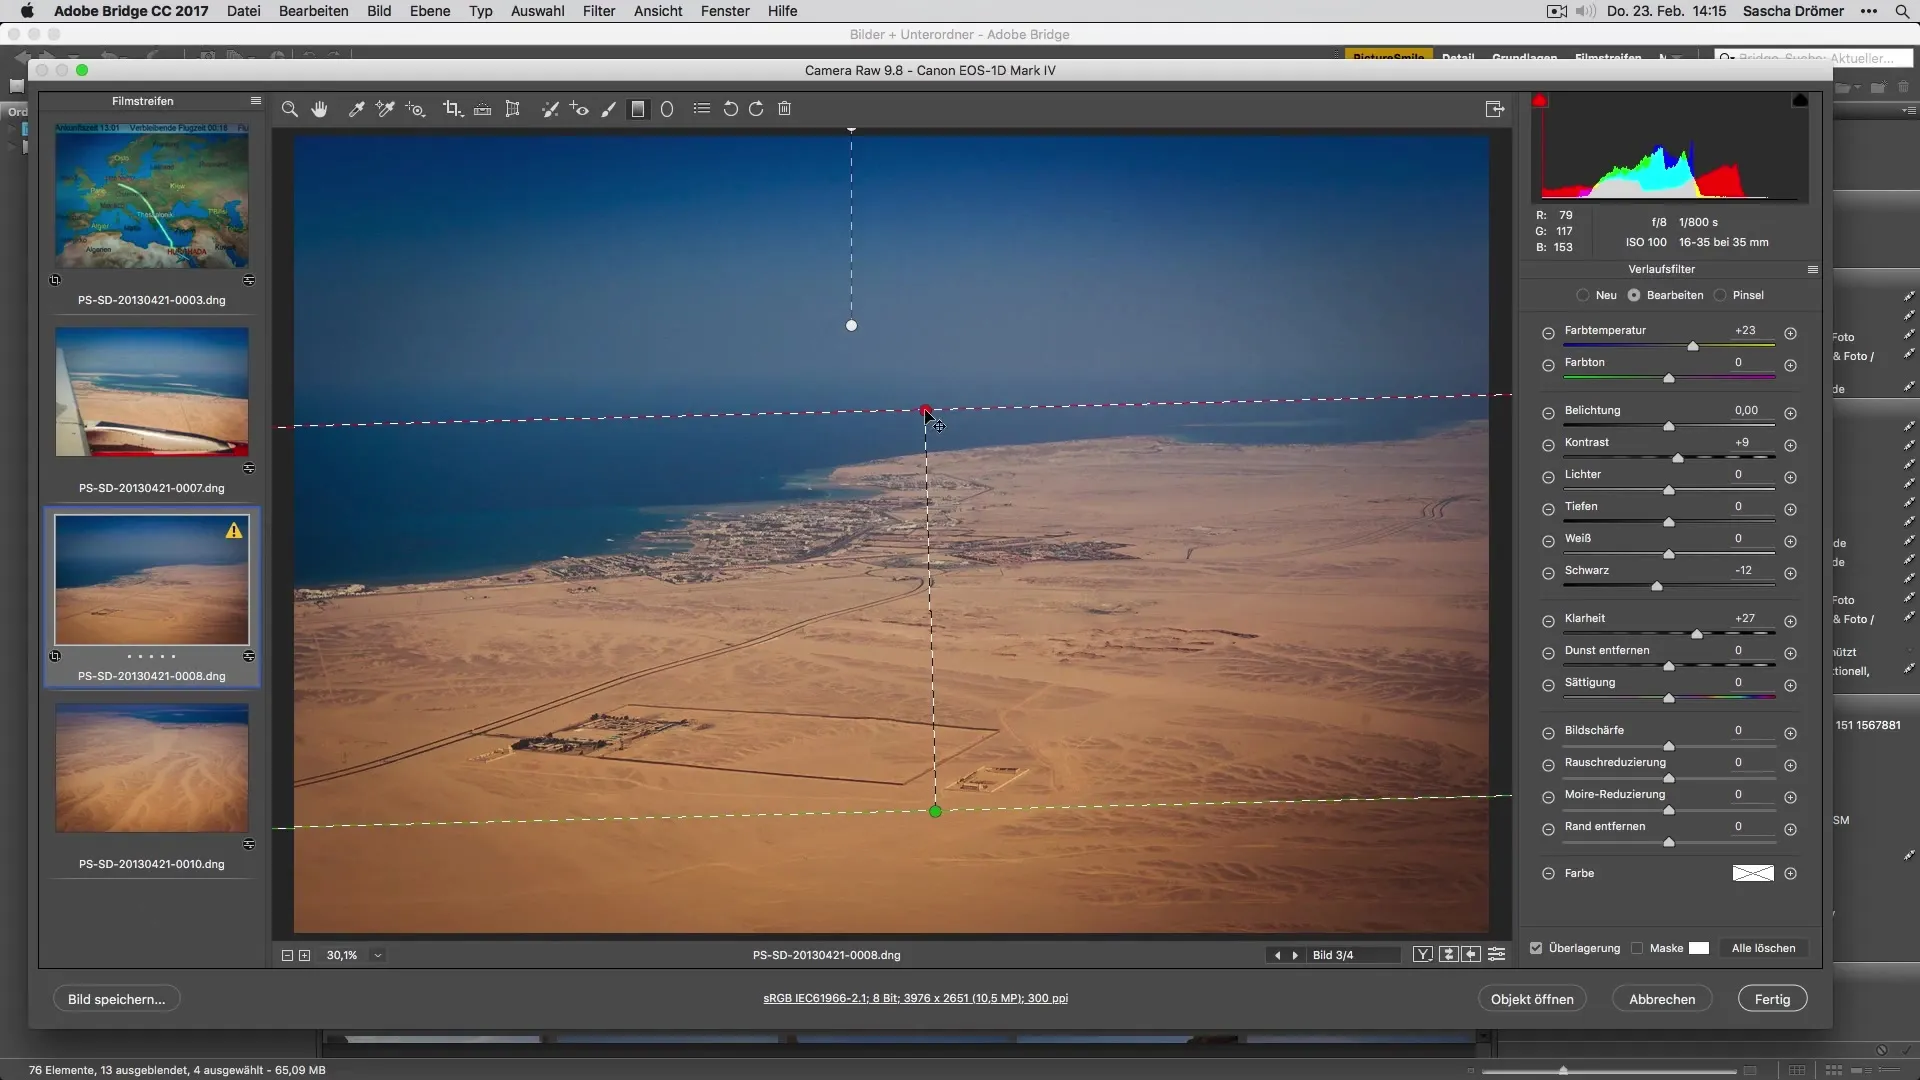
The gradient filter is another powerful tool in Adobe Camera Raw. With it, you can make targeted adjustments in specific areas of your image. Drag the gradient into the desired area and adjust the two gradients according to your preferences. Ensure that the transitions are smooth and everything looks natural.
Finishing Touches and Final Adjustments
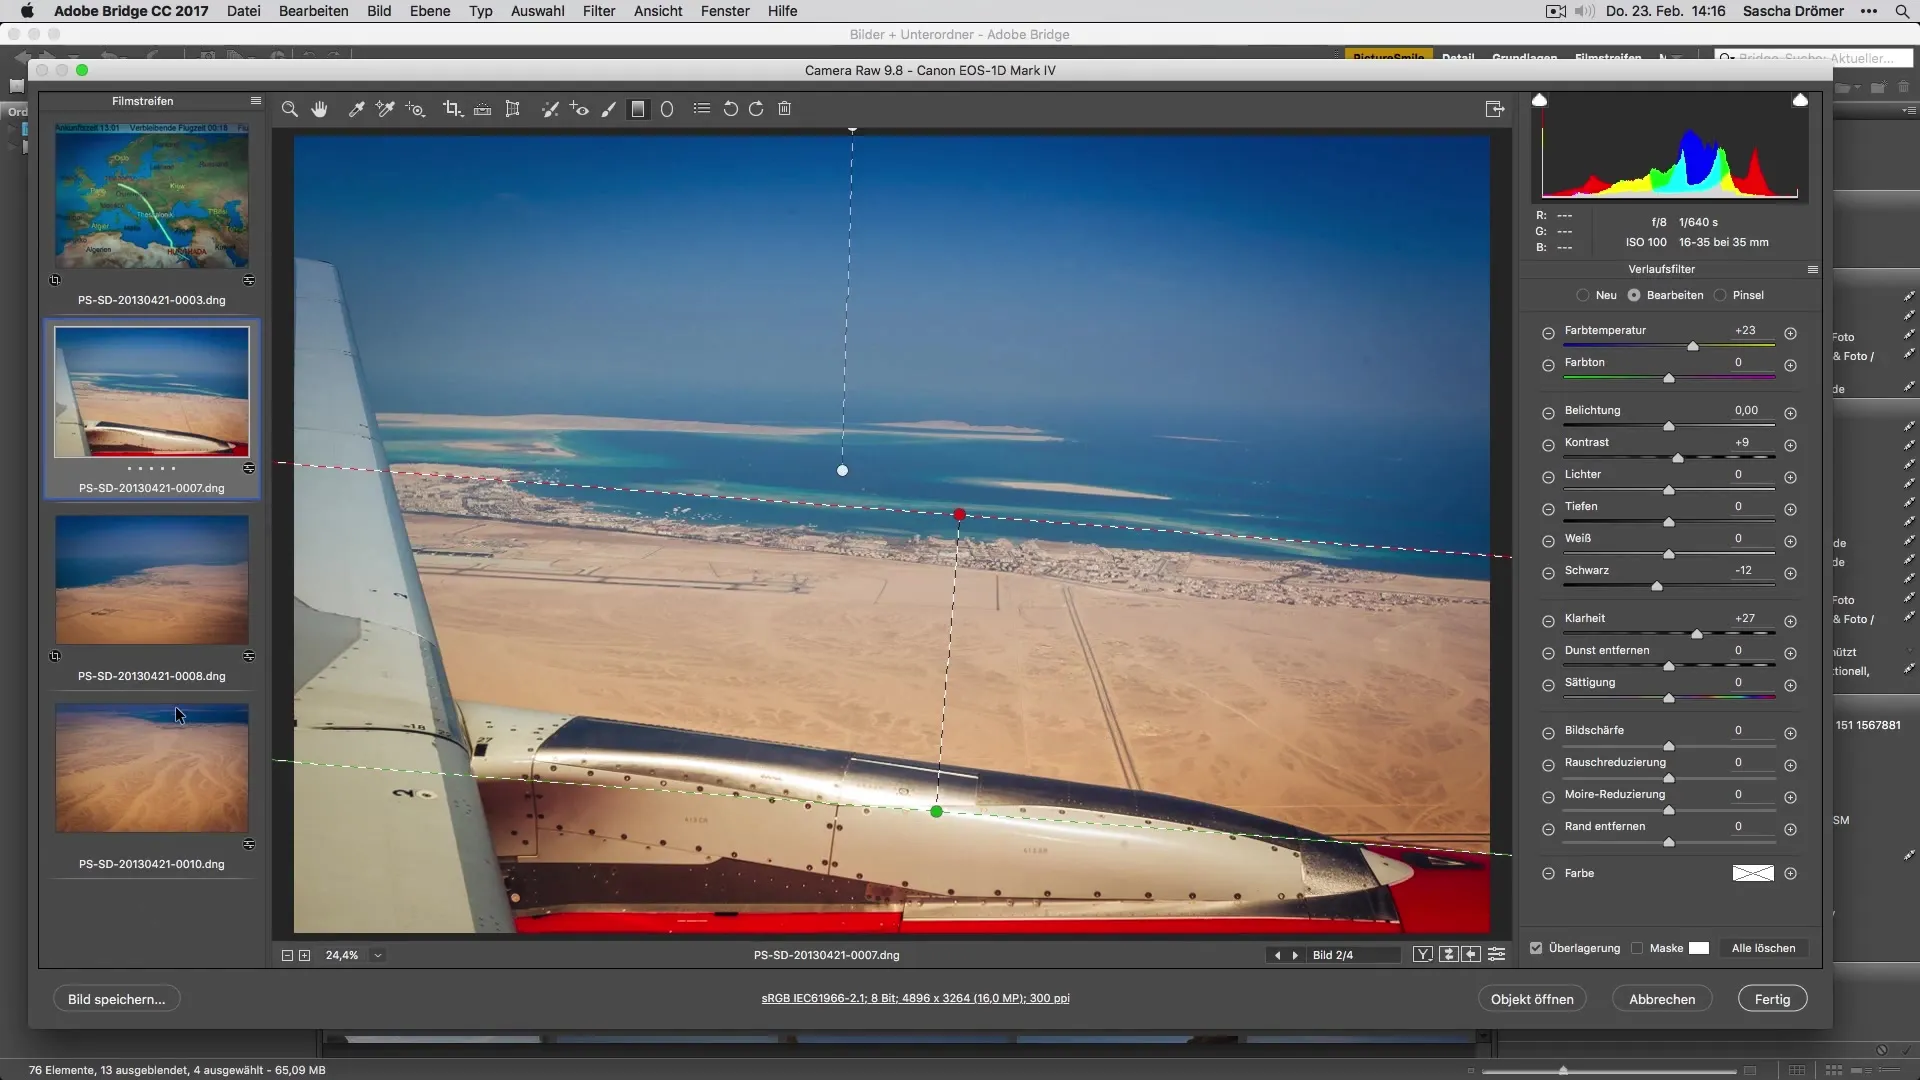
Before you save your image, make a few final adjustments to ensure that everything is perfect. Check the color balance, contrast, and sharpness to ensure it meets your expectations. These last steps can make a significant difference and elevate your photography to the next level.
Summary – Developing Vacation Photos Optimally: A Guide to Image Editing in Adobe Camera Raw
Editing your vacation photos in Adobe Camera Raw can make the difference between a good and a great image. From alignment and cropping to synchronizing settings and applying filters, we’ve gone through all the necessary steps to enhance your images. Use this guide to elevate your photo editing to a new level.
Frequently Asked Questions
How can I align an image in Adobe Camera Raw?You can use the transform function to automatically align the image.
How do I synchronize settings between multiple images?Select the images, hold down the Shift key, and go to the synchronization settings.
What is the gradient filter and how do I use it?The gradient filter allows for targeted adjustments in certain areas of the image. Drag the gradient to the desired area and adjust the settings.
How can I improve image composition while cropping?The goal is to highlight the main elements of the image, consult the crop tool and experiment with the edges.
What are the key points for increasing contrast?Make sure to keep the natural colors and avoid making the image look over-edited.


