High-quality vacation photos can do more than just preserve beautiful memories – they are also excellent for creating printed materials like posters. In this tutorial, you will learn how to transform a simple vacation photo into a professional advertisement poster. With the right adjustments and techniques, your image will not only improve but also stand out from the crowd. Let’s get started!
Key takeaways
- With the right techniques, you can turn a simple vacation image into an appealing poster.
- Apply basic adjustments as well as local adjustments to get the best out of your image.
- Creative image design requires patience and experience with image editing software.
Step-by-step guide
Step 1: Image selection
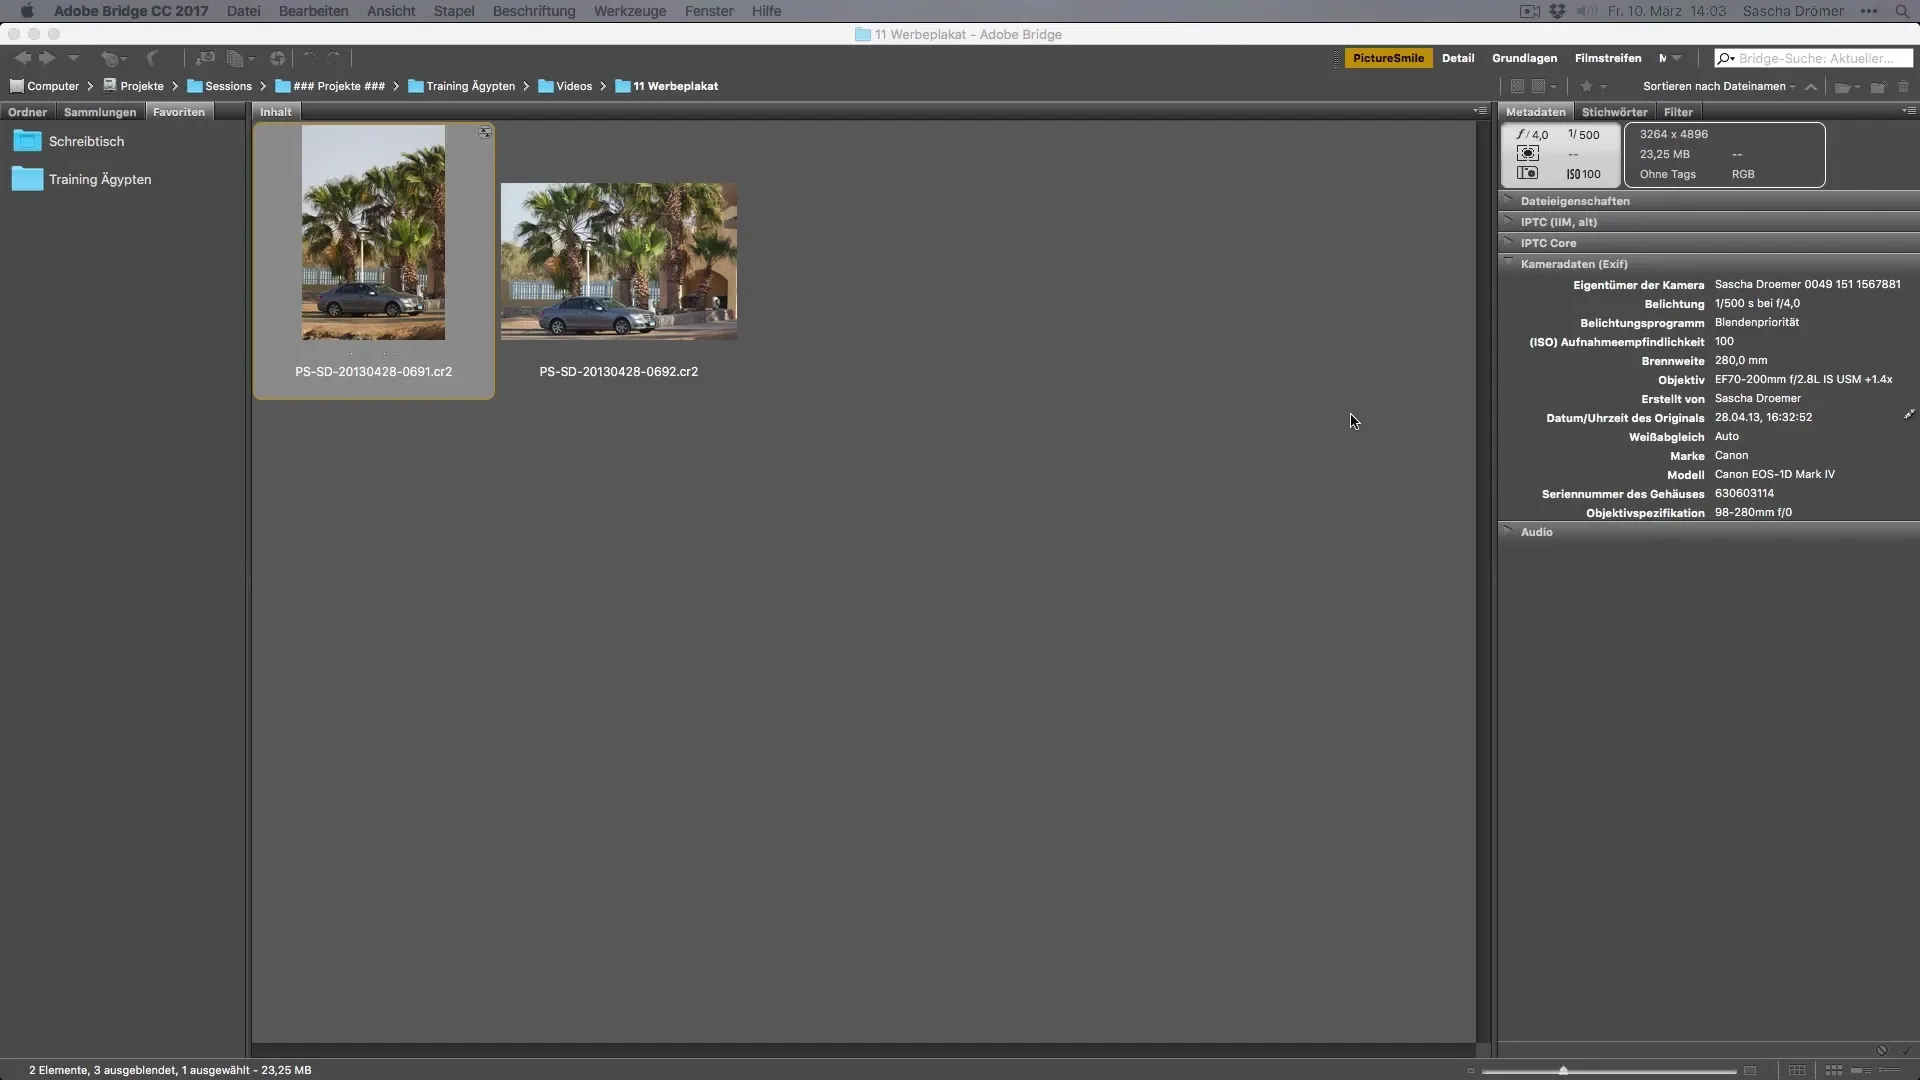
First, you have the option to choose from various shots. Picking a portrait format offers some advantages, especially if you want to add text. In this case, consider using an image shot in portrait orientation, as the top area of the image provides plenty of space for creative elements.
Step 2: Basics of image editing
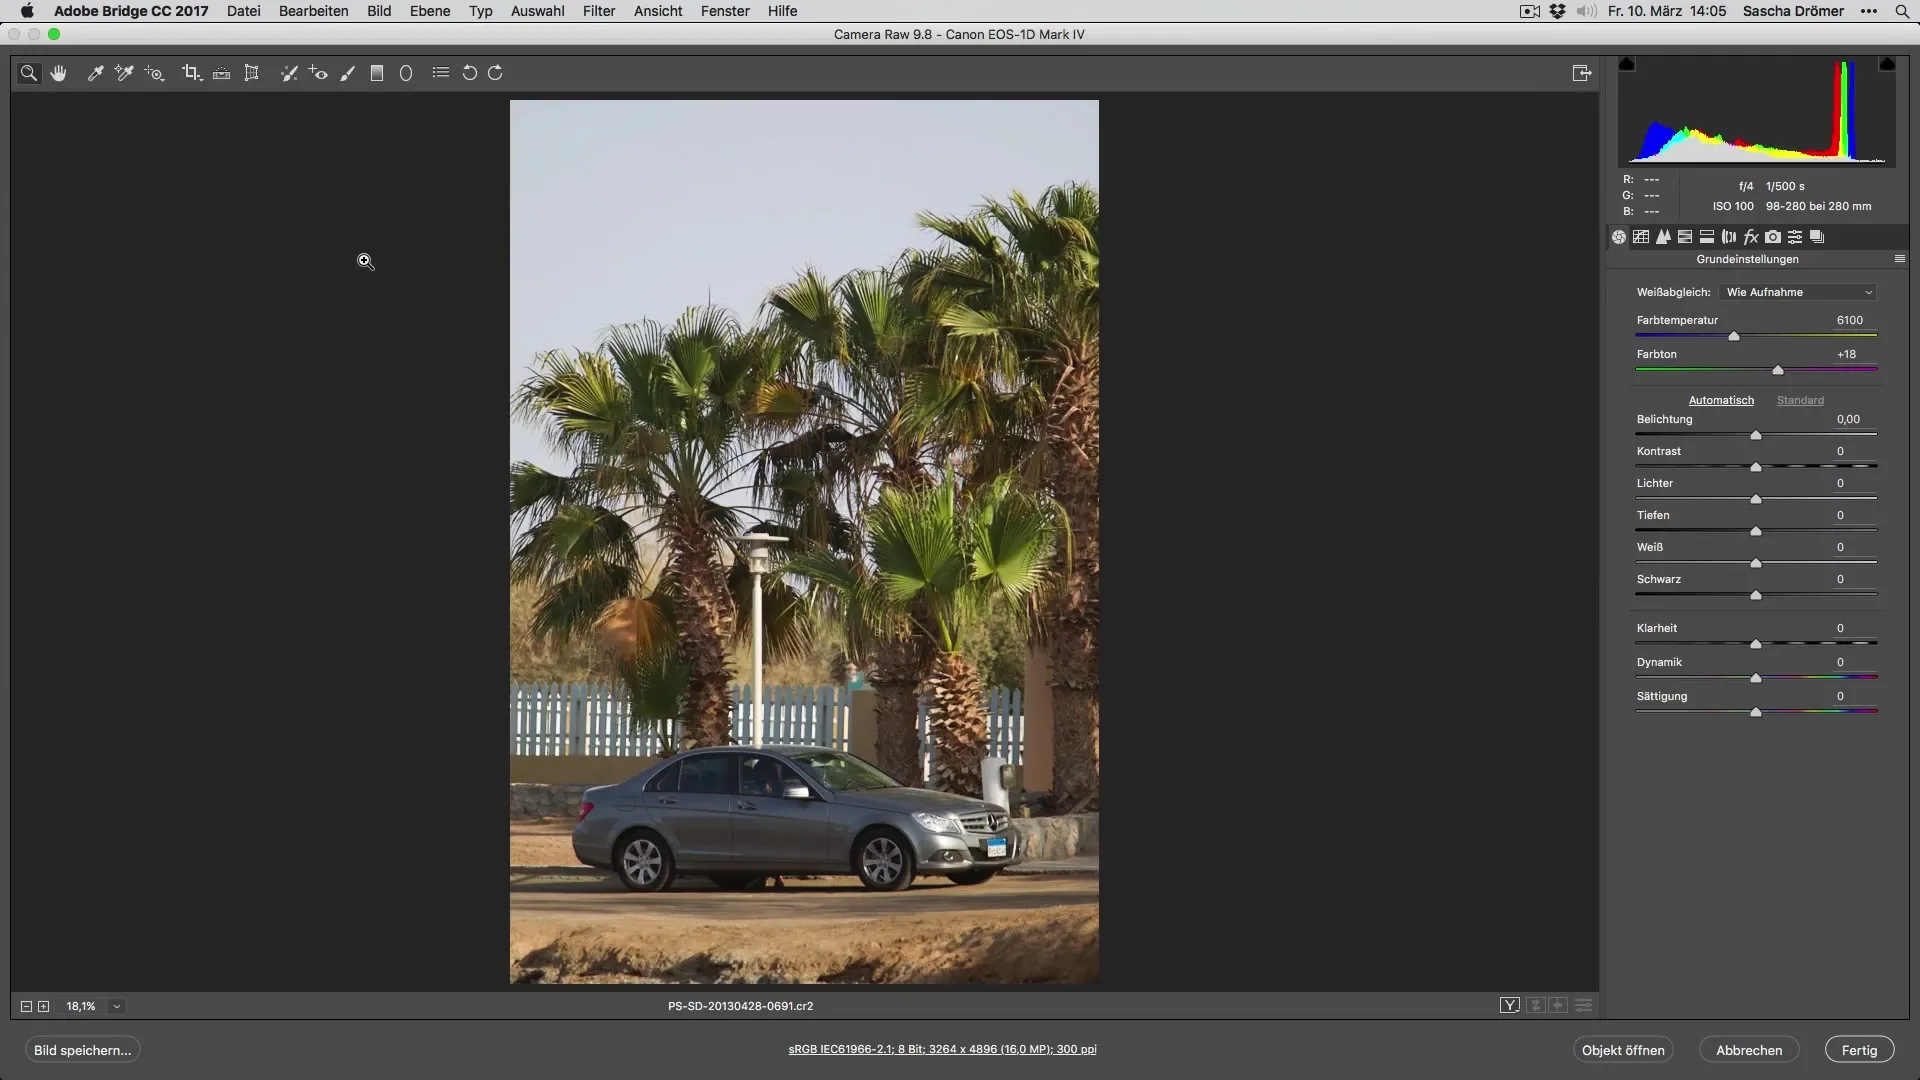
Once you have selected your image, it's time to start editing. When working with the image editing software of your choice, it's helpful to apply a preset that serves as the foundation for your adjustments. In most programs, you can use predefined filters that take your first step in the right direction.
Step 3: Adjusting the sky
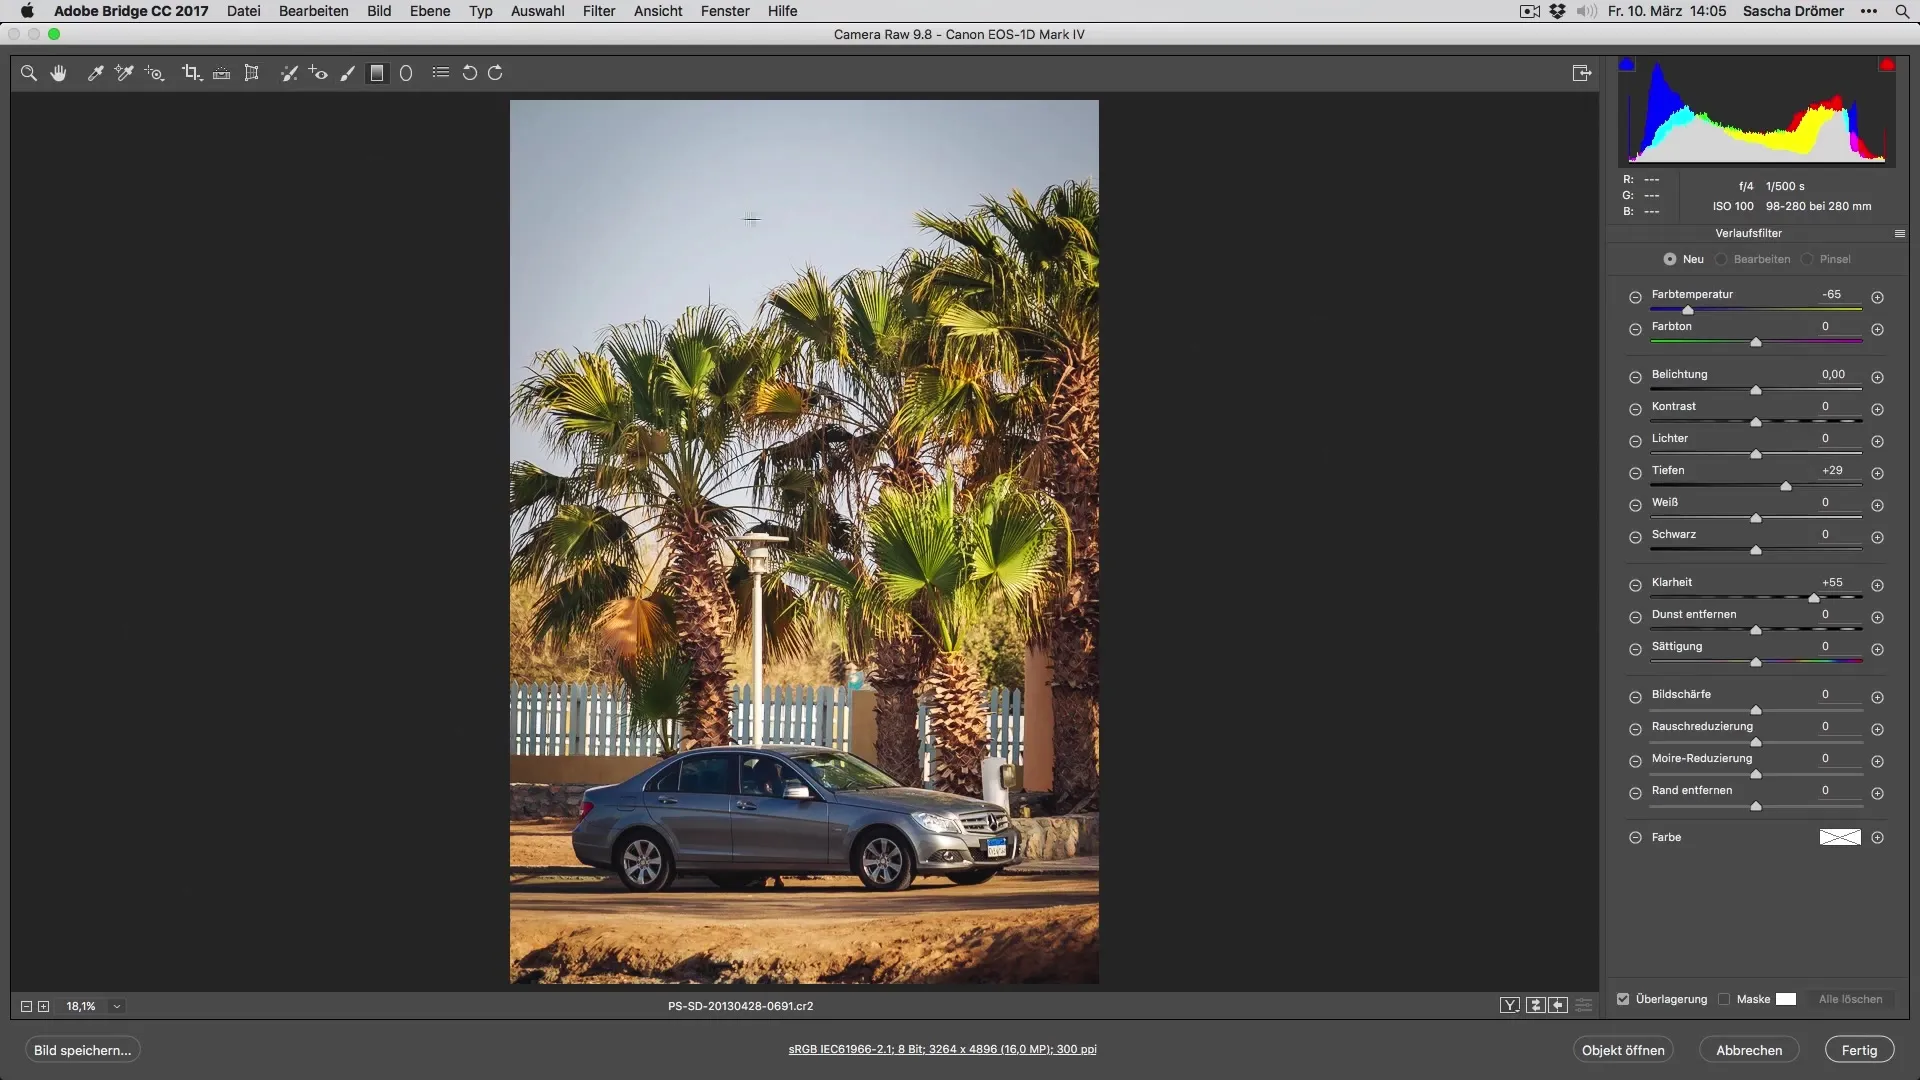
An important aspect of creating a poster is adjusting the sky. For this, you can darken the sky to create depth and achieve a dramatic effect. You can adjust the settings by reducing the exposure and tweaking the clarity. It's important to play with the sliders until you achieve a satisfactory color and brightness.
Step 4: Color and lighting adjustments
To optimize the image, it's important to adjust the color temperature of the shot. You can reduce the intensity of the colors to make the image appear softer. For this, adjust the exposure and saturation sliders gradually to achieve a harmonious overall impression.
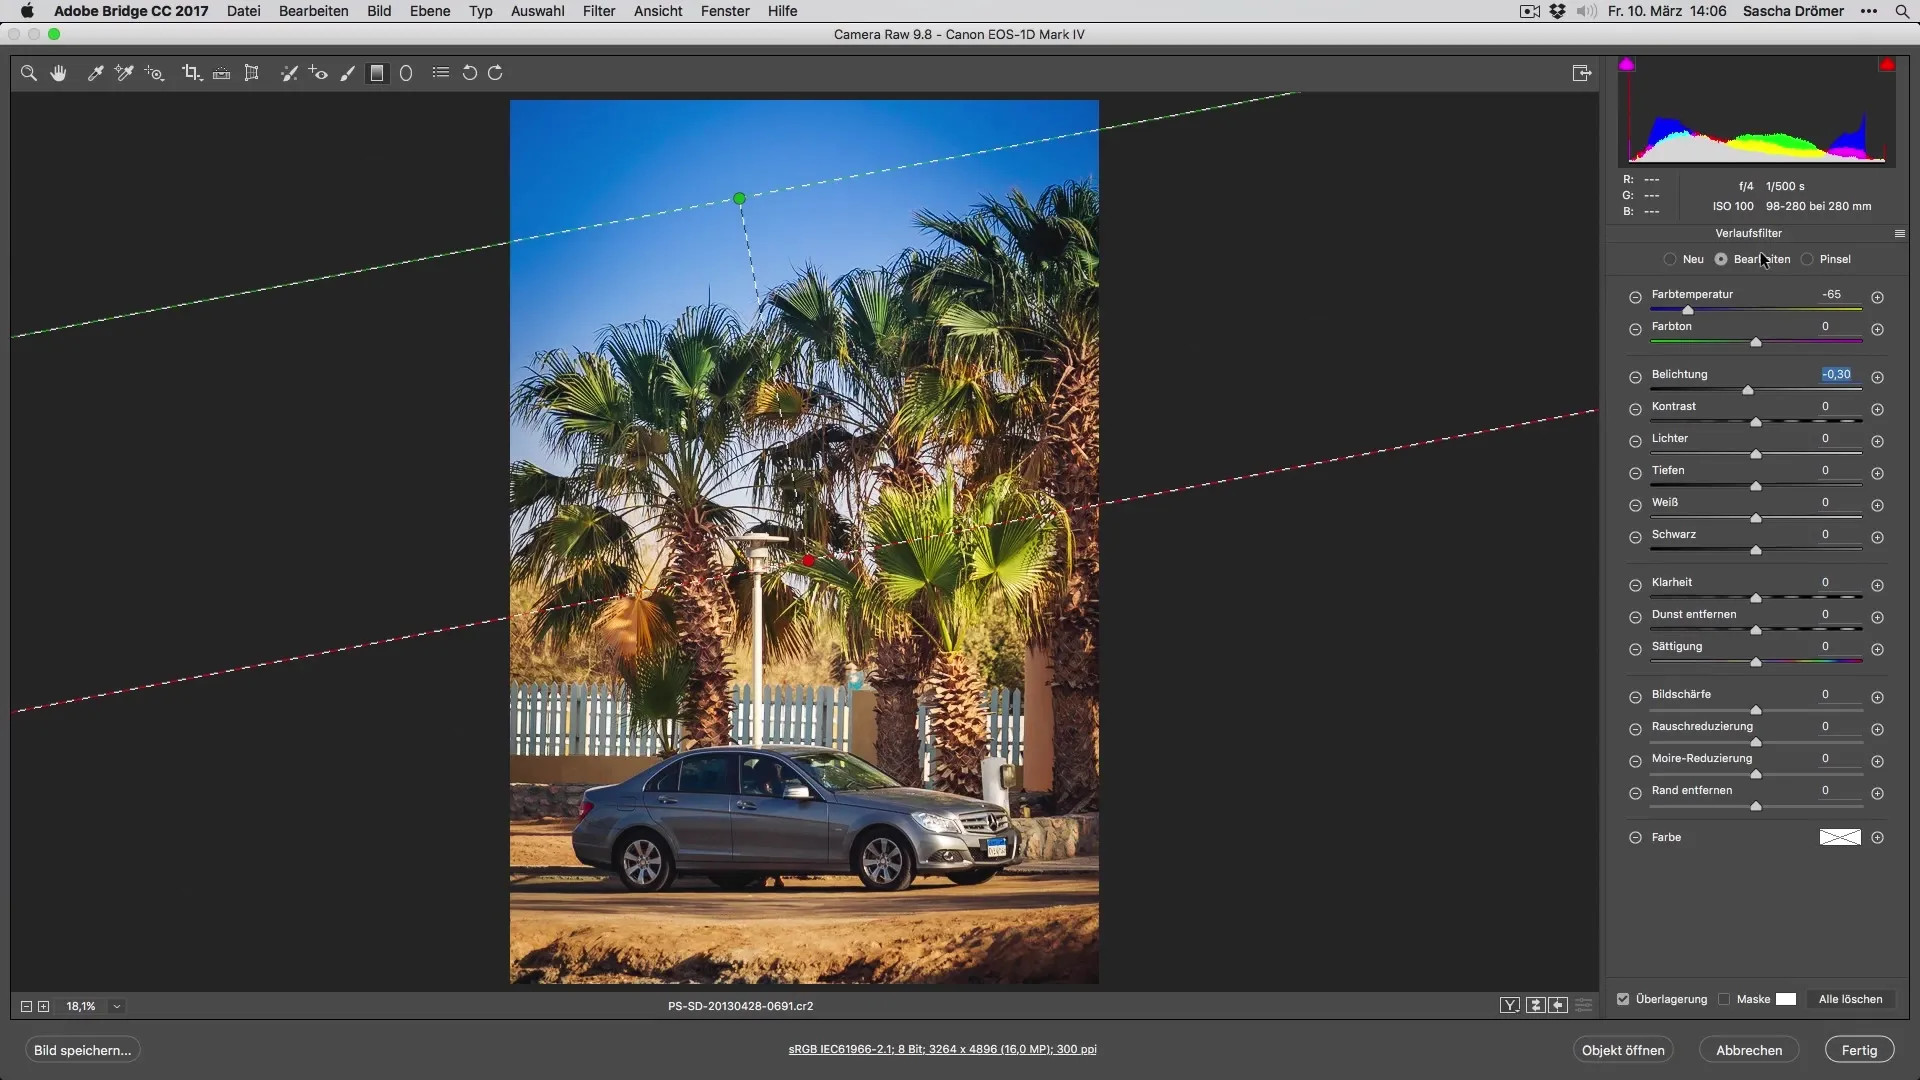
Step 5: Selective corrections
Use the selective correction tools in the image editing program to make targeted adjustments. Here, you can adjust elements like the sky and the foreground separately to create contrast. Make sure that the colors of the individual areas match well and that no inconsistencies arise.
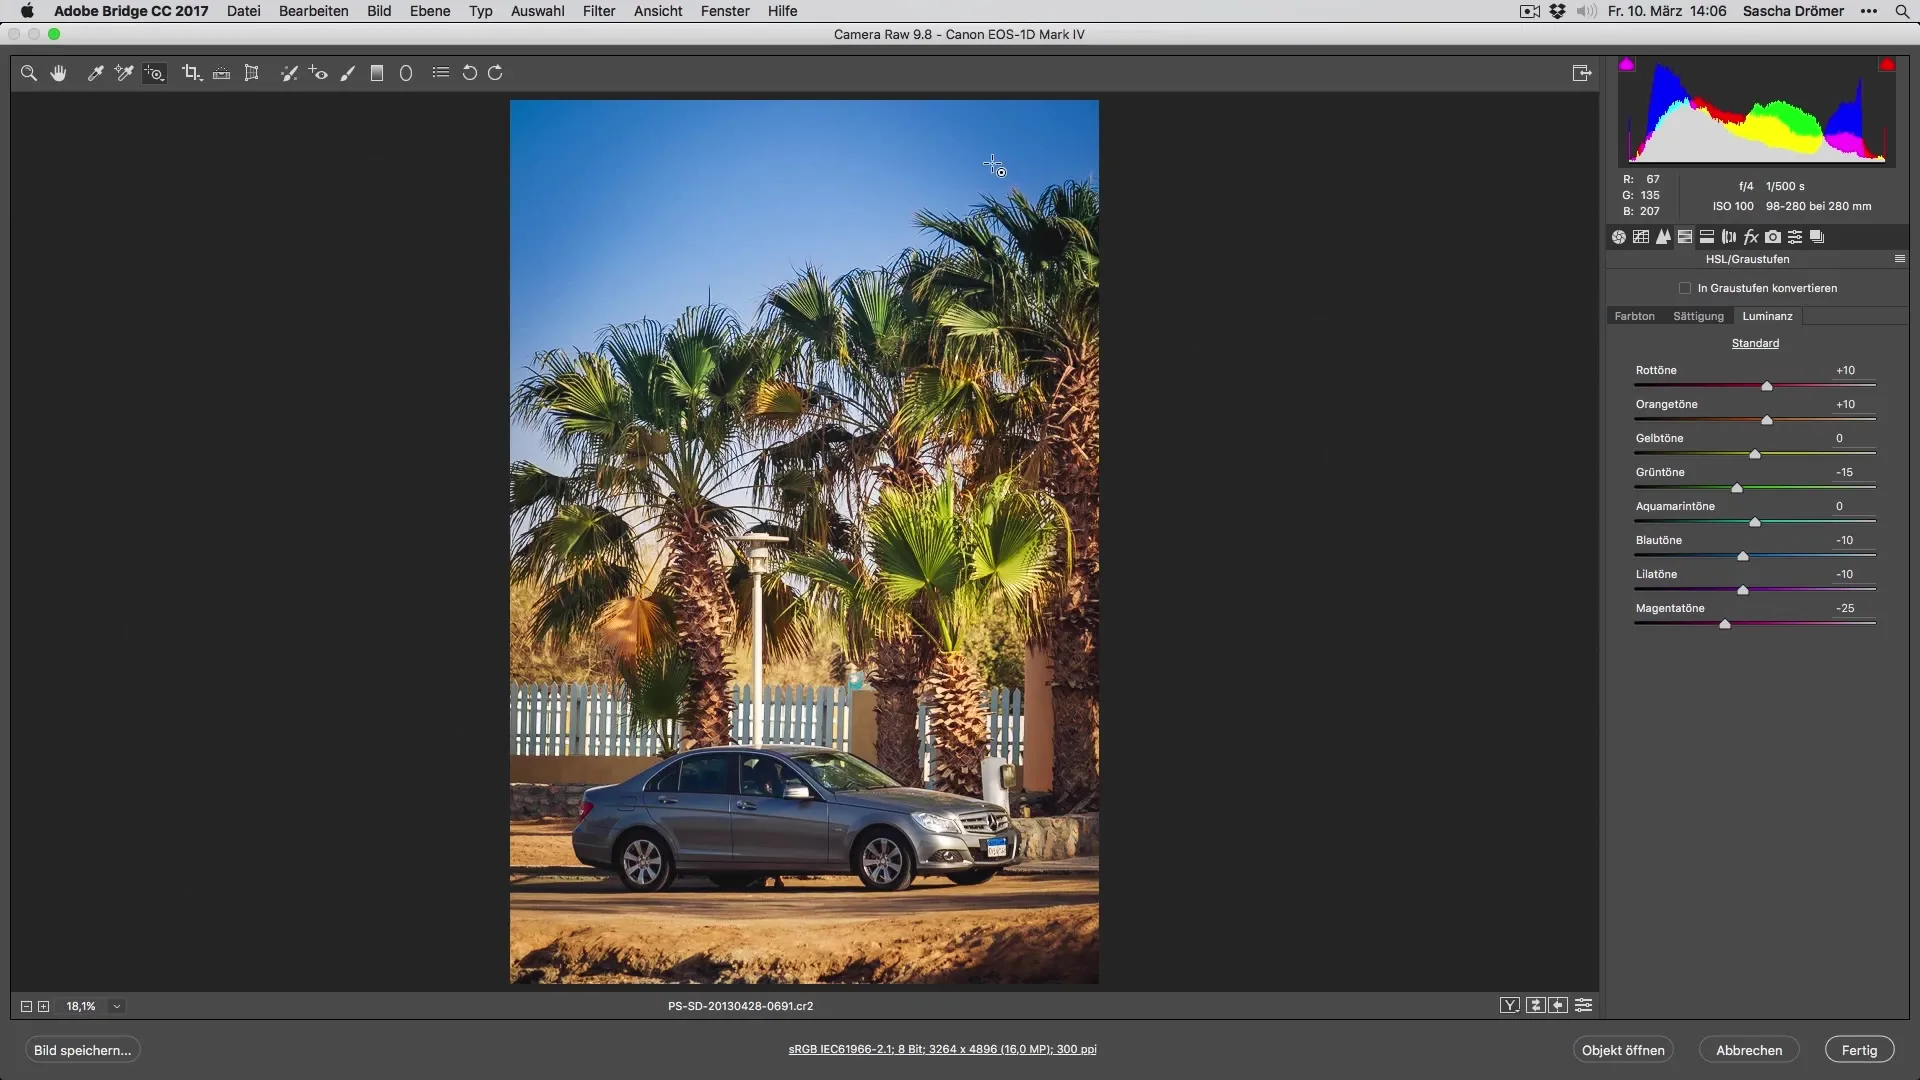
Step 6: Final adjustments
After you have made all the adjustments, now is the ideal time to perform a final review. Look at your image closely and check if anything appears too bright or too dark. Feel free to tweak the exposure or the color temperature as a final touch to create a cohesive image.
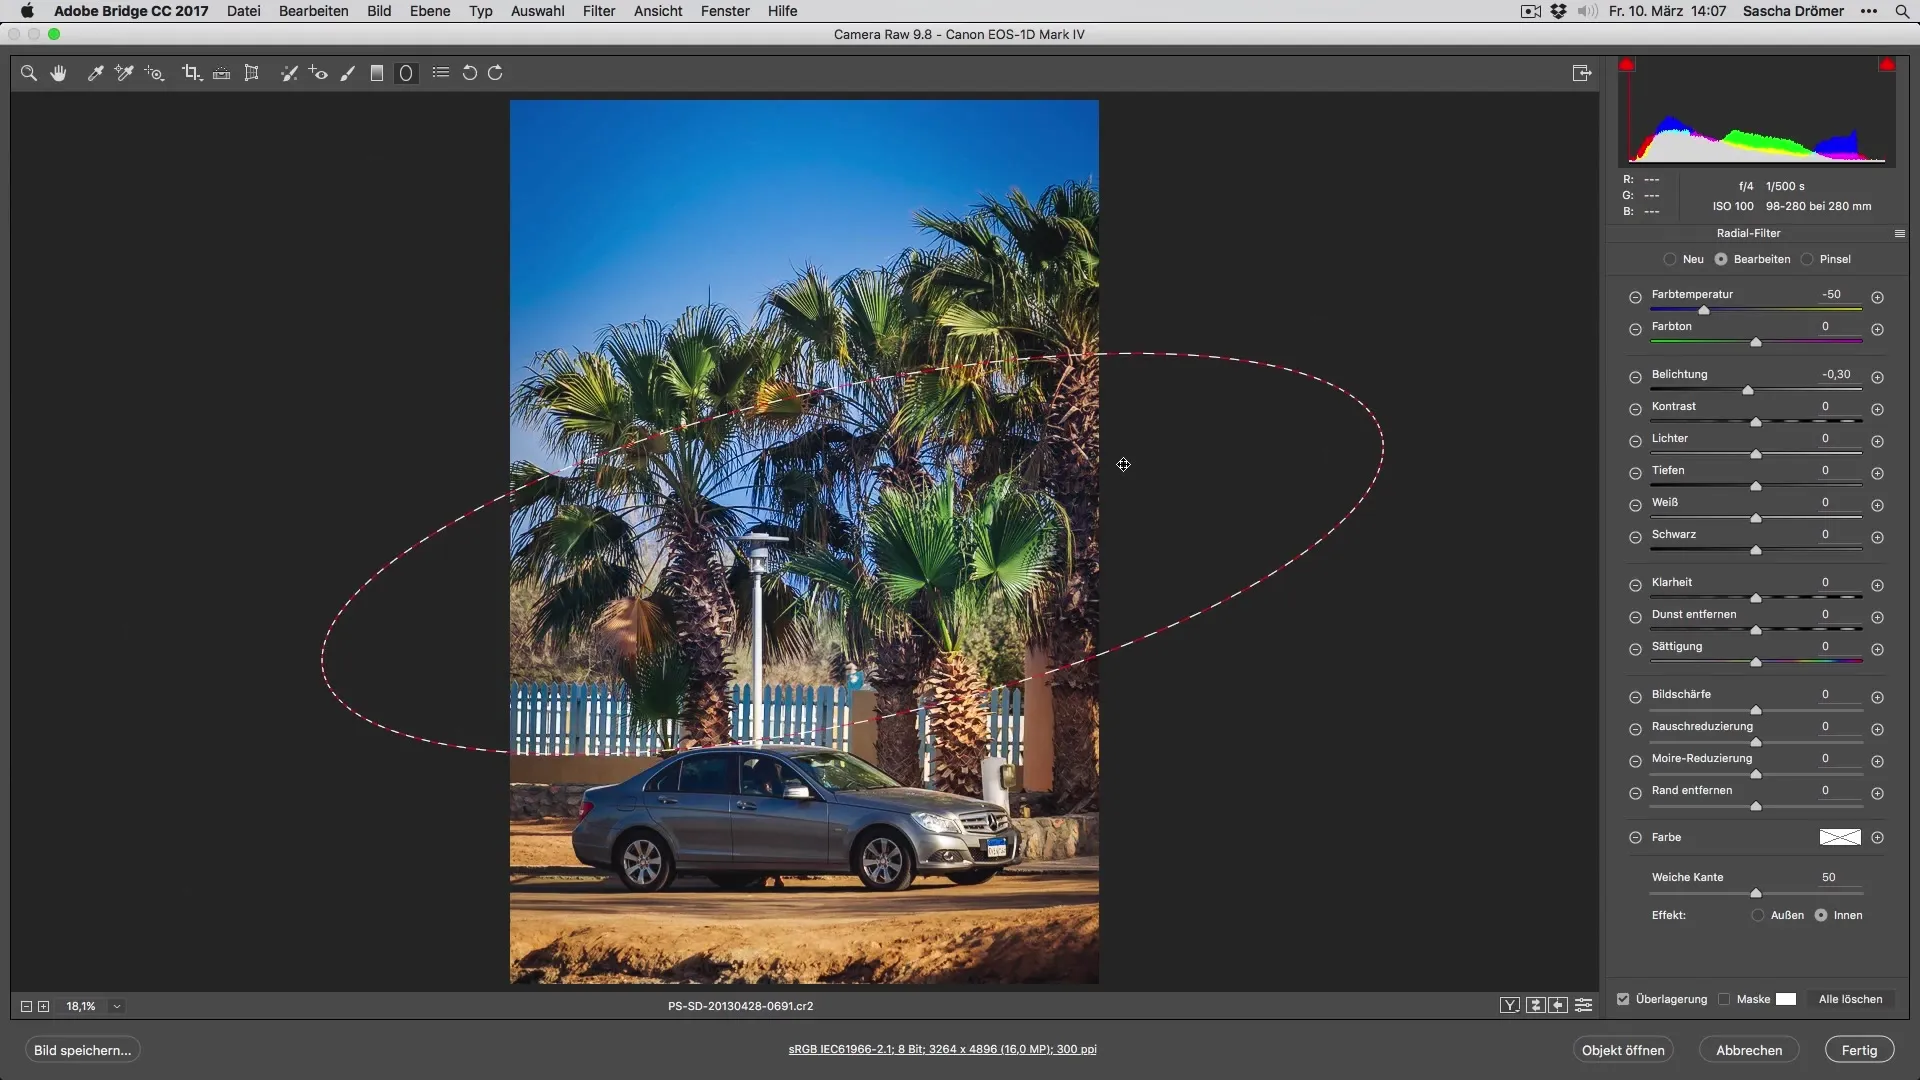
Summary – Optimally develop a vacation photo for a poster
In this tutorial, you have learned the most important steps to turn your vacation photo into an appealing advertisement poster. With the right adjustments, you can not only enhance your photos but also make them look professional. Experiment with different settings and techniques to achieve the best result.
Frequently Asked Questions
How can I optimize my photos for the poster?Use adjustments like color temperature, saturation, and selective corrections to achieve the best results.
Can I use other image formats?Yes, both portrait and landscape formats can be used for posters, although portrait is often better suited for text adjustments.
Which software is best for image editing?Popular programs include Adobe Lightroom, Photoshop, or free alternatives like GIMP.
