Preserving memories of your vacation is a wonderful way to keep the most beautiful moments alive for the long term. However, the RAW images you captured often don’t get the attention they deserve, whether because of dark areas or unwanted elements. In this guide, you will learn how to edit RAW photos so they can truly shine. You will discover how to brighten dark spots, adjust saturations, and even remove unwanted reflections. Let’s dive right in!
Key Takeaways
- With the right editing, you can make even dark areas of your image glow.
- Different settings for exposure, HSL, and radial filters help optimize the image layout.
- Unwanted elements in images can be easily removed.
Step-by-Step Guide to RAW Development
Selecting Images and Initial Import
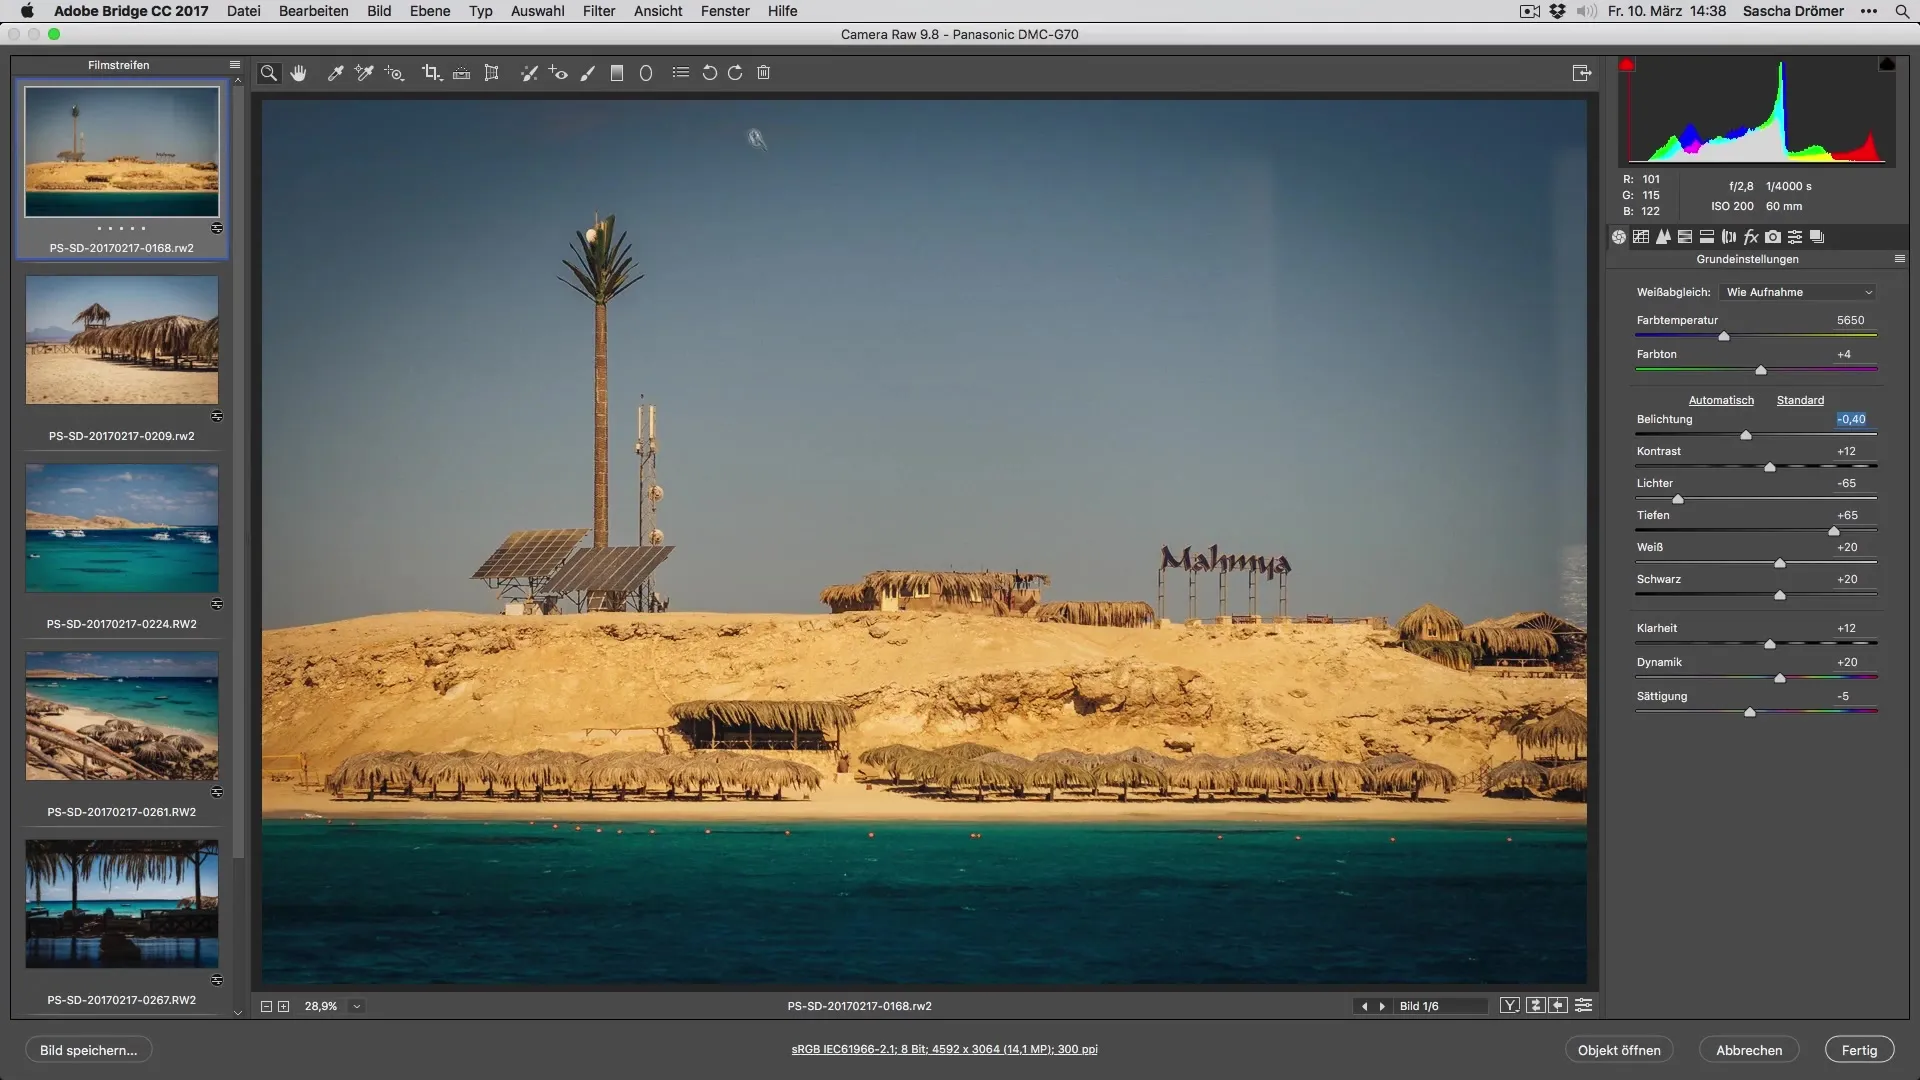
Start by selecting your RAW images and importing them into your RAW converter. In this case, I’m referring to the software used by many photographers. You need to select all the images and apply your preset, which will make instant adjustments.
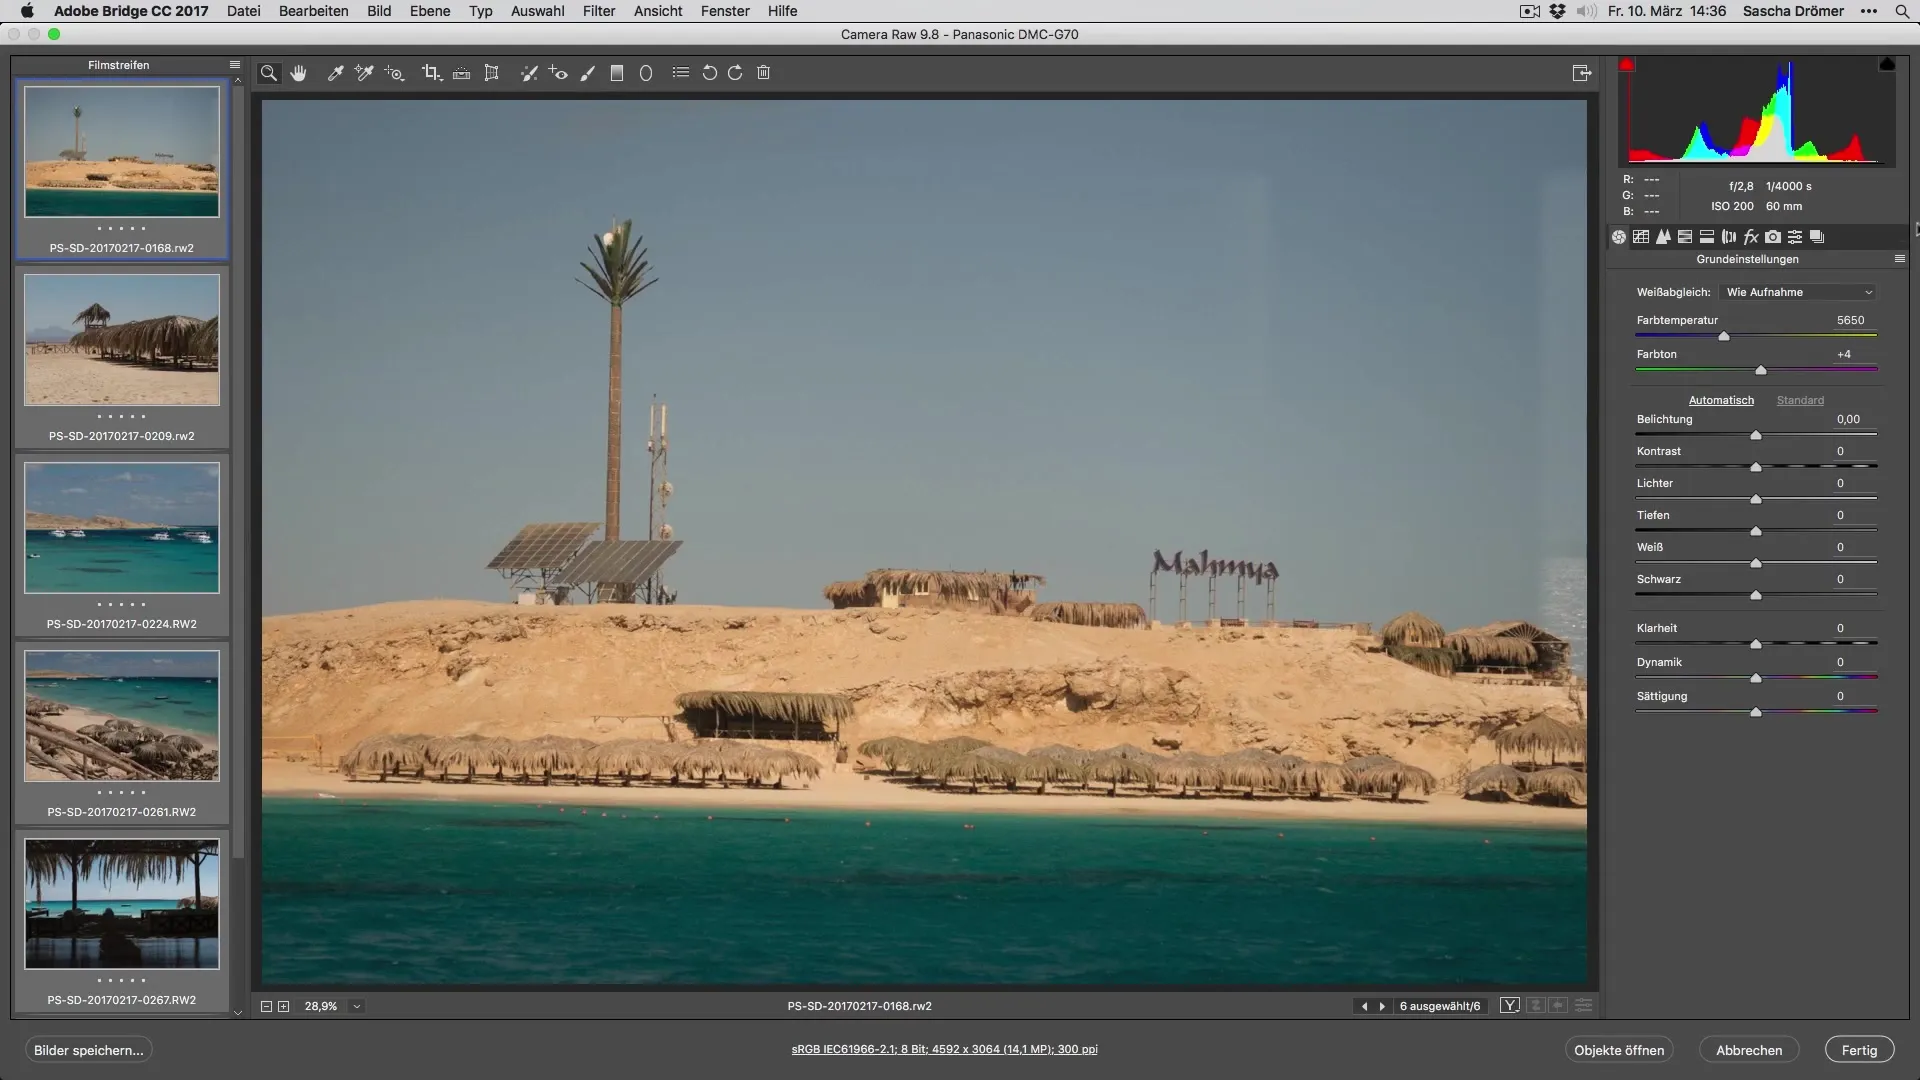
Basic Exposure Settings
The first image shows an excellent perspective taken from the ship. A basic exposure adjustment is the next step. You can lower the exposure slightly to bring out the colors and details.
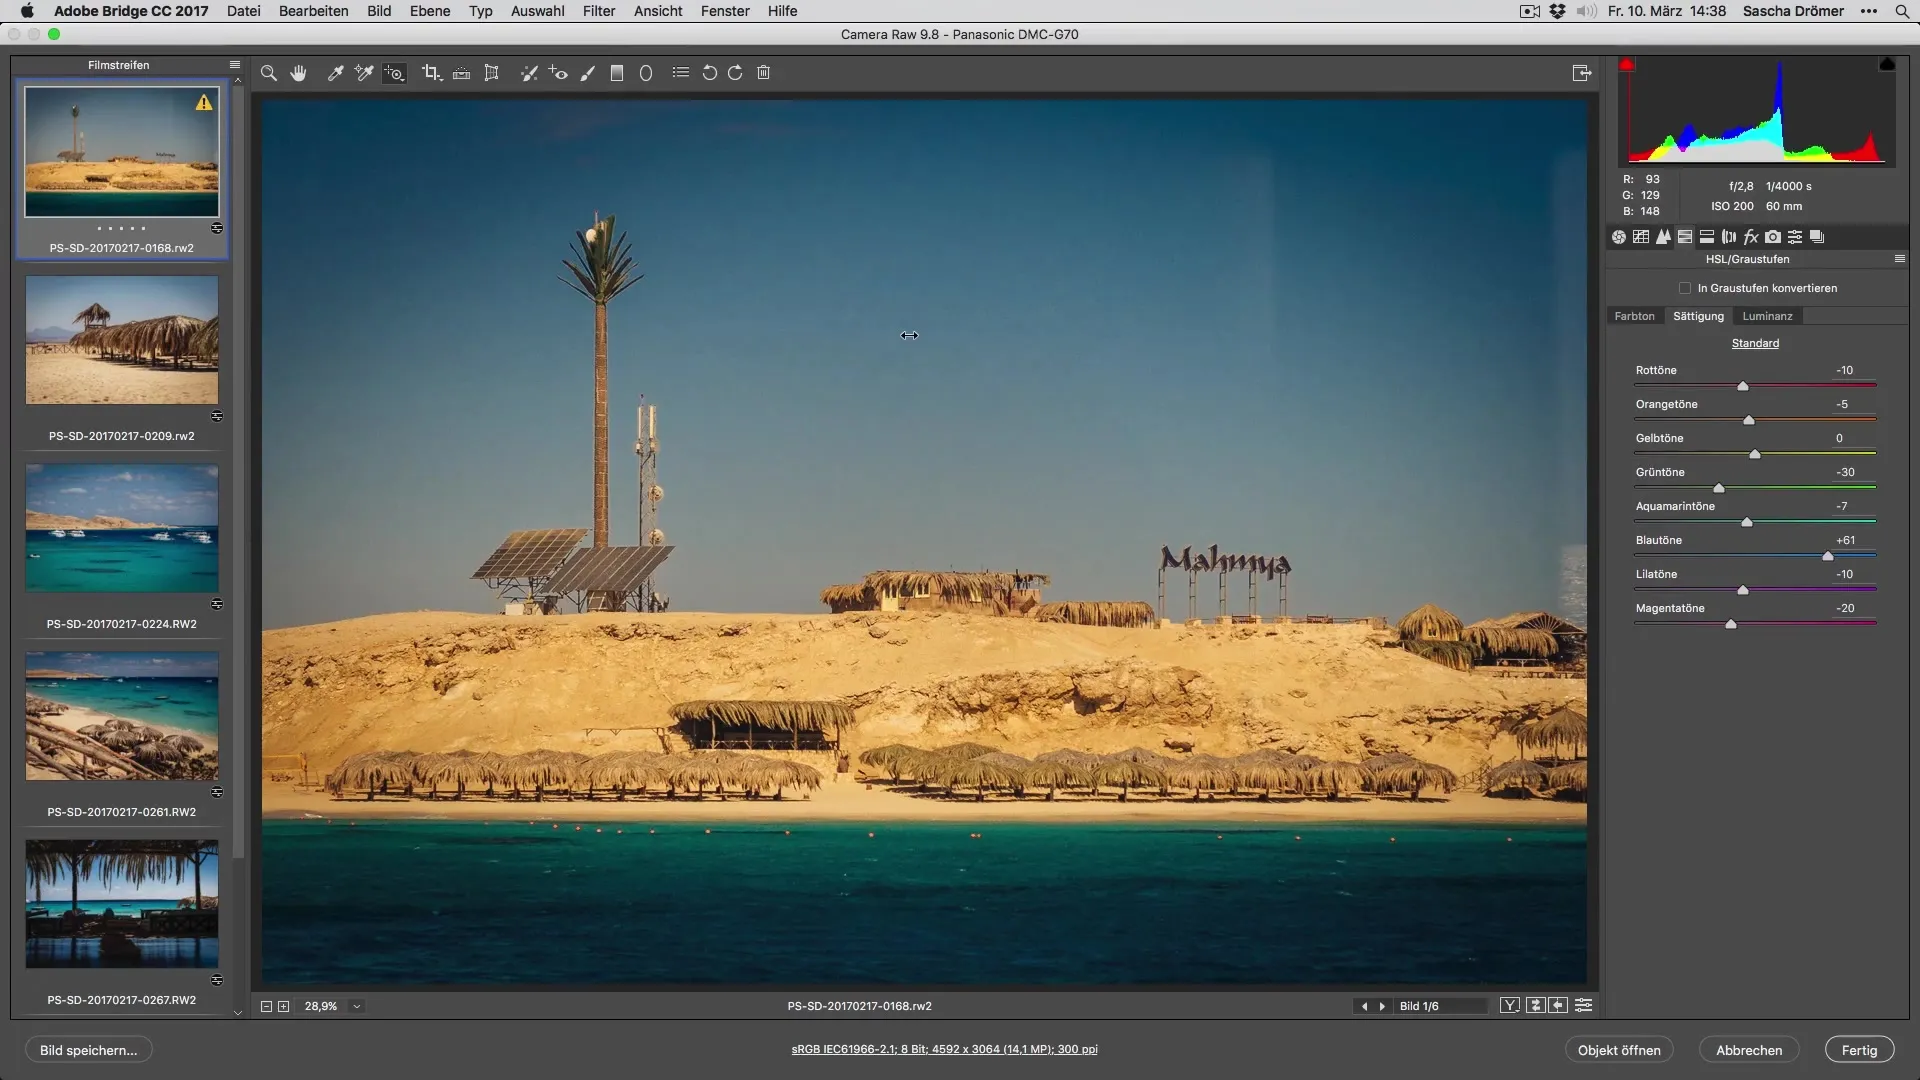
HSL Adjustments
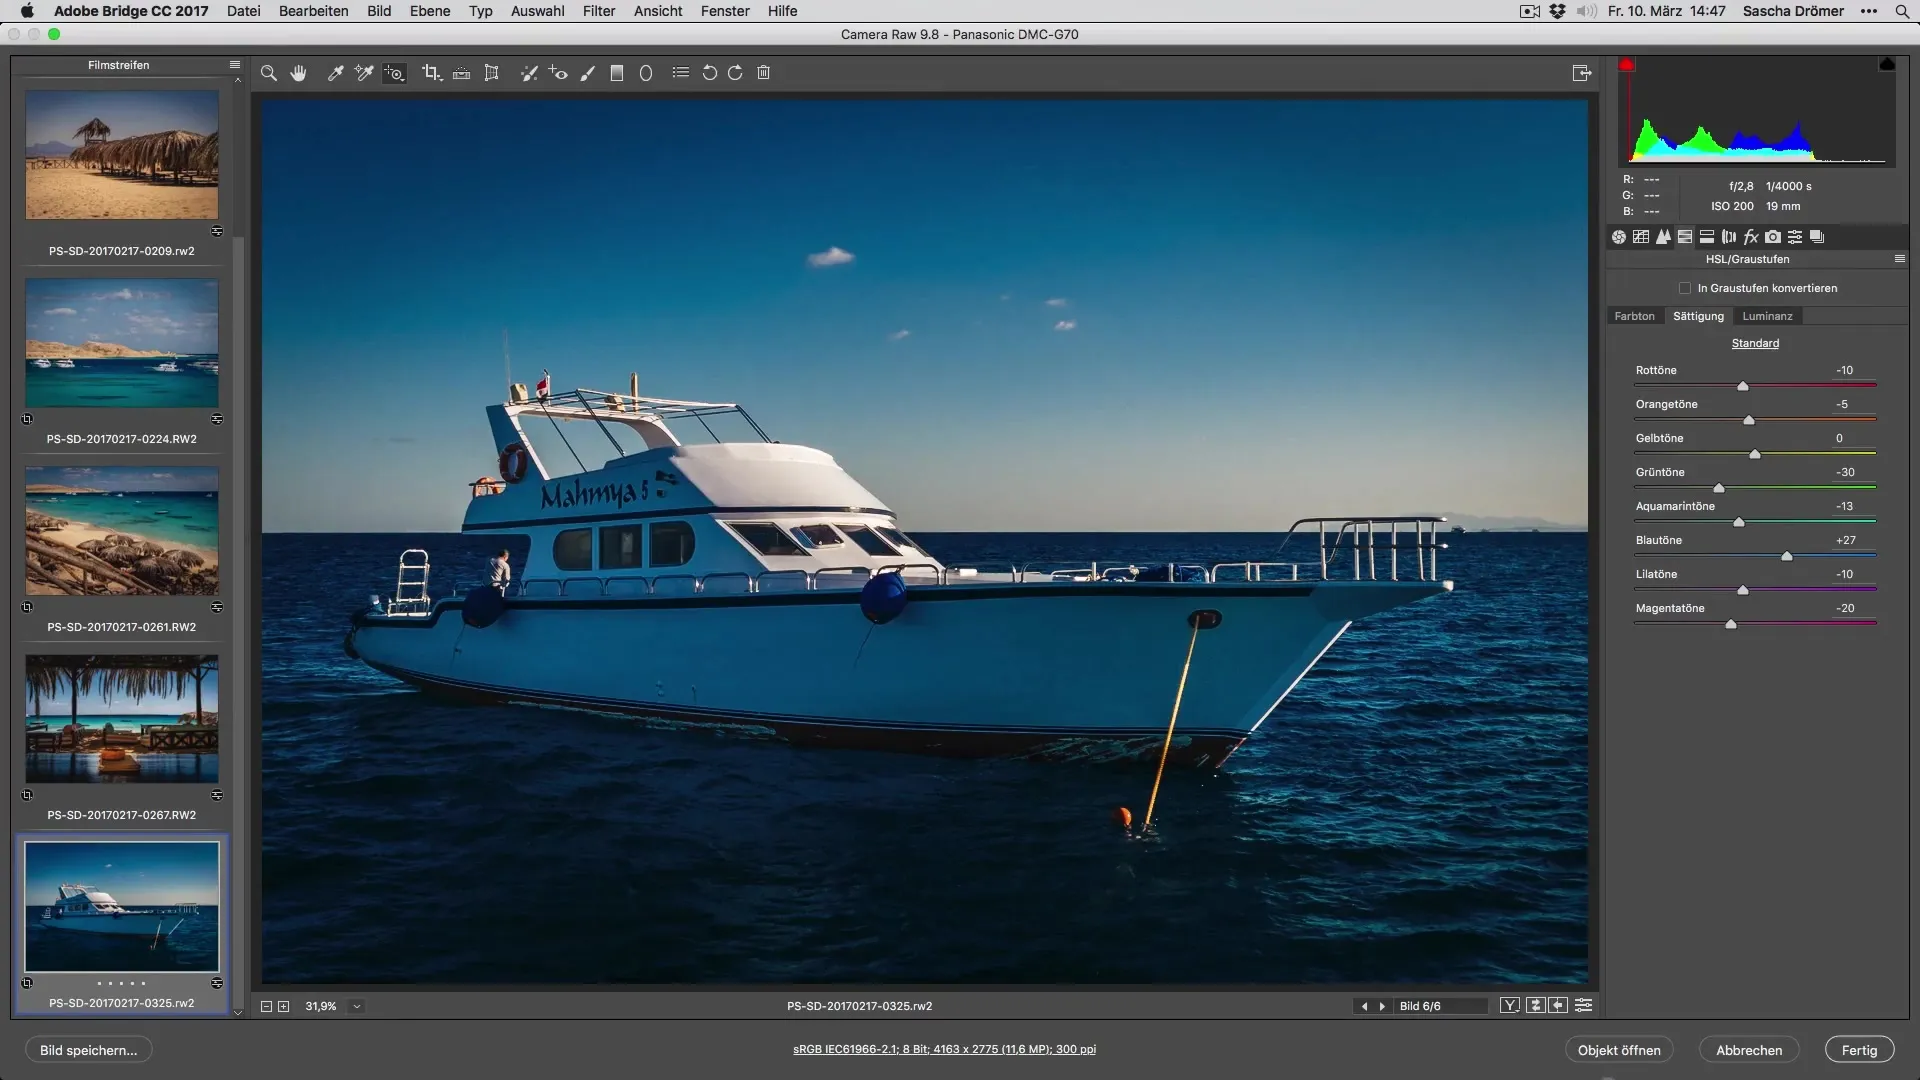
With the HSL settings, you can change specific hues in your image. Let’s decrease the luminance in the blues a bit and increase the saturation. Be sure to adjust the hue accordingly to create a harmonious image.
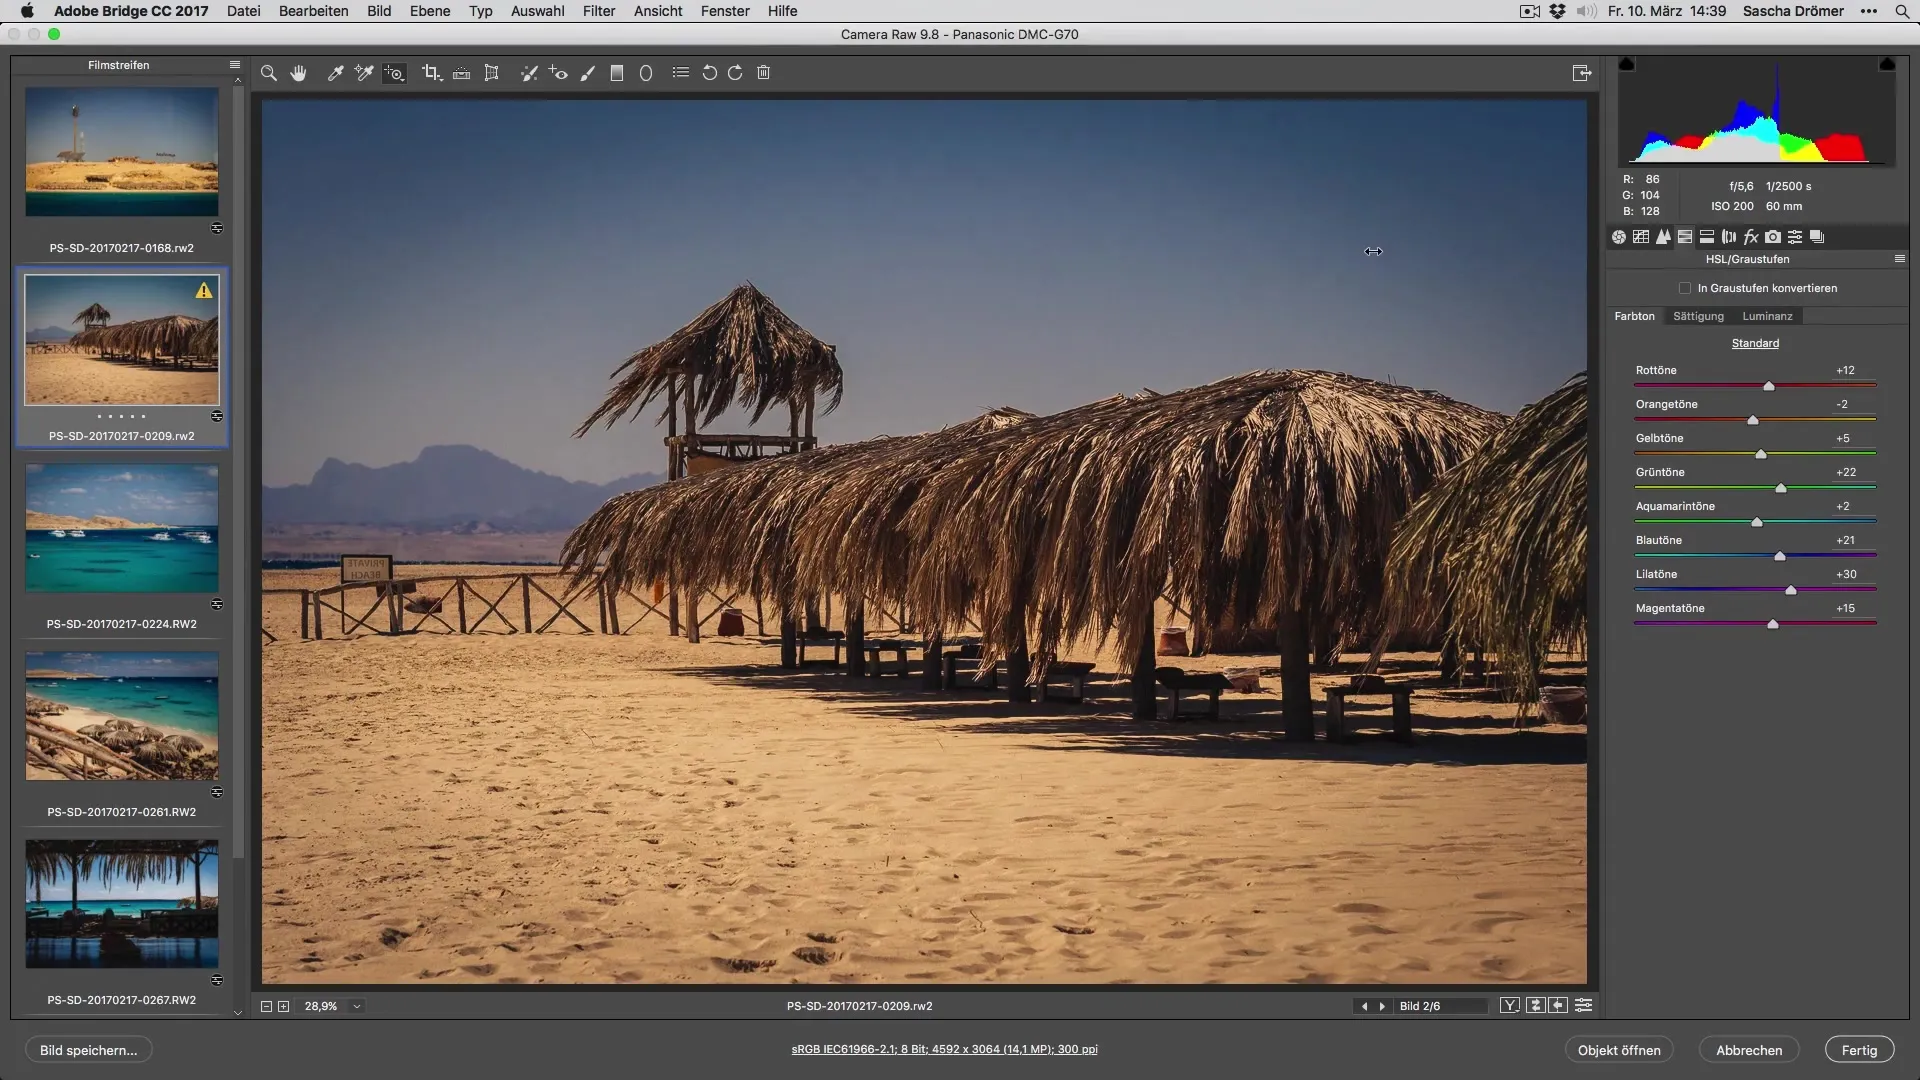
Fine Tuning and Further Adjustments
Now move on to your next image and again make an exposure adjustment. You can increase the saturation if needed to add more depth to the colors. It’s important to enable selective corrections to make precise adjustments.
Composition and Cropping
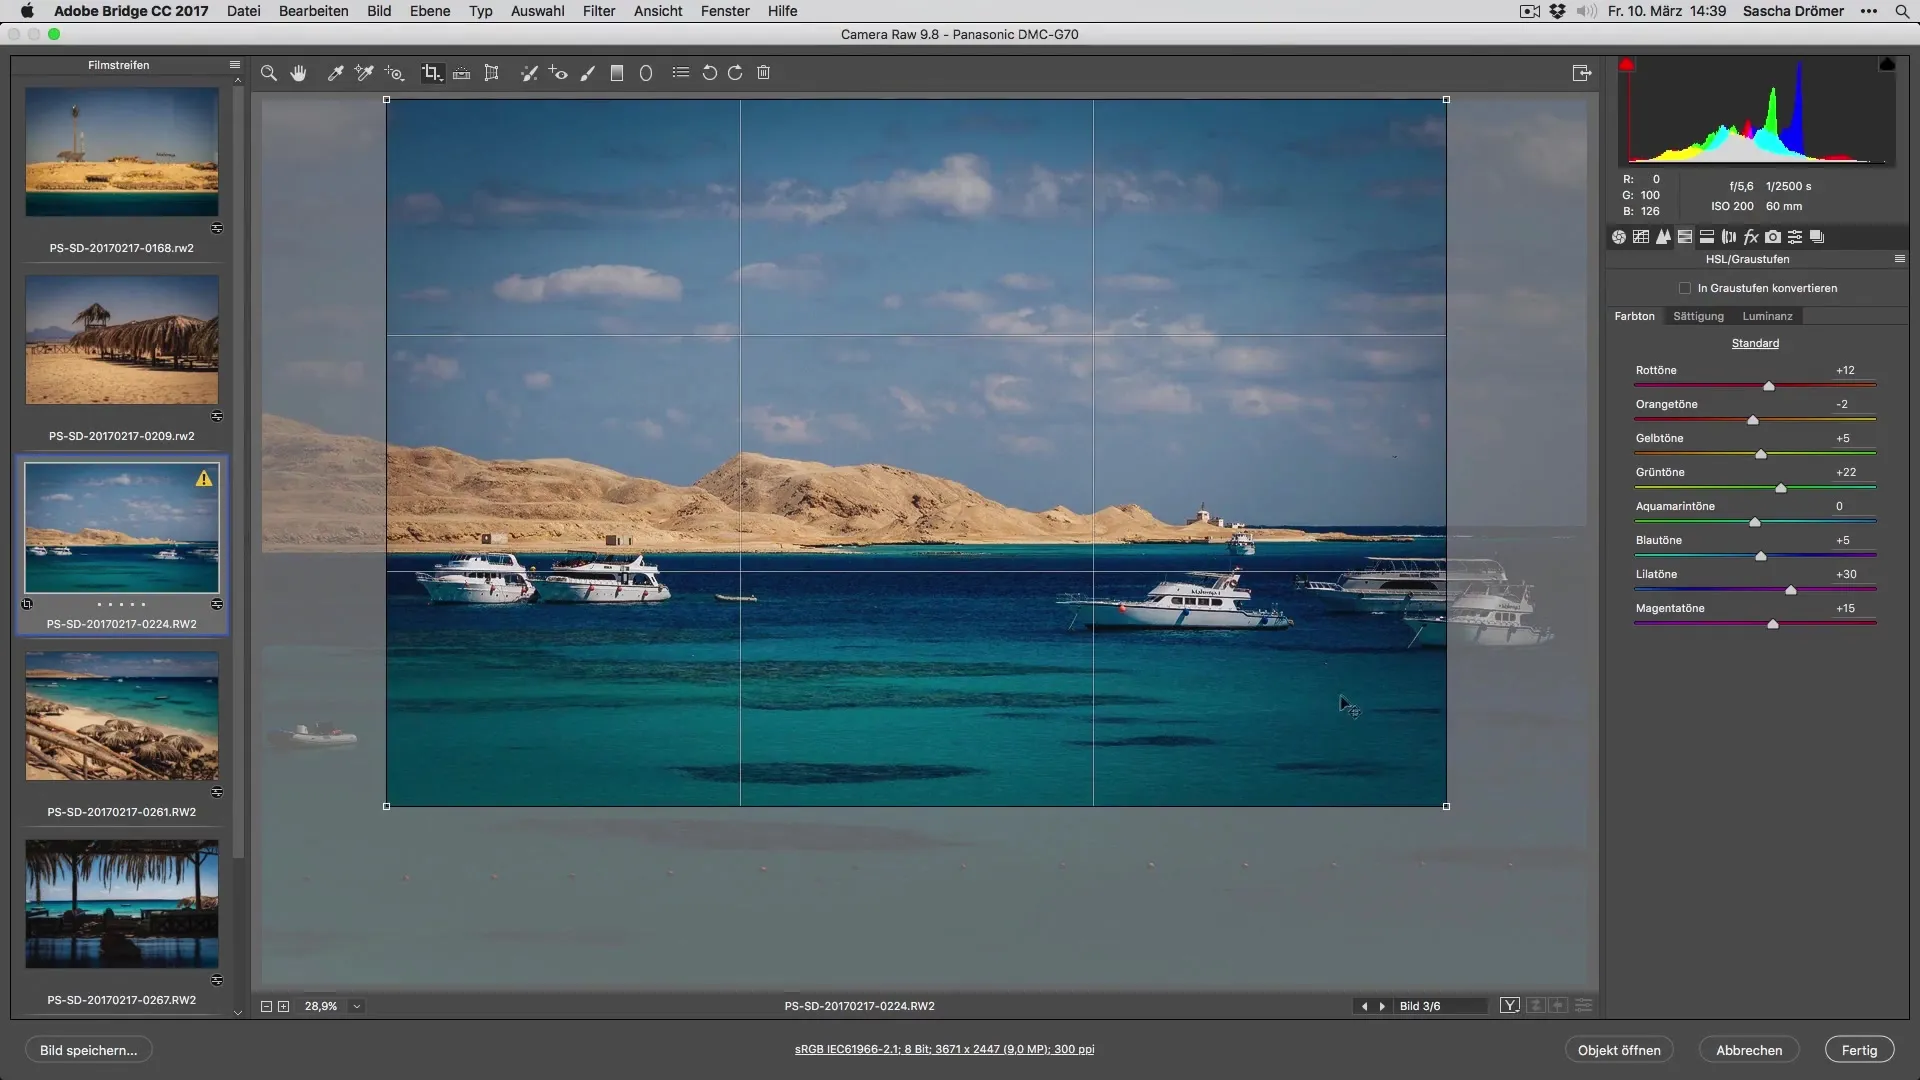
Now let’s also work on the composition of the image. Check the horizon and make sure it is level. You may want to crop to better showcase the main subject. A well-balanced image draws the eye.
Adding Gradient Effects
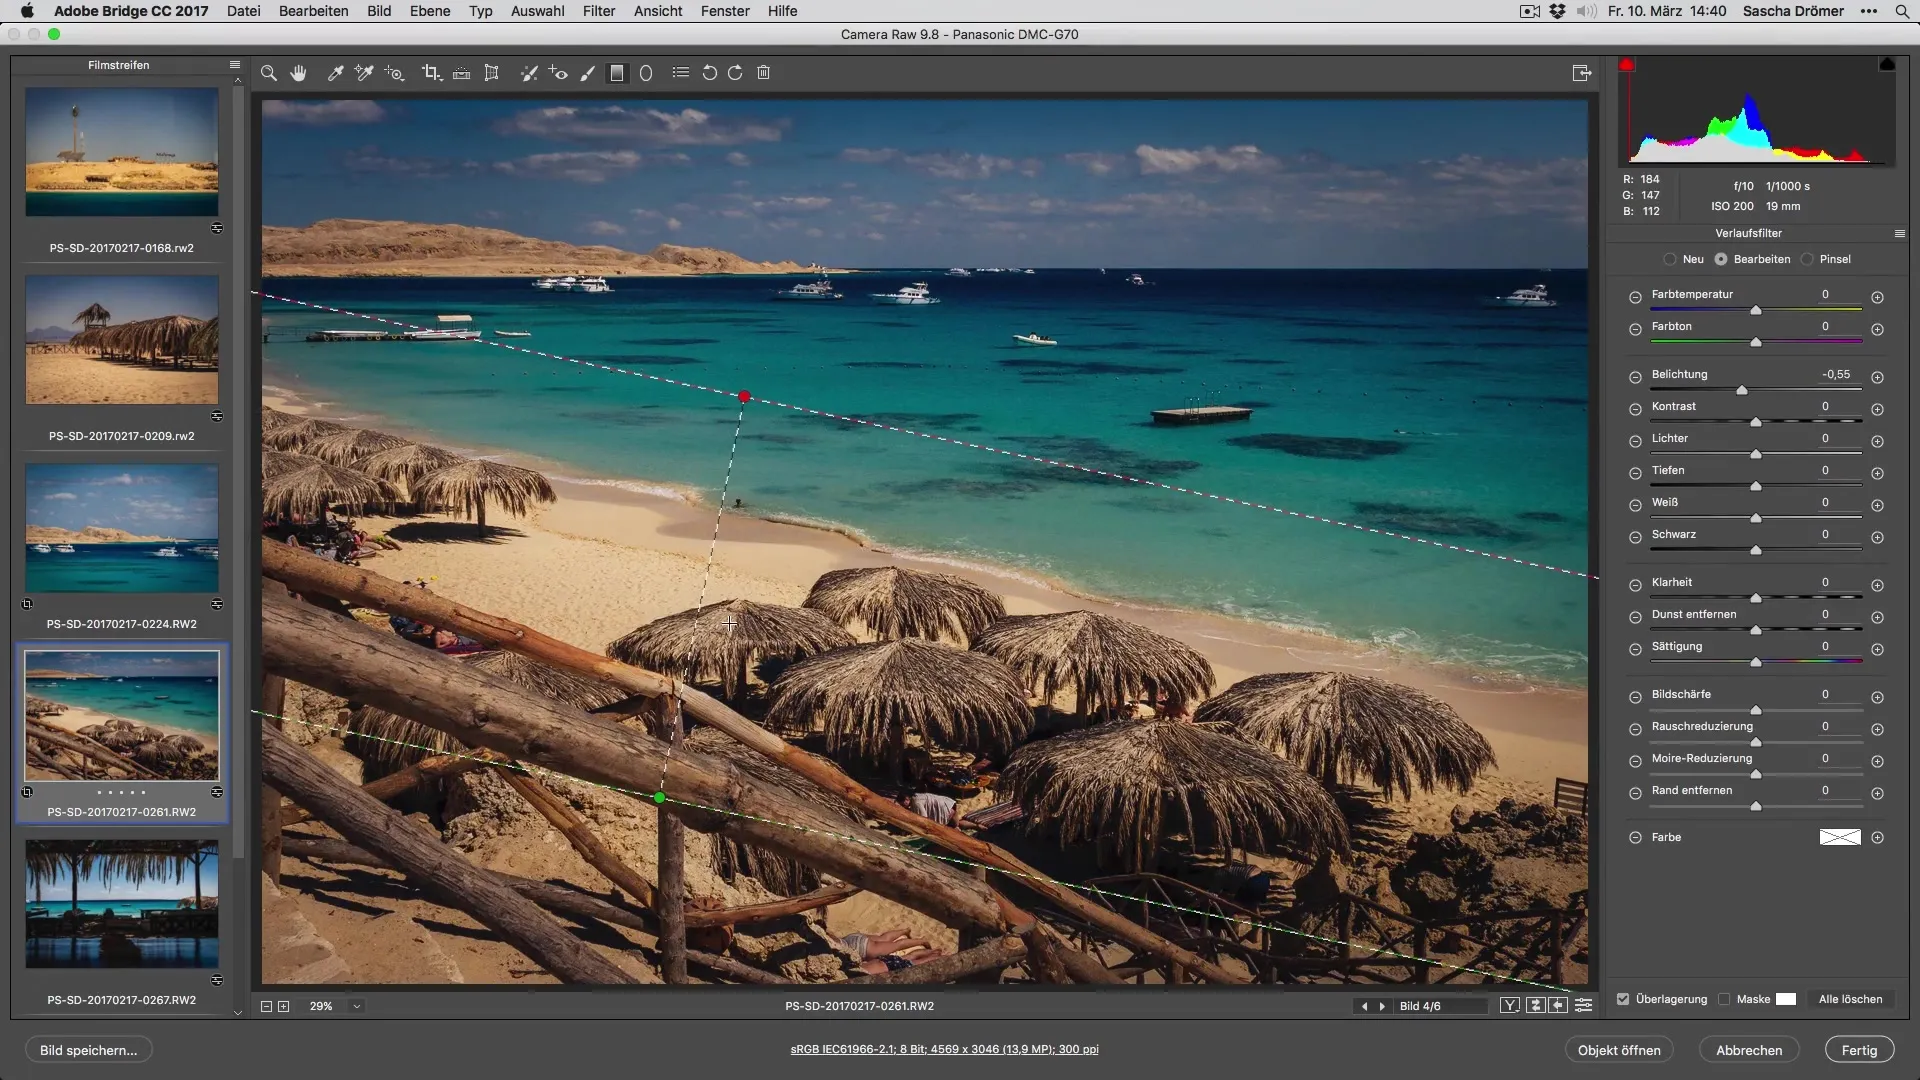
To brighten specific areas, you can add a gradient. Simply drag a gradient into the desired area and adjust the exposure to enhance the effect. This can be especially useful for manipulating light and shadow in a targeted way.
Using Radial Filters
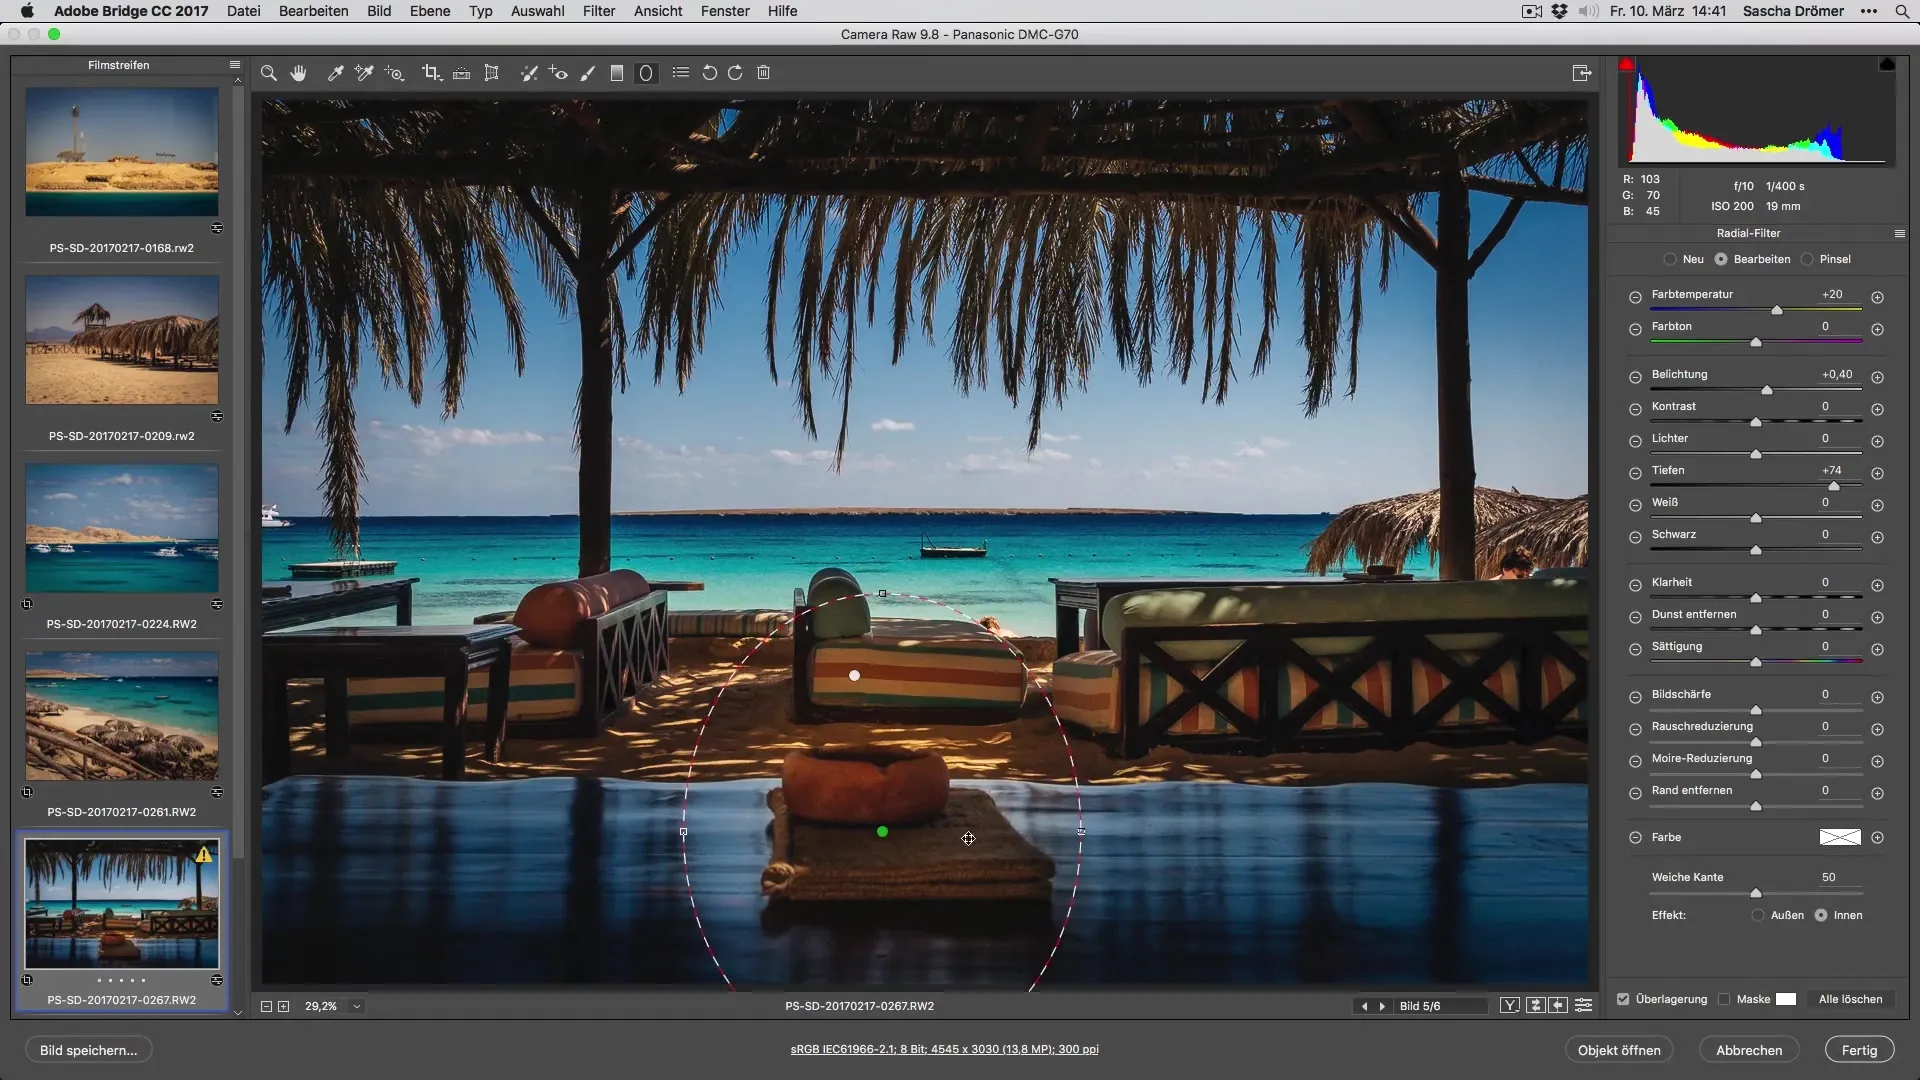
Use a radial filter to highlight certain areas. Place the filter strategically on the areas you want to brighten and adjust the filter’s intensity as needed. This way, you can effectively enhance the contrast between colors.
Retouching Unwanted Elements
Do you have unwanted reflections or elements in your image? No worries! You can use the adjustment brush to target these areas. Work carefully with the cloning tool to create seamless transitions.

Final Touches and Concluding Adjustments
After the major adjustments, it’s time for the finishing touches. Check for any areas you might want to retouch again, such as clarity and color saturation. The goal is to perfect the image so it appeals to viewers.
Summary – Developing Vacation Photos Optimally
Editing RAW photos is a creative process that gives you control over every facet of your image. With the techniques described, you can brighten dark areas, adjust colors, and remove unwanted elements. The result will make your vacation memories shine in a new light.
Frequently Asked Questions
How can I brighten dark areas of an image?Use the exposure adjustment in the RAW converter to brighten the dark areas.
What is the best way to adjust colors?Use the HSL settings to optimize the luminance, saturation, and hue of individual color tones.
How do I retouch unwanted elements?Use the adjustment brush and work with the cloning tool to effectively remove unwanted elements.
How can I improve the composition of my image?Make sure the horizon is level and use cropping to center the main subject.
How do I use filters in my editing?Strategically apply gradient effects and radial filters to highlight lighting and contrasts.


