If you want to give your vacation photos a special touch, color adjustment is an effective means to emphasize moods and atmospheres. In particular, images taken at sunset can be enhanced through targeted color corrections in Photoshop. In this guide, we will show you how to create a charming summer sunset color look using the "Selective Color Correction" feature. Let’s get started!
Key Insights The "Selective Color Correction" in Photoshop allows you to adjust the colors of your images in a targeted manner. By carefully using midtones, highlights, and shadows, you can enhance the warm colors of a sunset and create an appealing image mood.
Step-by-Step Guide
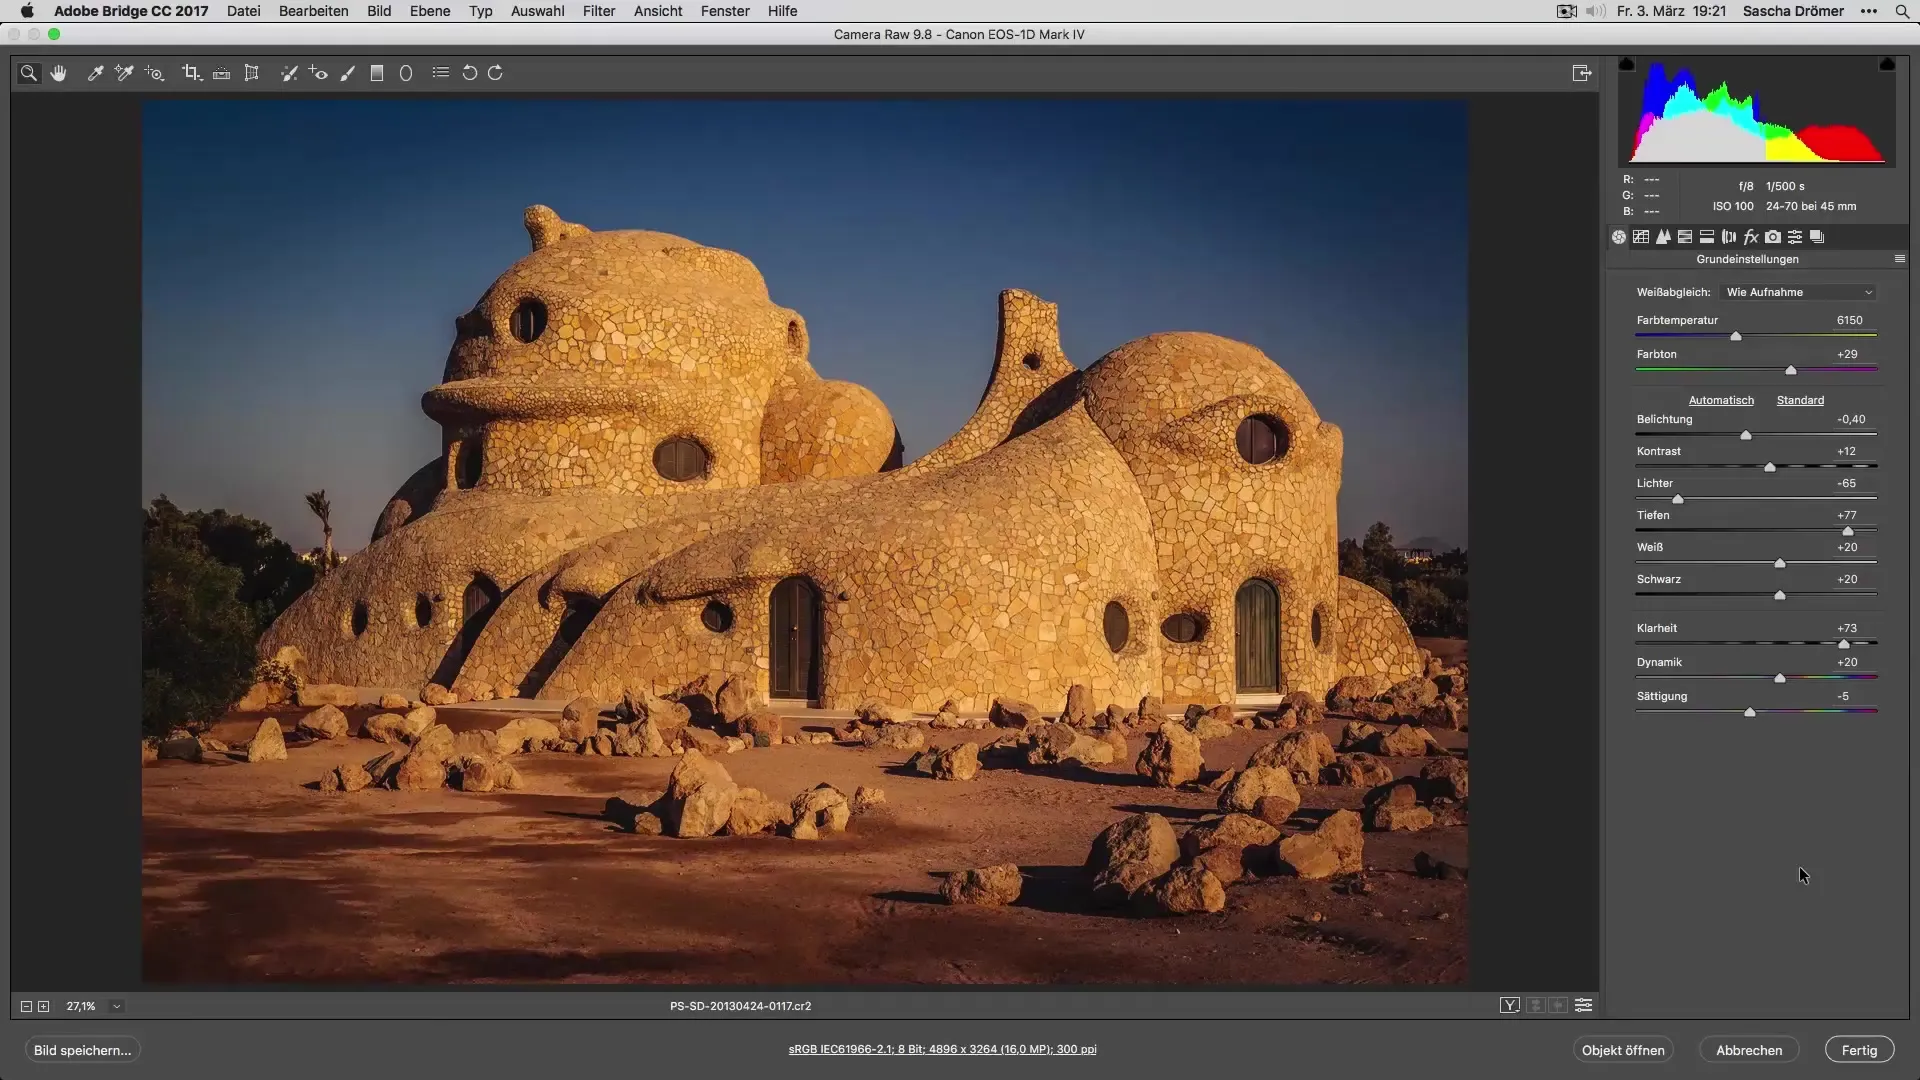
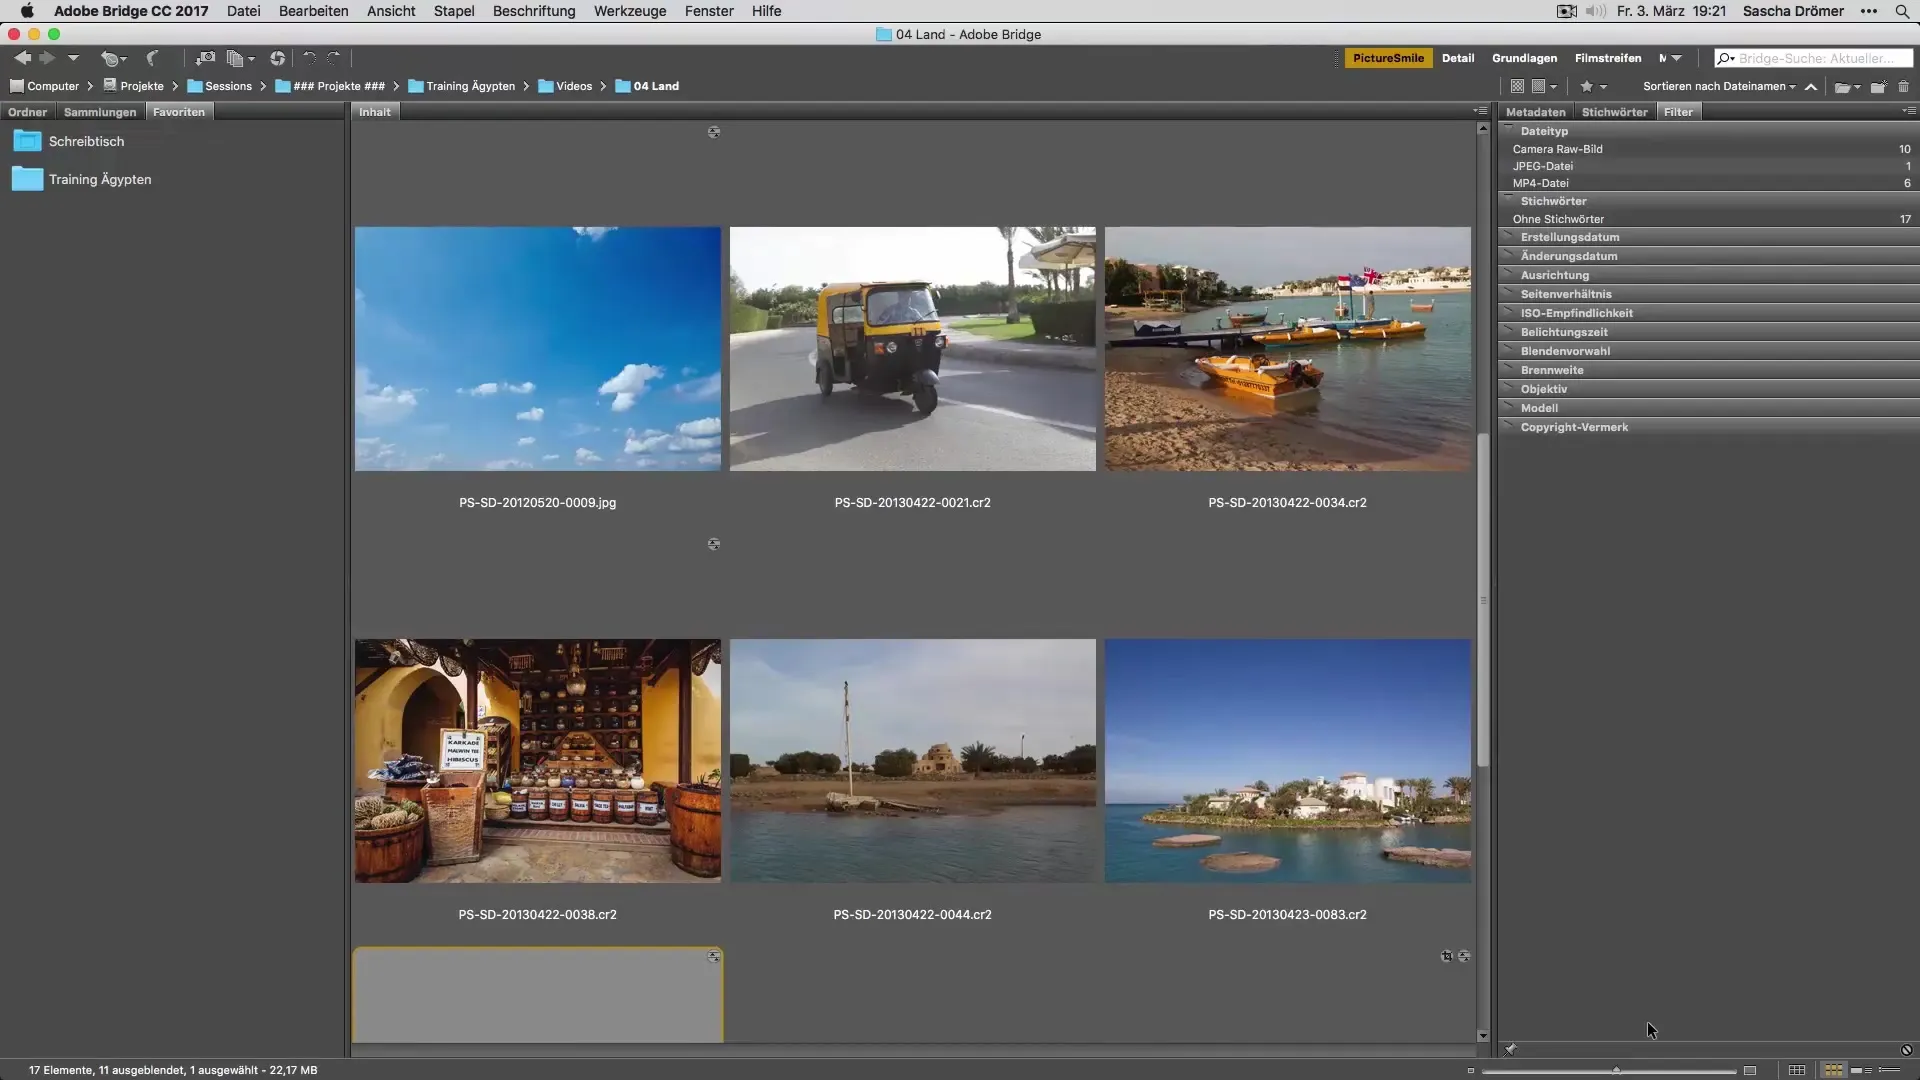
Start by opening the image in which you want to create a summer sunset color look. Old-fashioned but still relevant: Click on "File" and select "Open." You will quickly realize that you are working with a wonderful image of a sunset.

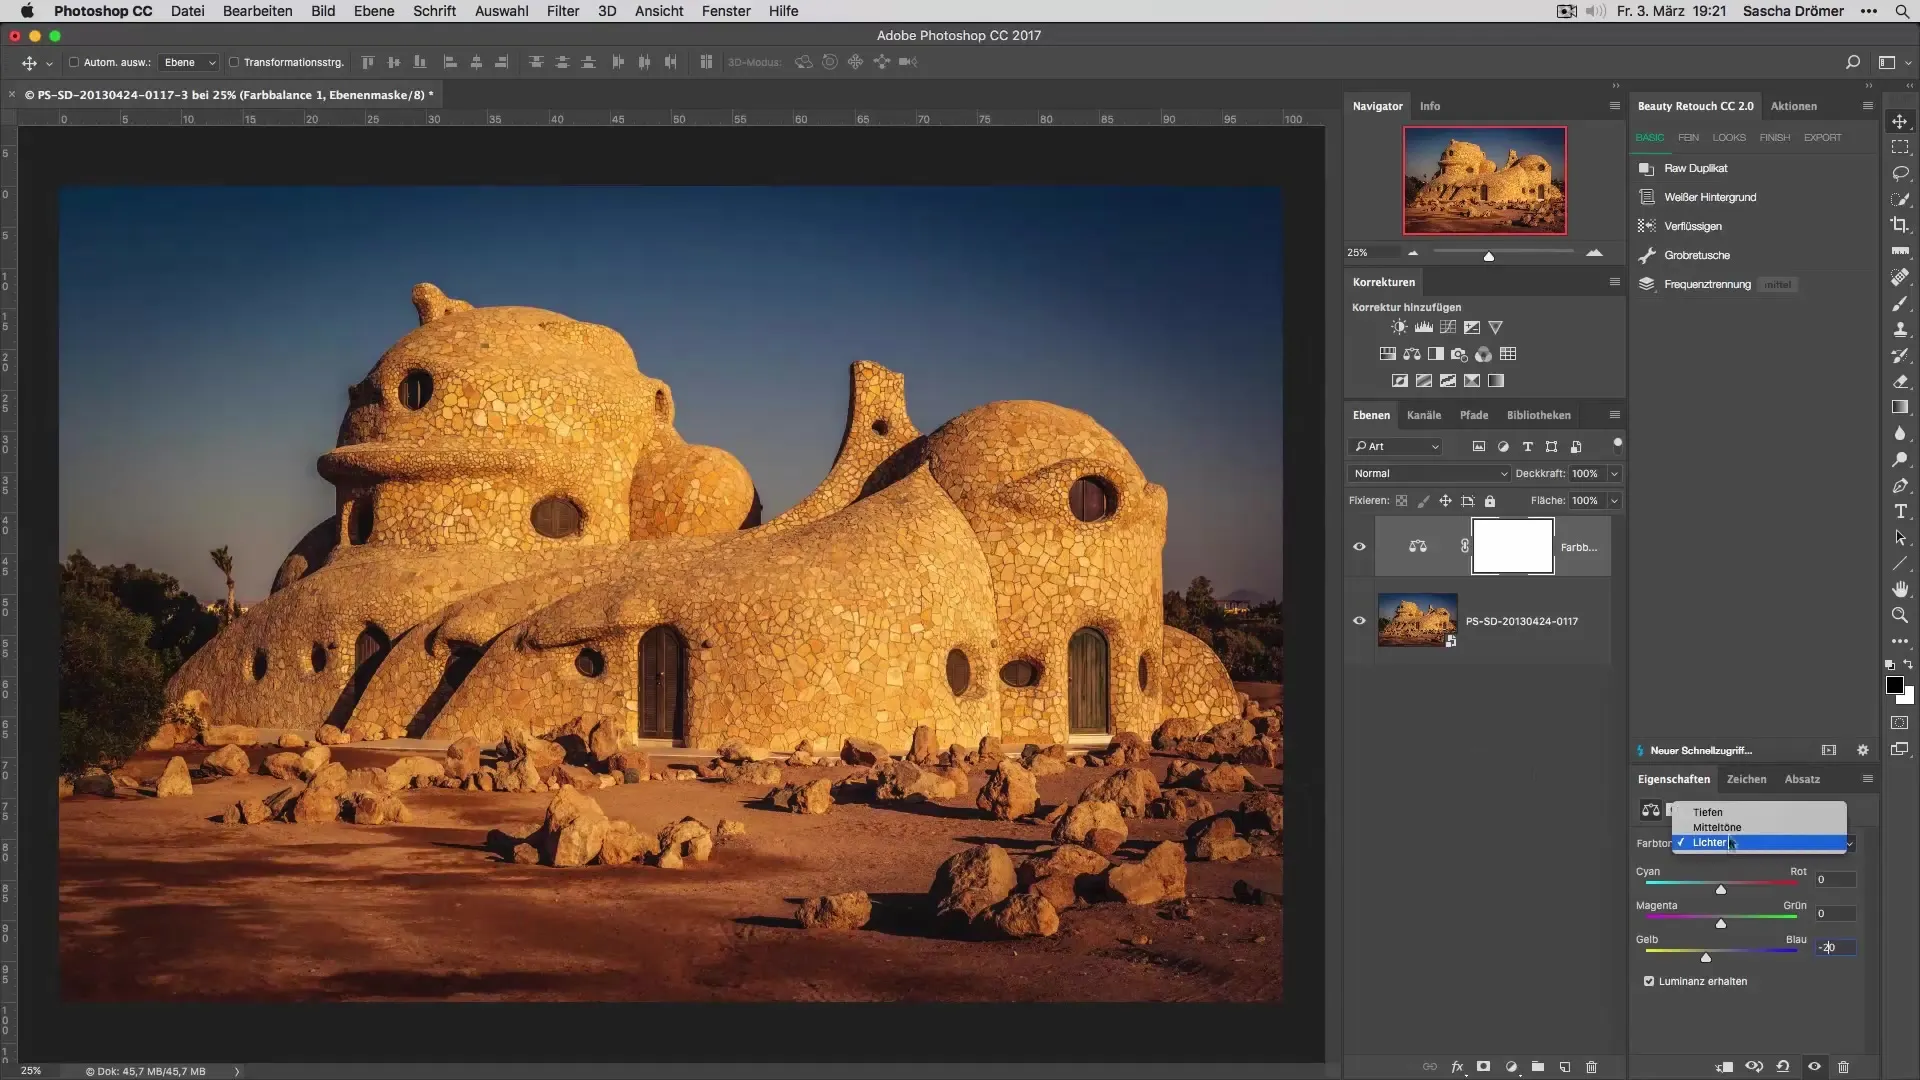
Once the image is loaded in Photoshop, select the "Layers" option and add a new adjustment layer. For this, go to "Layers" in the top menu bar, then "New Adjustment Layer," and choose "Selective Color Correction." This method has proven to be particularly effective in image editing, especially for colorful images like yours.

Now that you have opened the "Selective Color Correction," look at the area where you can adjust different colors. Start with the midtones. Change the value for the midtones and increase it by 10. You will immediately notice the difference – the colors appear more vibrant and intense.

In the next step, focus on the highlights of your image. Here, it is important to intensify the yellow. Adjusting is key – use a value of 10 for the highlights. This setting will further enhance the warm mood of the sunset.

Now let’s turn to the shadows. These are often a bit more difficult to handle because they form the base of the image. Intensify the blue in the shadows by a value of 10. Be careful, as too much blue can quickly overwhelm the image.

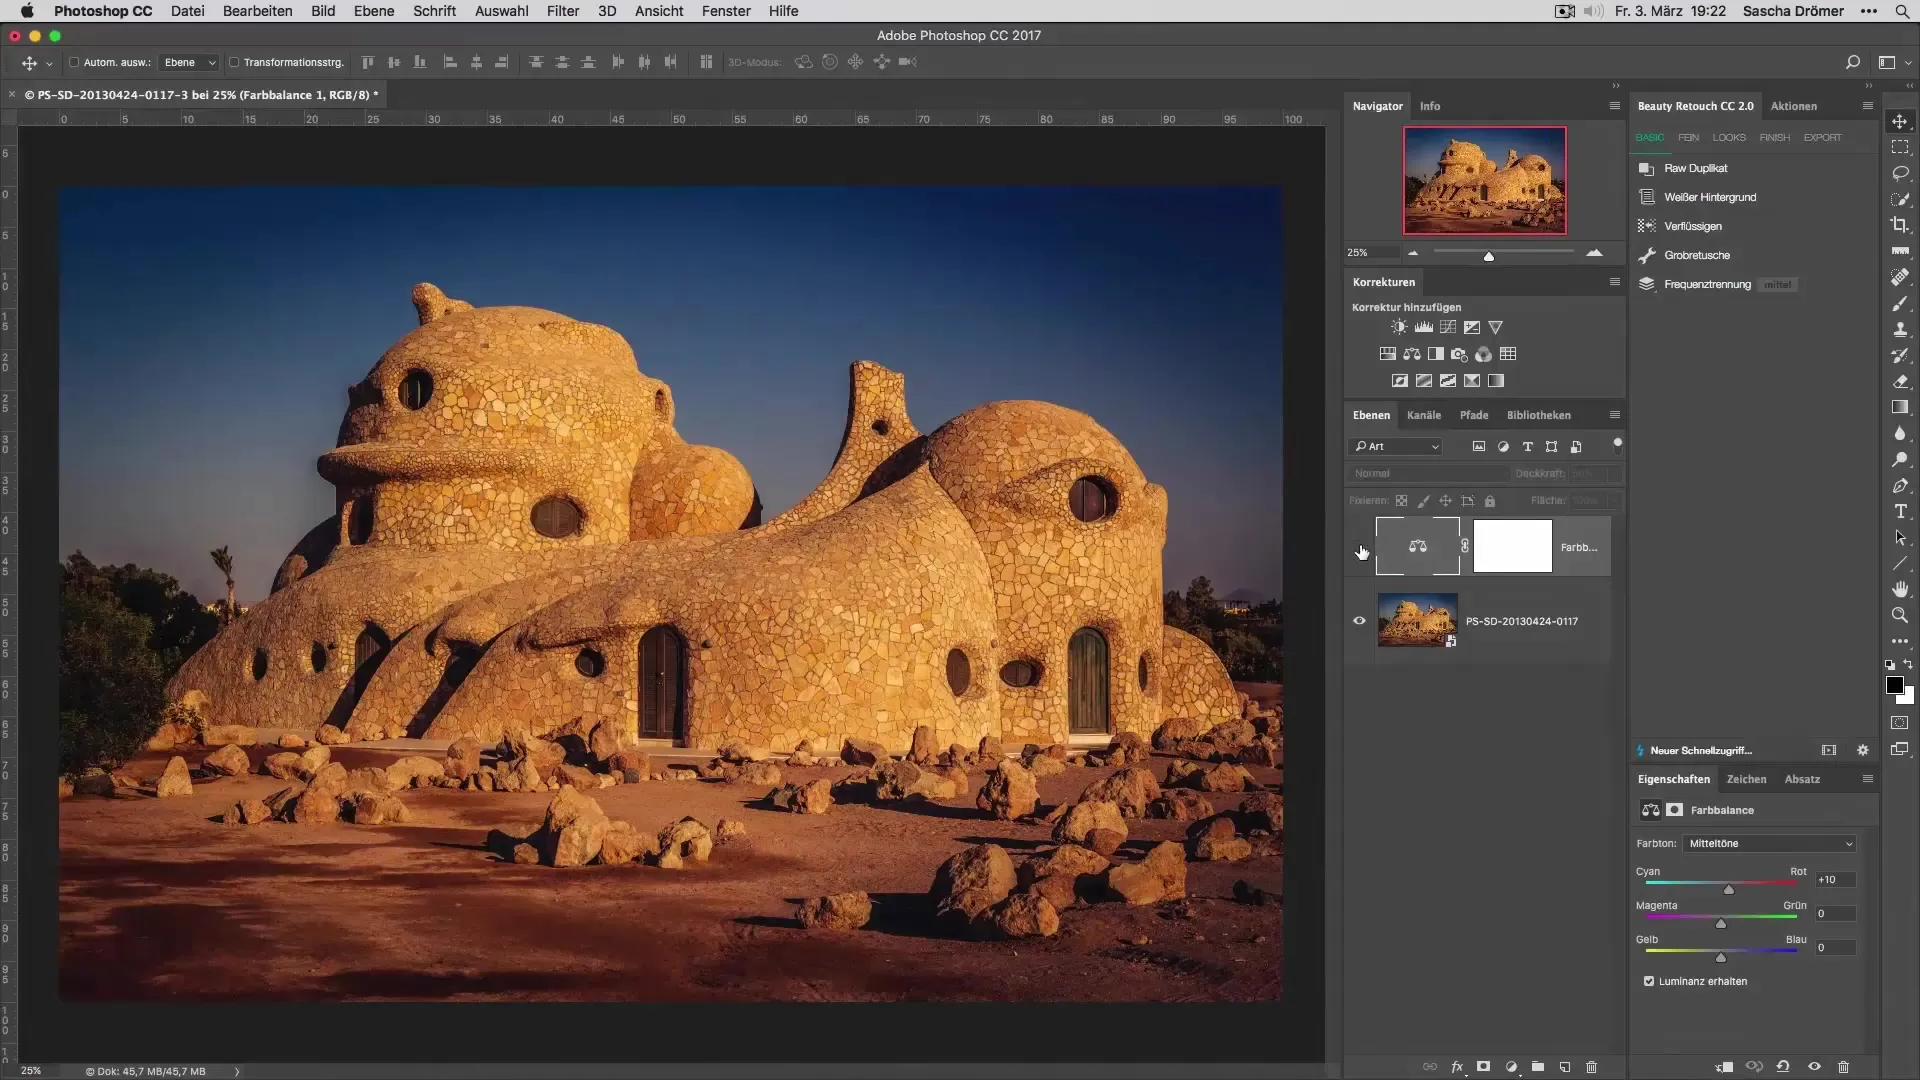
Once you have made all the adjustments, you will find that the result is quite intense. However, to soften the look, adjust the opacity of the adjustment layer. Reduce it to about 50%. This measure often has a refreshing effect on the overall image, making the colors harmoniously balanced.

Now it’s time to look at the before-and-after result. To see a quick comparison, you can toggle the visibility of the adjustment layer on and off. You will notice that the image has undergone a clear transformation, with a pleasing, warmer depiction. The sunset touch is unmistakable!

Once you are satisfied with your result, save the image. Go to "File" and select "Save As…". Be sure to choose the right format to maintain the quality of your image and ensure the result is showcased optimally.

Summary – Perfectly Develop Vacation Photos – 4.7 Summer Sunset Color Look
In this guide, you have learned how to adjust the colors of your vacation pictures with just a few clicks to achieve an appealing summer sunset mood. With the "Selective Color Correction," your picture gains a new, vibrant radiance that reminds you of sweet memories every time you look at it.
Frequently Asked Questions
How do I open an image in Photoshop?Open Photoshop and click on "File," then "Open," and select your image.
Can I also invert the colors?Yes, with the "Invert Colors" function in the image adjustments, you can invert the image.
I don’t see a big difference in the color changes. What can I do?Check the opacity and make sure you are editing the right color ranges.
How can I save my image?Go to "File," select "Save As…," and choose the desired format.
Aren’t these changes permanent?Yes, as long as you keep the adjustment layer, you can make changes at any time.


