Photography is a wonderful medium to capture memories. Especially impressive are panoramic shots that give viewers a comprehensive impression of landscapes or special events. In this guide, I'll show you how to effectively create a panorama with Adobe Lightroom. This will help you elevate your vacation photos to a new level and create stunning images.
Key Insights
- Lightroom can create panoramic photos from multiple individual images.
- The software offers different methods for editing and presenting panoramas.
- You can retouch in Photoshop to correct any inaccuracies.
Step-by-Step Guide
Preparing the Images
Before you start creating the panorama, make sure that all required images are imported and arranged in the correct order. It’s advisable to have taken the multiple shots at the same size and with similar exposures. Open Lightroom and go to the Library module to view your images.
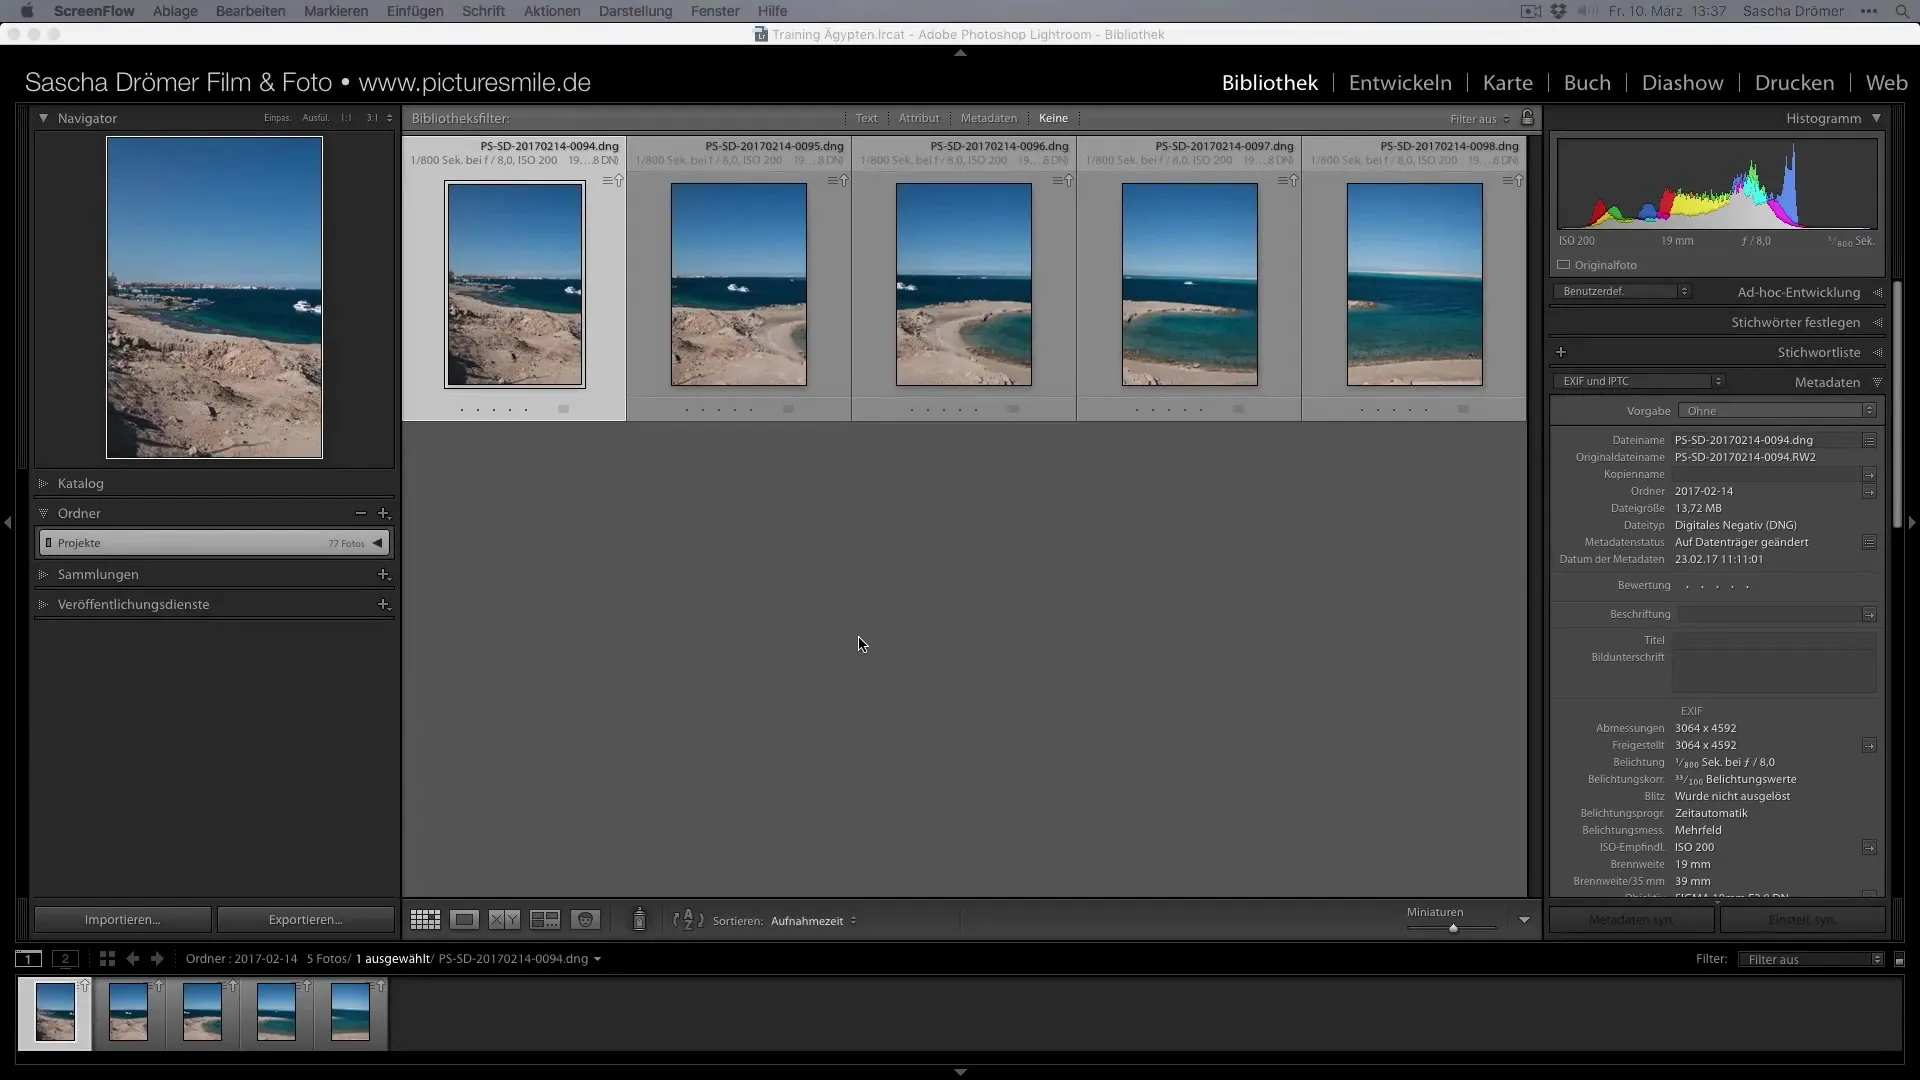
Selecting and Merging Images
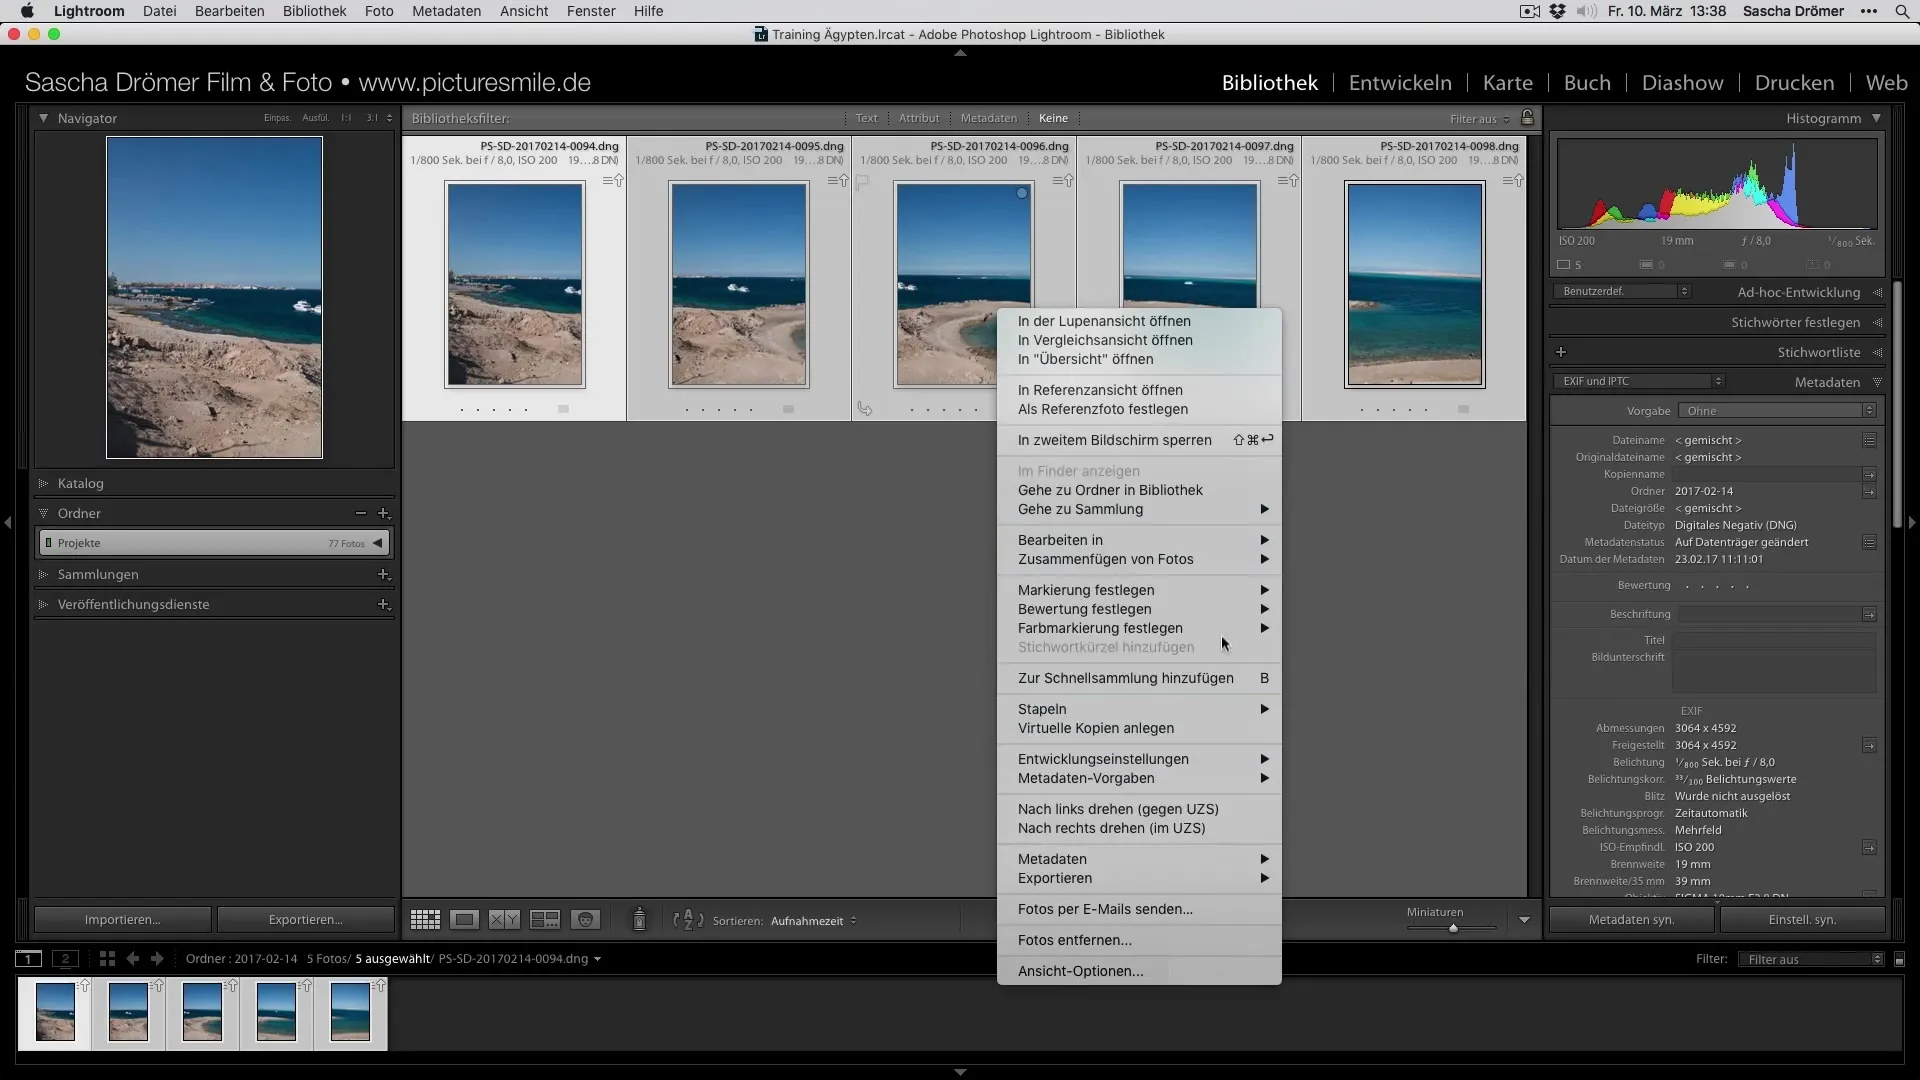
To merge the images into a panorama, hold down the Shift key and select all desired shots. Right-click to open the context menu and choose “Merge Photos” and then “Panorama”. This will take you to the Panorama module, where the preview of your panorama will be computed.
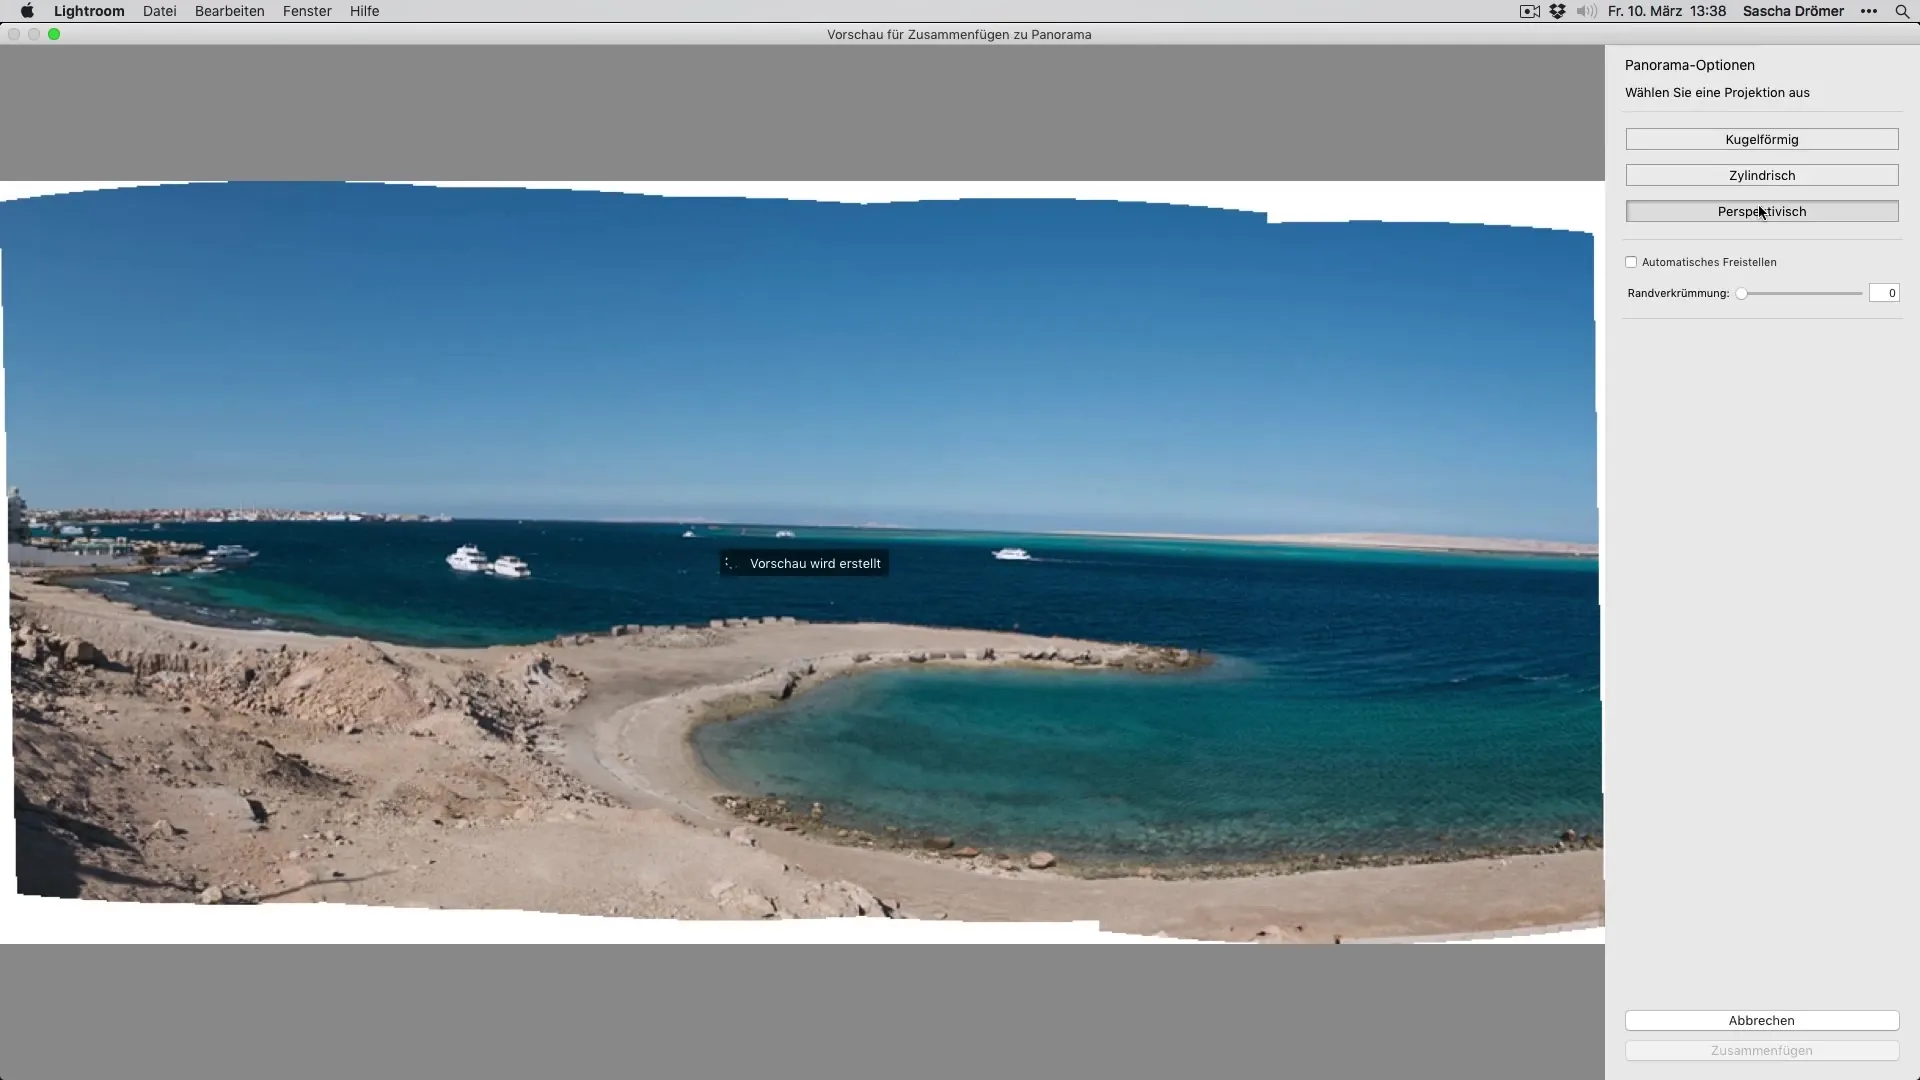
Choosing the Panorama Mode
In the Panorama module, you can select different display options, such as cylindrical, spherical, or perspective. I recommend using the cylindrical option, as it usually delivers the most realistic results. Experiment with the options here and choose the one that best fits your image.
Merging the Panorama
Once you have chosen your preferred option, click on “Merge”. Lightroom will now begin to assemble your images into a panorama. The progress will be displayed at the top of the window until the panorama is fully computed.
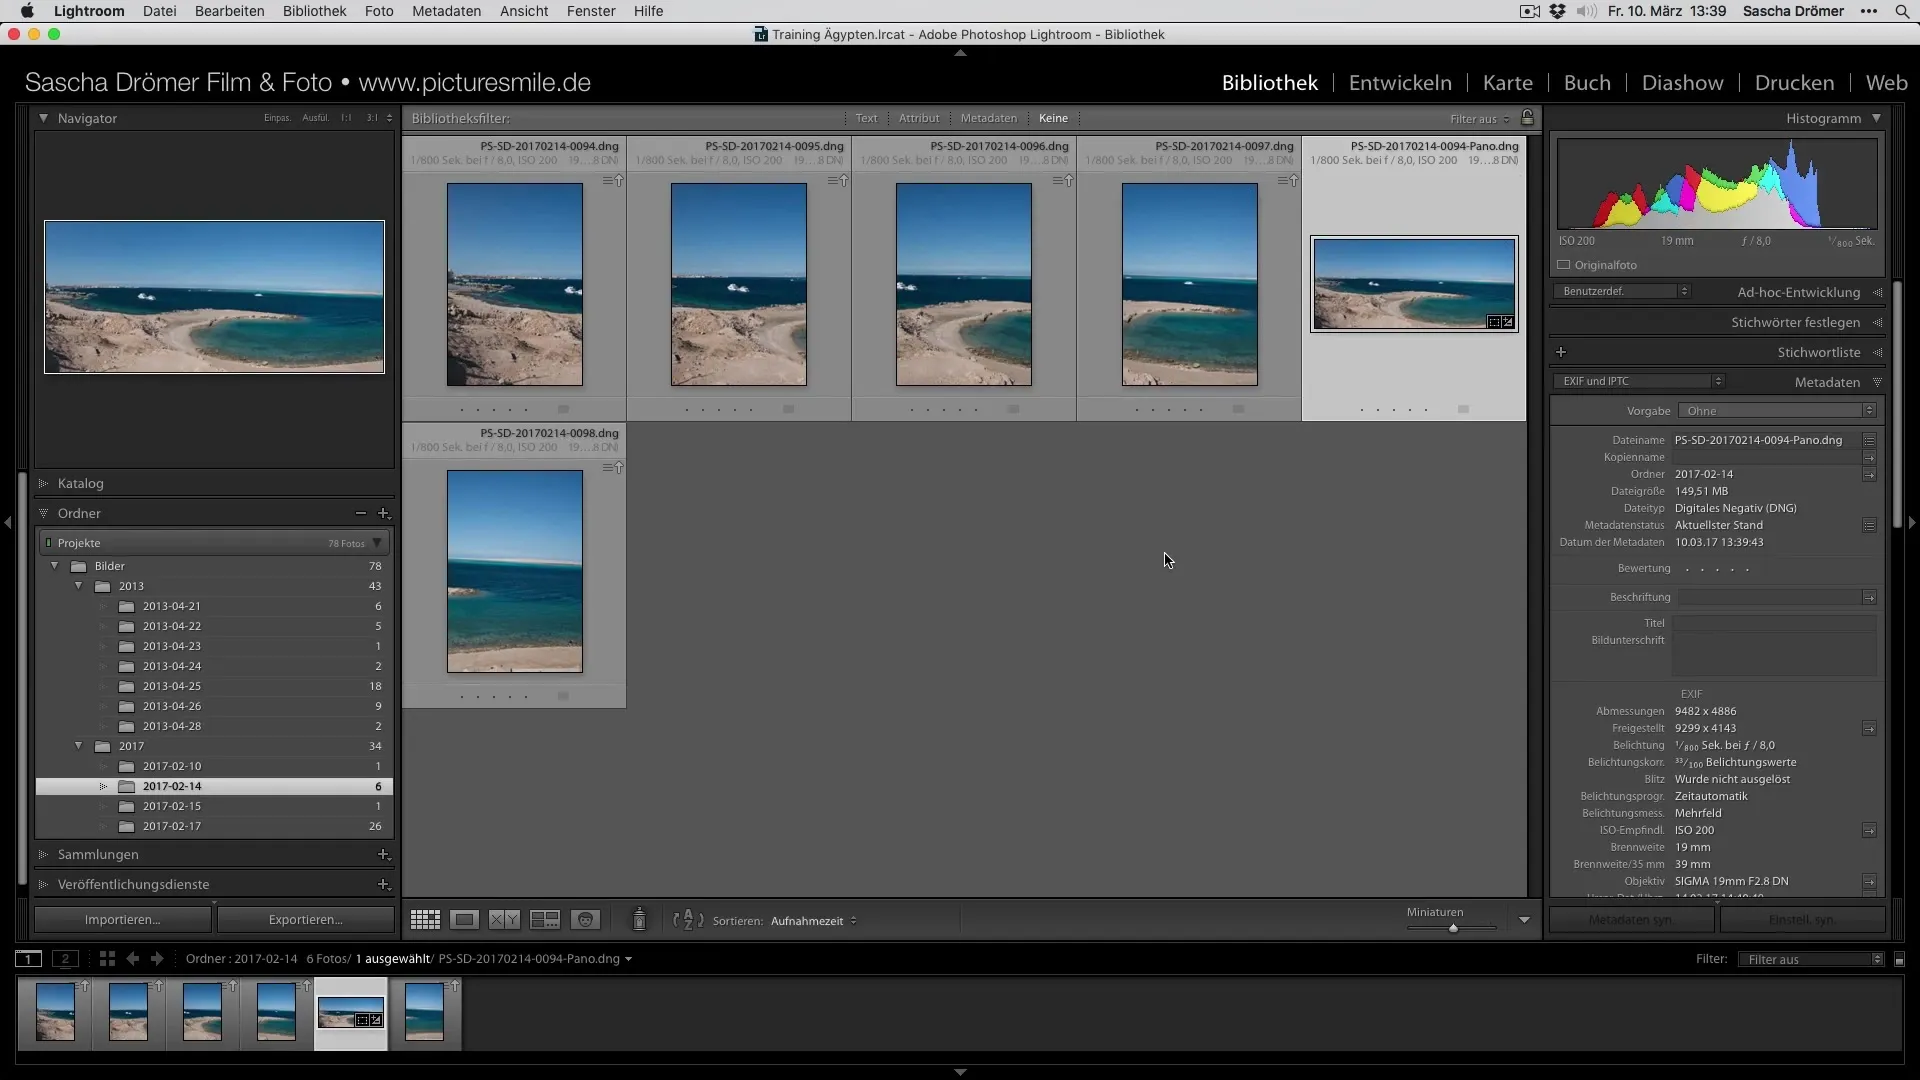
Grouping Images
Once your panorama is created, you also have the option to hide the original individual images. Mark the panorama snapshot as the main image and select the individual images. Right-click and choose “Group Stack”. This will make the panorama more organized and easier to work with.
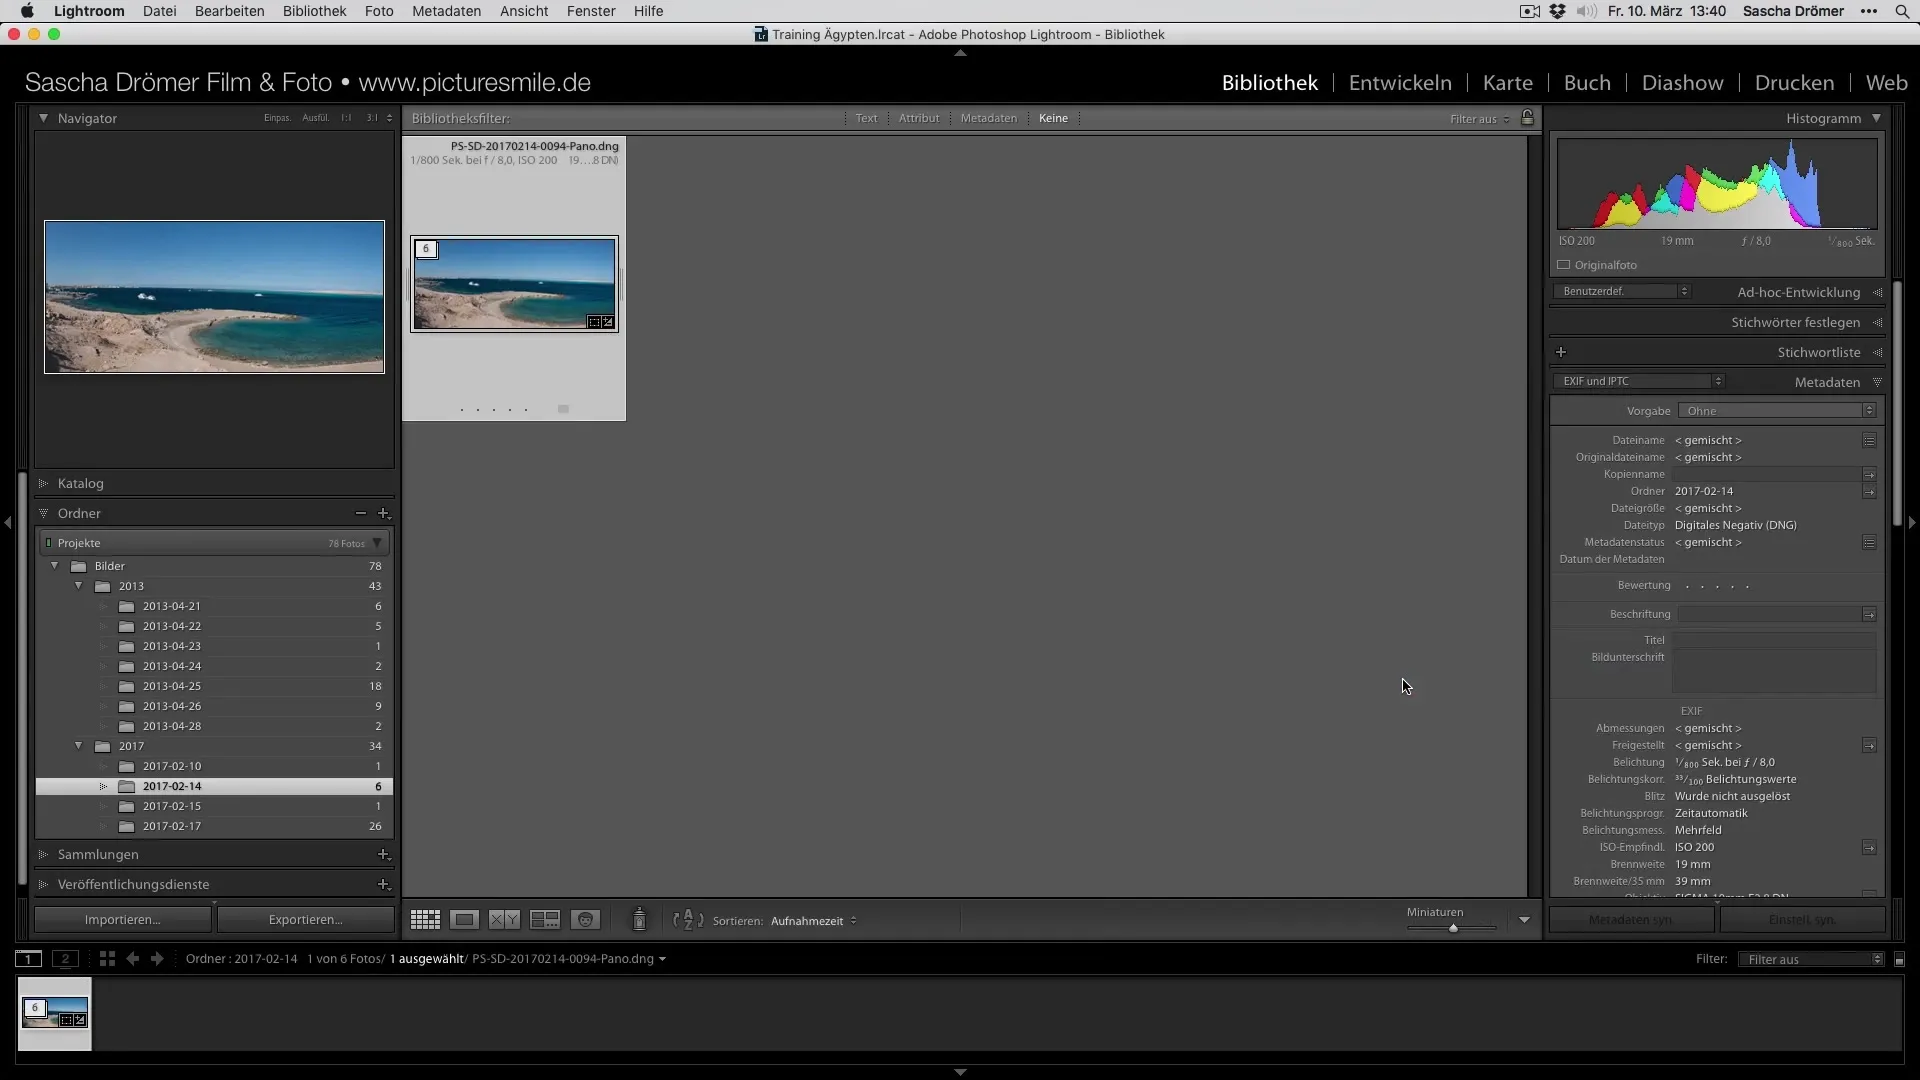
Image Editing in Photoshop
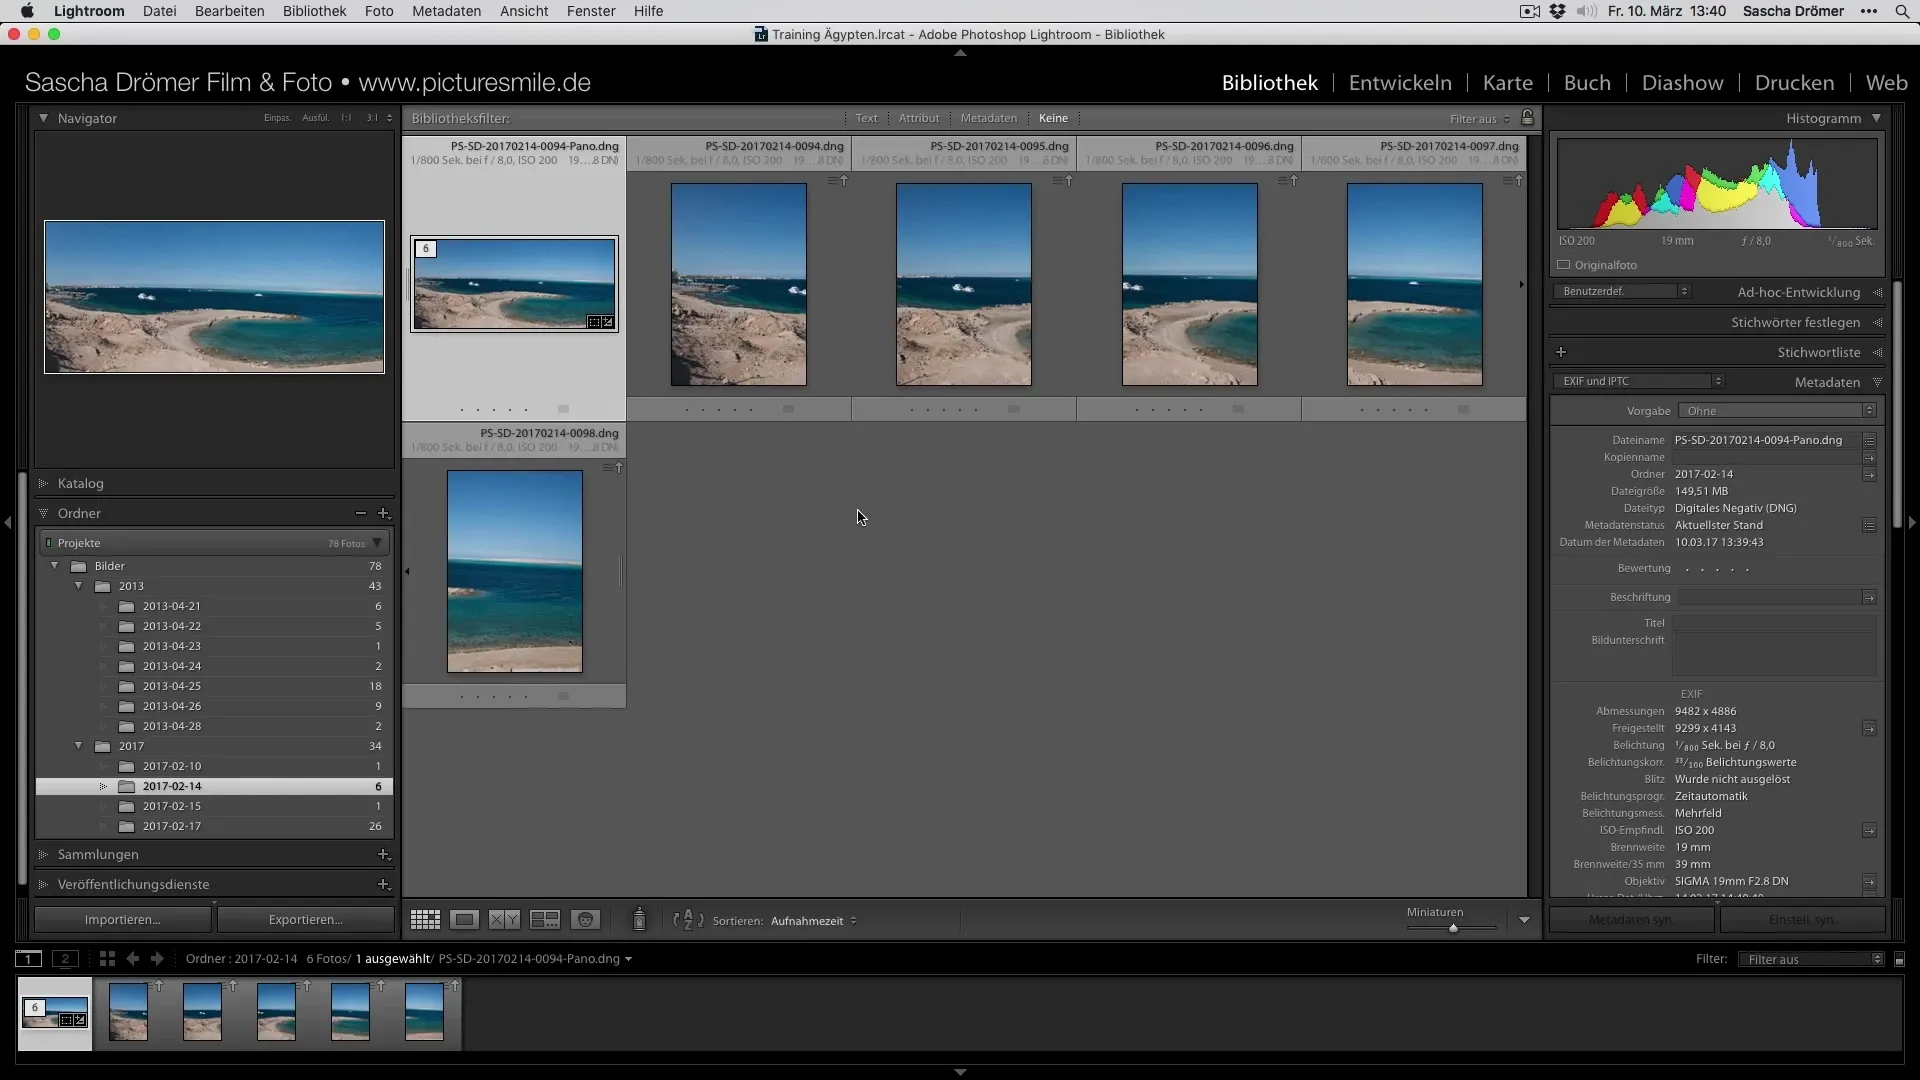
To further refine the panorama, you can edit it in Adobe Photoshop. Right-click on the panorama and choose “Edit in Photoshop”. The image will open there, and you can make additional adjustments, especially regarding alignment issues.
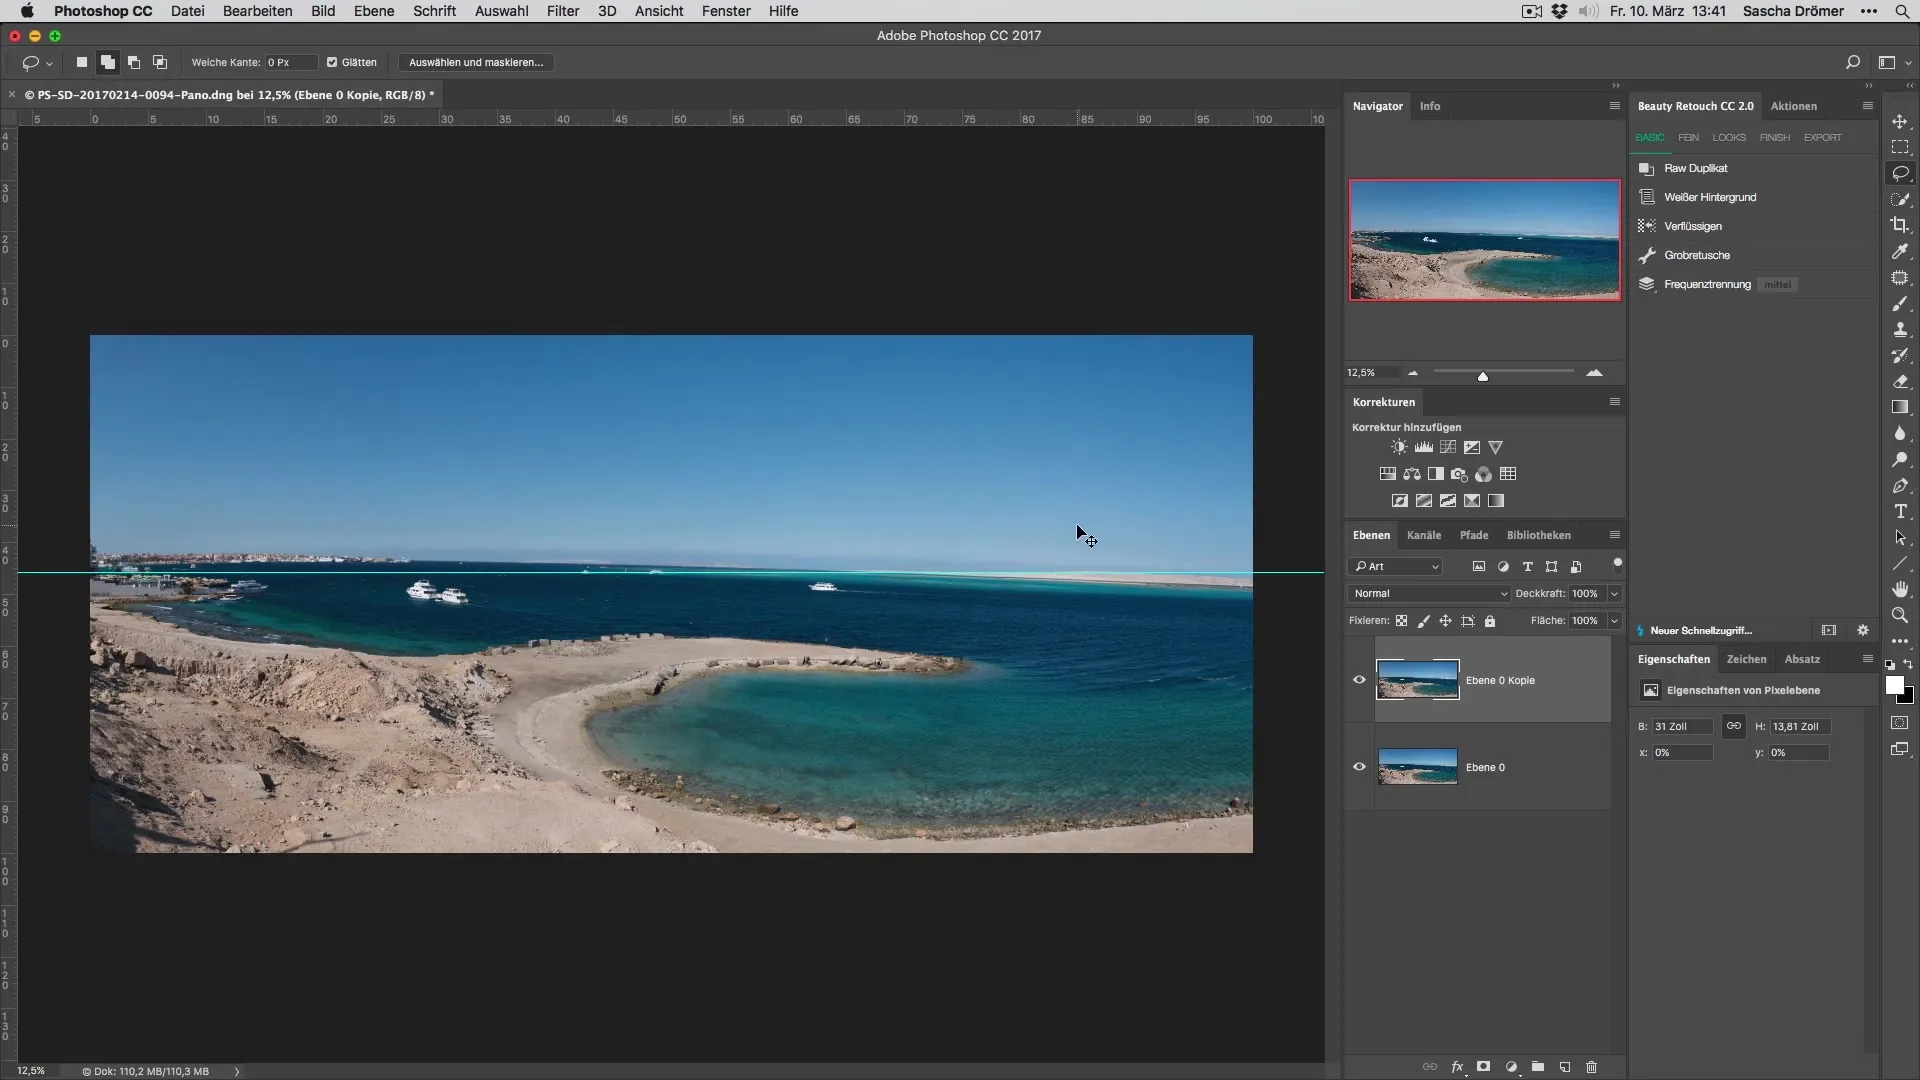
Correcting the Horizon Line
In Photoshop, you can activate guides to adjust the horizon line. This is done using the shortcut Command + J to create a guide. With the Transform tool, activated by Command + T, you can then align the panorama accordingly.
Final Touches and Color Looks
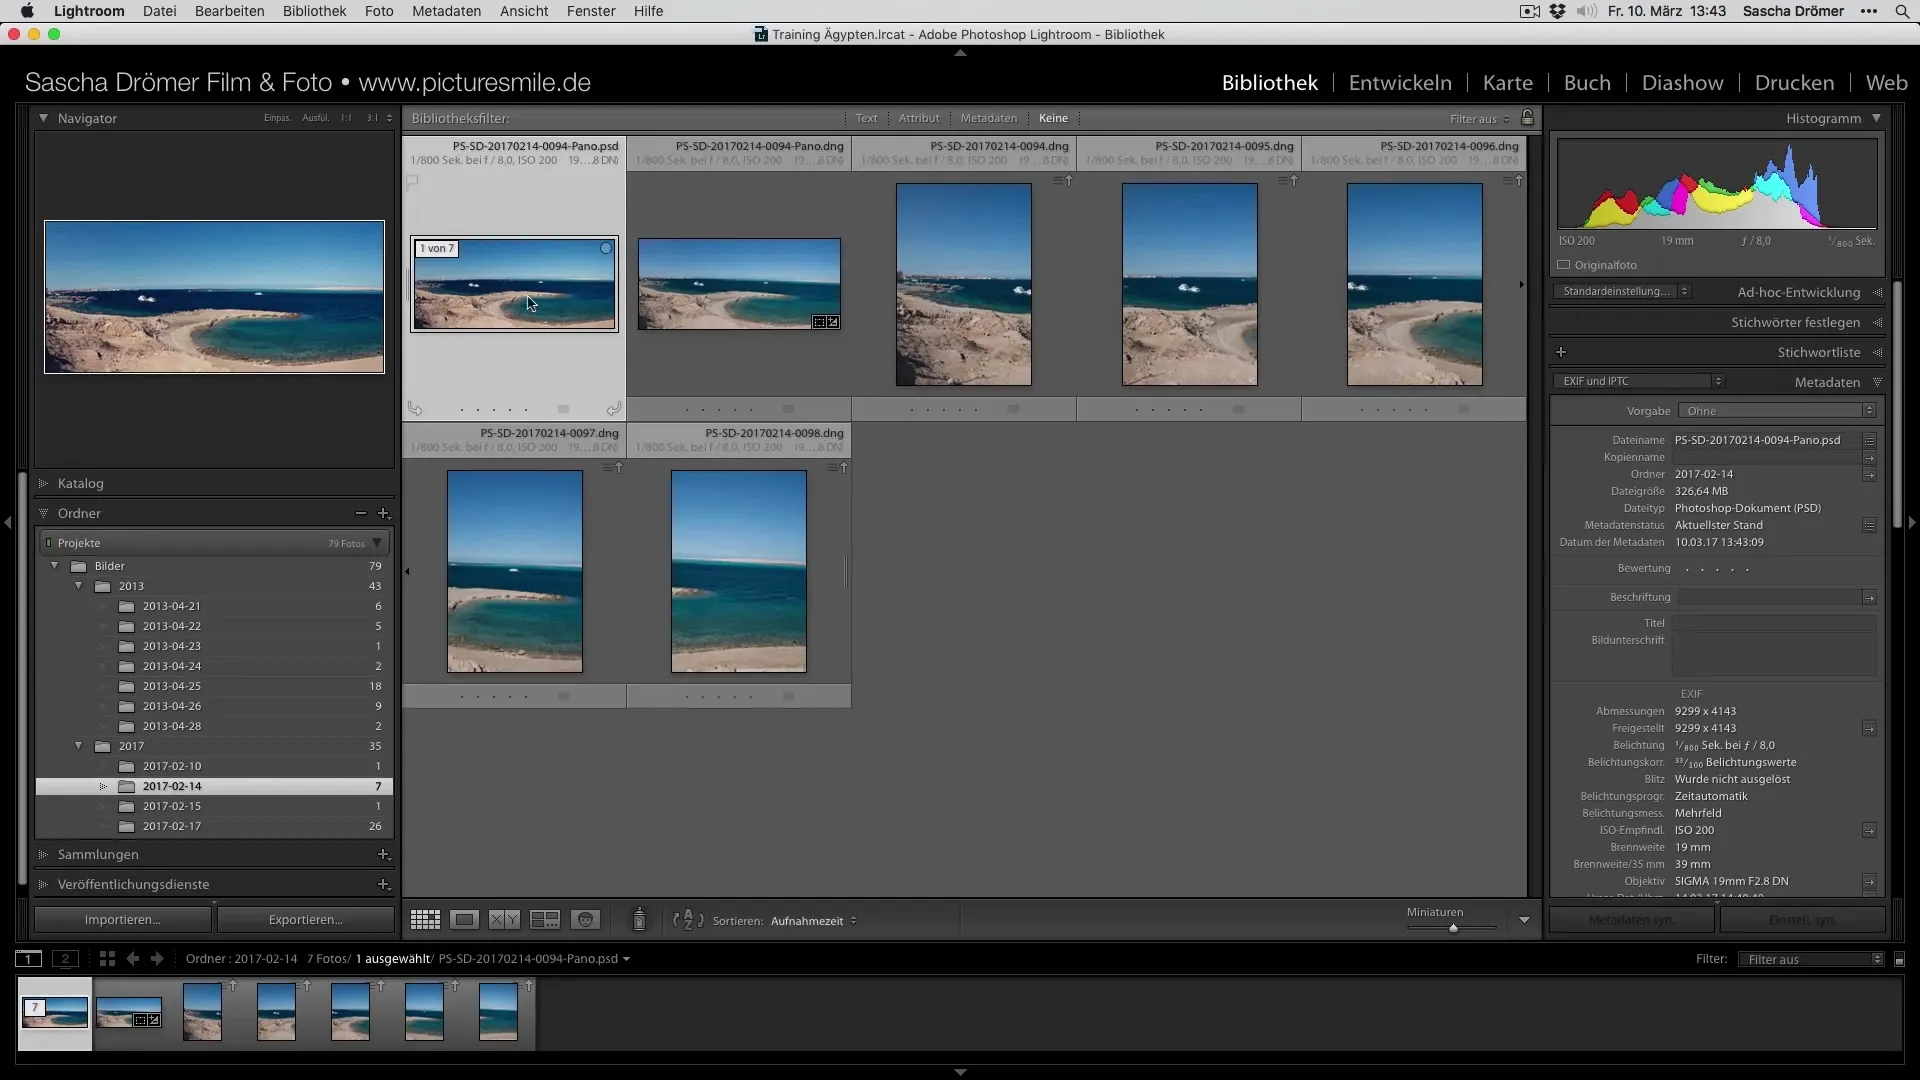
After correcting the alignment, you can further adjust the panorama by adding color looks. Use the sliders for lights and shadows to enhance the image to your liking. Save the edited image, and Lightroom will automatically save the changes and update it in your image group.
Summary – Optimally Developing Vacation Photos – Assembling a Panorama in Lightroom
In summary, creating a panorama in Lightroom is a simple and effective process. With the right preparations and a bit of creativity, you can create impressive panoramas from your vacation photos. The opportunity to retouch with Photoshop also opens up additional creative possibilities.
Frequently Asked Questions
How many images do I need for a panorama?It is advisable to use at least two to three images, but the more you use, the more detailed the panorama.
What should I consider when taking the pictures?Ensure that the shots are taken in consistent lighting and overlap to create a seamless panorama.
Can I use the panorama function in Photoshop as well?Yes, Photoshop also offers functions for creating panoramas, but the focus of this tutorial is on Lightroom.


