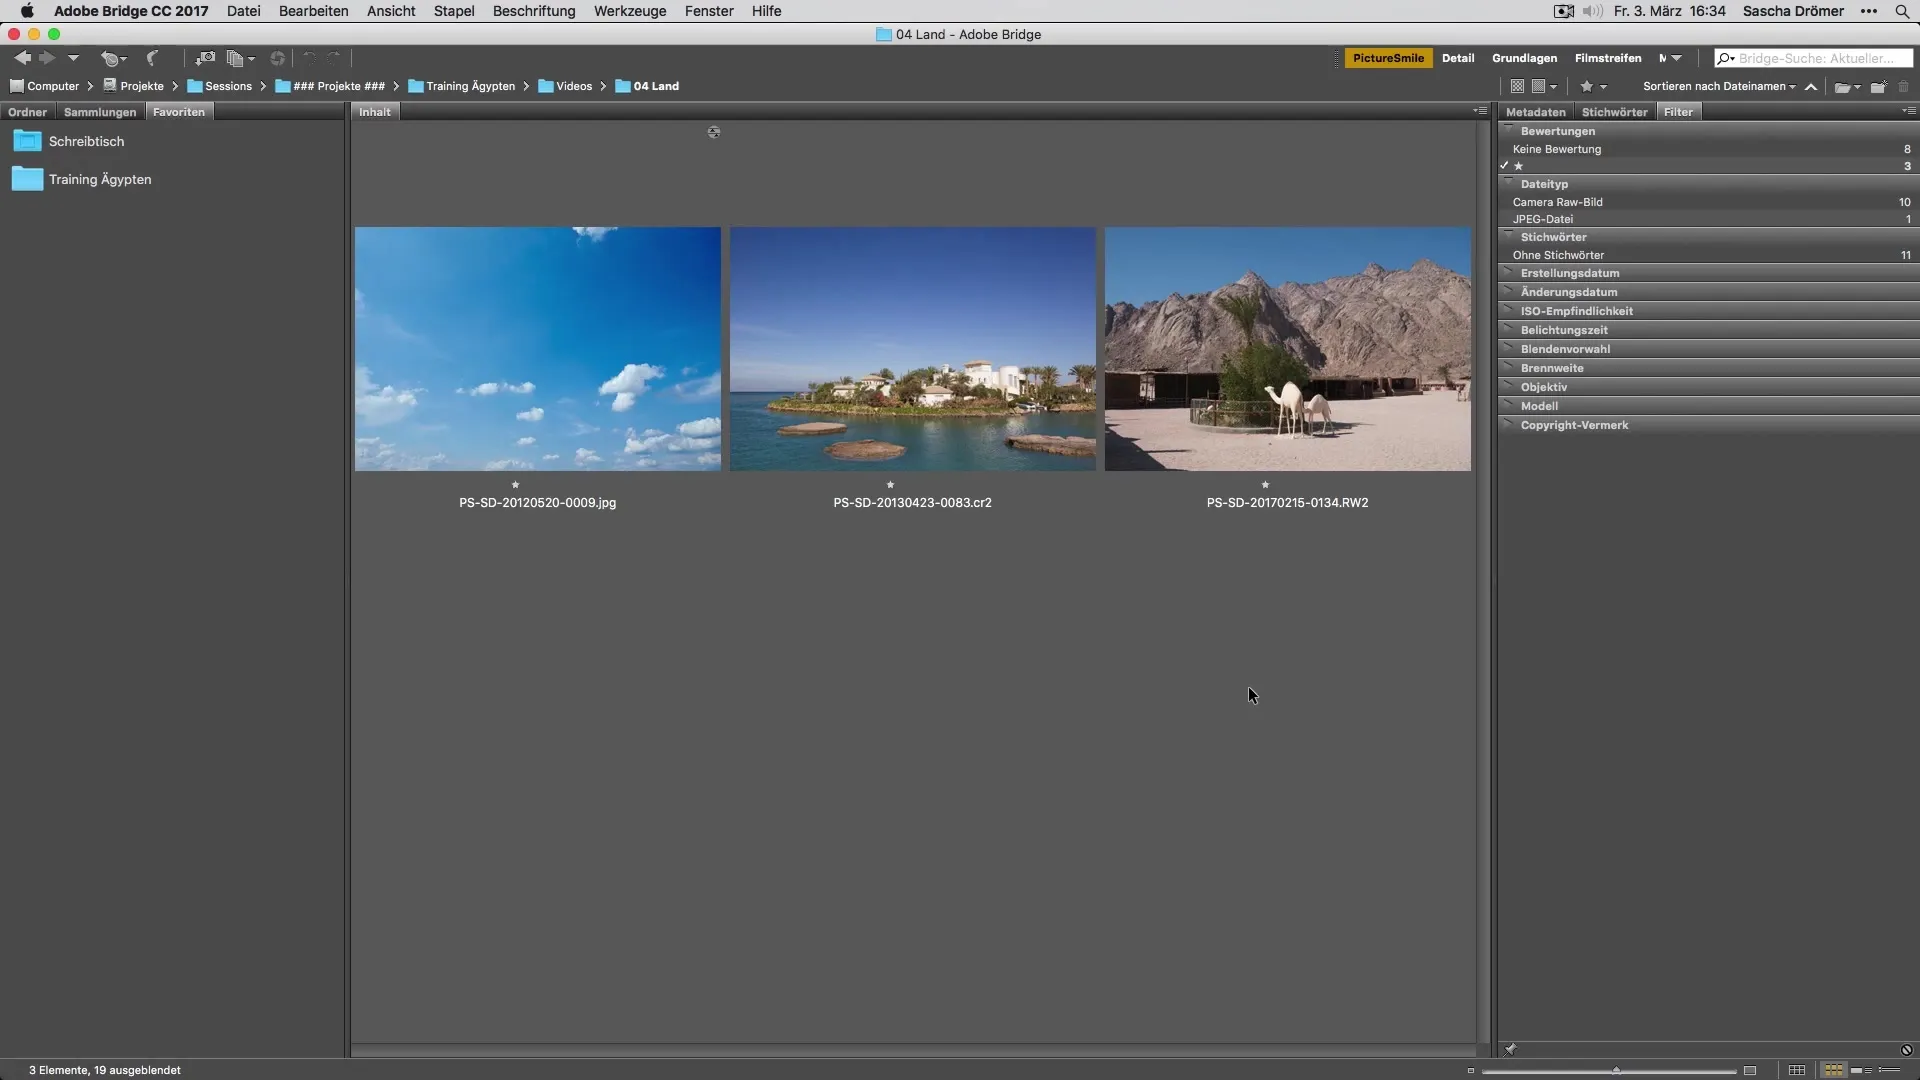
When photographing landscapes, especially on vacation, the sky occupies a significant place in our pictures. Often it is not as vibrant and deep blue as we wish or as we know it from other images. Here are some effective methods to enhance the sky in your photos. In this guide, you will learn how to adjust and even replace the colors of your sky using both Lightroom and Photoshop.
Key insights
- The sky can be intensified through color adjustments.
- A sky can also be optimized through decoration or complete replacement.
- Lightroom and Photoshop are the main tools for these adjustments.
Adjusting Sky Color Intensity
To make the color of your sky more vibrant, you can make some simple color adjustments in Lightroom. These adjustments can have dramatic effects on the overall image and highlight the sky significantly.
First, open your image in Lightroom and select the area for color adjustments. You can work with the sliders for the RGB colors to increase the blue component, which helps make the sky appear richer and more attractive. Be careful not to overdo it to avoid an unnatural effect.

For an even more detailed adjustment, you can use the tone curve. Here you can specifically adjust the lights and shadows in the image to highlight certain sky tones. Focus on the lights to brighten the sky and experiment until you achieve the desired intensity.
Additionally, you can also adjust the hue and saturation of blue in the HSL settings. This allows you to shape the sky in your image precisely according to your preferences.
Replacing the Sky
If you are still dissatisfied with the color of the sky despite all adjustments or if a dramatic effect is desired, you can completely replace the sky. For this, you need Photoshop.
First, open your image in Photoshop and select the sky area with the selection tool. It is important to clearly delineate the sky from the landscape to achieve a realistic appearance. You can use the Quick Selection tool or the Lasso tool to create the desired selection.
Once the sky is selected, you can create a new layer to insert another sky. Import an image with the desired sky and place it on the new layer. Now you can adjust the glazing and transparency to seamlessly integrate the new sky into the image.
Use layer masks in Photoshop to ensure that the transition between the sky and landscape looks natural. Experiment with different sky pictures until you find the perfect combination.
Summary - Optimally develop vacation photos - enhance the sky
By applying these techniques for color intensity and sky replacement, you can elevate your vacation photos to a new level. While it requires some practice, over time you will develop a sense of how to optimally showcase the sky in your photos.
Frequently Asked Questions
How can I first adjust the sky in my vacation photos?Use color and HSL settings in Lightroom to increase the intensity.
Is the sky always necessary for a good landscape image?The sky can greatly influence the feel of the image, but is not always necessary.
How interactive is replacing the sky in Photoshop?It is easy when using the right tools – Quick Selection and layer masks are crucial.
Why should I replace a sky?A new sky can create dramatic effects and dramatically improve your photos.
Which software is best for optimizing the sky?Lightroom and Photoshop are leading in image editing and offer many tools for these adjustments.


