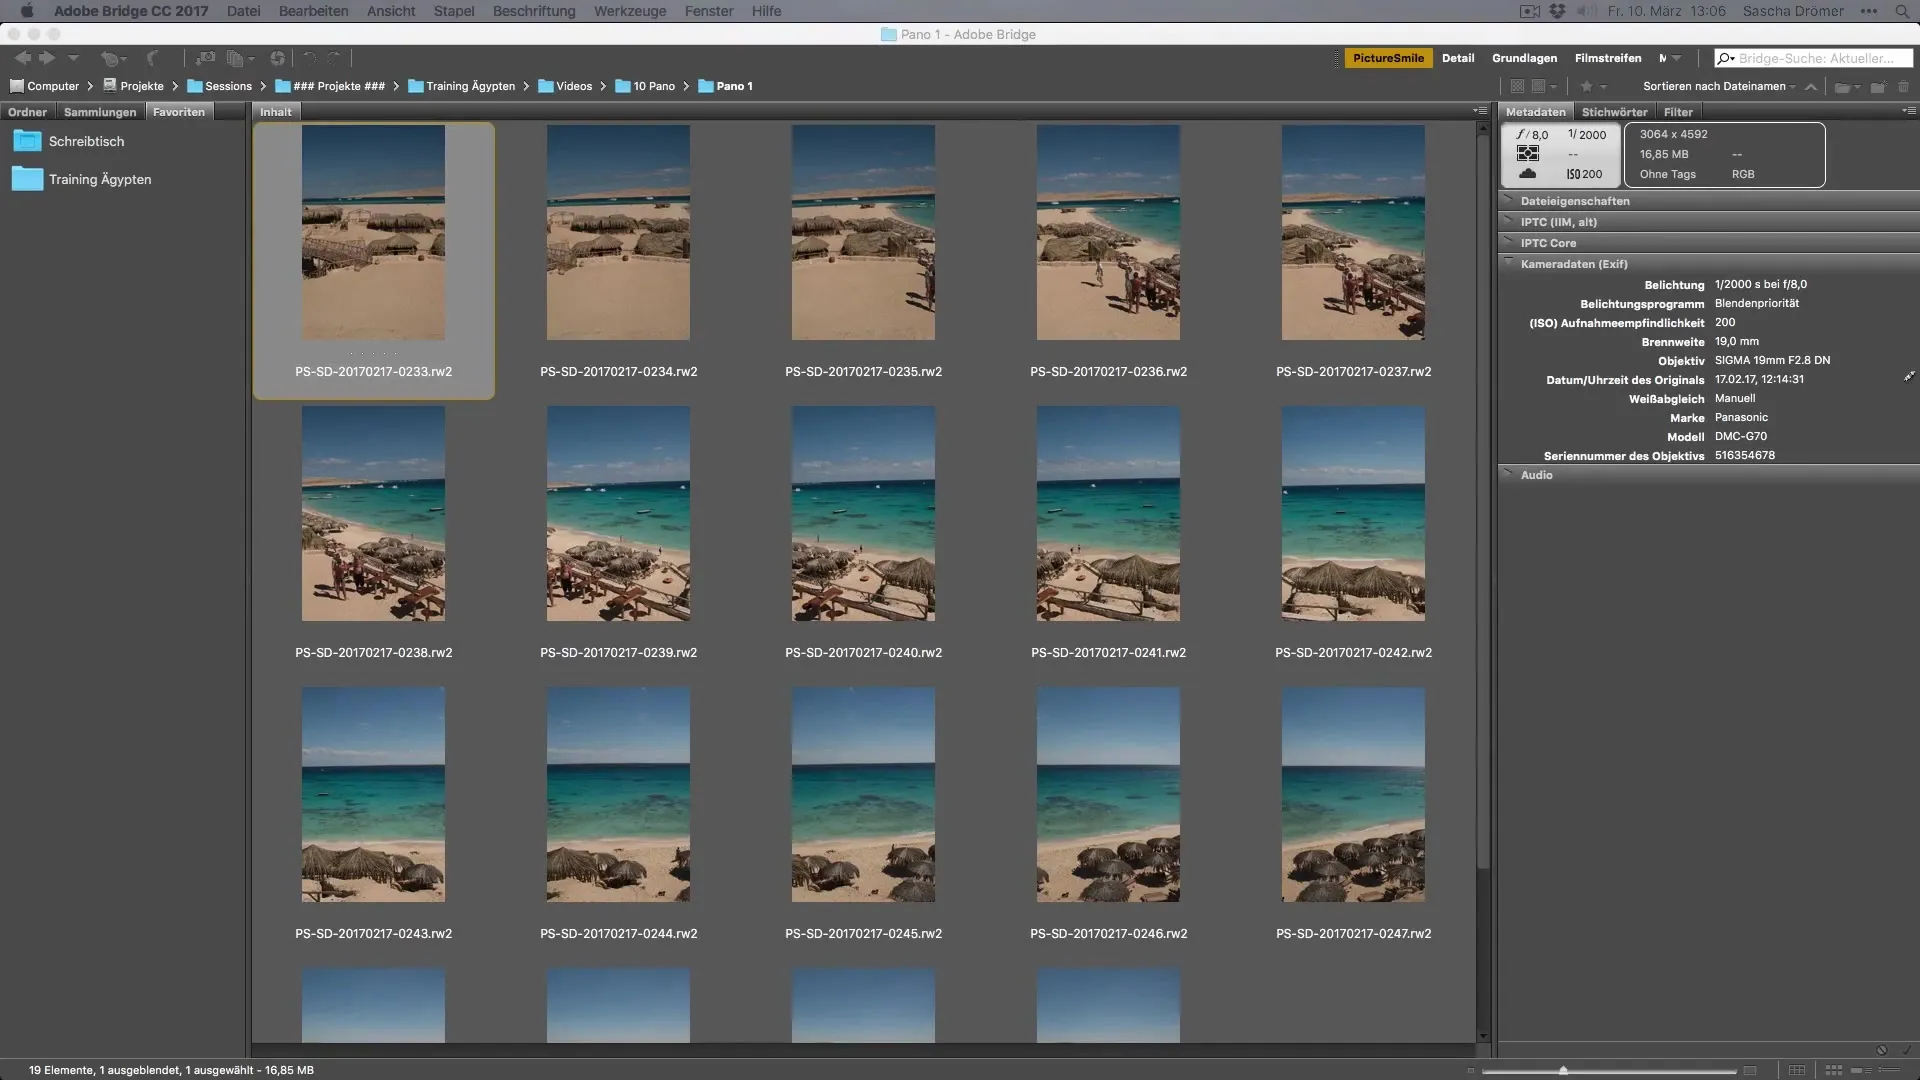
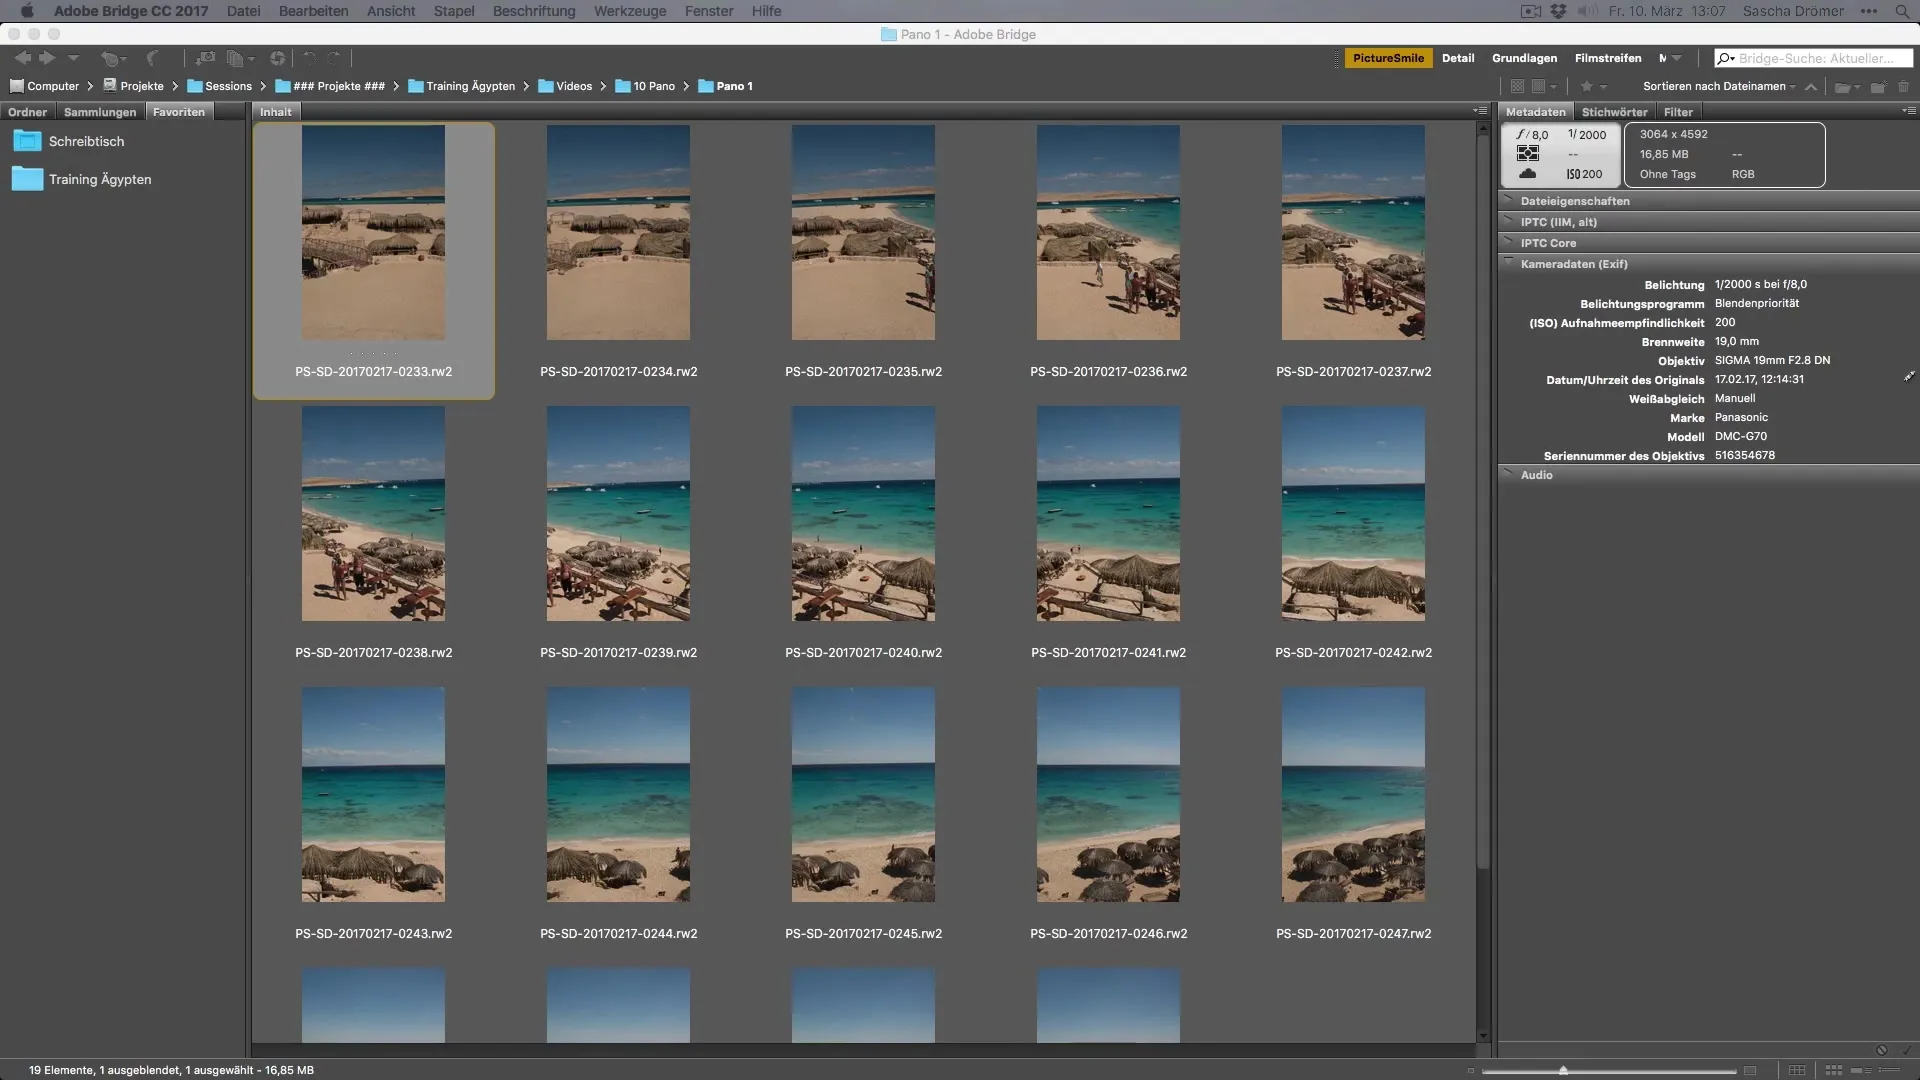
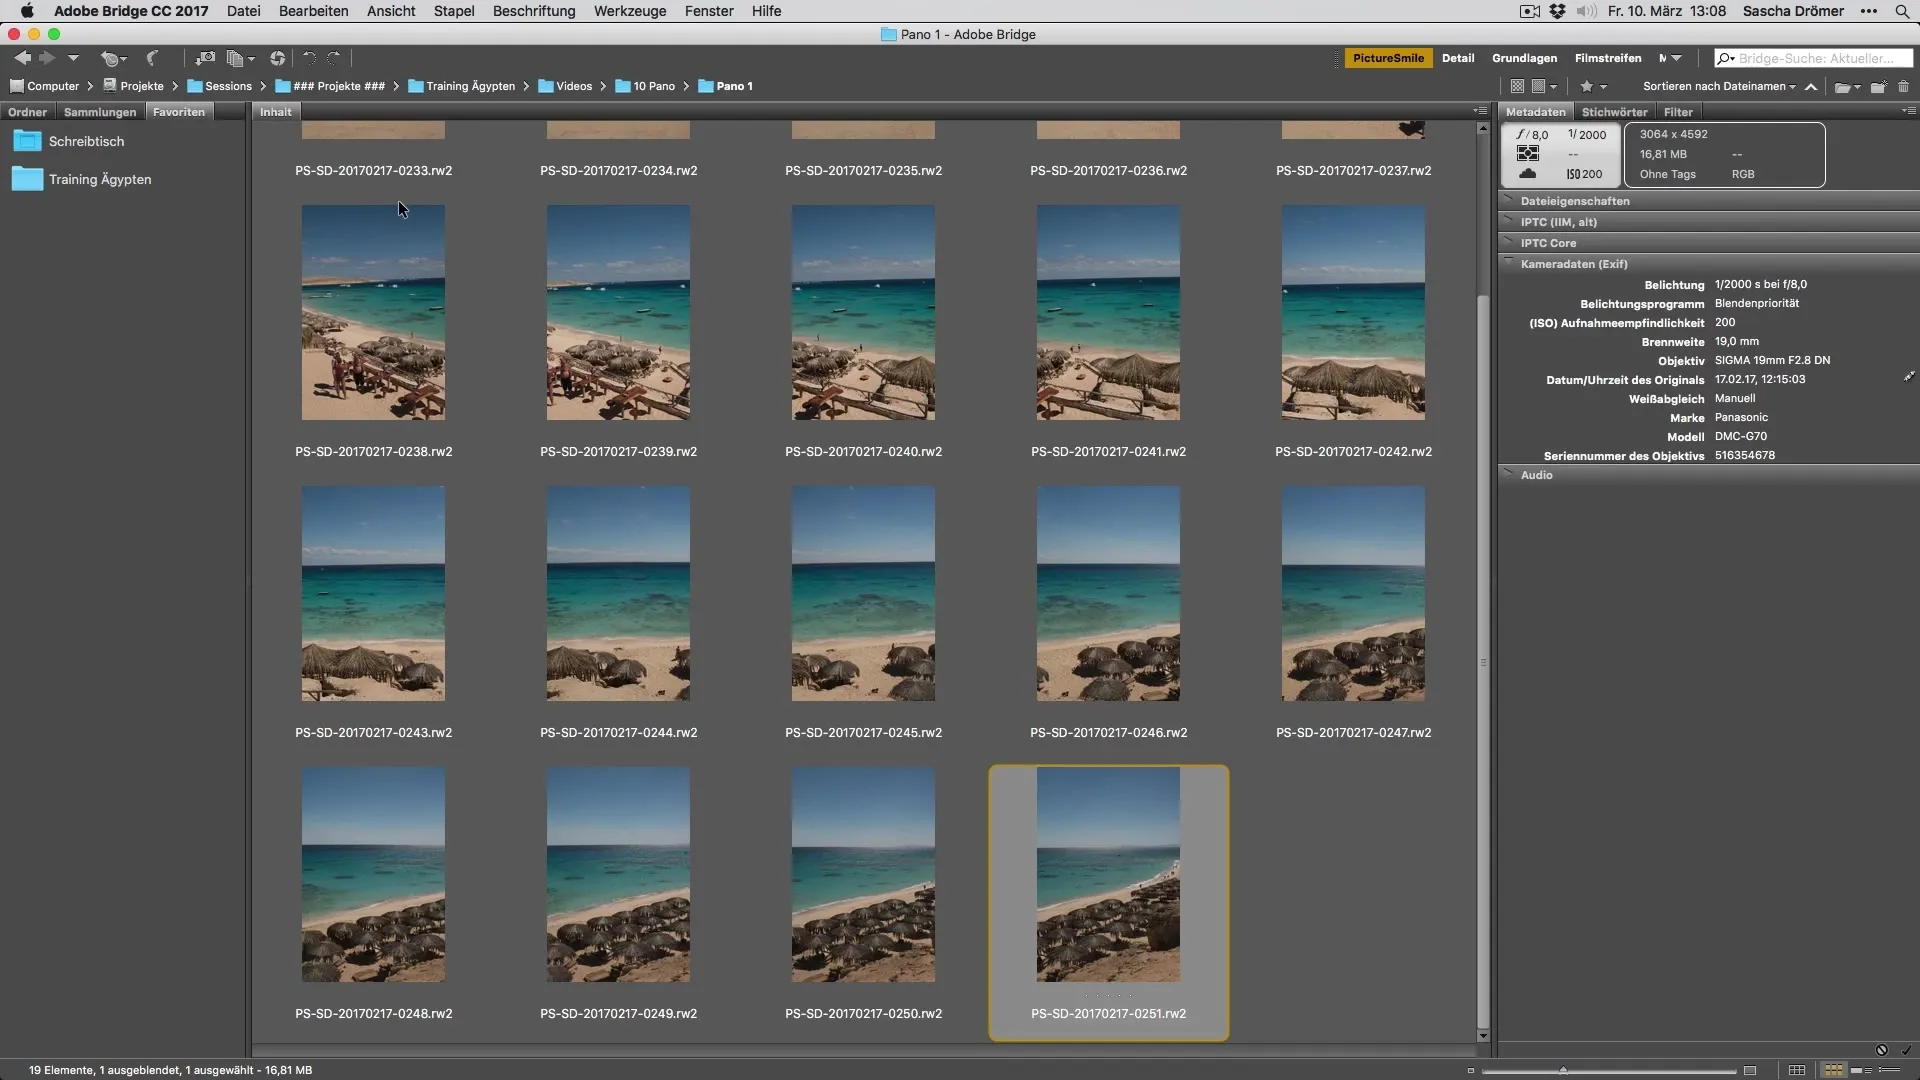
Panoramas are a great way to capture stunning landscapes and impressive views. If you are at a beautiful viewpoint and feel like you cannot capture the entire scene with your camera, photographing in multiple shots may be a solution. In this guide, you will learn how to effectively capture and edit panoramas. Whether you are a beginner or an experienced photographer, with these tips you will create an impressive panorama.
Key Insights
- Ensure at least 30% overlap between individual images.
- Use the same camera settings consistently to avoid brightness differences.
- Take an average exposure for the entire scene and adjust it in editing if necessary.
Step-by-step Guide
Step 1: Choose the Right Camera Settings
Before you start photographing, it is important to make the right camera settings. Set your camera to manual exposure and look for an average exposure for the entire composition. This means taking a photo from different positions to check the brightness before starting the panorama. This way, you ensure that the exposure remains consistent throughout the scene.

Step 2: Ensure Overlap of Images
To create a good panorama, it is essential that you have at least 30% overlap between the individual shots while photographing. This means that parts of one image should be visible in the next image. This technique helps the software to correctly stitch the images together and create a seamless panorama. Also, make sure to remain somewhere in the middle and not get too close or too far away.

Step 3: Use Consistent Camera Settings
Use the same camera settings for all shots. This means that ISO, aperture, and shutter speed should remain constant to avoid brightness differences between the images. A typical setting could be ISO 200, aperture 8, and a shutter speed of 1/2000 seconds – make sure you don’t fall into the trap of using different values for varying shots.
Step 4: Test the Exposure
Once you have an overview of your exposure, test the exposure with a photo from different angles – left, straight ahead, and right. Set the camera manually so that you maintain the average exposure for all shots. Even if you are lucky that the lighting conditions remain consistent, it is advisable to follow these steps to guarantee the best possible quality in the later image editing process.

Step 5: Stitch Images Together
After photographing, you can stitch your images together in Photoshop, CameraRaw, or Lightroom. Use the "Create Panorama" feature to bring all the images you took into a seamless transition. Pay attention to the overlaps you already created while photographing to achieve the best results.
Summary – Ultimate Guide to Developing Panoramas – Tips for Optimal Vacation Photos
To create impressive panoramic photos, choose the right camera settings, pay attention to suitable overlaps between images, and ensure that the exposure remains consistent. These steps will not only help you capture exciting landscapes but also achieve beautiful results in post-processing. Implement these tips on your next vacation, and you will be thrilled with the representations of your experiences.
Frequently Asked Questions
What is the recommended overlap between shots for a panorama?At least 30% should overlap to enable a seamless panorama.
What camera settings should I use?ISO 200, aperture 8, and a consistent shutter speed are good starting points.
How can I ensure that the exposure remains the same?Set the camera manually and test the exposure from different angles.
Which software can I use to stitch my panoramic images?Programs like Photoshop, CameraRaw, or Lightroom are suitable for this purpose.
What can happen if the exposure does not remain the same?Different exposures can lead to unattractive brightness differences in the final panorama.


