Are you thinking about how to implement your creative ideas with digital images? Photoshop is a powerful tool that offers you numerous possibilities, but to get the best out of your work, you need to understand some key basics. This guide outlines the crucial aspects of document size, scaling, and DPI (dots per inch) in Photoshop. Each step is explained in detail so that you can make informed decisions when editing images.
Main insights
- Photoshop is a pixel-oriented program for photo editing.
- The DPI value is crucial for print quality.
- Differences in document size and pixel count affect storage capacity and image quality.
- The right format and scaling are essential for final production.
Step-by-step guide
First, a bit of theory: Photoshop is a pixel-oriented program, which means it is mainly focused on editing photos. The more pixels contained in your image, the higher the resolution and thus the sharpness of the subject. This also depends on what the image will be outputted on later. This is where the technical term DPI comes into play, which indicates the size at which a subject can be printed at what quality. This unit of measurement is closely linked to the pixel count.
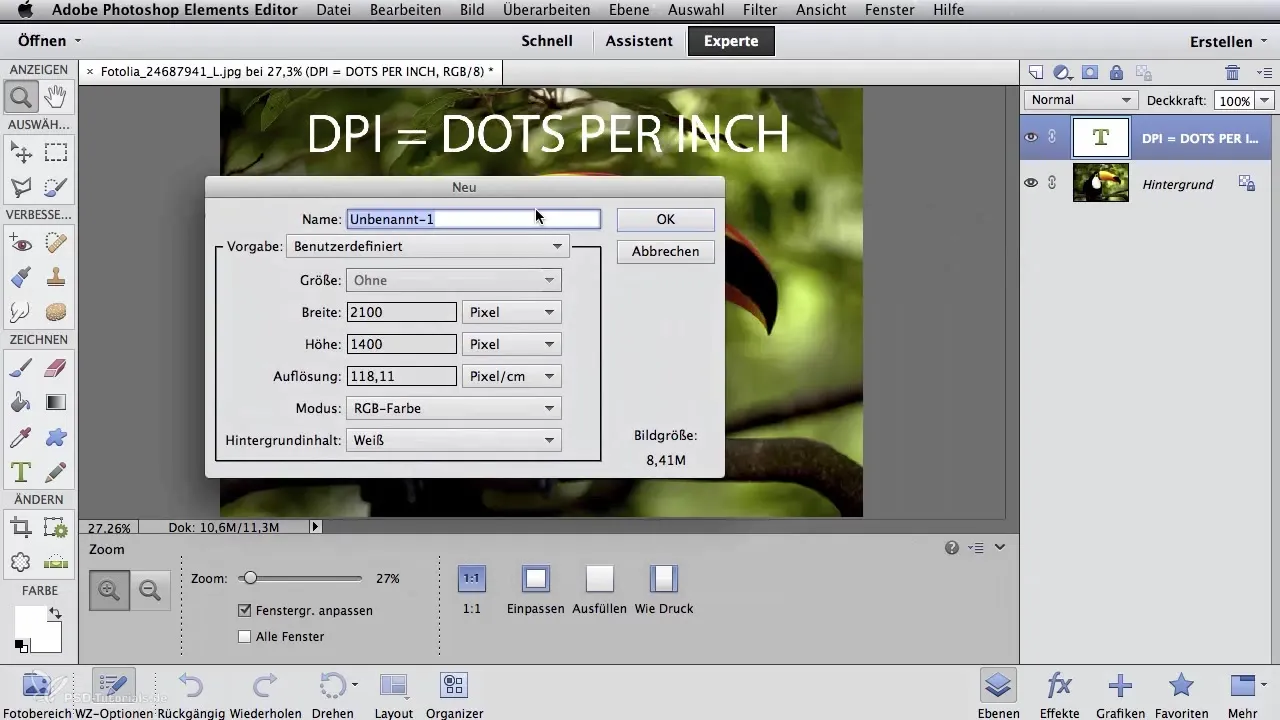
To get started with Photoshop, launch the program and select "File" followed by "New" from the menu. When creating a new file, you have the option to enter the actual information size. Here, I recommend selecting centimeters and setting a width of 50 cm and a height of 70 cm, which corresponds to a common poster size.
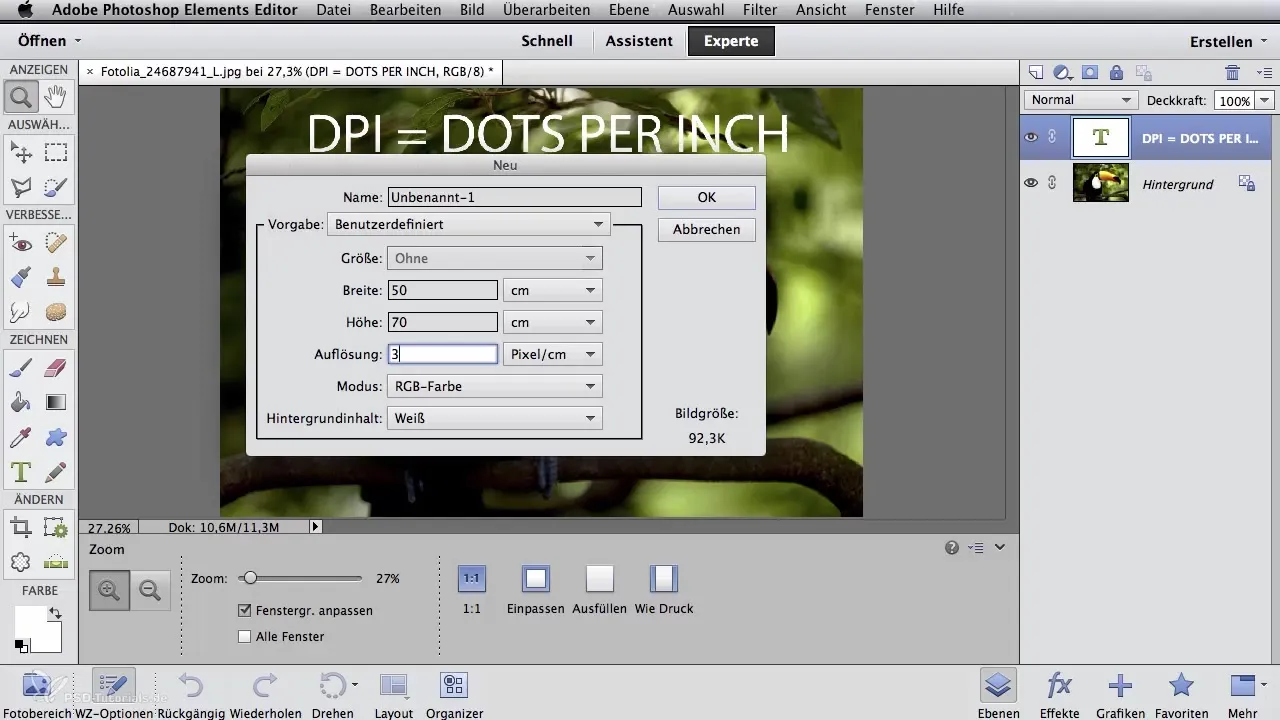
Be sure to set the pixel-per-inch resolution to 300 DPI. In the lower right corner of the settings box, you can see the amount of data the subject will occupy in memory. Additionally, you can also select custom formats. For example, with A4 at 300 DPI, a data amount of 25 MB is generated. This resolution is excellent for offset printing, while 150 DPI is a good option for inkjet printers or laser devices.
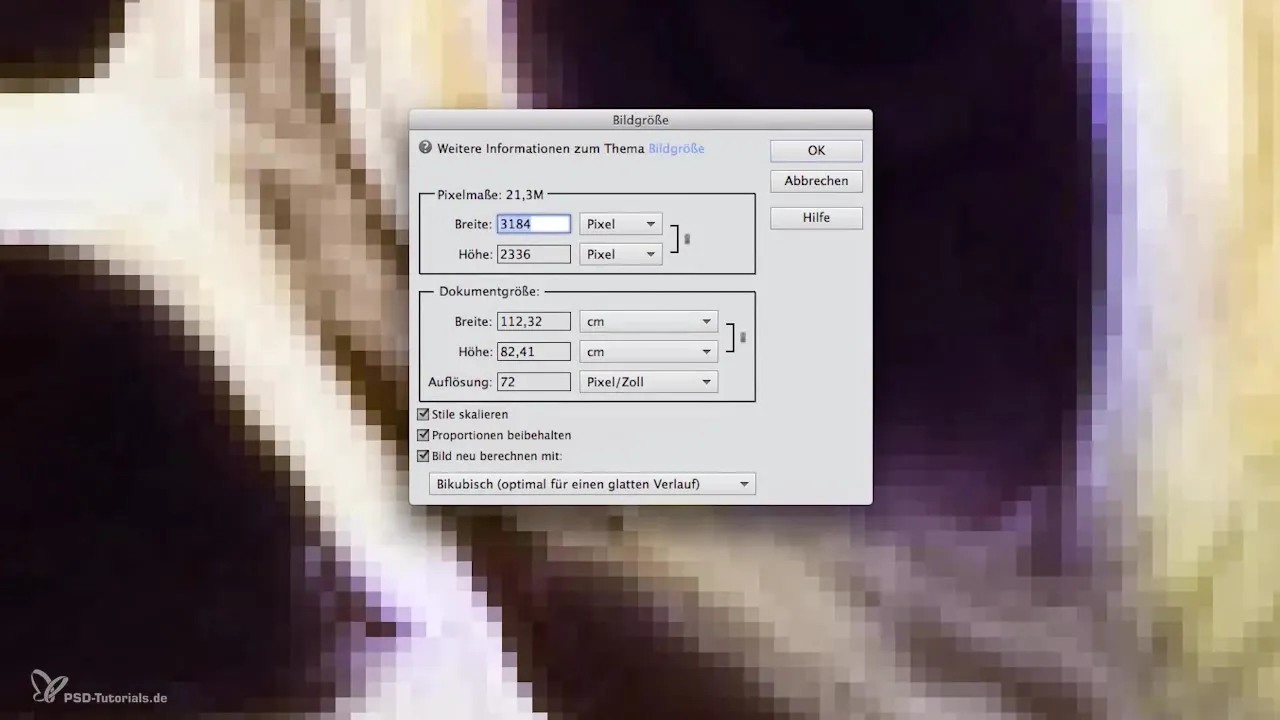
If you want to know the optimal size in which your photo can be outputted, navigate to "Image" and then "Image Size" in the menu. The image size requester will open, showing the pixel count of your subject in the upper field. Below, it will display how large it could be printed at the corresponding DPI. If you reduce the resolution to 150 DPI, a much larger document size results with the same pixel count.

To some extent, you can also artificially inflate the subject. Photoshop adds additional pixels and tries to maintain sharpness as much as possible. To do this, open the image size requester again and check the box for "Resample Image". Here you can enter a new, larger document size while simultaneously seeing how the pixel count and memory requirements of the document increase.
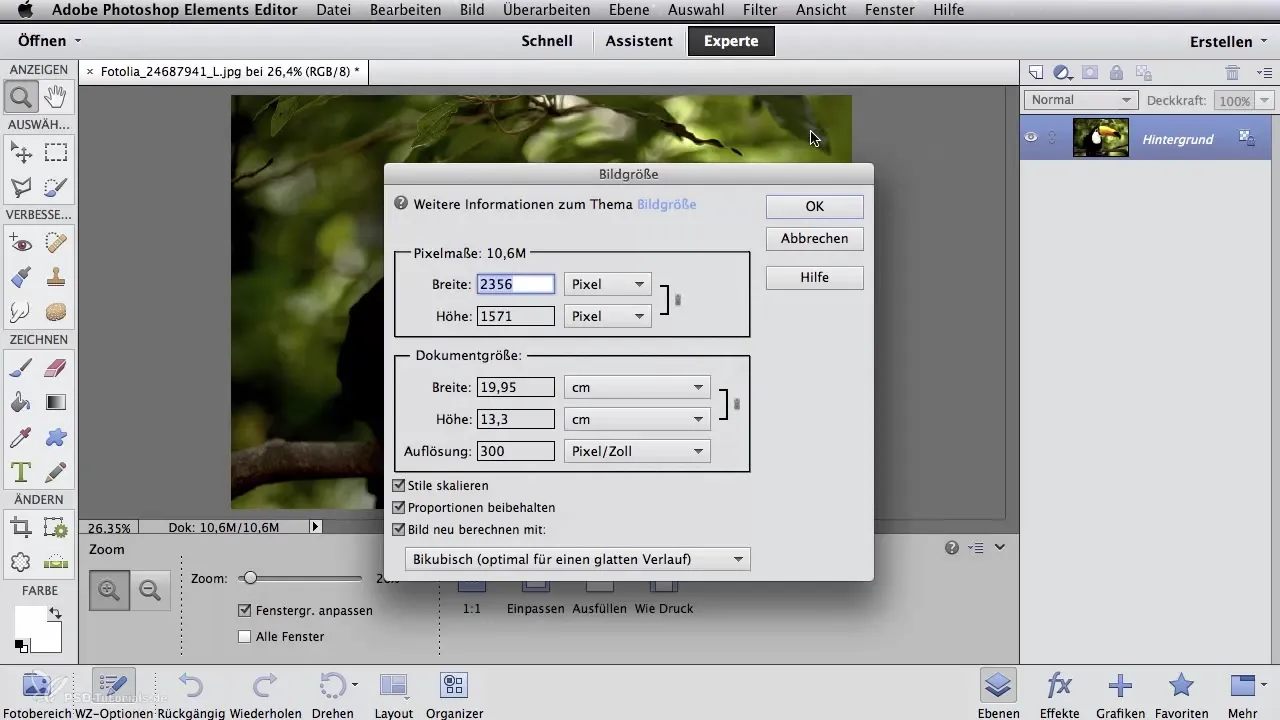
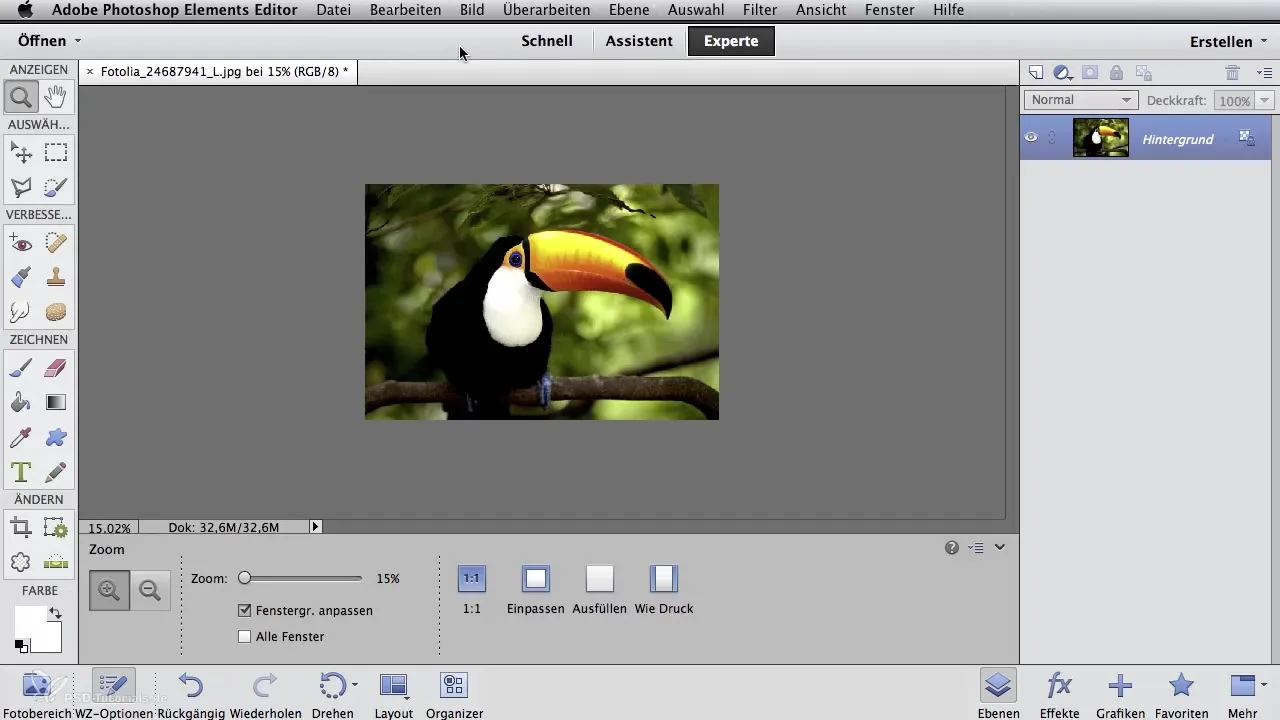
Once Photoshop has processed the conversion, you can zoom into the details of the subject using the zoom tool and check if the sharpness of the image is sufficient for the subsequent printing process. Another option is to create a new blank document, again selecting centimeters. Set the width to 70 cm and the height to 50 cm at 150 DPI.
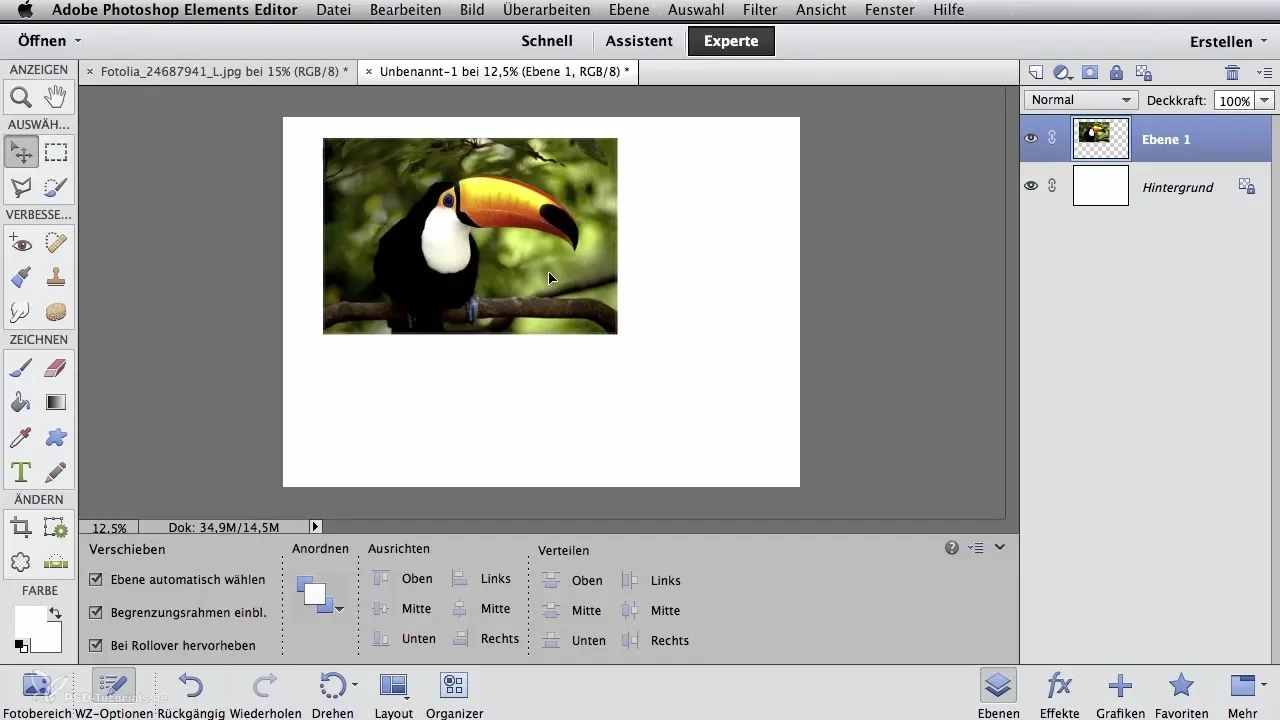
Confirm the entries and drag your photo into the new document using the move tool. Photoshop automatically activates the transformation function. If you check the box for "Maintain Proportions," you can scale the image proportionally. After confirmation, Photoshop now attempts to enlarge the subject as much as possible without significant loss of sharpness or blurriness.
Summary – Digital Image Editing for Airbrush Artists: Basics – Document Size, Scaling, and DPI
Mastering the basics of digital image editing is crucial for any airbrush artist who wants to realize their works in the highest quality. By having a solid understanding of DPI, document size, and the proper use of Photoshop, you can optimally implement your creative visions.
Frequently Asked Questions
How does DPI affect print quality?The DPI value determines print resolution; the higher the DPI, the sharper the print result.
How can I change the size of an existing image?You can use the "Image Size" function in Photoshop to adjust the pixel count and DPI.
Why should I check the box for "Maintain Proportions"?The box ensures that the image is scaled proportionally without distortion.
What happens if I choose a DPI that is too low?A low DPI can result in the image appearing blurry or pixelated when printed.
How can I optimize the data size of an image?By adjusting the DPI and document size, you can optimize the file size and storage requirements.
