The removal of portraits is an essential step in digital image editing, especially for airbrush artists. It allows you to free the main subject from a distracting background and give it the attention it deserves. In this guide, you will learn how to effectively isolate and adjust not only the portrait but also the fine details, such as hair.
Key Insights
- Using the polygon lasso for rough selections.
- Techniques for refining edges with the eraser tool.
- Adjusting the background to achieve a harmonious overall composition.
Step-by-Step Guide
To remove a portrait, follow this step-by-step guide.
First, you should load the image you want to edit into your image editing software. When selecting the portrait, it's important that the lighting is good and the contours are clearly visible. Now, you're ready to start with the rough selection. The polygon lasso tool is perfect for this. With this tool, you first roughly trace the edges of the portrait, as it is particularly easy to handle on straight edges, like on the leather jacket or the weapon.
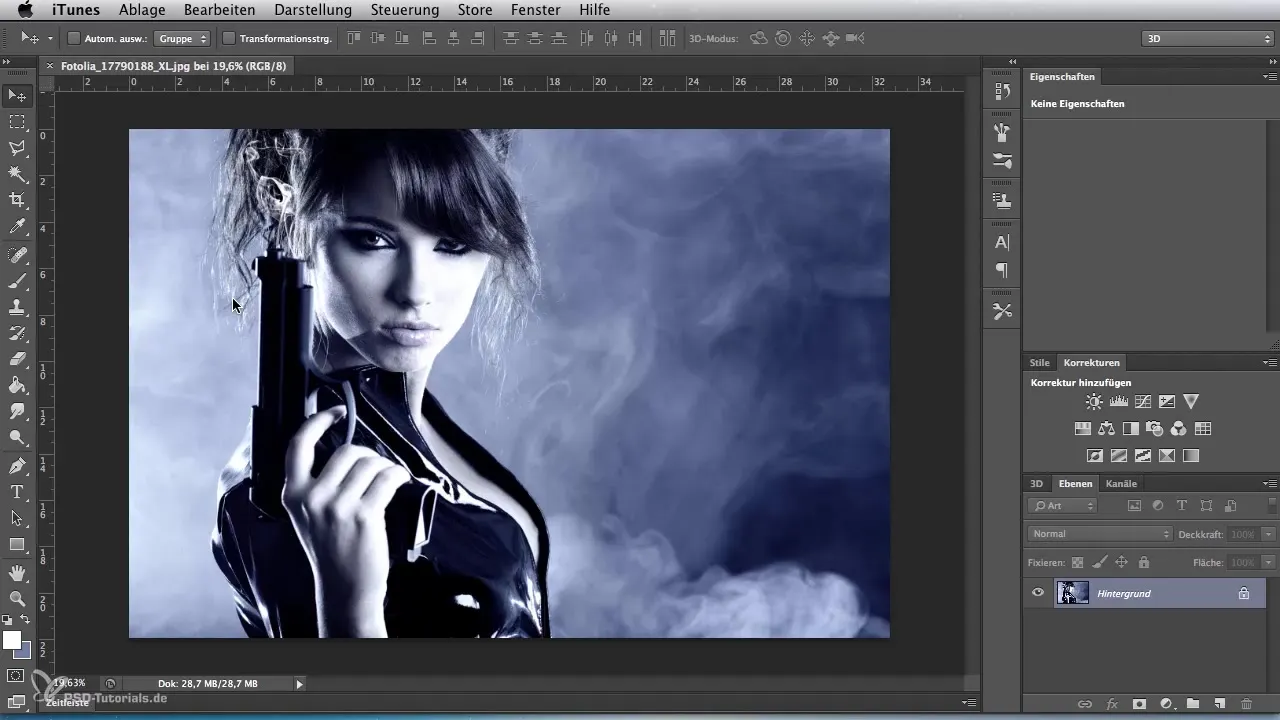
After you've roughly traced the head, it's important to undo any steps if you've clicked incorrectly. You can easily do this with the delete key, and you can start over. Pay special attention to selecting hair, as this can be a bit more challenging. Pull the polygon lasso around the hair to further refine your selection.
It's useful to zoom in here to better capture the details around the cheeks and neck. If you have traced the selection down to the jacket, it's best to connect the selection back to the starting point so that it is closed.
If you couldn't capture some areas with the polygon lasso, you can also use the regular lasso tool. Hold down the shift key to add areas. When you're ready, copy the removed image to a new layer. This is usually done using the keyboard shortcuts Control + C and Control + V for Windows or Command + C and Command + V for Mac.
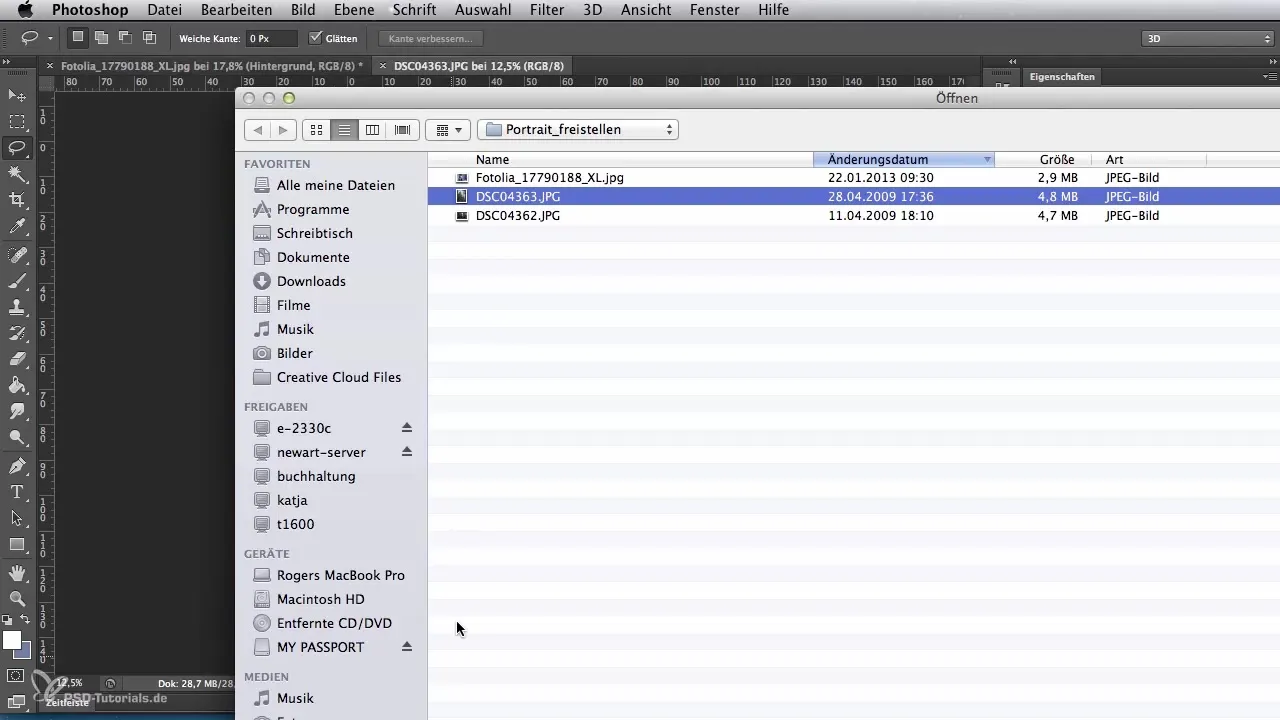
Now that the portrait is on a separate layer, you can add a new background. To do this, go to "File open" and select a new subject, e.g., a photo of a backyard in New York. Drag this image into your existing illustration, making sure it lands behind the portrait layer.
When you look at the image, you will probably find some hair on the background unflattering. To fix this, select the special tool "Background Eraser," usually located under the eraser. You should adjust the settings by selecting the intake and activating the "Protect Foreground Color" option. A tolerance of about 34 is usually ideal here.
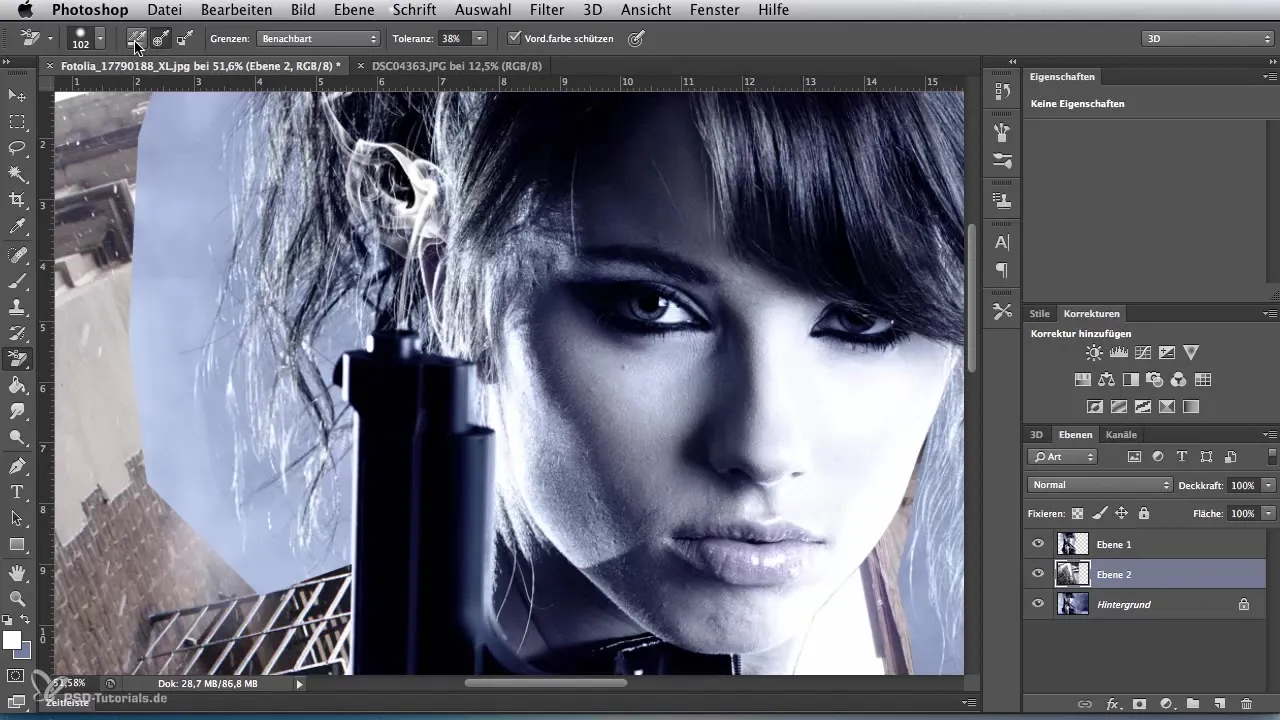
Make sure you're on the portrait layer before you start using the eraser tool to remove unwanted backgrounds. Work through the edges and adjust multiple times to ensure that individual hair strands are well retained and the background is transparent.
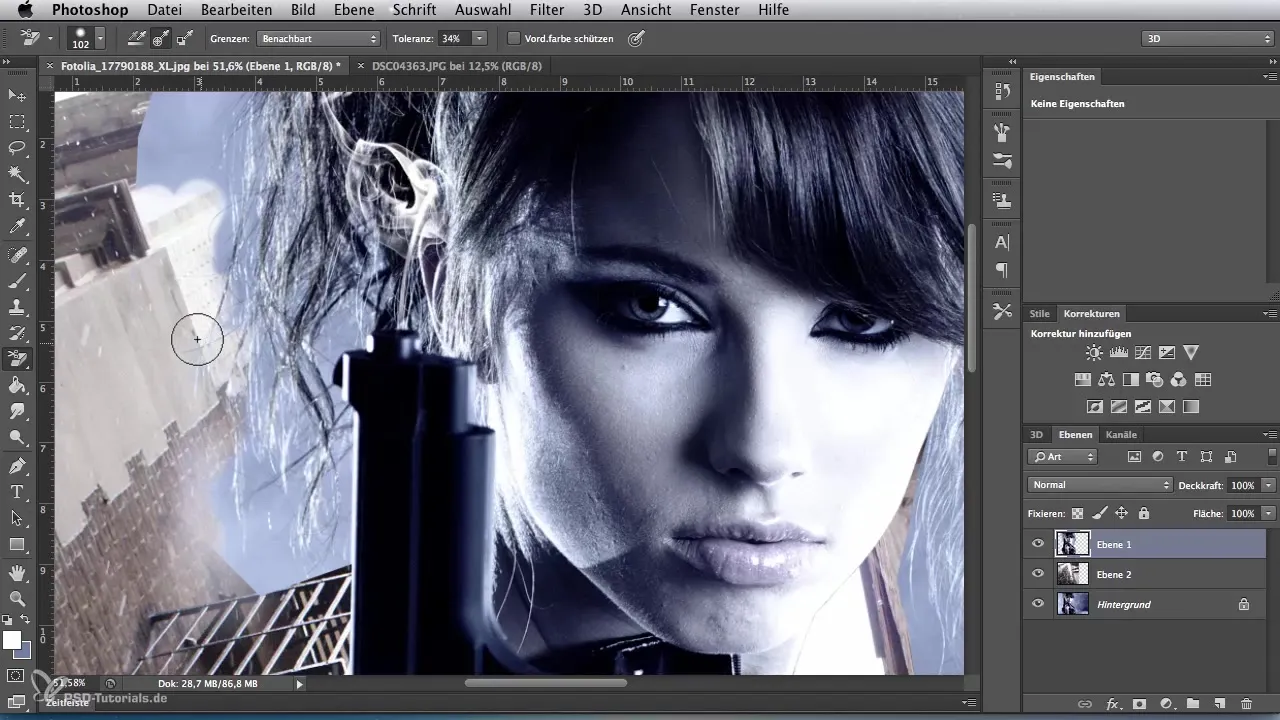
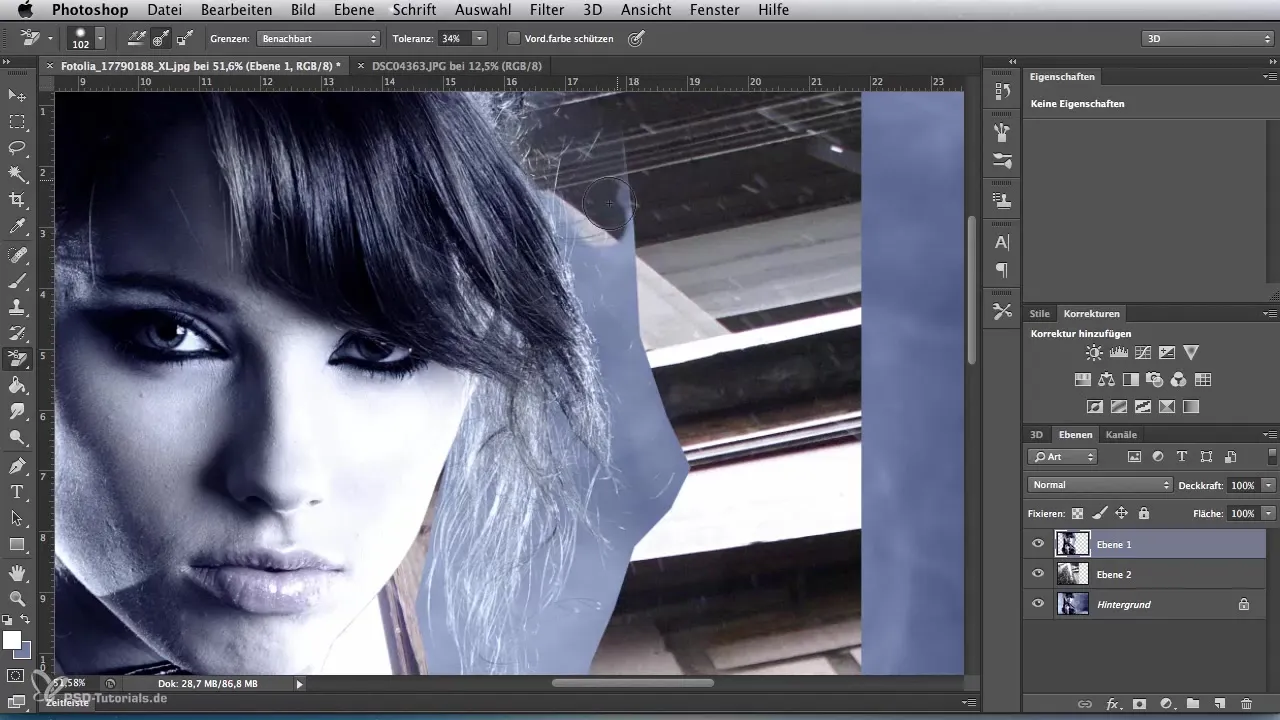
On the right side, you can continue using the same principle. With the special brush, you should be able to remove unevenness, especially on solid areas. It can be helpful to zoom in and out repeatedly to get a good image.
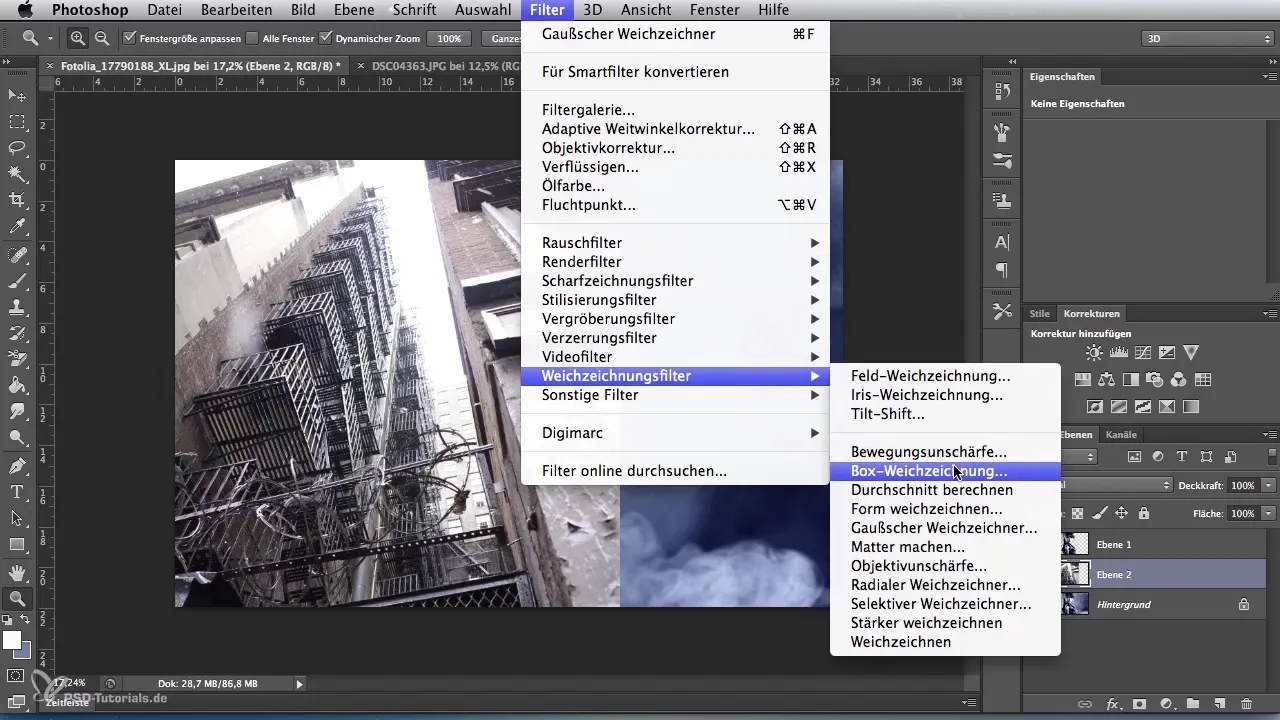
Once you have completed the rough work, zoom out and see the current state of things. You might want to edit the background with the "Gaussian Blur." Select this filter and set the radius between 20 and 30 to achieve a harmonious image. After you re-enable the portrait layer, you can adjust the cropping.
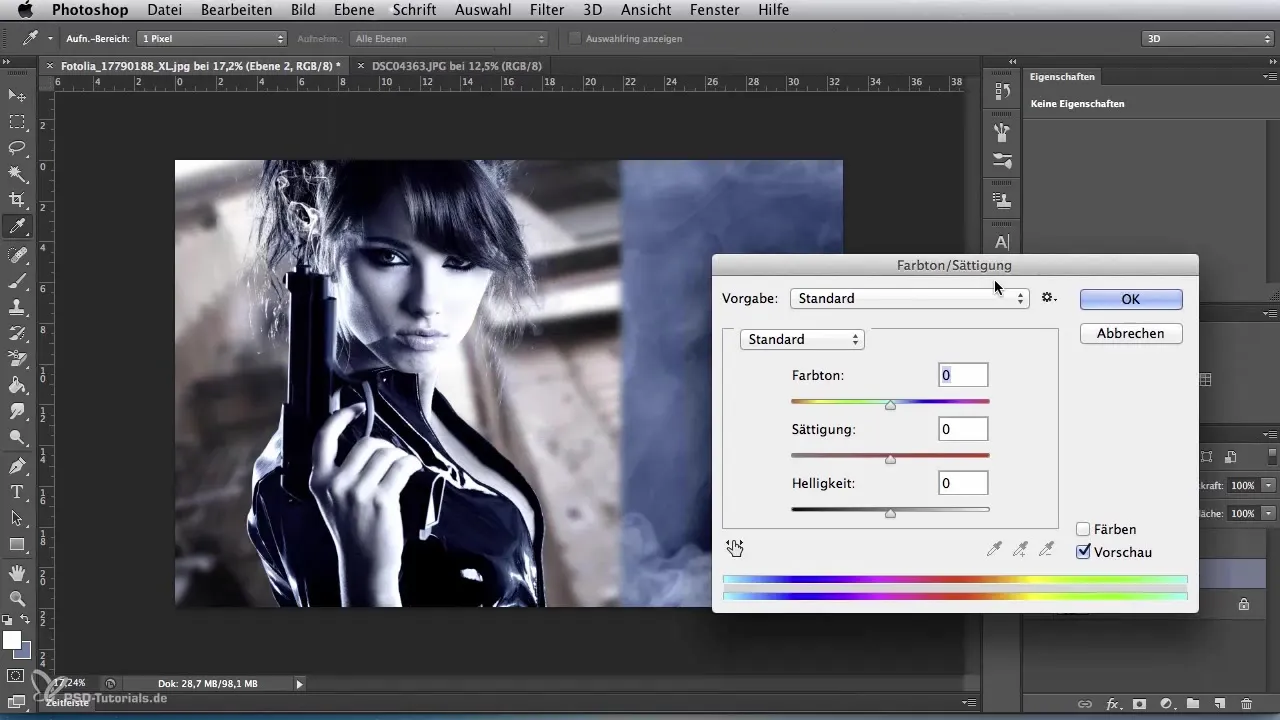
Another step is to adjust the colors of the background to the portrait. Open "Image" and select "Adjustments," then "Hue/Saturation." Check "Colorize" and move the hue slider to blue. You can also adjust the brightness to ensure the background fits beautifully with the portrait.
If the seating position of the portrait is too large, you can adjust it with the cropping tool. Now it's time to eliminate small artifacts that may be distracting. Here, the regular eraser tool can be very useful to remove excess edges.
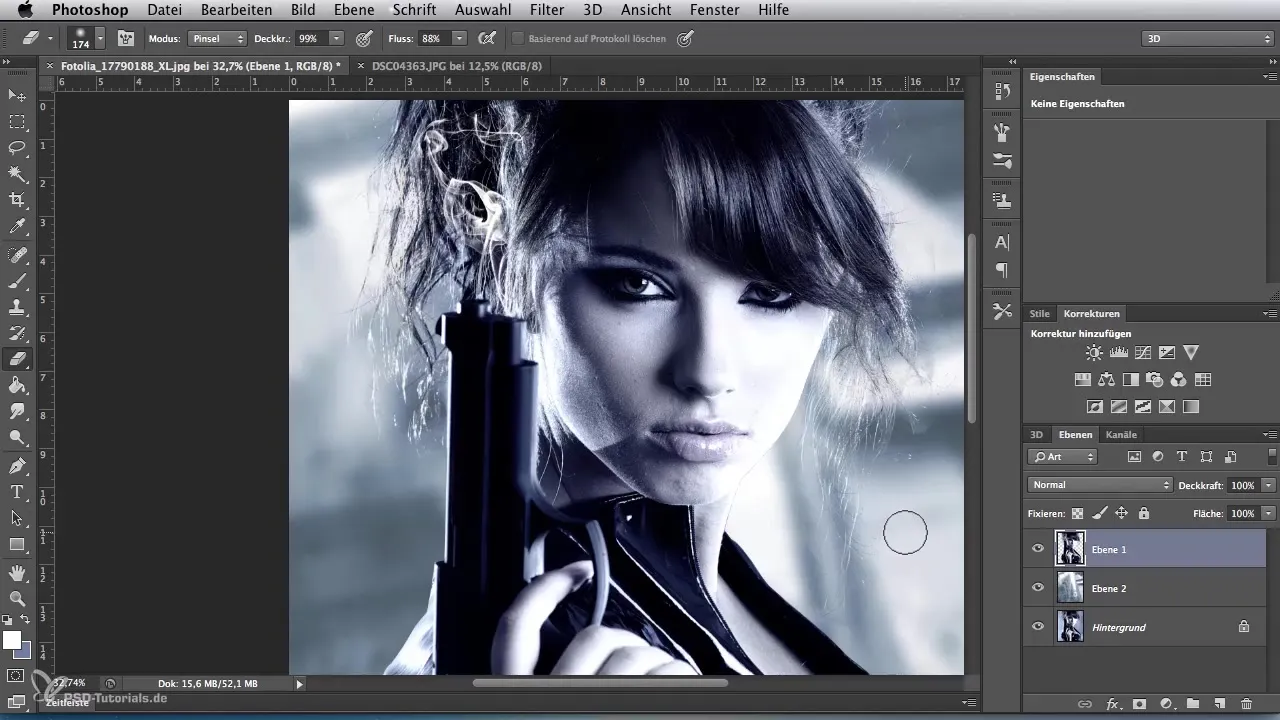
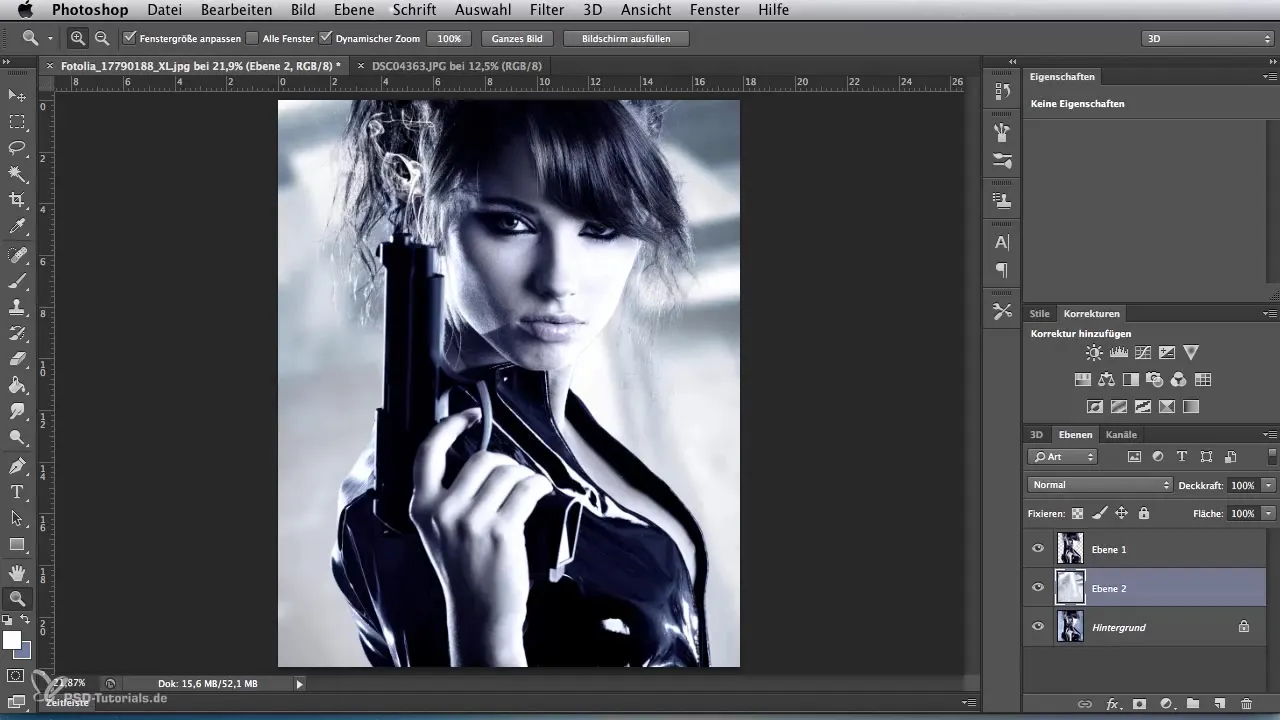
Before you save the final image, you can add some color with a large airbrush brush to lighten the lower background area. Use the white color and spray a few layers on.
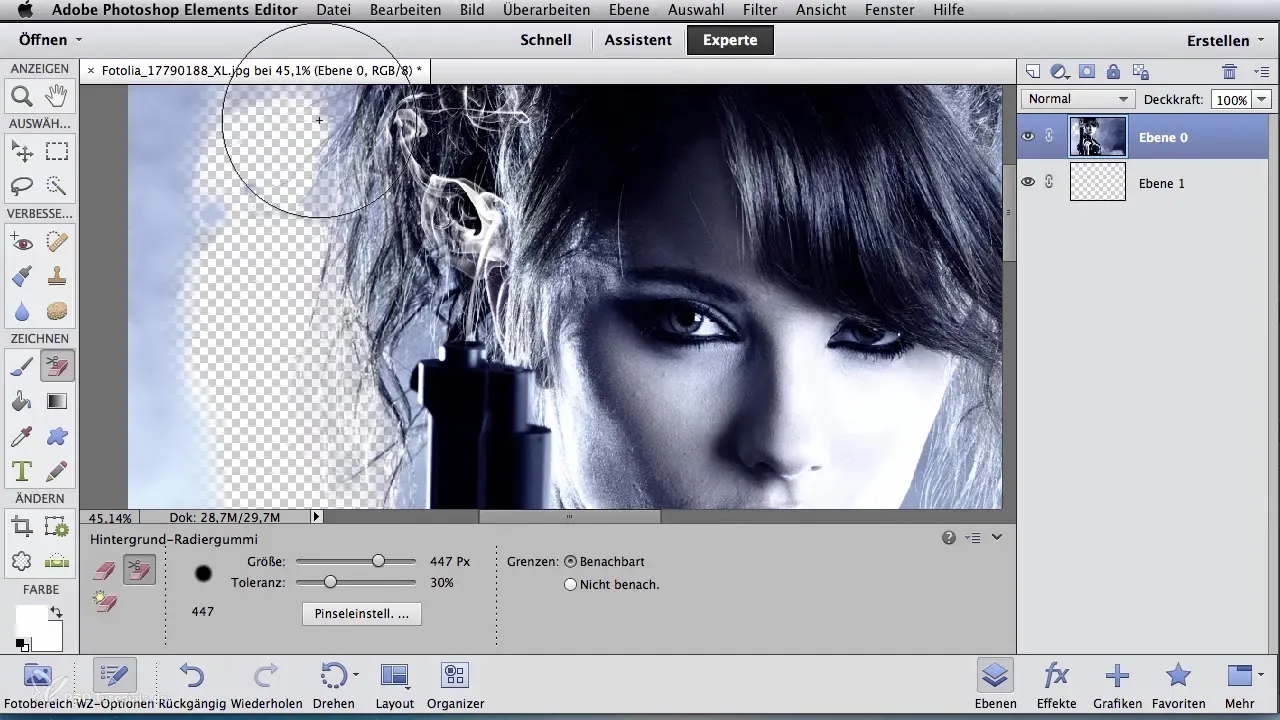
If you are working with other software, such as Photoshop Elements, you will find similar tools and the method should be familiar to you there as well.
Summary – Digital Image Editing for Airbrush Artists: Removing Portraits and Adjusting Backgrounds
By following the steps described, you can effectively remove a portrait from a background and adjust it to create a harmonious composition. From rough selection to color adjustment – you now have all the essential steps you need for your digital artwork.
Frequently Asked Questions
How does the polygon lasso tool work?The polygon lasso tool allows you to precisely select straight edges.
How can I undo mistakes in my selection?You can undo previous steps with the delete key.
How do I adjust the color of the background?Go to image, then adjustments and select hue/saturation.
Can I remove backgrounds in other versions of Photoshop?Yes, the methods are similar in all versions of Photoshop.
Are there simple alternatives to the background eraser?Yes, the regular eraser tool can also be effectively used here.
