Creating impressive digital artworks is an art in itself. In this guide, you will learn step by step how to combine a skull with flames to create an impressive flame skull. By using software tools, you can give your artwork vibrant and dynamic effects that will fascinate any viewer. Let’s dive directly into the creative process while keeping an eye on the details.
Key Insights
- With the magic wand tool, you can efficiently select monochromatic areas.
- By editing layers, you can achieve interesting visual effects.
- The application of light effects gives your artwork a more realistic impression.
Step-by-Step Guide
To create your flame skull, follow these easy-to-understand steps:
Start by opening your stock image that shows the skull. You will find an image with a white background, which is ideal for editing. Use the magic wand tool to select the background. With a tolerance of 32 and holding down the Shift key, you can also add the gray shades of the skull to your selection.
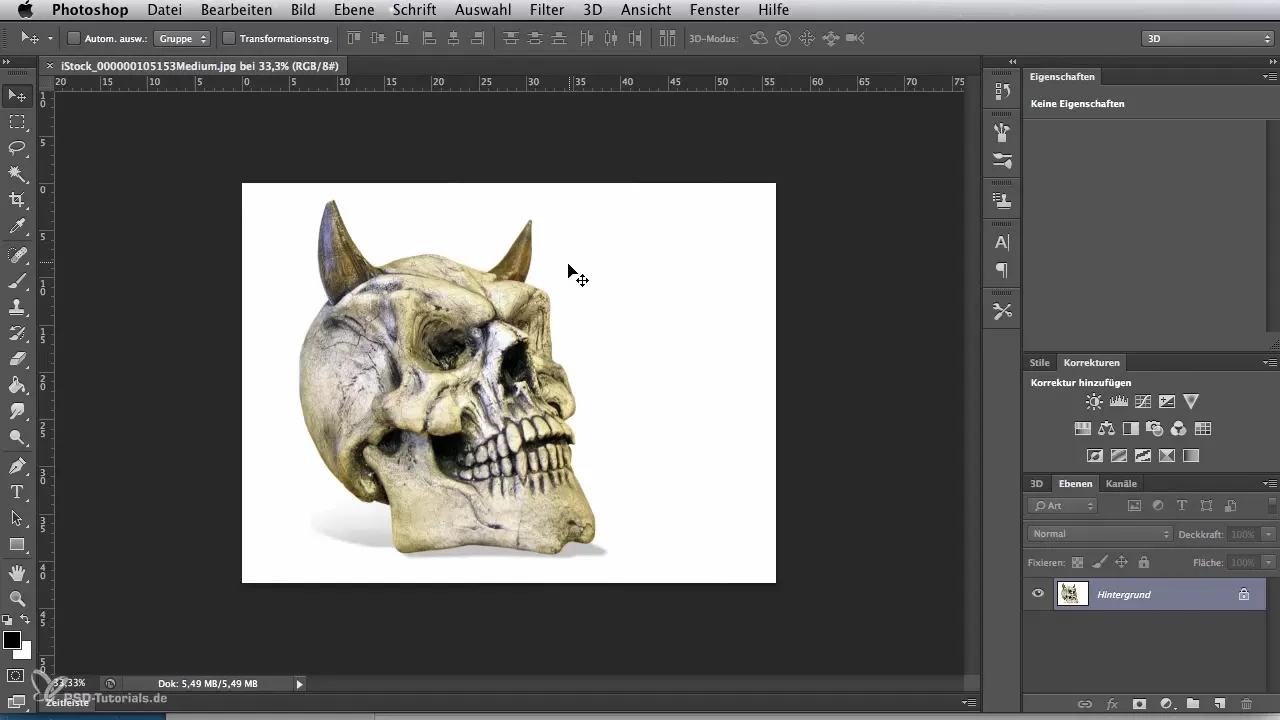
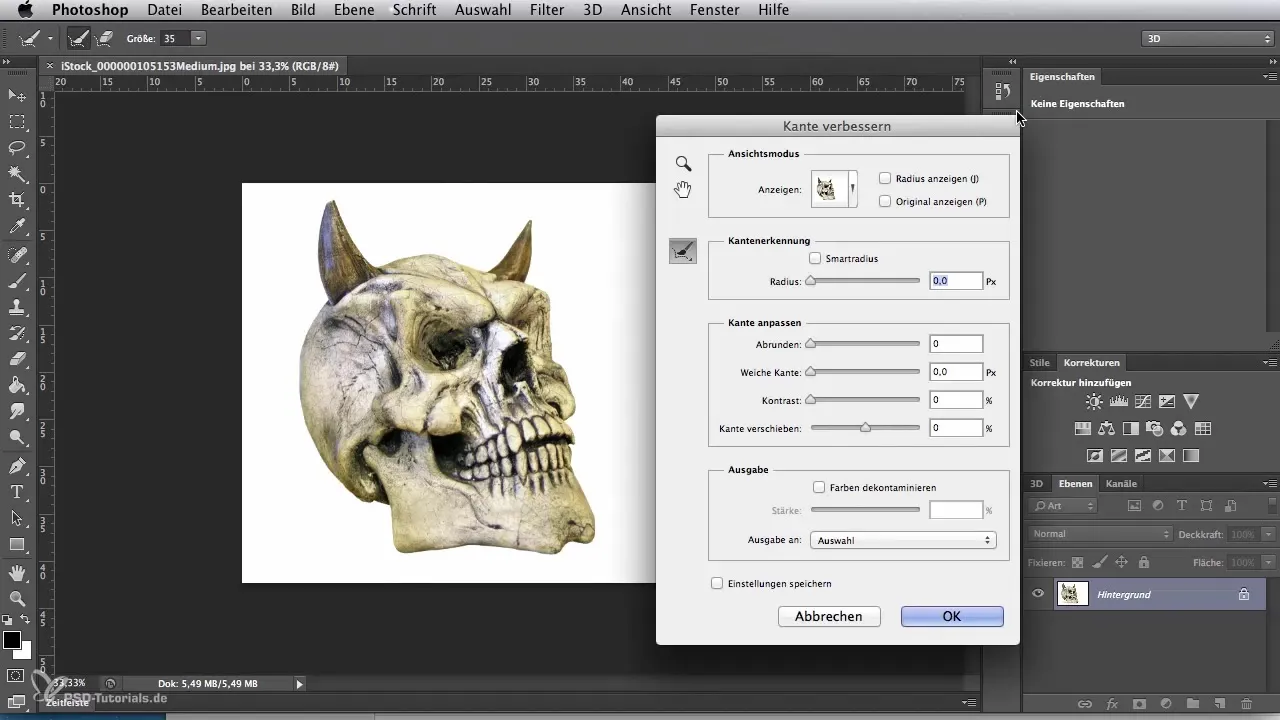
Now that the background is selected, go to "Selection" and choose "Inverse." This function ensures that only the skull itself remains selected. To refine the selection, click on "Refine Edge" to ensure that no pixel errors or unwanted white edges are left behind.
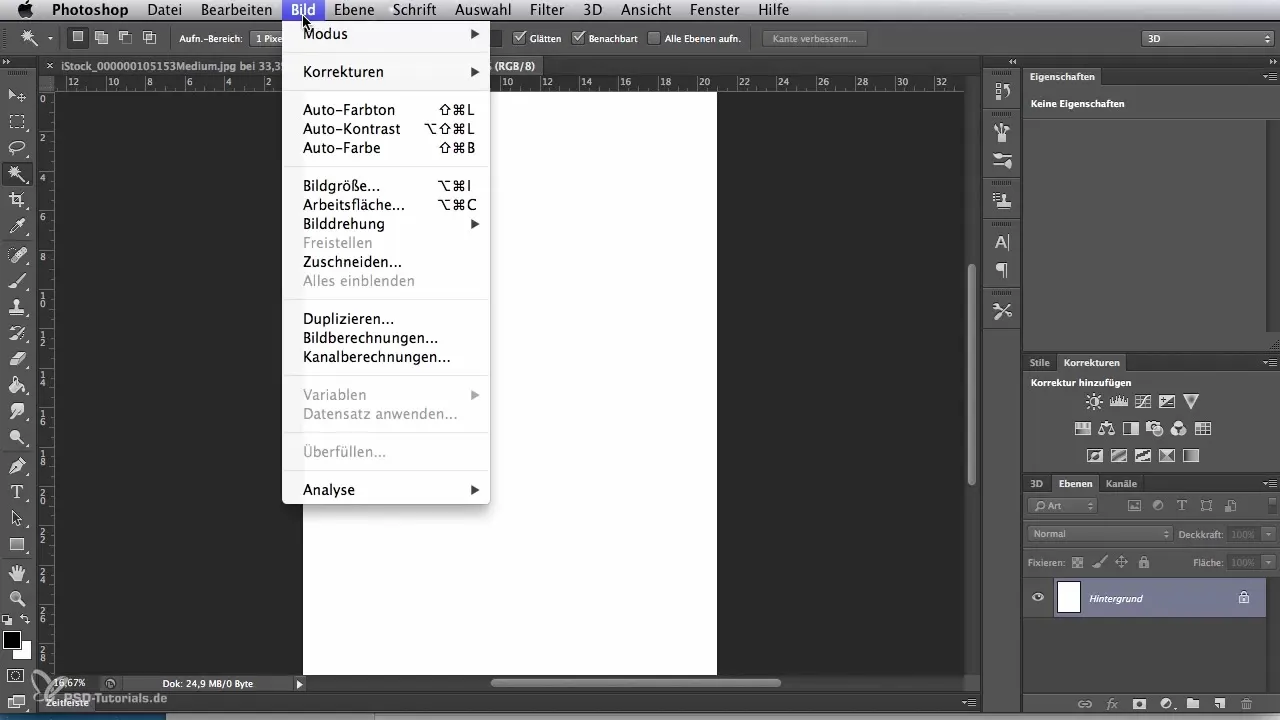
For the next phase, you need more space around the skull. Create a new file with a white canvas in A4 format. This file size provides enough space for adding the flames. Rotate the entire area 90 degrees clockwise. Now you can use the move tool to cut out the skull and paste it into your new image template.
The background of this new file is also white and needs to be changed to provide more contrast. Select the fill symbol and fill the background with black. This dark area will provide an ideal starting point for the vibrant flames that you want to add.
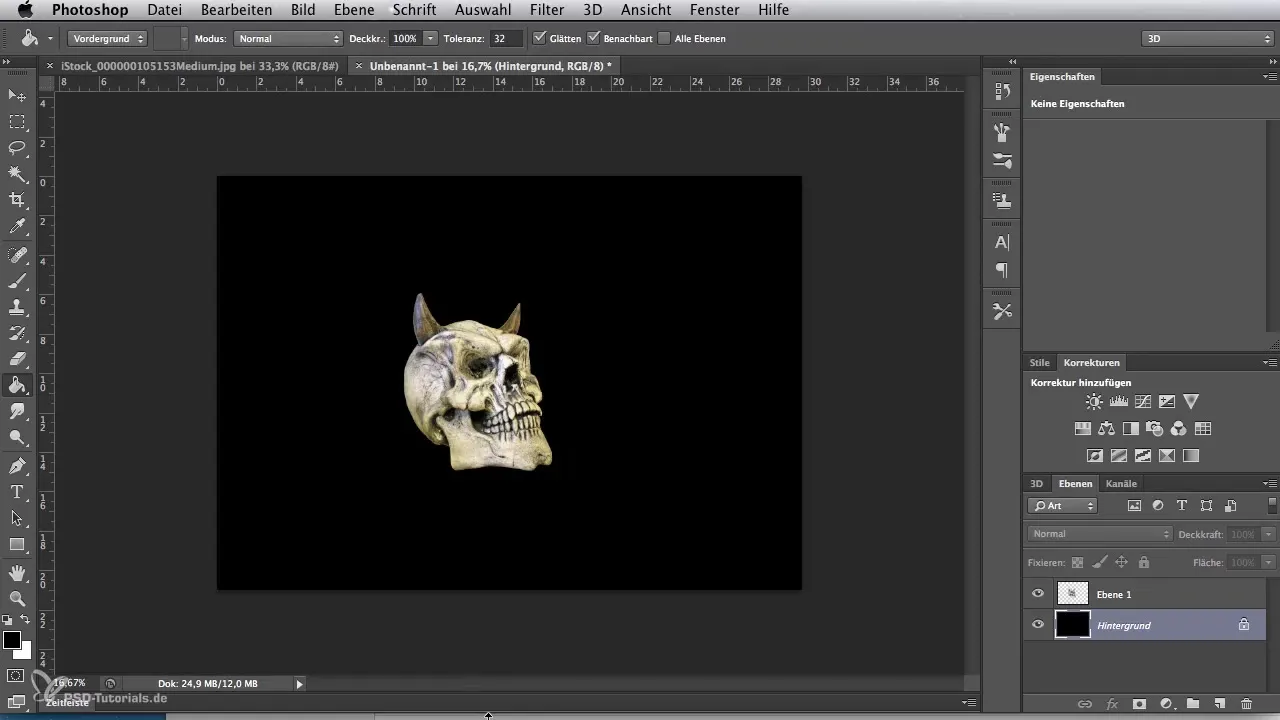
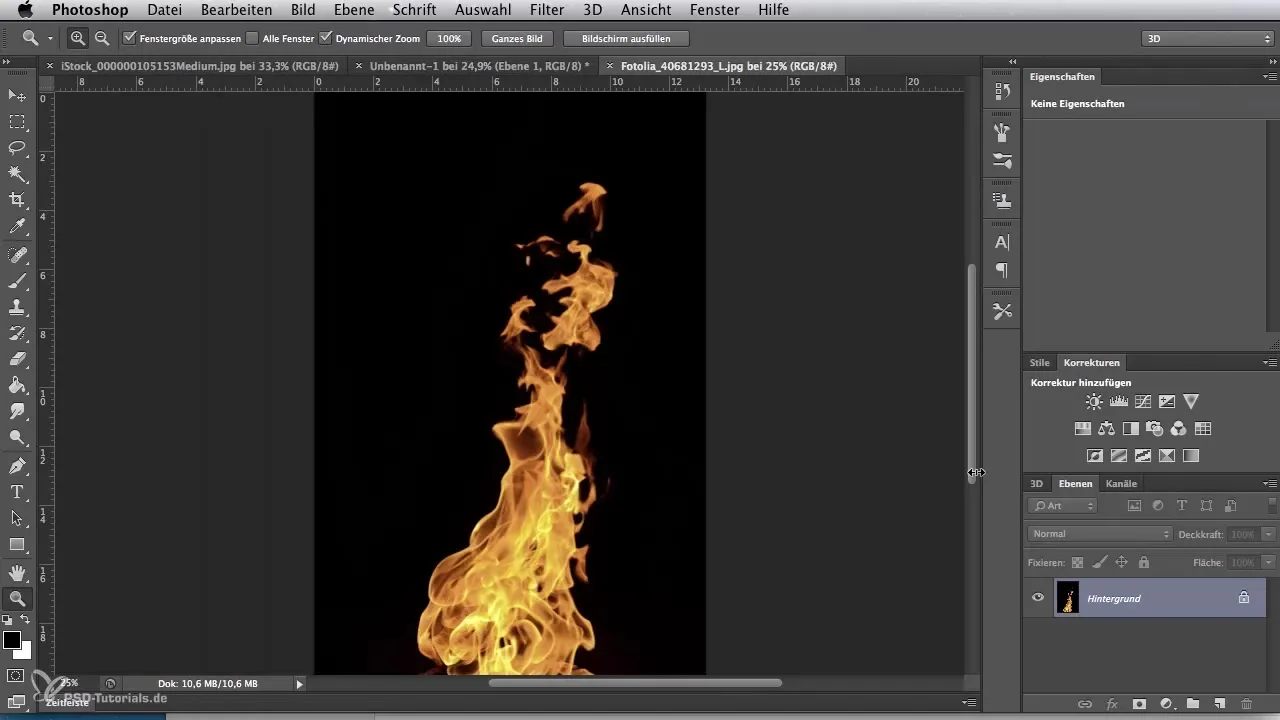
Now it’s time to import the flames. Open the corresponding stock image with the flames and use the move tool to transfer the flames into your new image. Make sure that a new layer is automatically created. Initially reduce the opacity of this layer to make positioning and adjusting the flames easier.
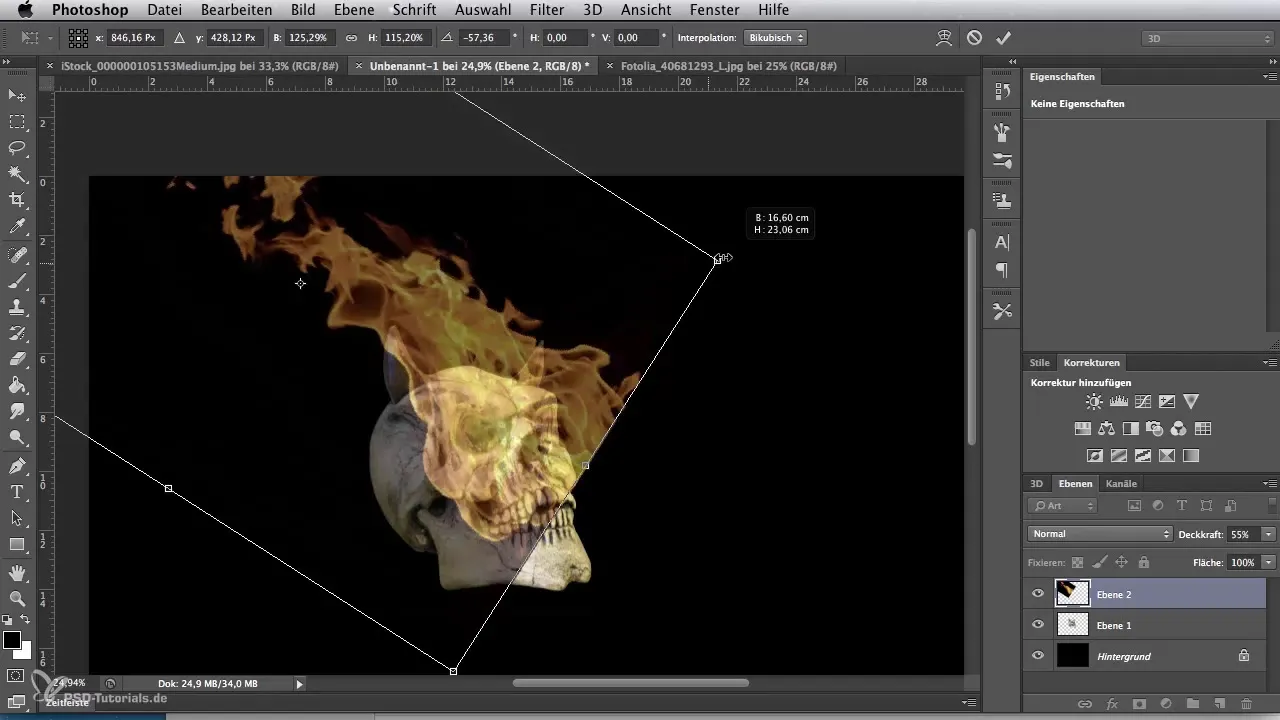
Use the "Transform" and "Free Transform" options to adjust the flames to the desired position. At the corners of the selection, you will find squares that allow you to change the size of the flames proportionally or rotate them to find the right angle. Increase the opacity of the flames layer to 100% so that they become more visible.
Since the background of the flames is black, we need to remove it to create a harmonious transition. Go to the layer properties and select "Multiply." This function blends out the black from the flame's background, transferring the color aspects of the flames onto the skull.
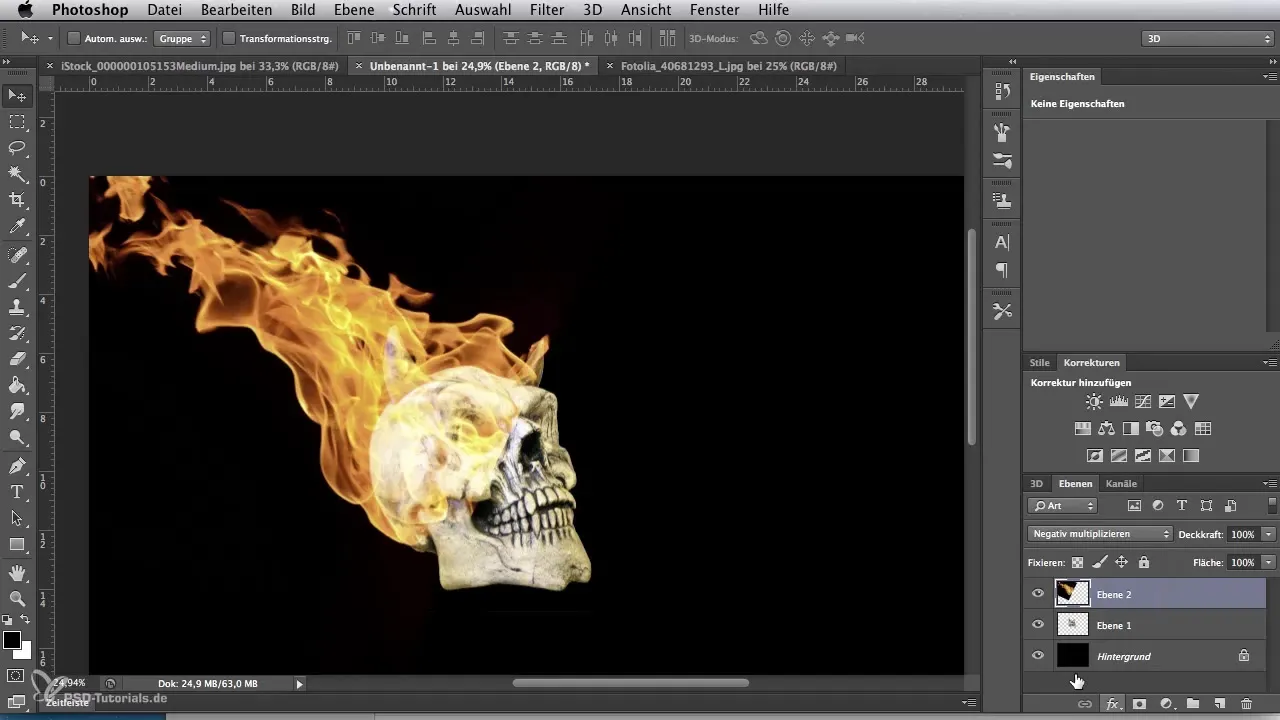
For a perfect look, you now need to edit the hard edges of the flames. Select the eraser and set it to a soft brush. Reduce the opacity and flow so that you can controlably erase the excess areas of the flames around the horns and at the edge of the skull. This will ensure a softer transition.
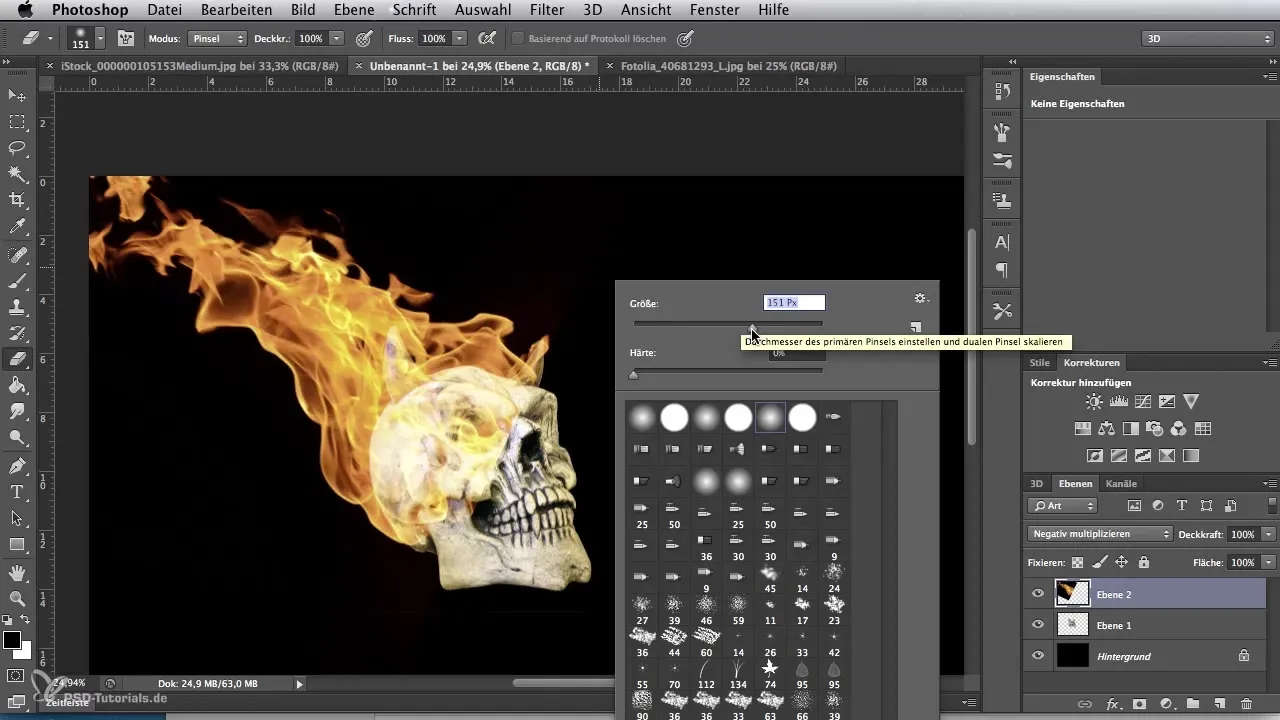
Take your time to zoom into the image and refine the edges wherever necessary. With a more precise view, you can bring the elements together and ensure that the skull harmoniously blends with the flames.
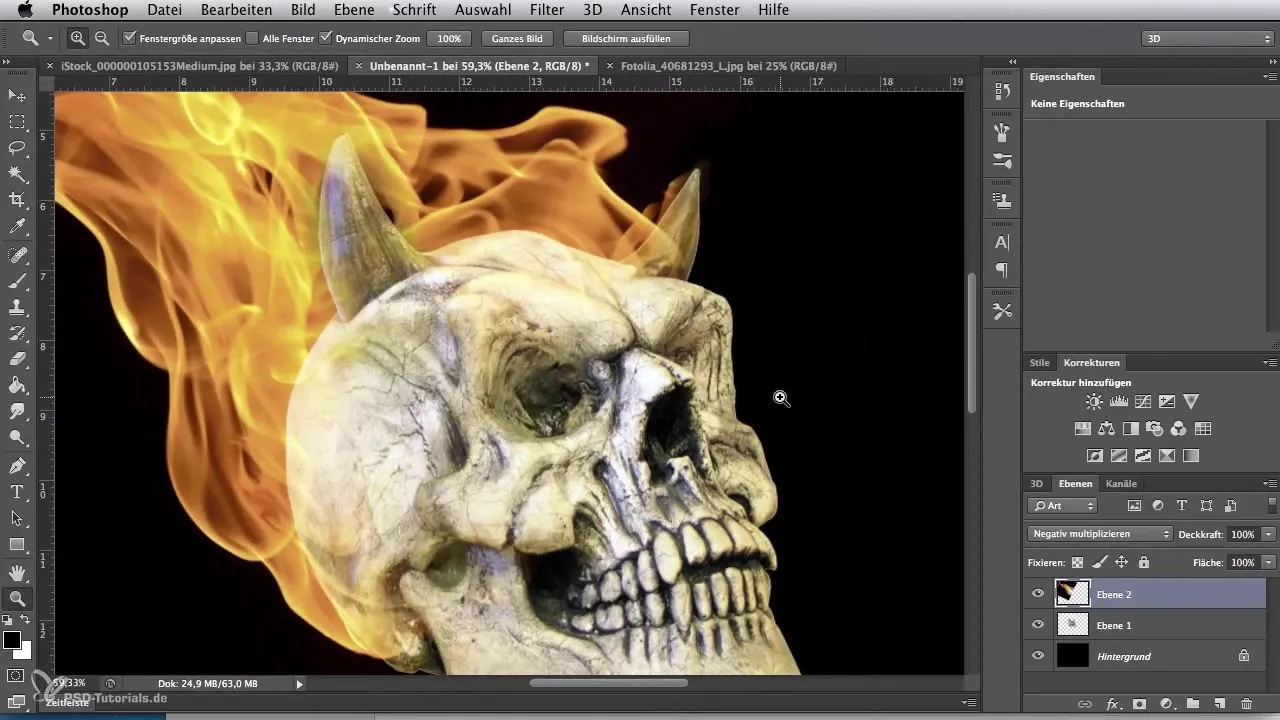
To add more realism to the skull, add some light effects. Select the skull layer and click on "Fix Background." This allows you to edit only the visible areas of the skull. Choose a round soft airbrush and a nice yellow shade to accentuate the edges of the skull and the horns.
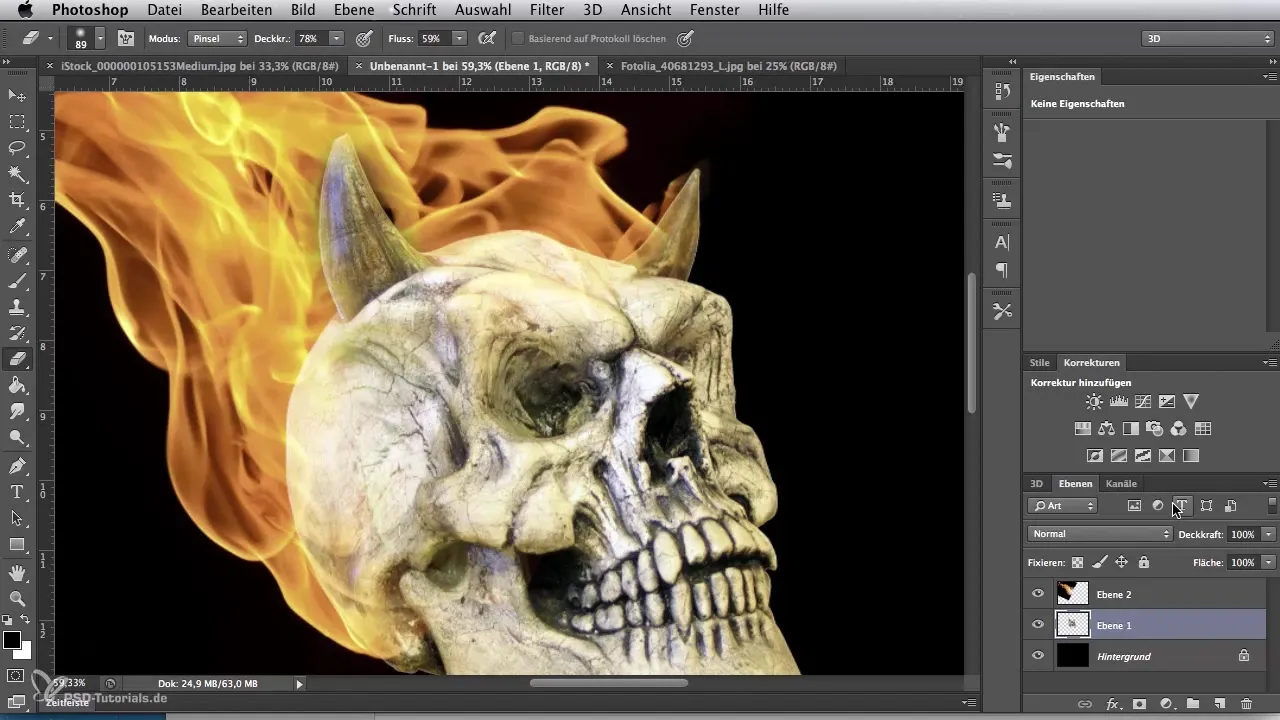
Ensure that the yellow tint remains subtle, allowing some of the original structure of the skull to shine through. The color should mimic the light being reflected by the flames.
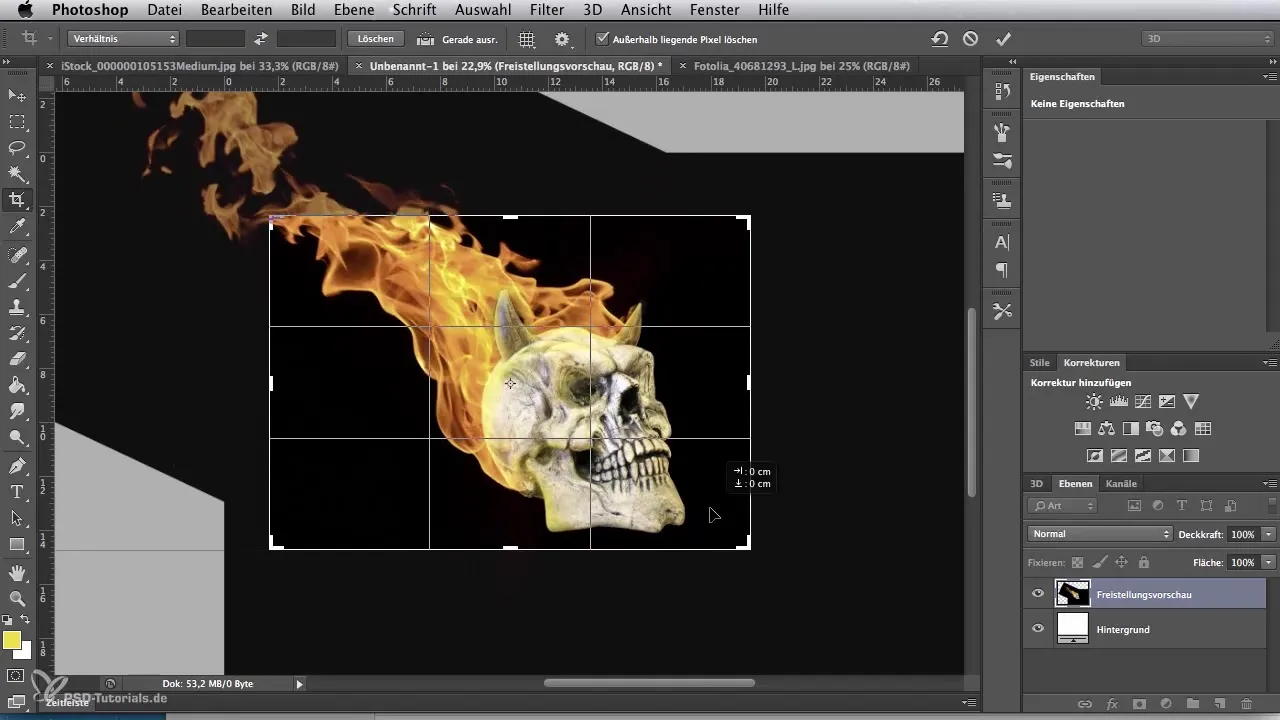
Finally, remove the black area to adjust the image crop. Use the cropping function again and drag at the corners to choose the perfect image crop. Position the skull at the bottom right and let the flames rise upwards. Confirm your selection with Enter.
Now you are ready to create your own impressive flame skull. Let your creativity flow and enjoy the process!
Summary - Digital Image Editing for Airbrush Artists: Creating Flame Skulls
Creating a flame skull requires as much technical know-how as creative imagination. You have learned how to create templates, edit layers, and achieve impressive visual results through light and color effects.
Frequently Asked Questions
How do I properly select the background?Use the magic wand tool with a tolerance level and select the appropriate areas.
How can I best adjust the flames?Use the transformation tools to adjust the size and angle of the flames.
Can I paint the skull directly on the black background?Yes, clever selection tools help you edit and adjust only specific areas.
How do I avoid hard edges on the flames?Use the eraser with a soft brush and reduce the opacity.
How can I create realistic light reflections?Select a bright color that corresponds with the flames and use a soft airbrush for smooth transitions.
