If you need contours for your artwork as an airbrush artist, there are numerous digital tools at your disposal. Creating outlines can be crucial for delimiting the right color areas and making your creative design stand out clearly. In this tutorial, you'll learn how to create effective contours using Adobe Photoshop. We will go through two methods – one using filters and the other through manual drawing. Let's get started!
Main takeaways
- You can create contours in Photoshop in two main ways: with a style filter or manually with a brush.
- Applying tone adjustments helps to optimize the image details.
- The manual method gives you more freedom in designing your contours.
Step-by-step guide
First, you need a subject template, such as a portrait. Choose the appropriate section for your contours.
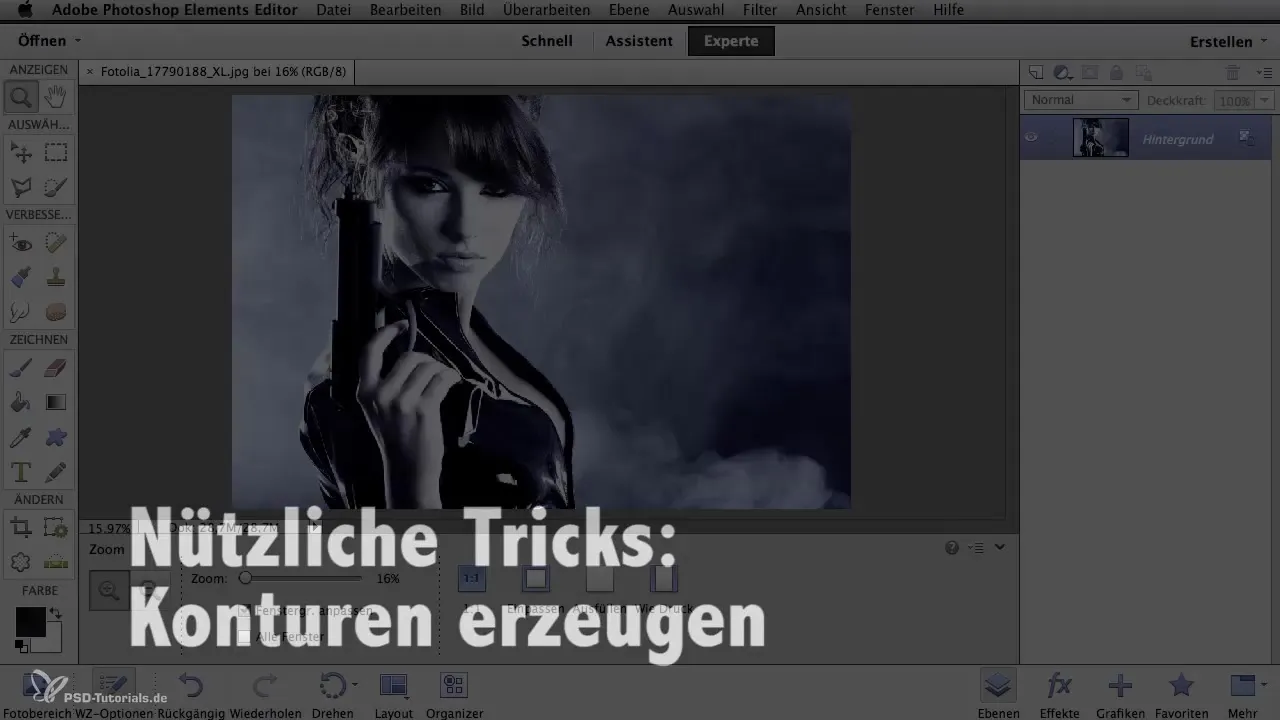
Go to the cropping tool in Photoshop and select the area you want. After isolating the subject, apply the filter – go to the “Filter” tab, select “Stylization Filters,” and then “Contours.”
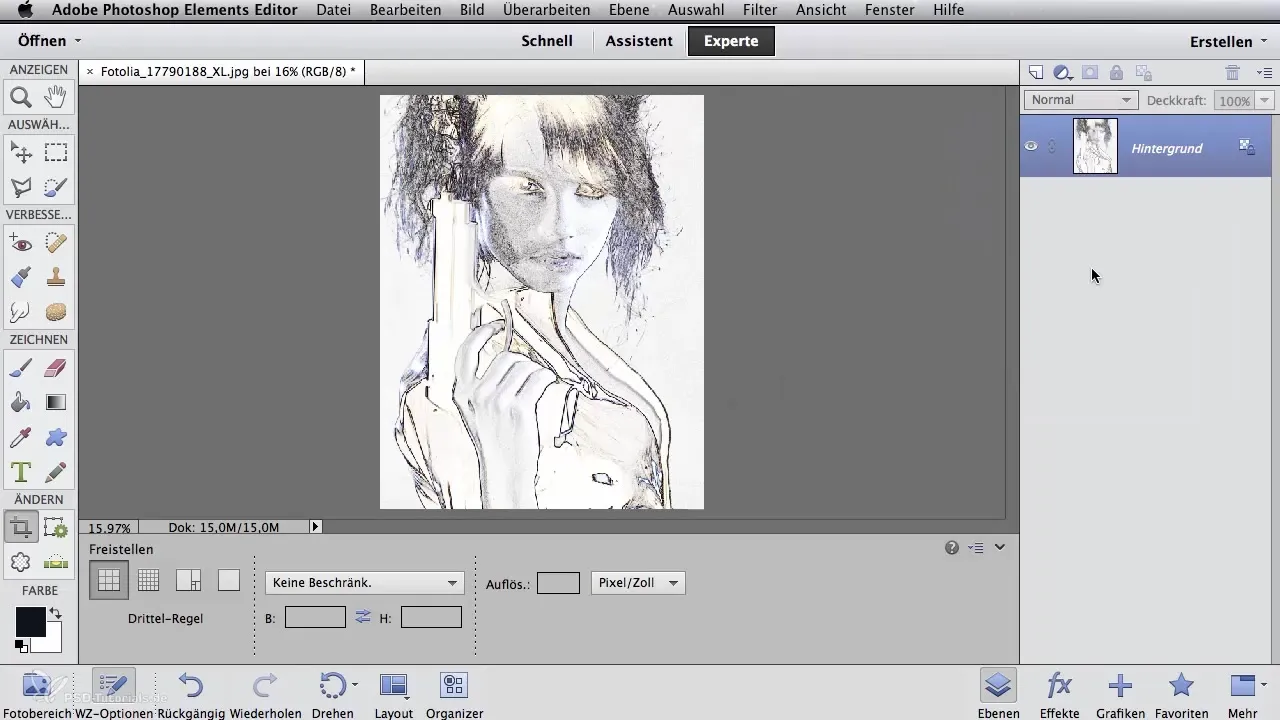
Photoshop will now automatically attempt to filter out the contours of the image. It’s an exciting moment because you can immediately see how well it works. However, in some areas, such as the lips or eyes, the result may not be optimal.
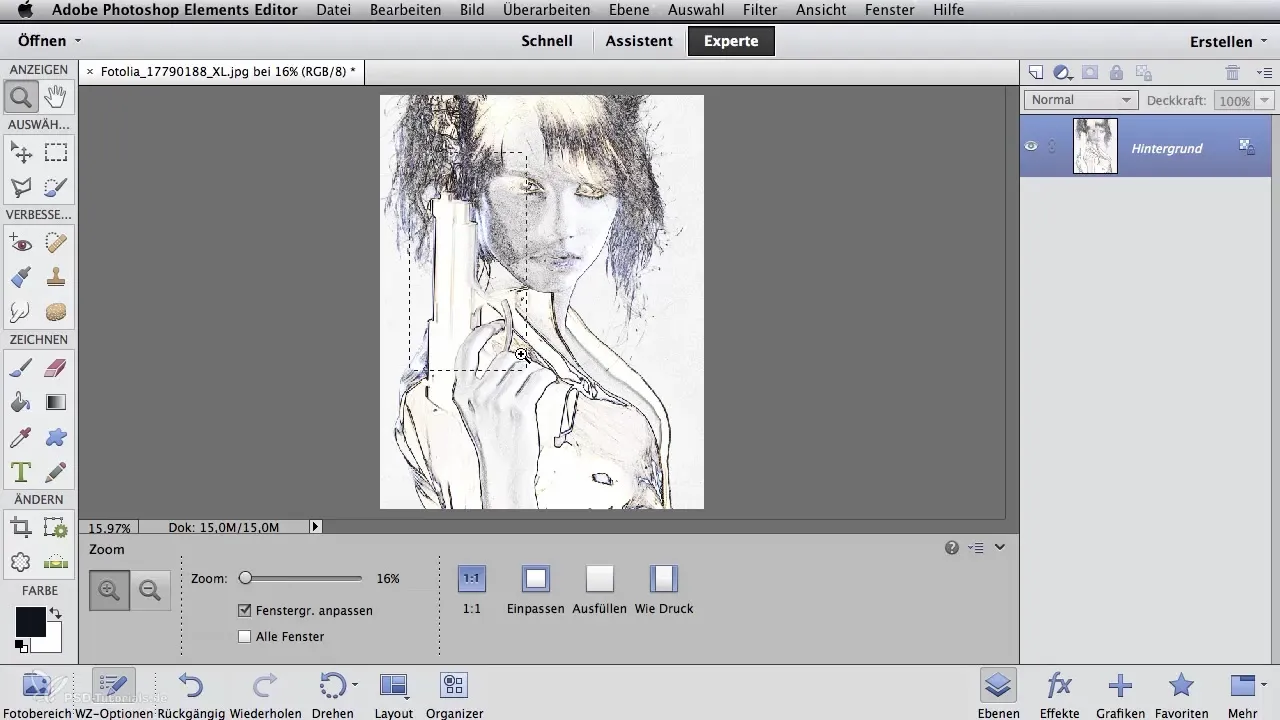
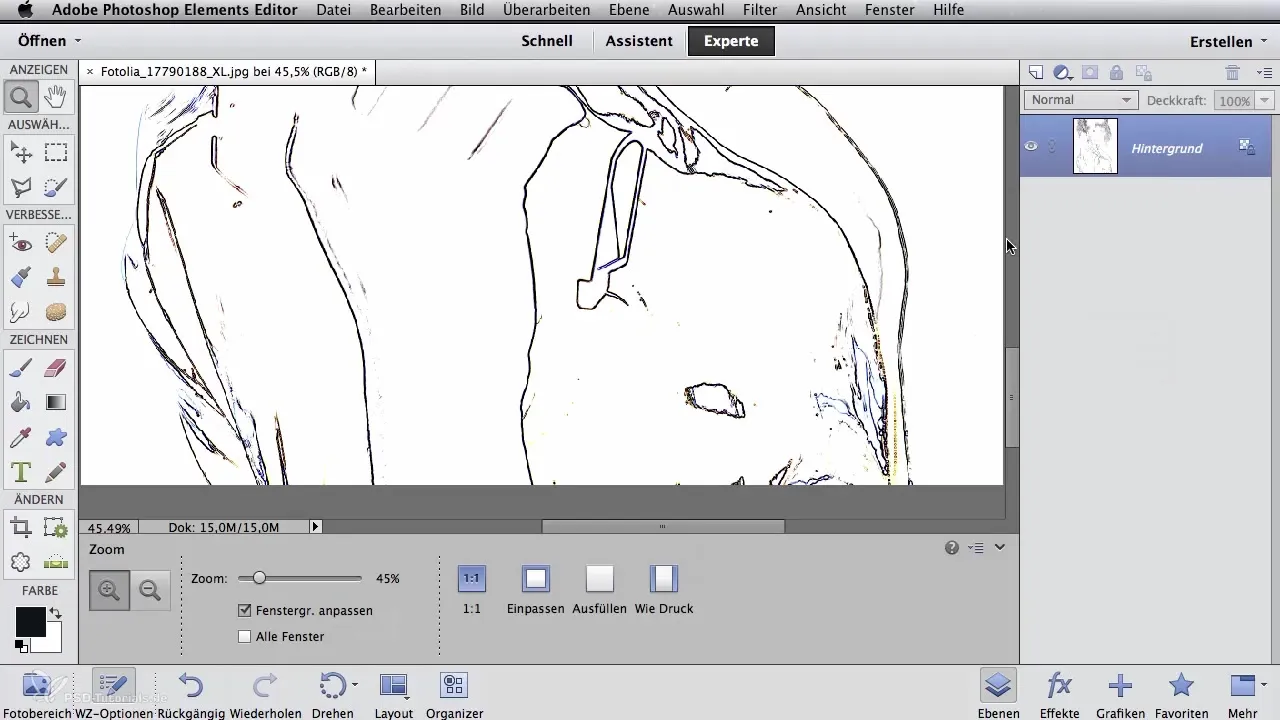
If you need improvements in certain places, you can apply the tone adjustment. This is done through the “Image” menu and then “Adjustments,” where you can change the tone values. Drag the lower slider to the left to remove unwanted noise.
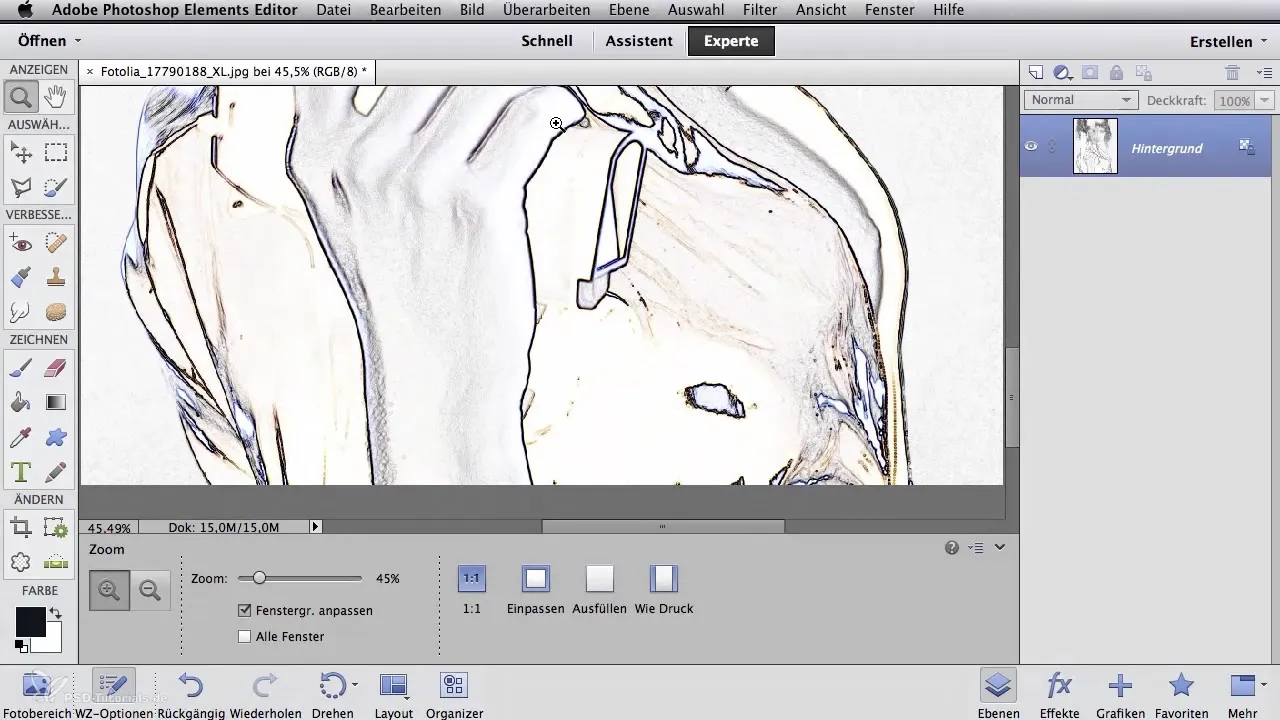
Look at the face again to ensure all important contours are visible. Particularly at the lips and eyes, it may occur that the contours are not highlighted enough.
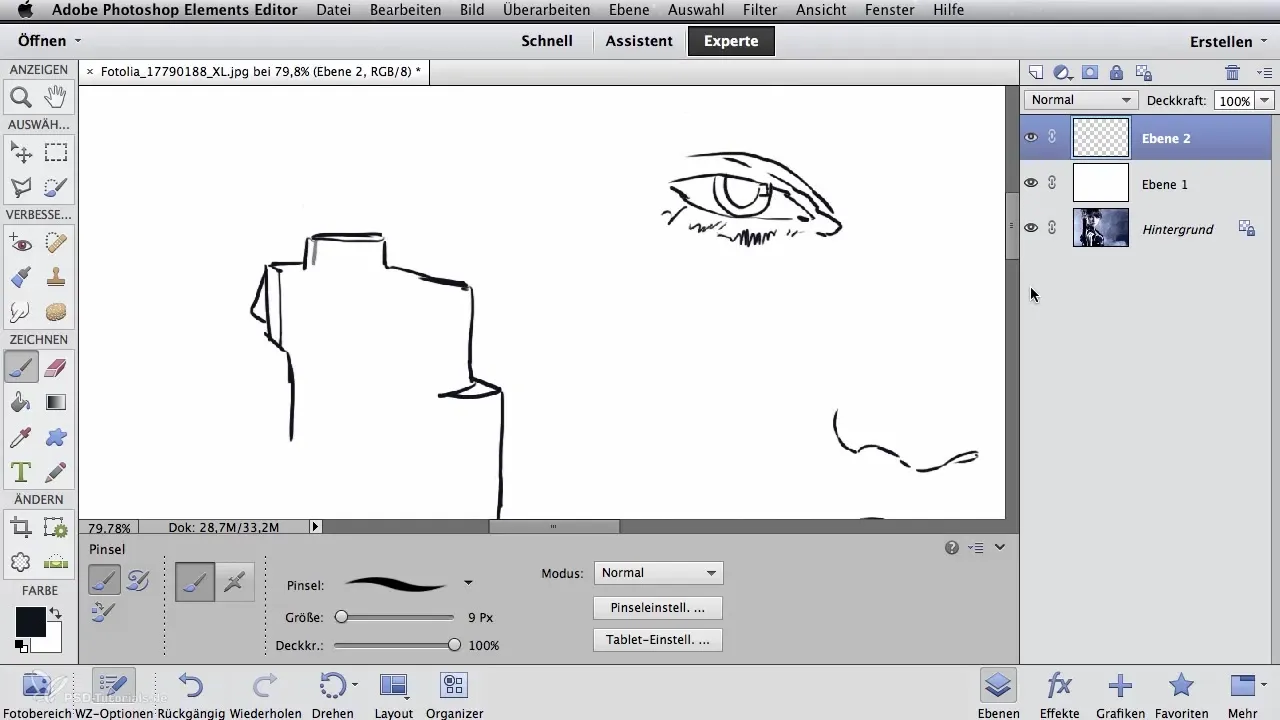
The second method for creating contours requires a bit more manual effort but offers more creative control. You create a new layer and fill it with white.
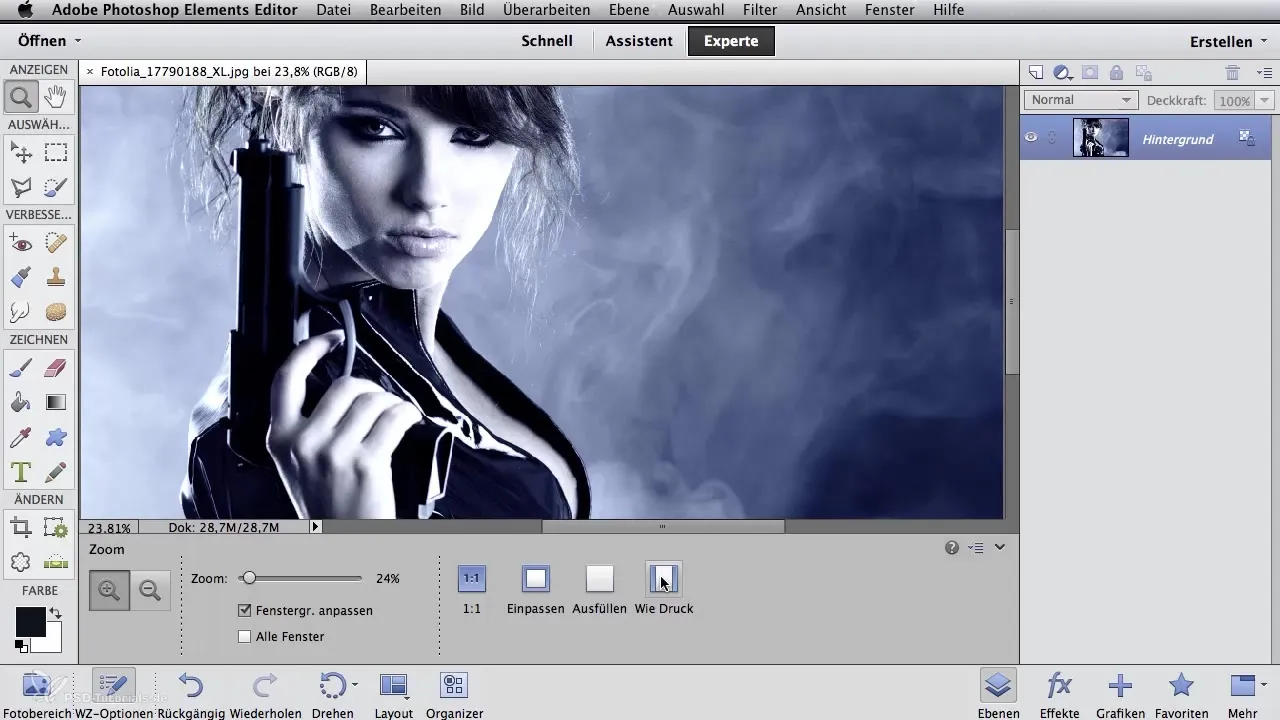
With this new, empty layer in front of you, set the opacity to about 65%. This way, you can easily see the underlying subject template while you work on the new layer. This is similar to using tracing paper.
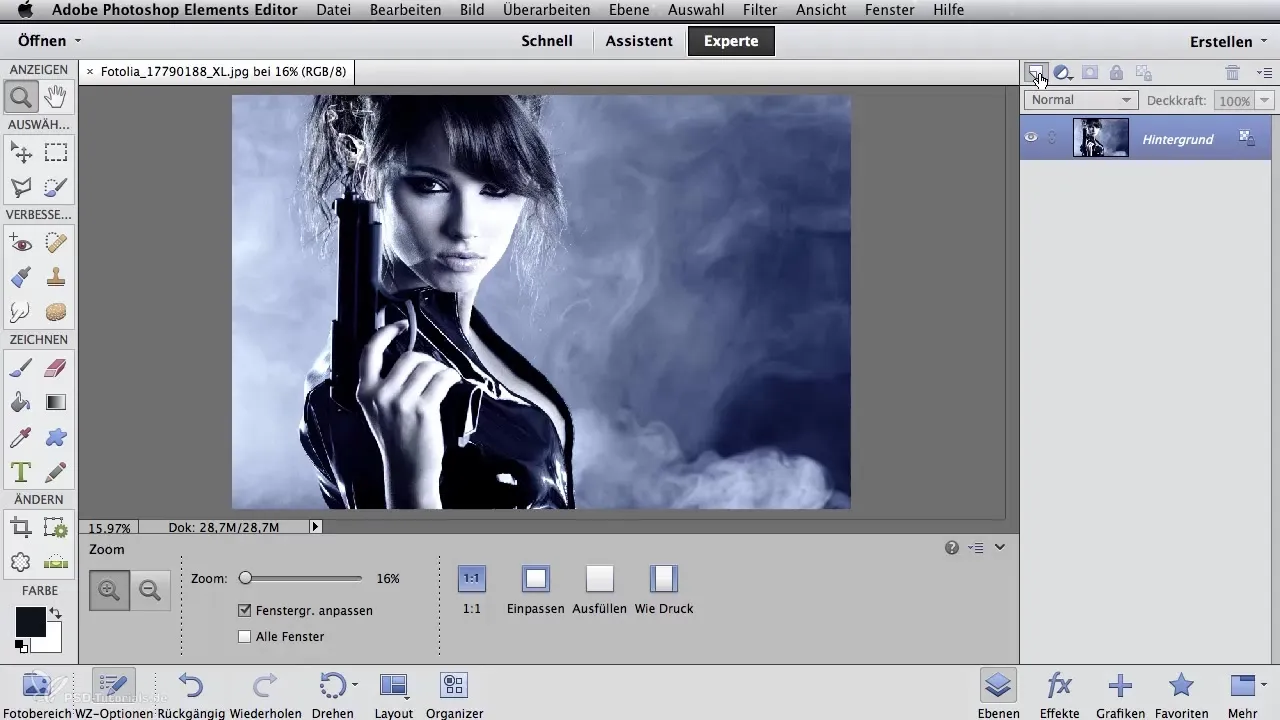
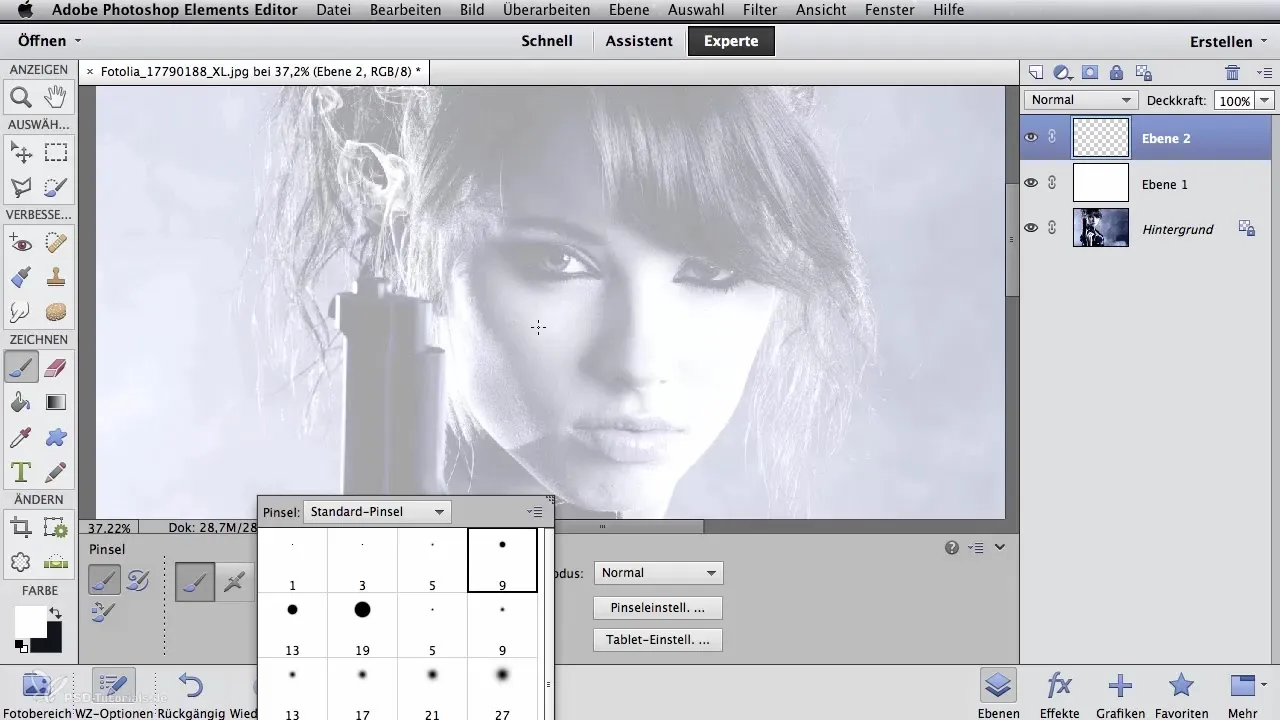
Now that the new layer is ready, go to the zoom tool to select the optimal section. Use the brush tool and select a small standard brush.
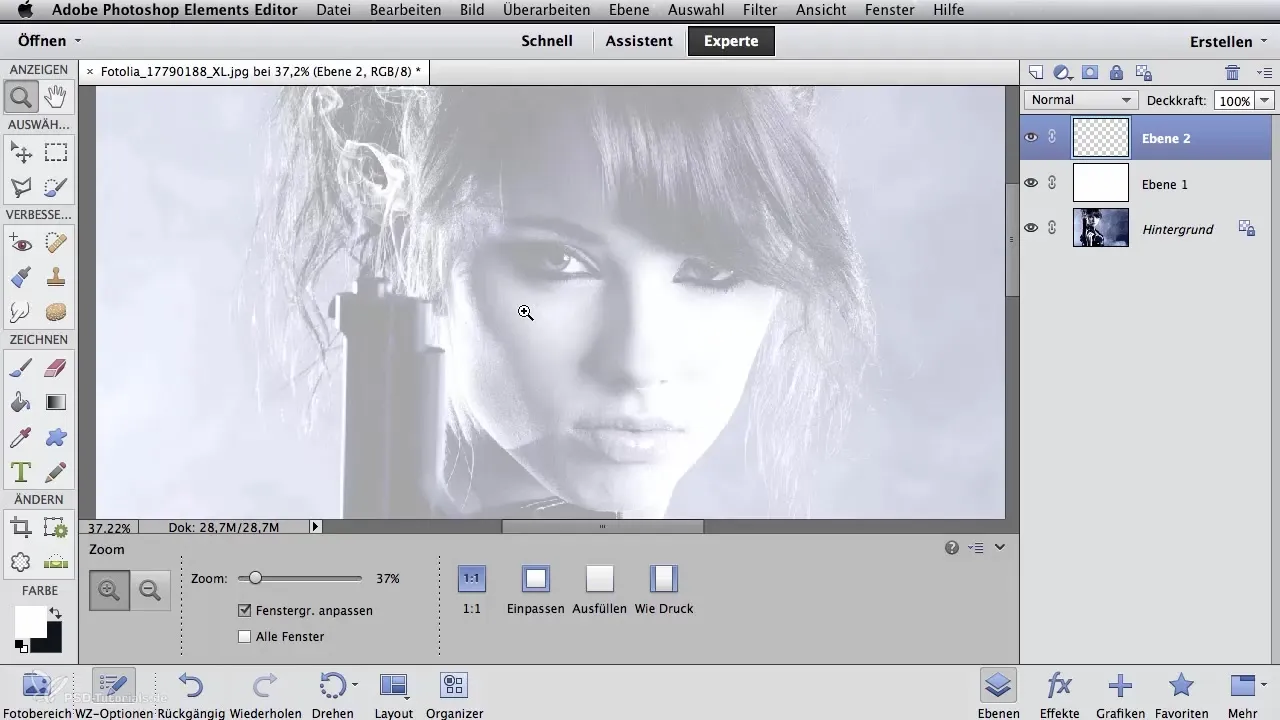
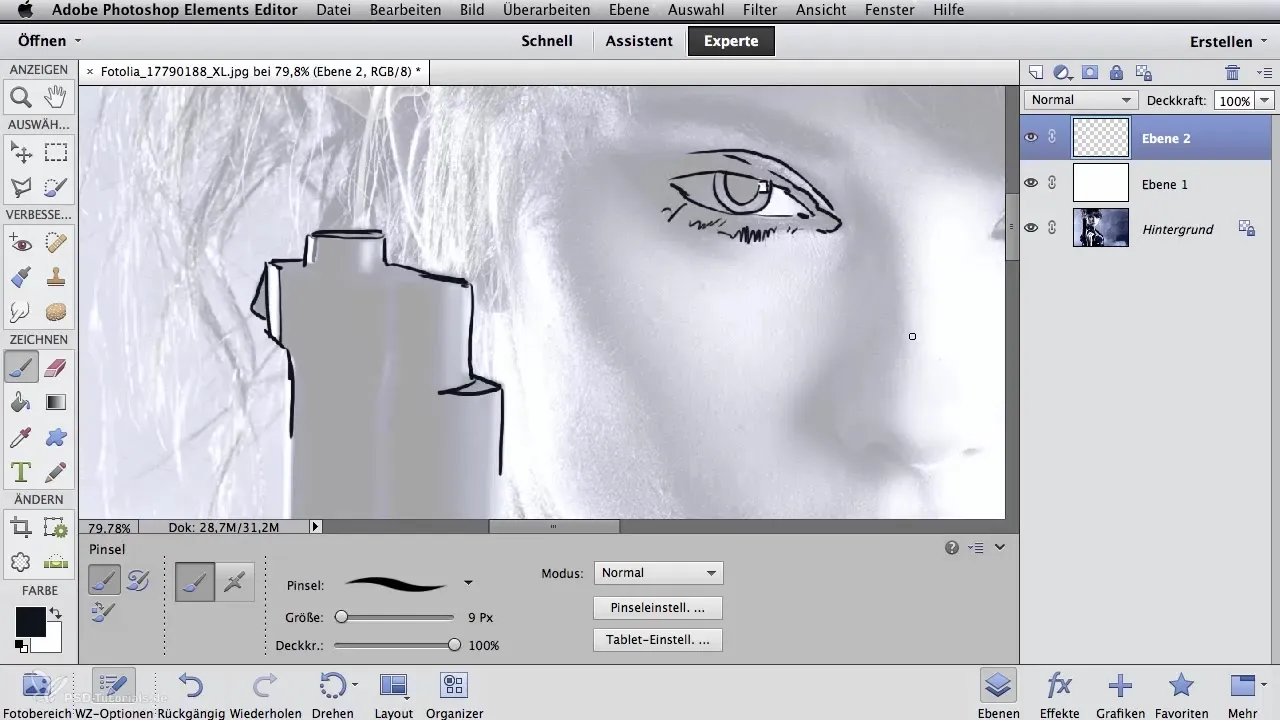
Switch to the color black and set the opacity to 100%. Now you can start drawing and defining the desired contours.
Especially around the eyes, the larger color areas are connected. Just make sure you really capture the contours where they are visible. This method allows you to precisely determine which contours you need – a clear advantage over the filter method.
If you make a mistake while drawing, you can always go back with the eraser. Additionally, it is possible to hide the outline layer using the eye symbol on the layer. When you set the layer with the white background to 100% opacity, you will only see your outline drawing.
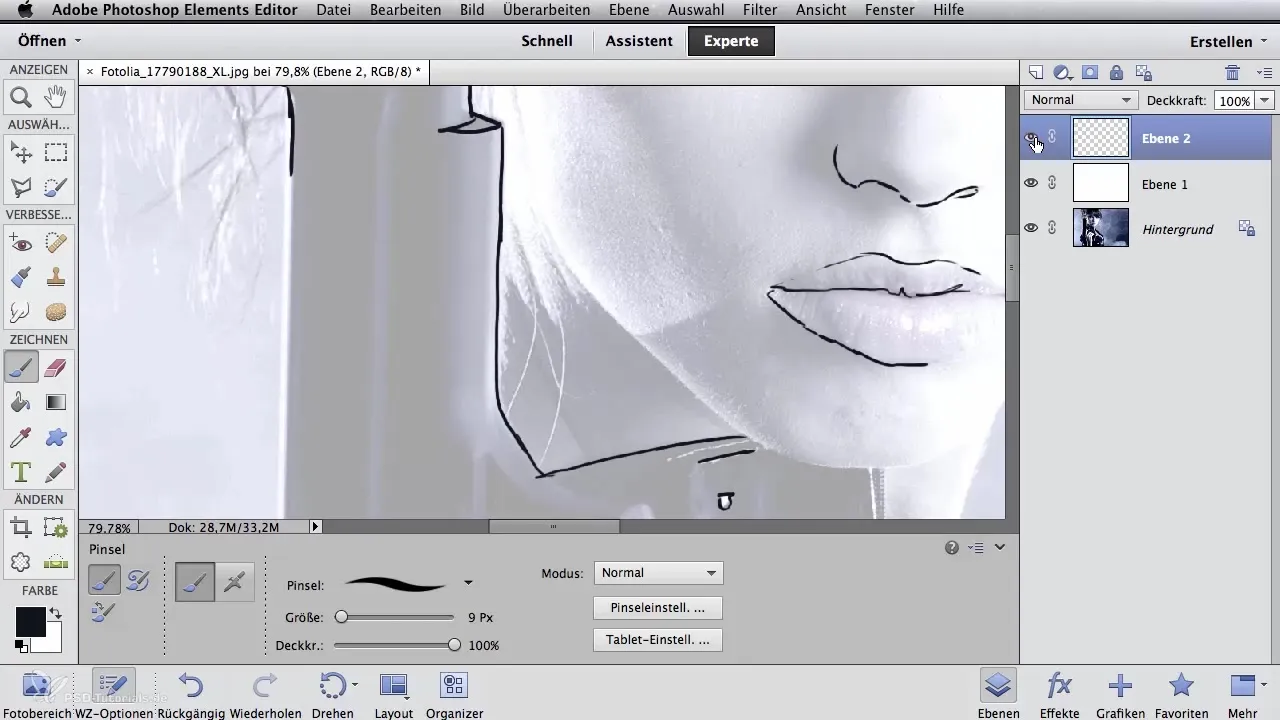
Finally, you can either print your contours or use them to create stencils. This flexibility is crucial for airbrush projects.
Summary - Creating digital contours for airbrush artists
In this tutorial, you learned how to create contours in Photoshop in two different ways – once using filters and once through manual drawing. Both methods have their advantages; choose the one that best fits your style as an artist. Experiment with these techniques to find out which is the most effective for your projects.
Frequently Asked Questions
How can I achieve the best results when creating contours?Experiment with both methods and see which gives you more control over your designs.
Can I adjust the contours later?Yes, using separate layers allows you to make changes at any time.
What should I do if my contours appear too weak?Use the tone adjustment to improve the visibility of your contours, or manually redraw them.
