You are a airbrush artist looking for ways to visually prepare your creative ideas before starting the actual execution? Visualizing designs on vehicles or unusual surfaces will help you give your clients a better feel for the final result. In this guide, you will learn how to effectively use digital image editing to integrate designs on vehicles.
Main Insights
- The process of extracting the subject is crucial for the representation of the design.
- Hue changes are easy to make without affecting the light and shadow conditions.
- Using layer and masking tools makes integrating designs straightforward and flexible.
Step-by-step Guide
To visualize a design for a car, we will go through the following steps:
Step 1: Make Preparations
First, open Photoshop and prepare your design as well as the images of the vehicle. Make sure that both images are in the same format to facilitate integration later on.
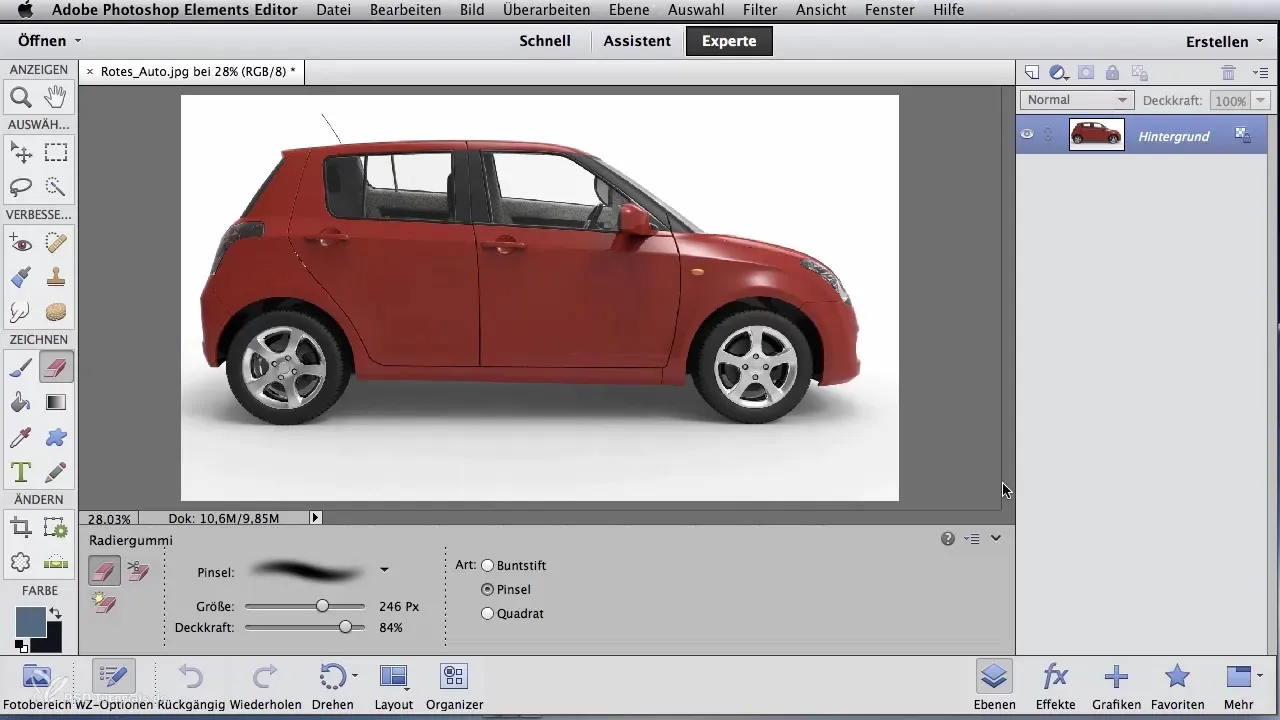
Step 2: Extracting the Design
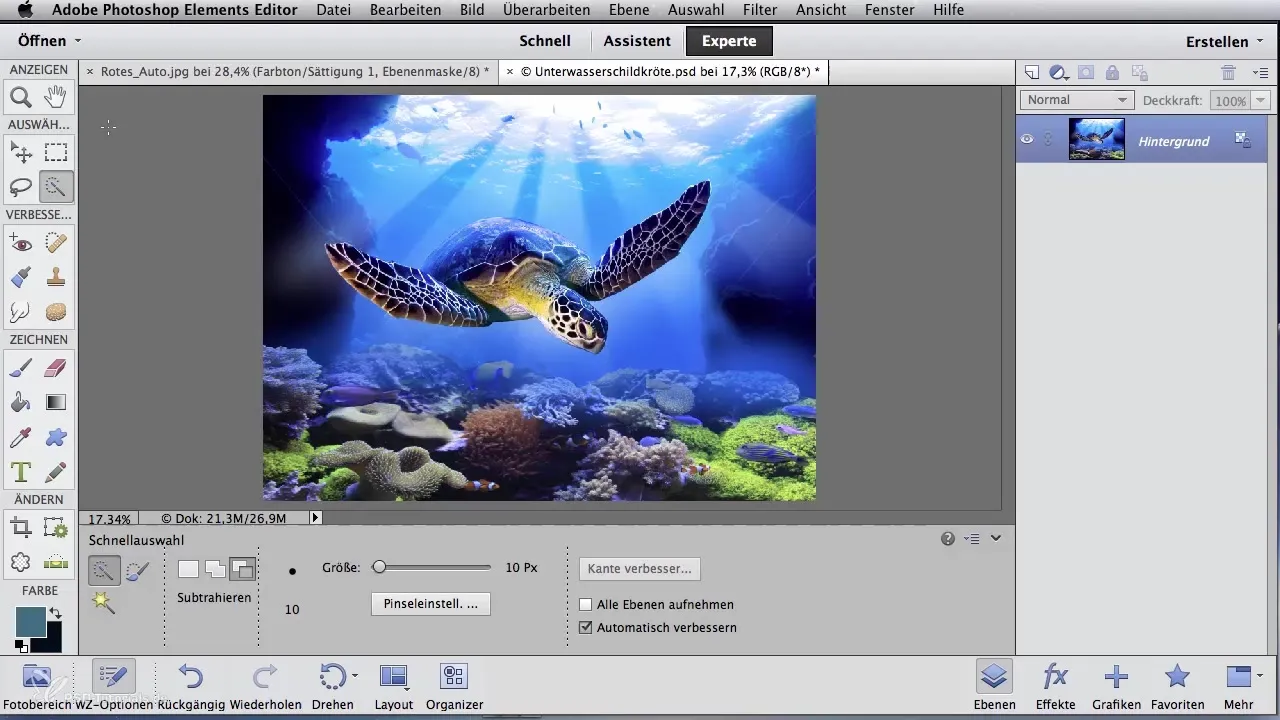
The next thing you need to do is extract the design. Use the Quick Selection tool found in the tool palette. Click on "Add to Selection" to extend the psychological selection and mark the area of the car. Make sure the brush is set to the right size so you can work precisely.
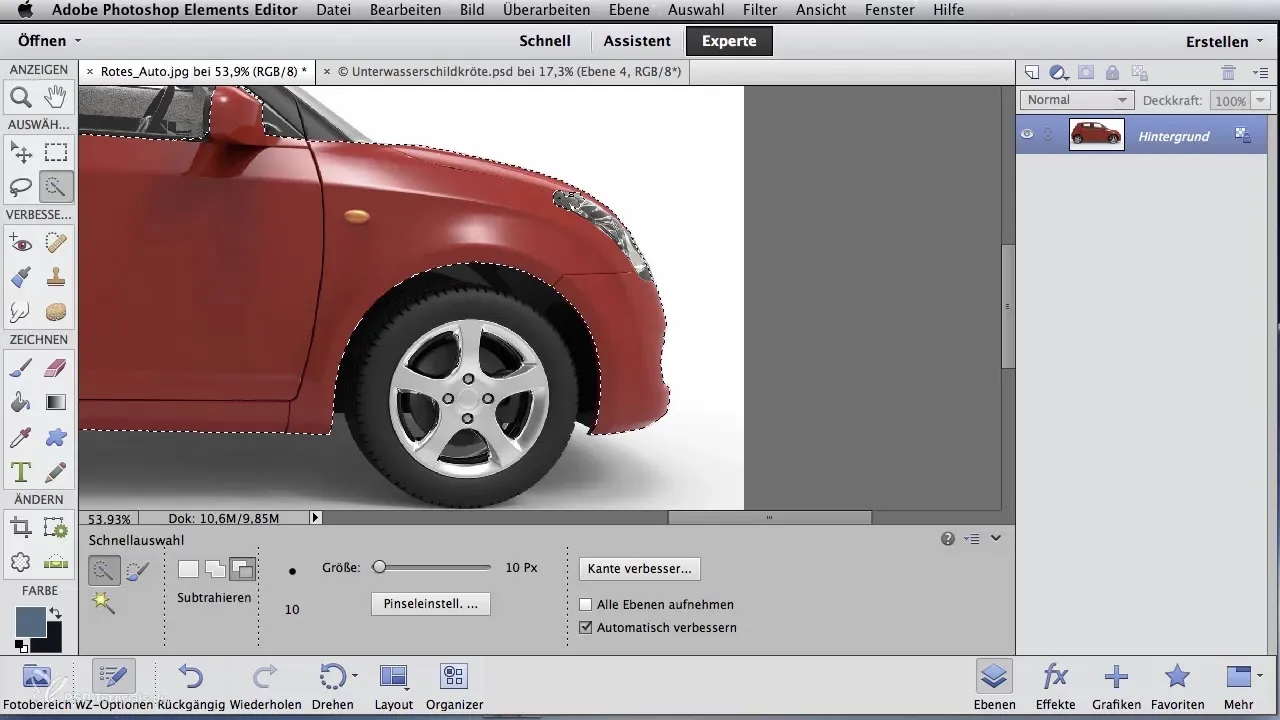
Step 3: Fine-tuning the Selection
Too many areas may have been selected, such as windows or headlights. Use the Subtract command in the tool palette to remove these unwanted areas. Then zoom in to check the details and ensure that only the desired areas are selected.
Step 4: Adjusting Hue
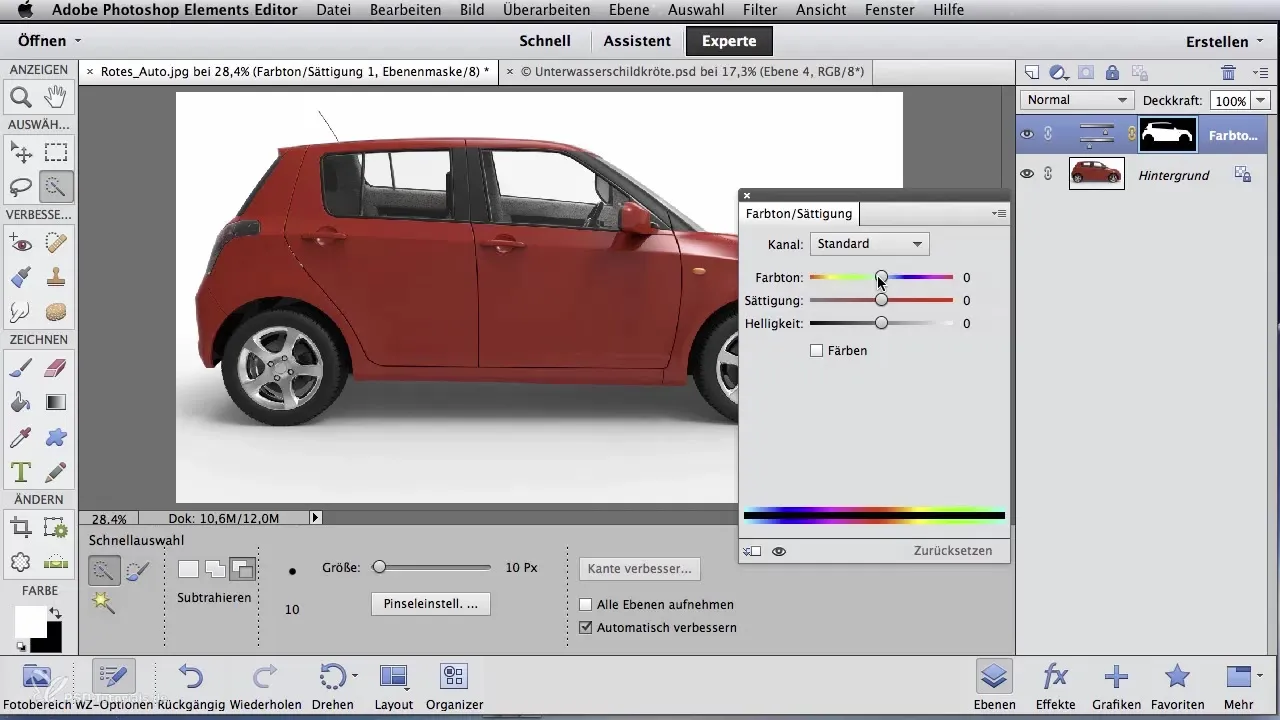
Now you can adjust the color of the car. Go to "Hue/Saturation" and change the hue from red to a desired other hue. You will see that the light and shadow conditions remain unchanged, making the visual representation easier.
Step 5: Merging Layers
If your design is in multiple layers, you should merge them now to keep track. Use the command to reduce all layers to a background layer.
Step 6: Inserting the Design
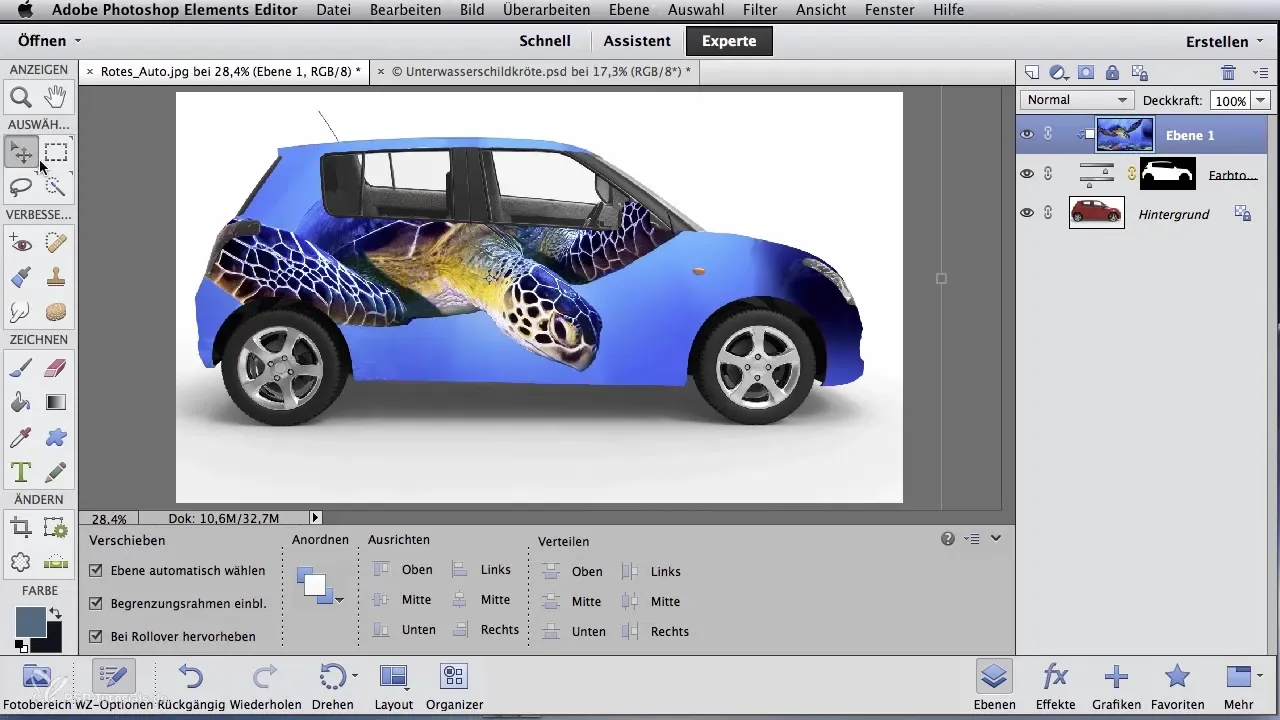
Use the Move tool to move the design into your new illustration. Since you previously selected an adjustment layer, Photoshop has automatically created a mask. Hold down the Alt key and click between the layers to automatically insert the design into the mask.
Step 7: Adjusting Size and Position
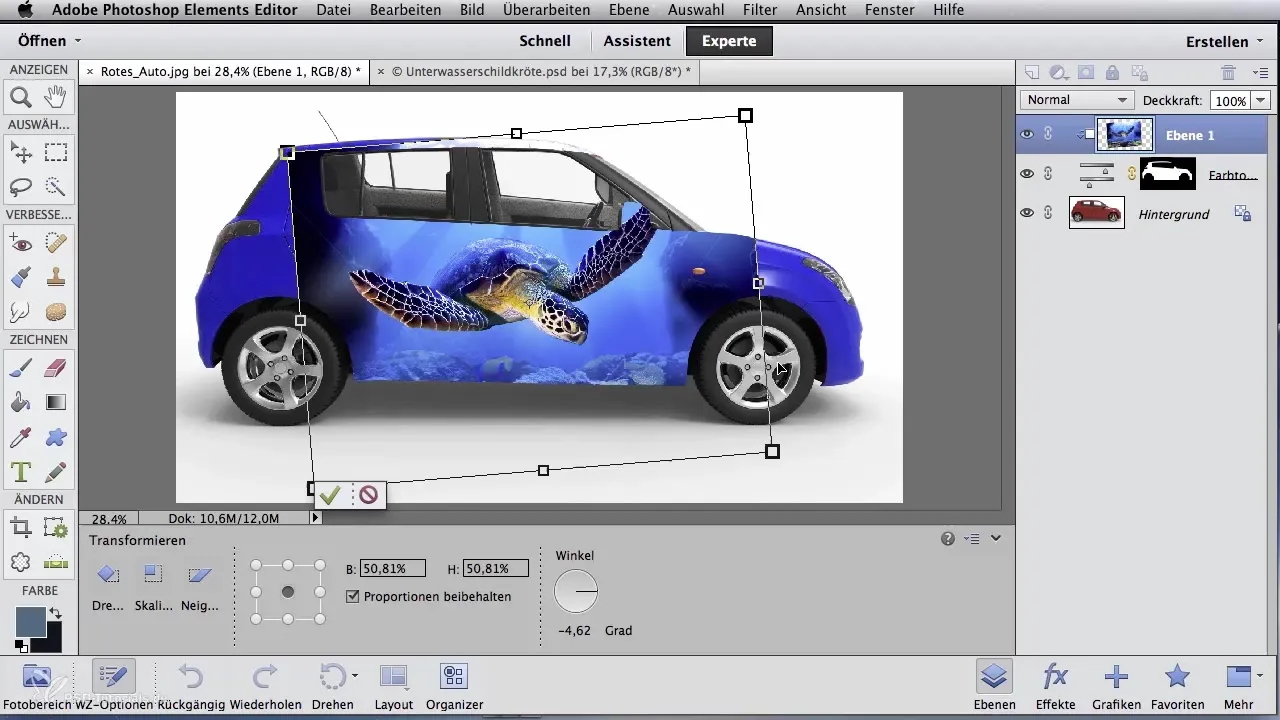
Now you can adjust the size of the design by pulling the small corners of the bounding box. Position the design in the desired place on the vehicle before confirming the changes.
Step 8: Adjusting Edge Hardness
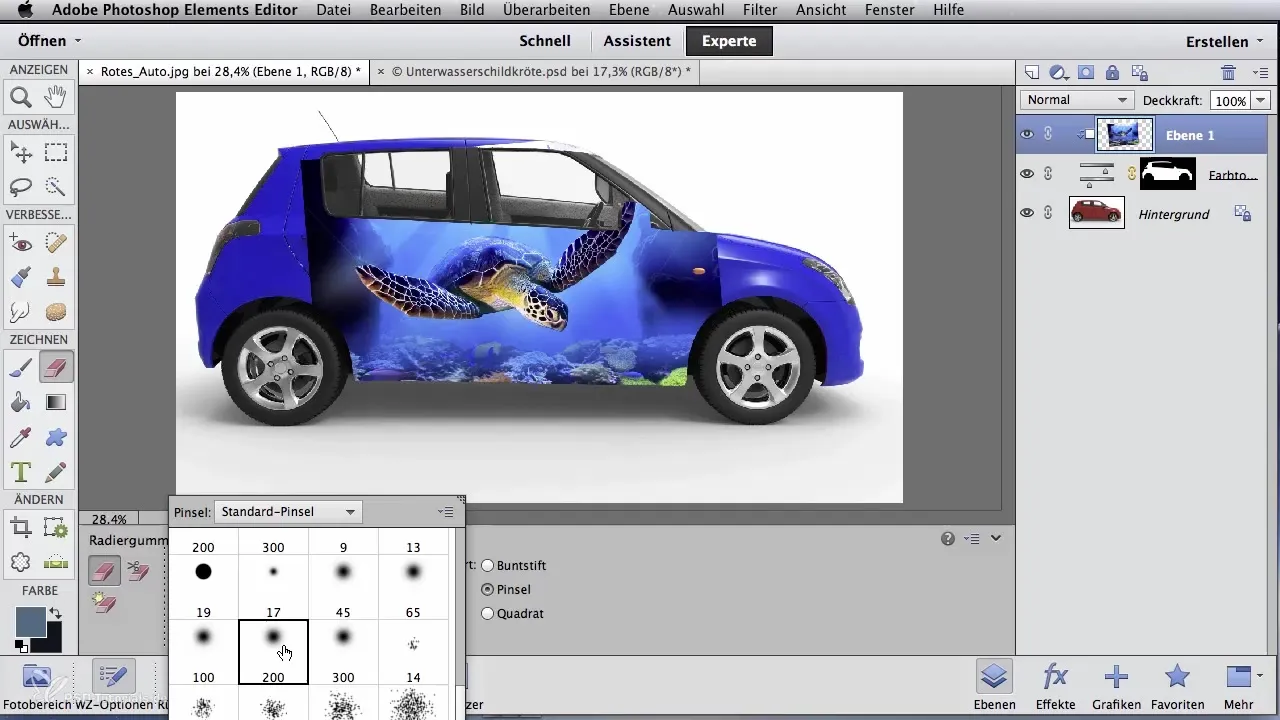
To optimize the blending, select the Eraser tool. Set it to a soft, round brush tip with reduced opacity. Erase the areas of the design that have too harsh edges so it blends better with the vehicle's color scheme.
Step 9: Final Touch-Ups
If there are still colors missing or transitions appear rough, use a regular brush to pick up the hues from the design and evenly distribute them throughout the image. Work on the transitions to achieve a harmonious overall look.
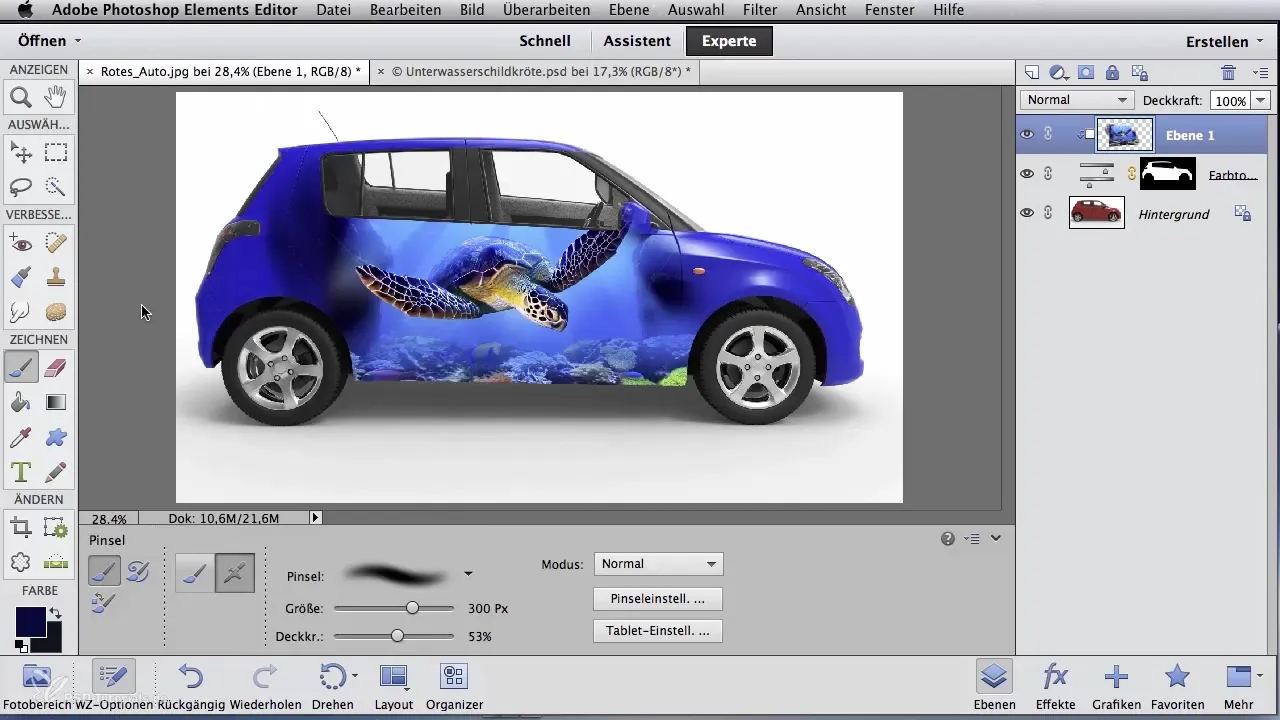
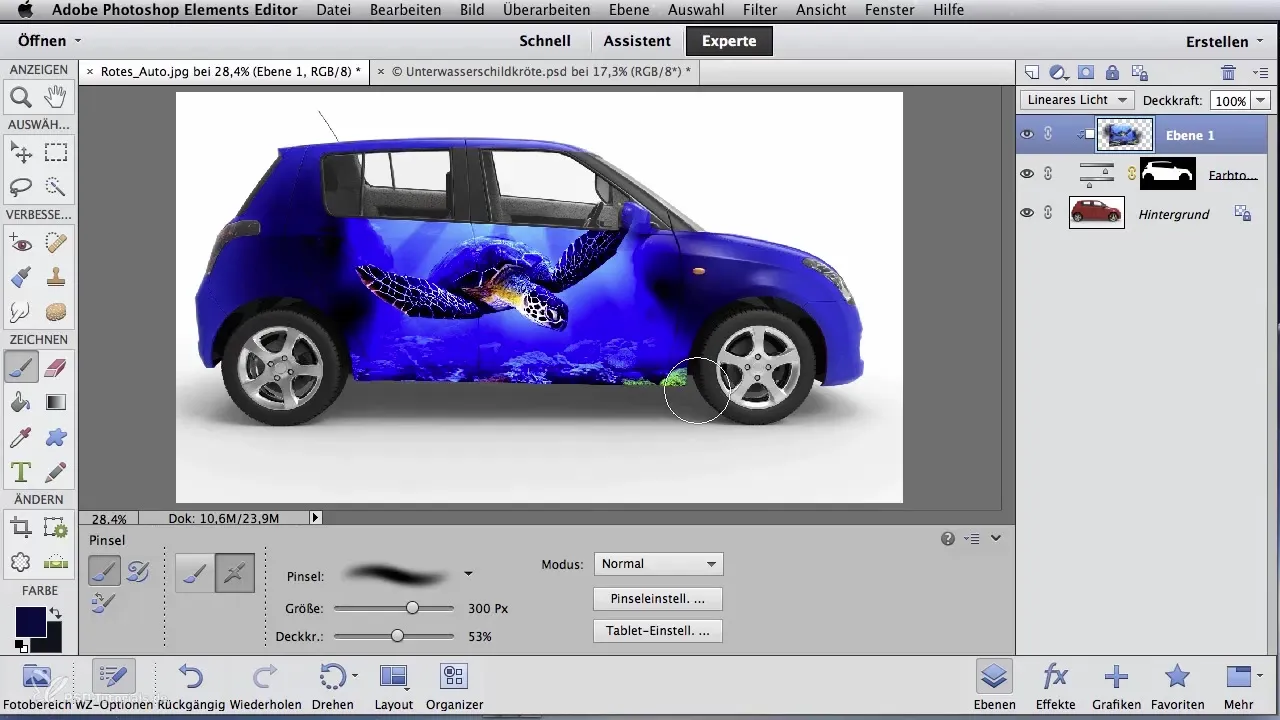
Step 10: Optimizing Layer Mode
Check the layer mode to ensure that the design remains clear and visible. Try different modes like "Screen" or "Linear Light" to find the best representation.
Summary – Digital Image Editing for Airbrush Artists: Useful Tricks for Client Visualization
In this guide, you have learned to digitally transfer a design onto a vehicle step by step and adapt it to the conditions. From extraction to the final touches to enhance the representation – you have all the tools you need to create effective and appealing presentations for your clients.
Frequently Asked Questions
How can I extract a design?Use the Quick Selection tool in Photoshop to select the design and exclude unwanted areas with the Subtract command.
Can I keep the original hues of my design?Yes, with the layer settings you can adjust the hues without changing the light and shadow conditions.
How do I integrate a design into my vehicle image?Merge the layers, use the Move tool, and apply masks to insert and adjust the design.
