The challenge of digital image editing offers you many creative opportunities, especially for airbrush artists. In this tutorial, I will show you step by step how to create an inspiring space landscape with an engaging background and a fascinating silhouette. The techniques you learn are not only applicable to this project but also significantly expand your repertoire in digital painting.
Key insights
- The use of different brush types can significantly affect the outcome.
- Color gradients and layering contribute to the depth and dynamics of the composition.
- A structured approach allows for easy editing and optimization of details.
Step-by-step guide
Project start and file settings
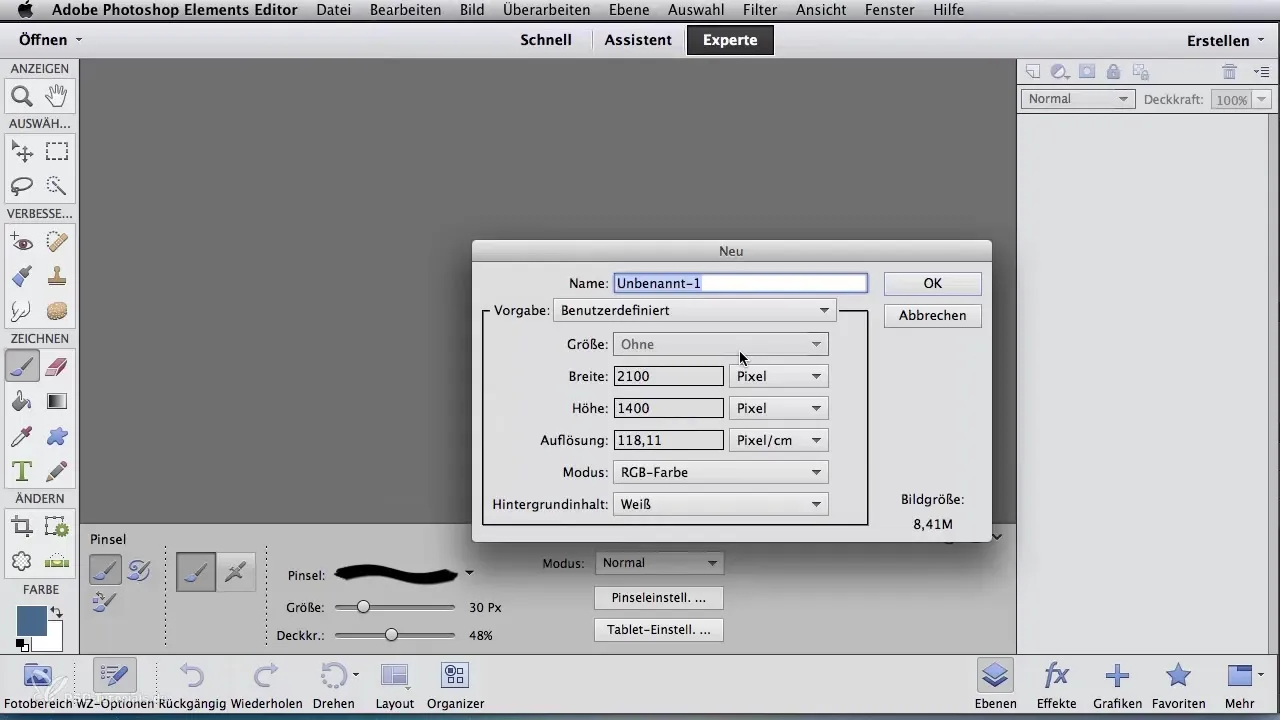
Start by opening a new blank file. Choose a suitable working name; in this case, we use "Space Landscape". Set the pixel width and height to 2100 x 1000. This gives you enough space to design your details.
Choosing the tool and color selection
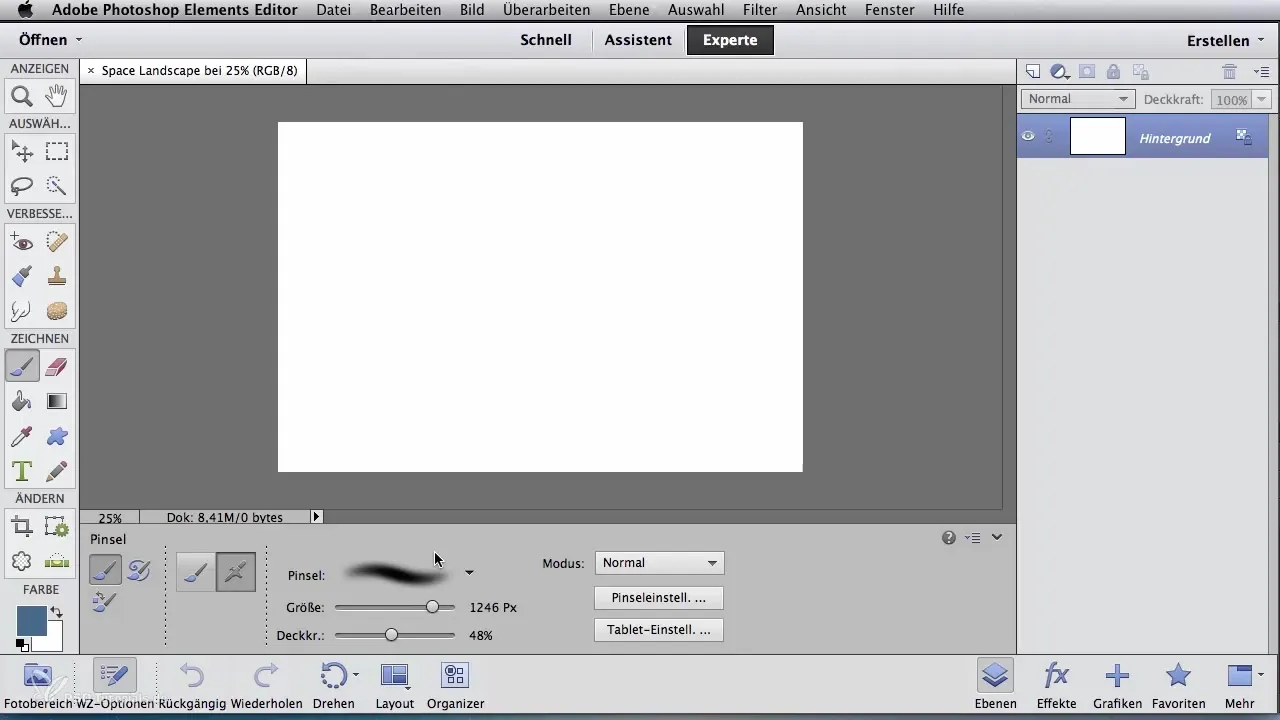
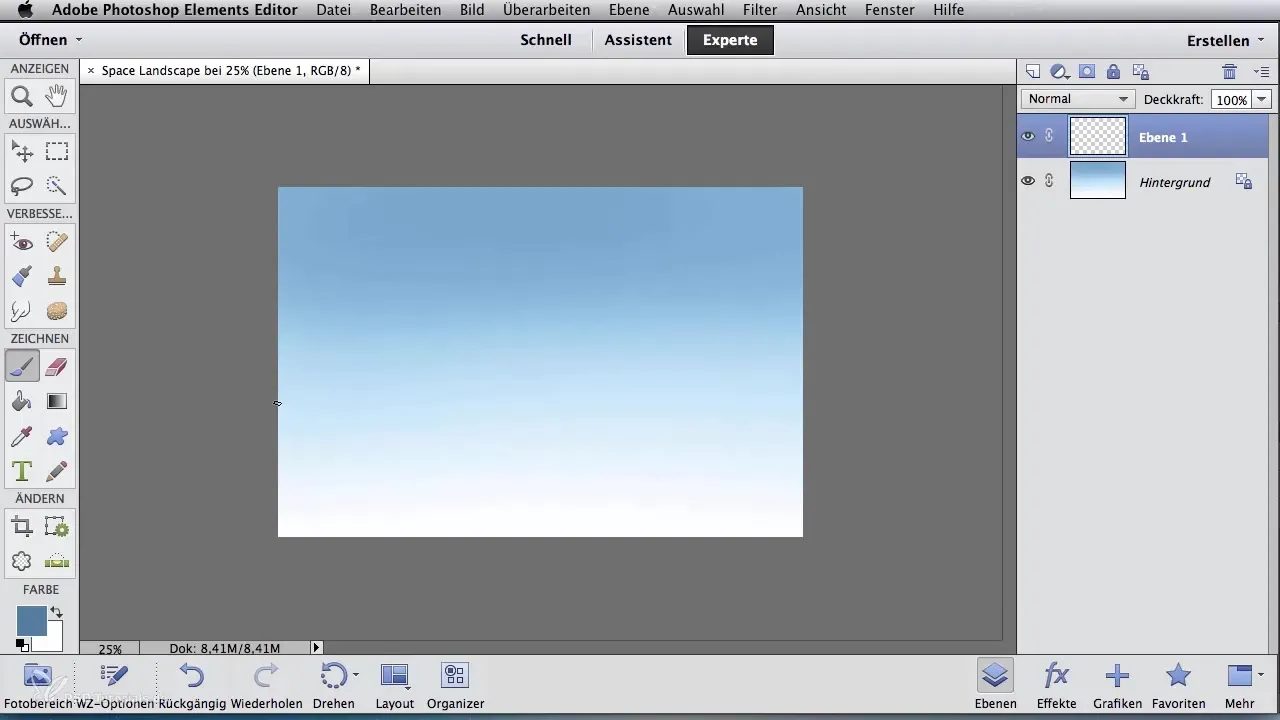
Select a large, round, soft brush about 1000 pixels in size. Choose a lighter shade of blue and start creating a gentle gradient. You can use the gradient tool or blend the colors manually, similar to working with an airbrush.
Create new layer
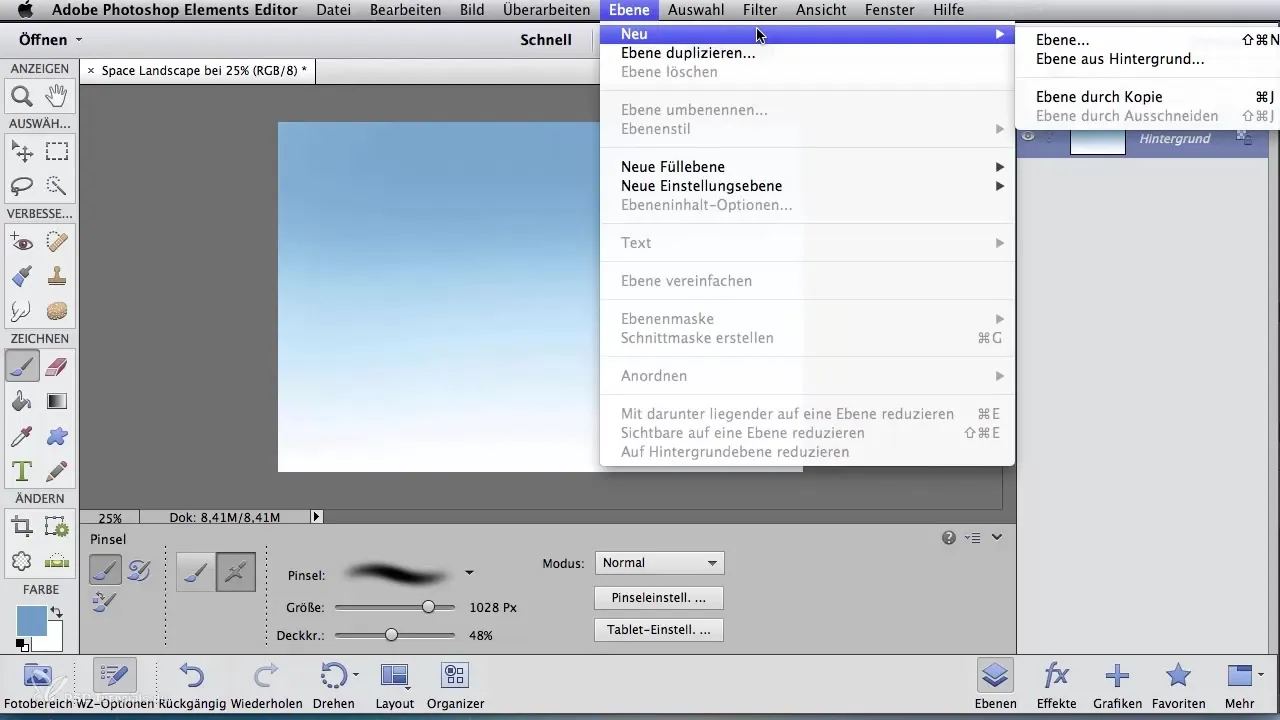
Create a new layer for additional objects. You can do this via the "Layer" menu or by simply clicking the "New Layer" icon. This makes your workflow more flexible, as you can make changes at any time without affecting the underlying layers.
First color application with the chalk brush
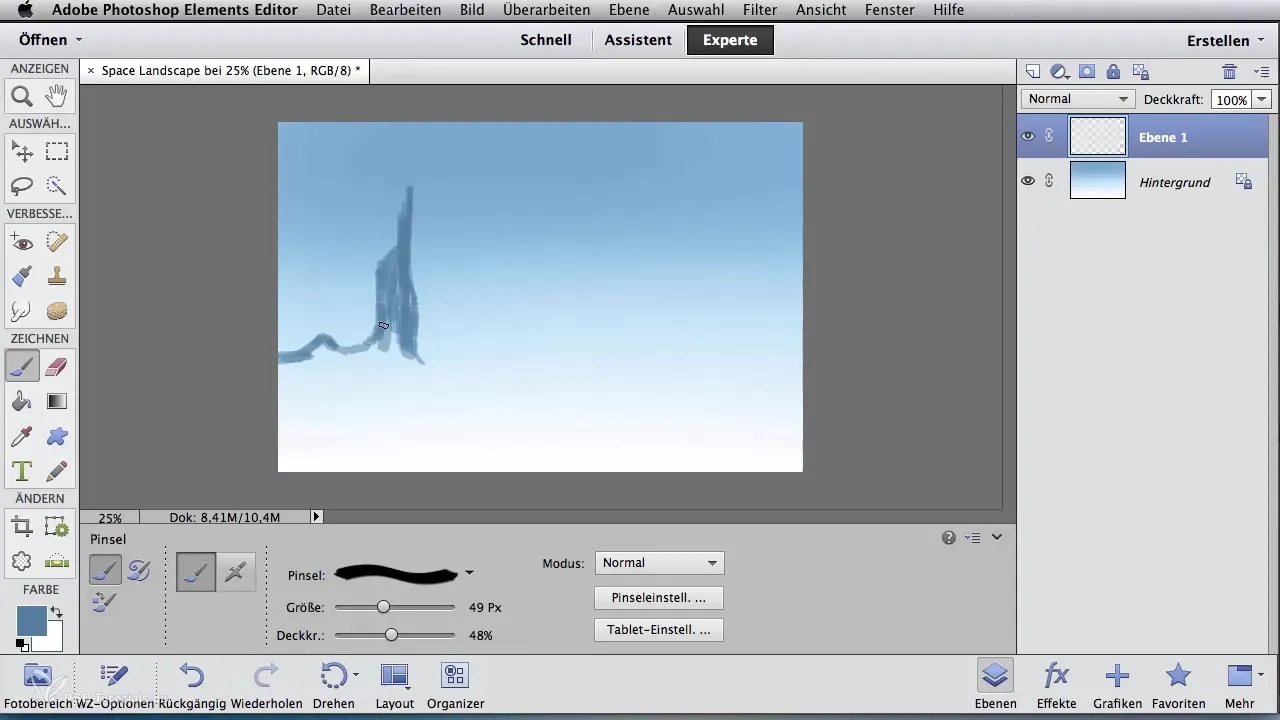
For the first silhouette, choose a chalk brush with a dark, mid-dark blue. Start with the first color application, where the chalk brush creates sharp edges that help you sketch futuristic buildings. Reduce the brush size to do more detailed work and set the opacity to about 50% to create light structures in the mountains and buildings.
Add silhouettes and details
Now switch to a different brush size to better fill in your silhouette. Add a second building and sketch the left side as well as the corresponding tower. Connect the two buildings with a bridge to make your composition coherent.
Integrate futuristic elements
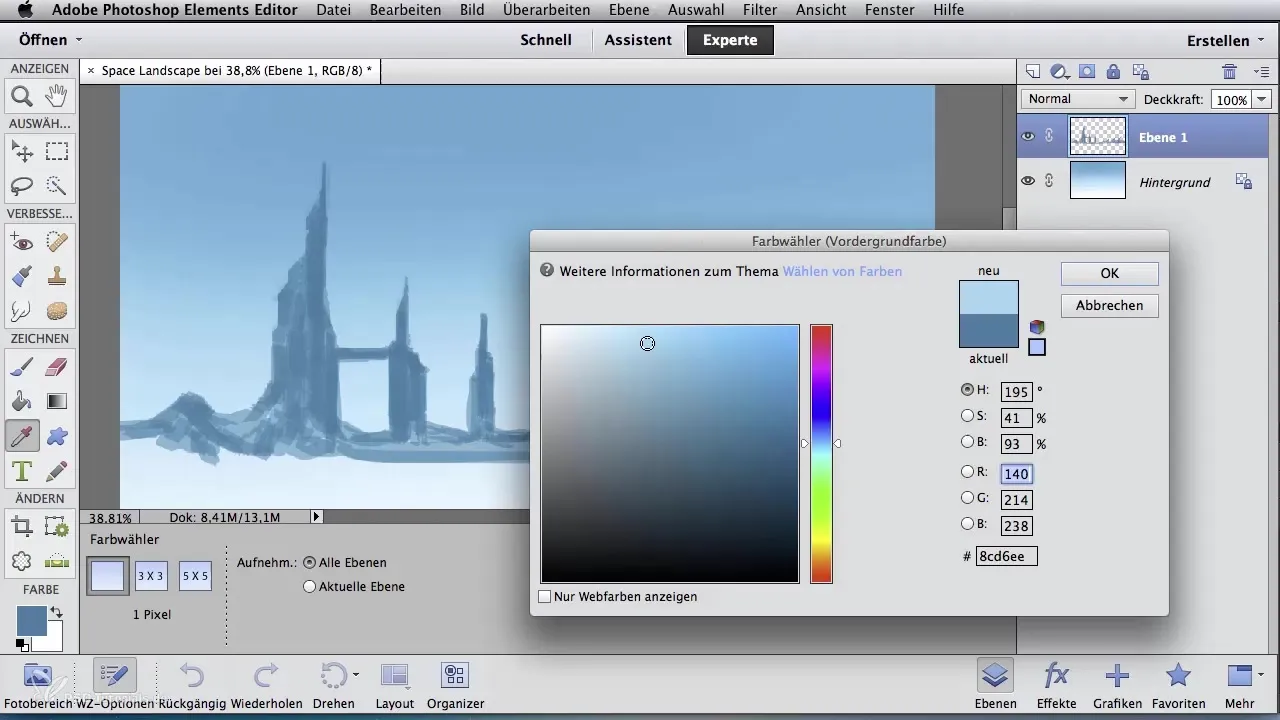
Create additional futuristic mountain structures by drawing the outer contours and then filling them in. Focus first on shading, as this adds more depth to the scene. Use medium opacity to enhance the color intensity as you paint.
Refining the contours
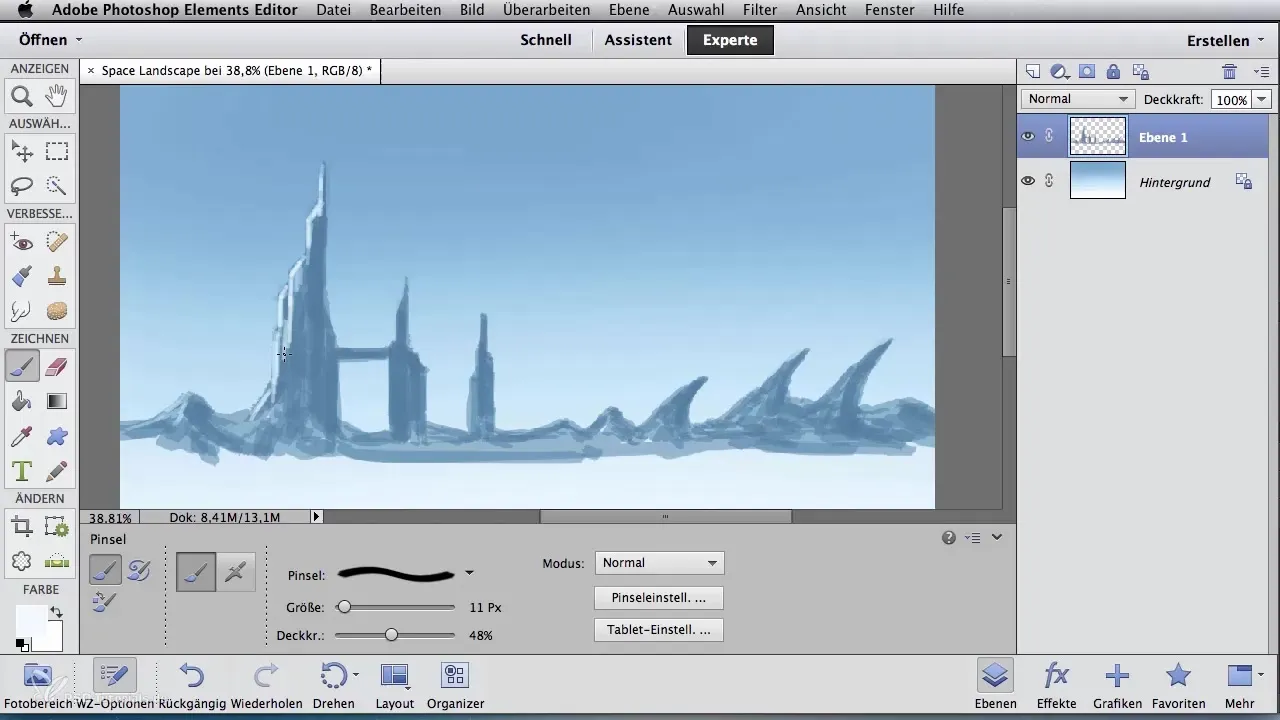
Optimize the mountain and building contours with an eraser. The edges should become sharper, and you can add more antenna-like structures that give your composition a futuristic flair.
Setting light and highlights
Change the color to a bright blue to create lights in the mountains and additional highlights in the buildings. Again, reduce the brush size as you add the light edge on the left side of the first building. Apply the color roughly at first – precision will come later.
Finishing touches and adjustments
Go ahead and add small, fine details to the windows of the buildings and in the mountains. These highlights should particularly be on the left side of the mountain and building half to represent the light source coming from the left side.
Final work and compilation
Complete your landscape by going through the finalization of the color applications to ensure that the color intensity has the desired contrast. Regularly check your work to make sure everything looks coherent.
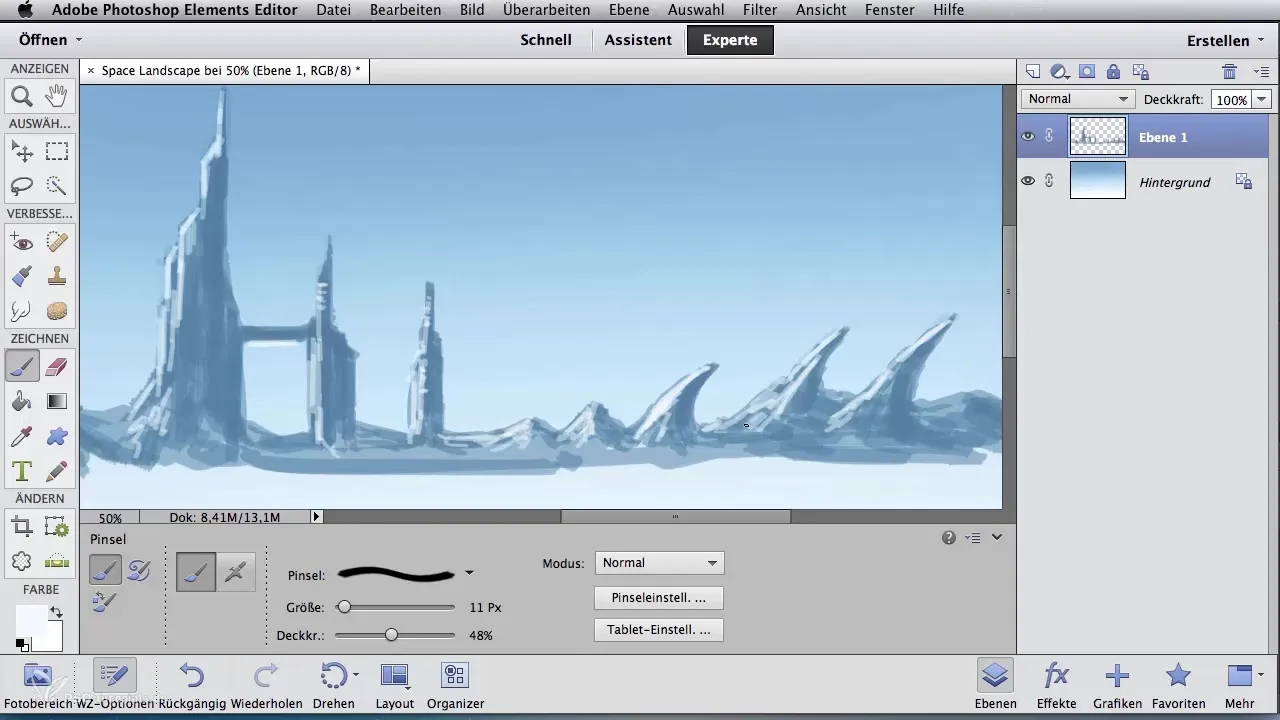
Summary - Digital Image Editing for Airbrush Artists: Creating a Space Landscape Silhouette
In this tutorial, you learned to create a space landscape step by step. You learned important techniques for color selection and application, using different brushes and layers. These skills expand your repertoire with valuable approaches to digital art.
Frequently Asked Questions
How do I create a new layer?Click on the "New Layer" icon or select "Layer" from the menu.
Which brush should I use for the silhouette?Use a chalk brush for sharp edges and good detail work.
How can I represent the light sources in my landscape?Use bright shades of blue and work with opacity to set the lights.
Can I change the colors at any time?Yes, with medium opacity, you can go over already painted areas to intensify the colors.
How do I ensure that the contours are sharp?Use an eraser to refine the edges and optimize the contours.
