Shading is essential for creating depth and dimension in digital landscapes. In this tutorial, you will learn how to apply effective shadings for your project "Space Landscape" using digital tools and techniques. With the right approach, you will achieve impressive results that bring your image to life.
Key Insights
- Use darker colors for the initial shadings.
- Design the color gradients by skillfully brushing.
- Alternate between different brush sizes for different effects.
Step-by-Step Guide
Dark Blue as the Base
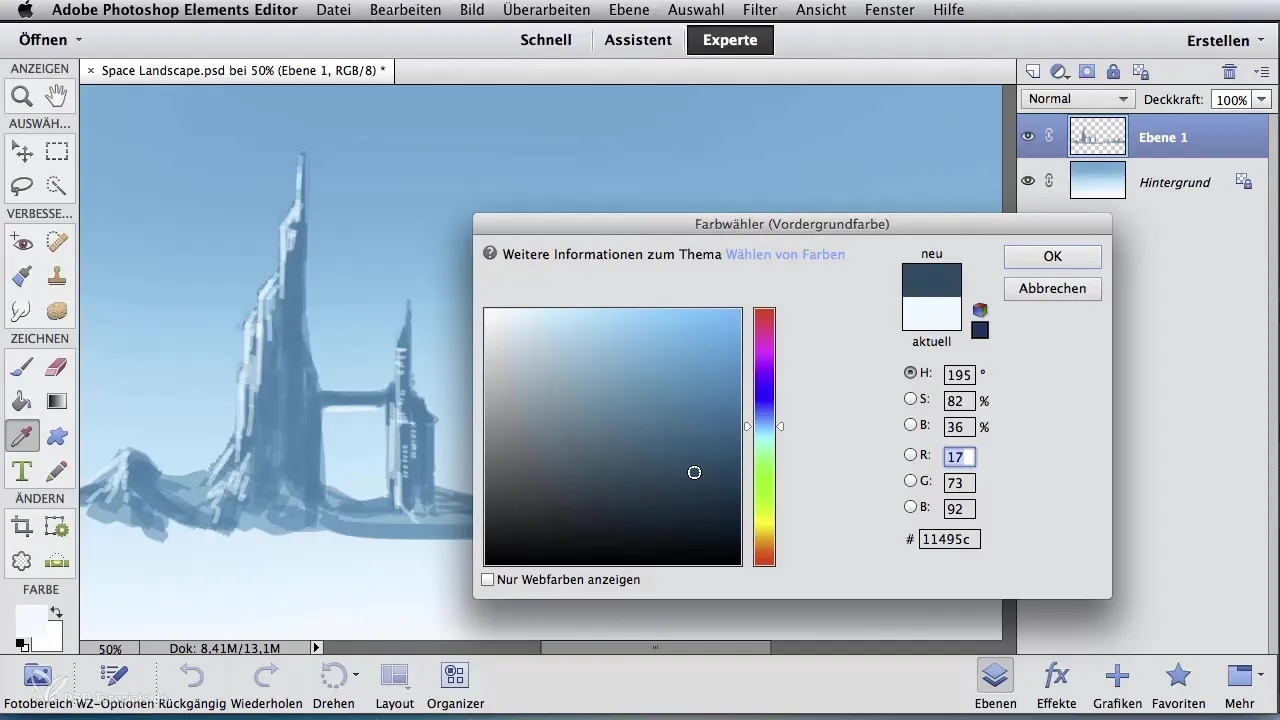
Start by adding a dark blue tone to your image. This tone serves as the foundation for the shadings you want to create. The application of the color should be relatively rough to gain an initial impression of the color harmony.
Details in the Buildings
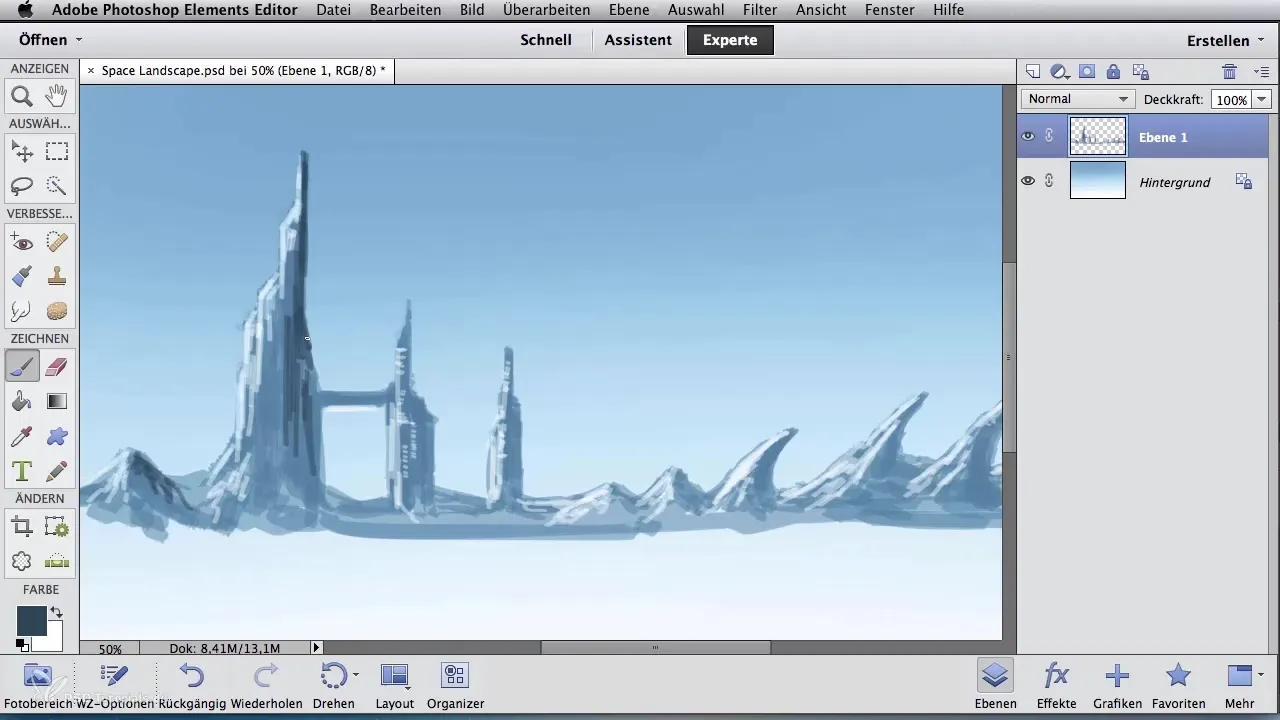
Use the dark blue tone to create additional details in the buildings. This contributes to the depth of the image and enhances the architecture. The choice of color tone affects the entire image, so it is important to make this decision consciously.
Shading the Mountains
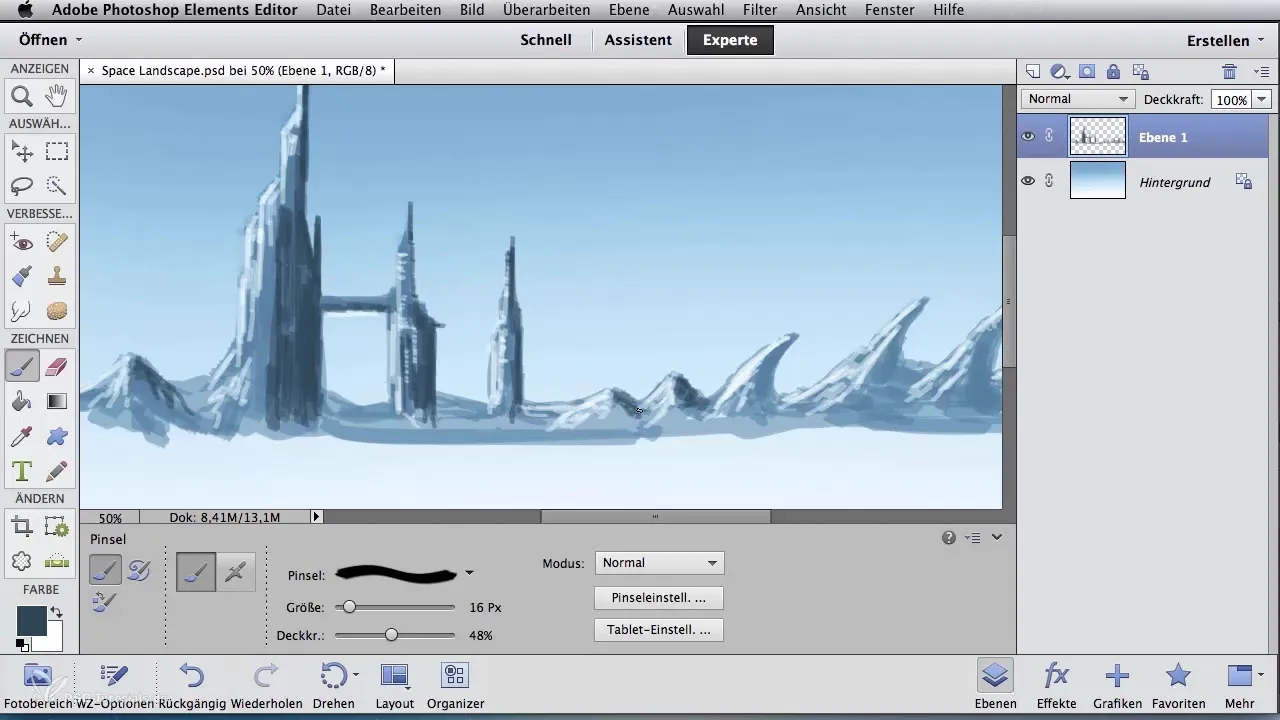
Continue by applying the same dark tone to the mountains, particularly on the right side of the image. It is also advisable to apply this color roughly here. Do not hesitate to pull the color application to the horizon; this creates a harmonious transition between the foreground and background elements.
Tool Switch
Now comes the exciting part: switch your tool. Choose the "Smudge Tool" and select the structure brush "Spritzer". With a strength of about 50% and a brush size of 55 pixels, you can blend the colors together. This is a crucial step to make the shadings appear soft and natural.
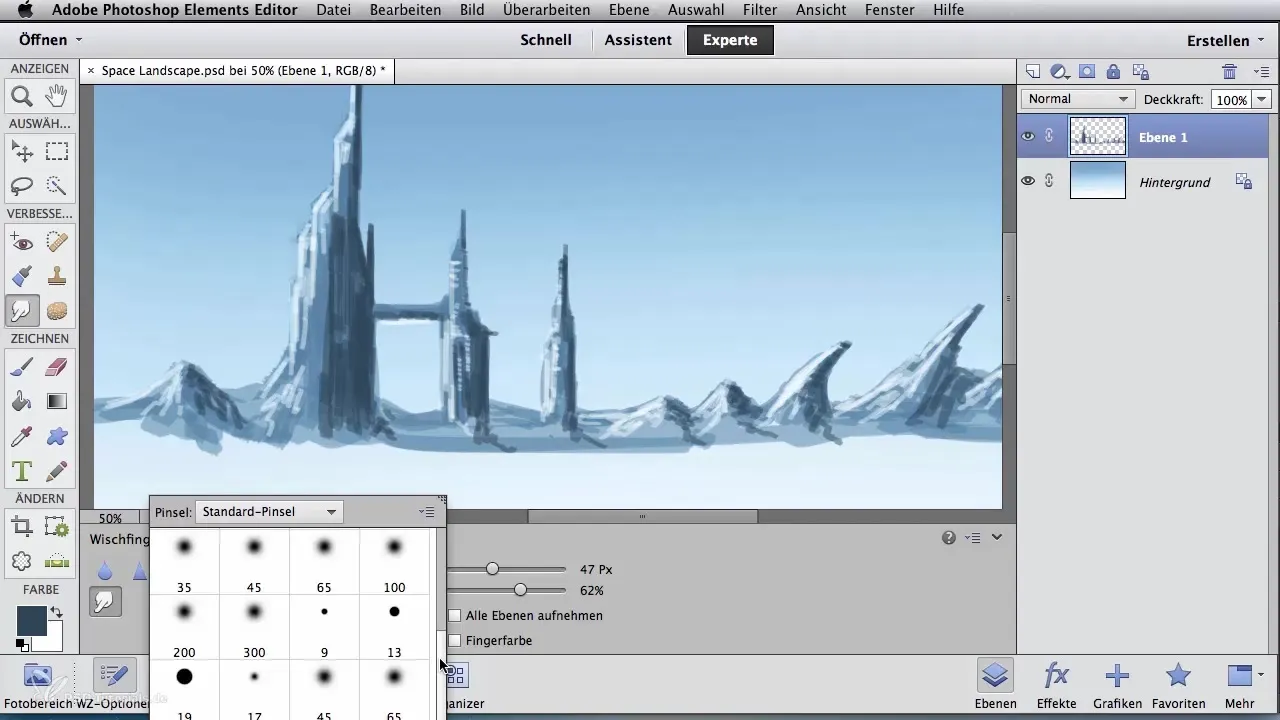
Blending for Harmonious Transitions
Start with the blending technique on the right mountain. Smudge from the inside out to seamlessly mix the colors. You will quickly see how the colors flow into each other, creating a harmonious representation. This process is similar to the painting technique of an oil painting and yields amazing results.
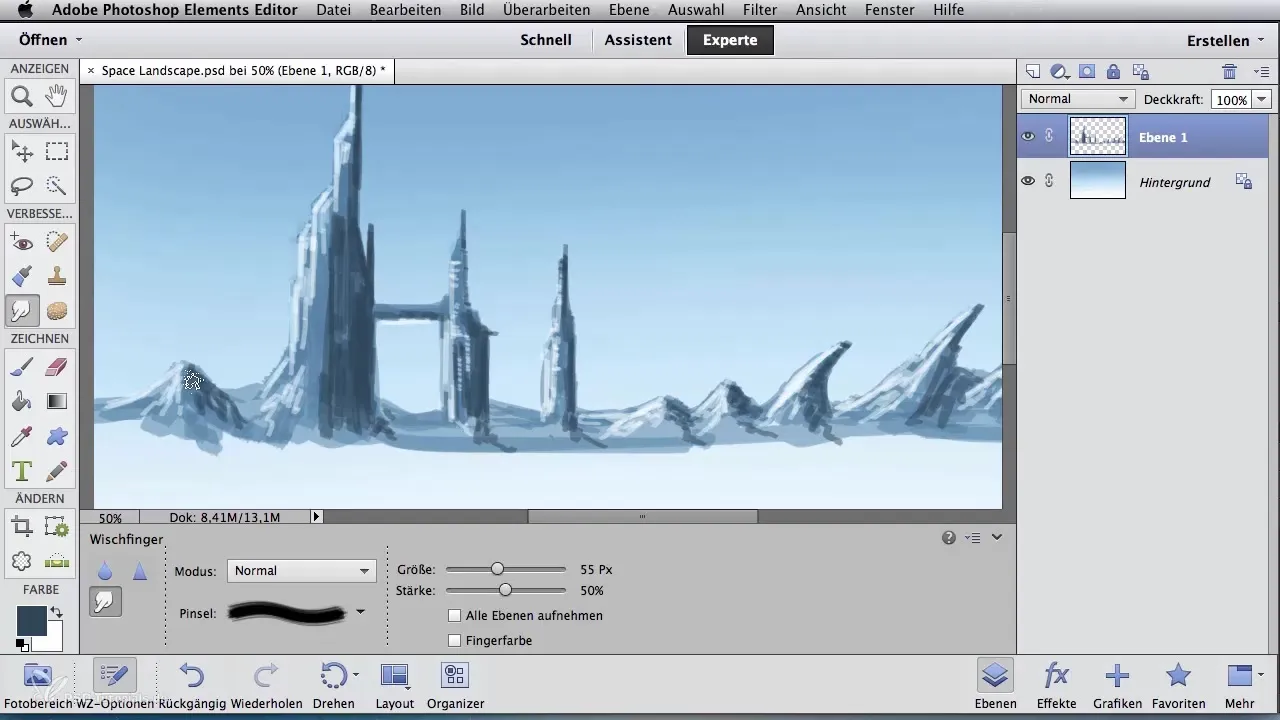
Application on Buildings
Use the same smudging process on the buildings as well. This ensures a consistent design throughout the image. The color gradients that you apply to the buildings help to make the image more vivid and provide an interesting structure.
Further Work on the Mountains
Then turn back to the other mountains. Thanks to the rough color tone applied earlier, the base offers an interesting texture that is perfect for detailing. Pay attention to how the light and shadow arrangements stabilize and appear more realistic in the image.
Variations in Brush Size
Experiment with different brush sizes. A larger brush size allows for quick smudging and creating rough structures, while smaller brush sizes give you the opportunity to work in detail. Constantly changing the brush size is a valuable technique in digital painting.
Summary – Digital Image Editing for Airbrush Artists: Adding Shading in Space Landscape
In this tutorial, you learned how shadings can be incorporated into digital works. From the dark blue to the initial rough color applications to seamless smudging for harmonious color transitions. With these methods and techniques, you are well-equipped to make your digital landscapes shine in new dimensions.
Frequently Asked Questions
What is the first step in shading?The first step is to add a dark blue tone to lay the foundation for the shadings.
How can I effectively blend colors?Use the "Smudge Tool" with the structure brush "Spritzer" to harmoniously blend the colors together.
When should I change the brush size?Change the brush size depending on the level of detail you want to create – larger brushes for rough work and smaller ones for fine details.
