The use of cloud images in digital image editing can give your landscape projects that certain something. In this guide, I will show you how to effectively integrate clouds into your digital painting to achieve a moody background design. Let's go through the process step by step!
Main insights
- Cloud photos help create beautiful backgrounds quickly.
- The transparency setting is crucial for correctly positioning the clouds.
- The choice of layer mode in Photoshop determines the final look of your clouds.
Step-by-step guide
First, download a suitable cloud photo that you want to use as a background. Make sure the image has a high resolution to achieve the best results. Now let's move on to the actual process.
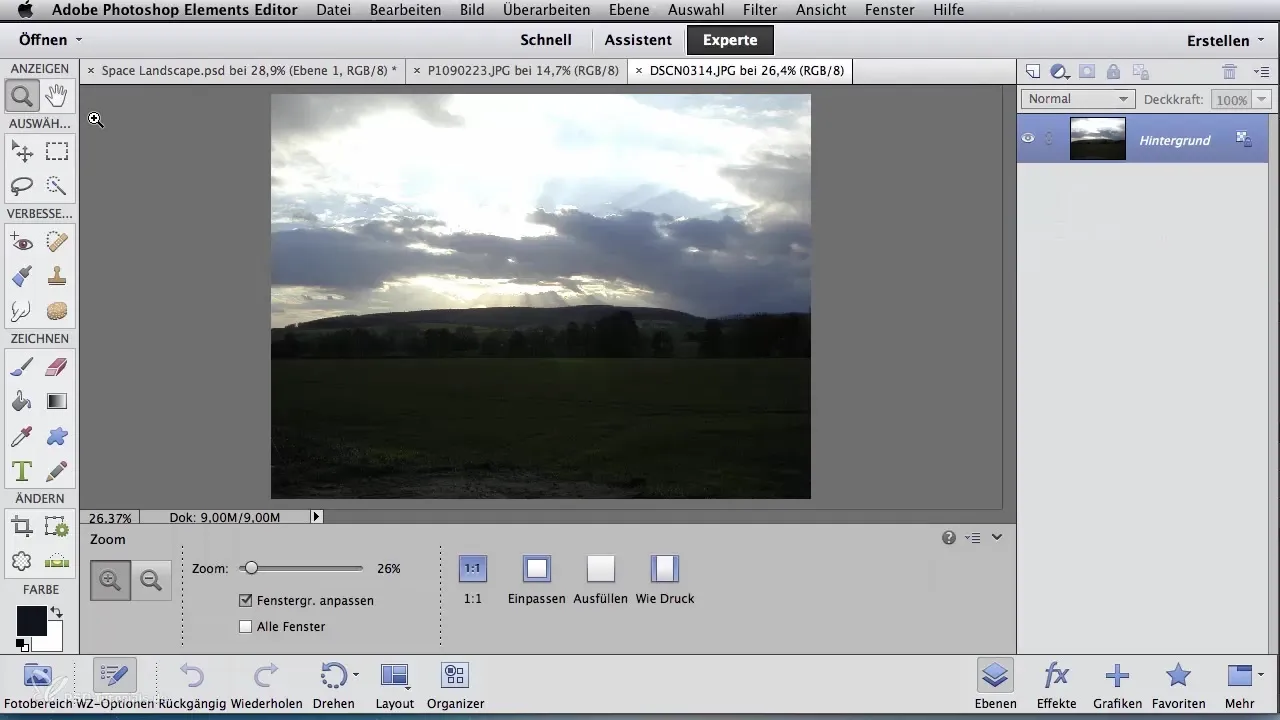
Open your project in Photoshop and insert the cloud photo as a new layer. Next, reduce the opacity of the new cloud layer so you can position it better. It is important to place this layer in the right position within your composition to create a harmonious overall image.
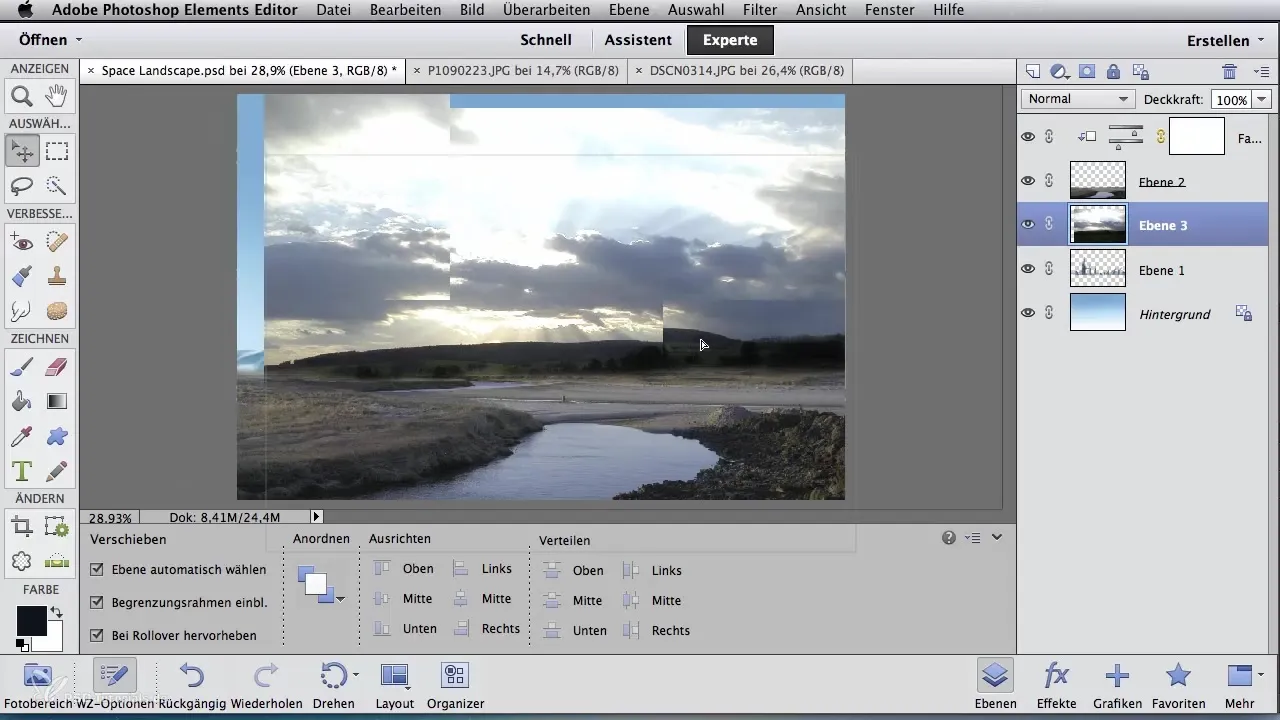
Once the clouds are in the right place, confirm the positioning with the green tick. To remove the lower landscape from the cloud photo, use the large eraser tool. This step helps to gently blend the clouds into the background.
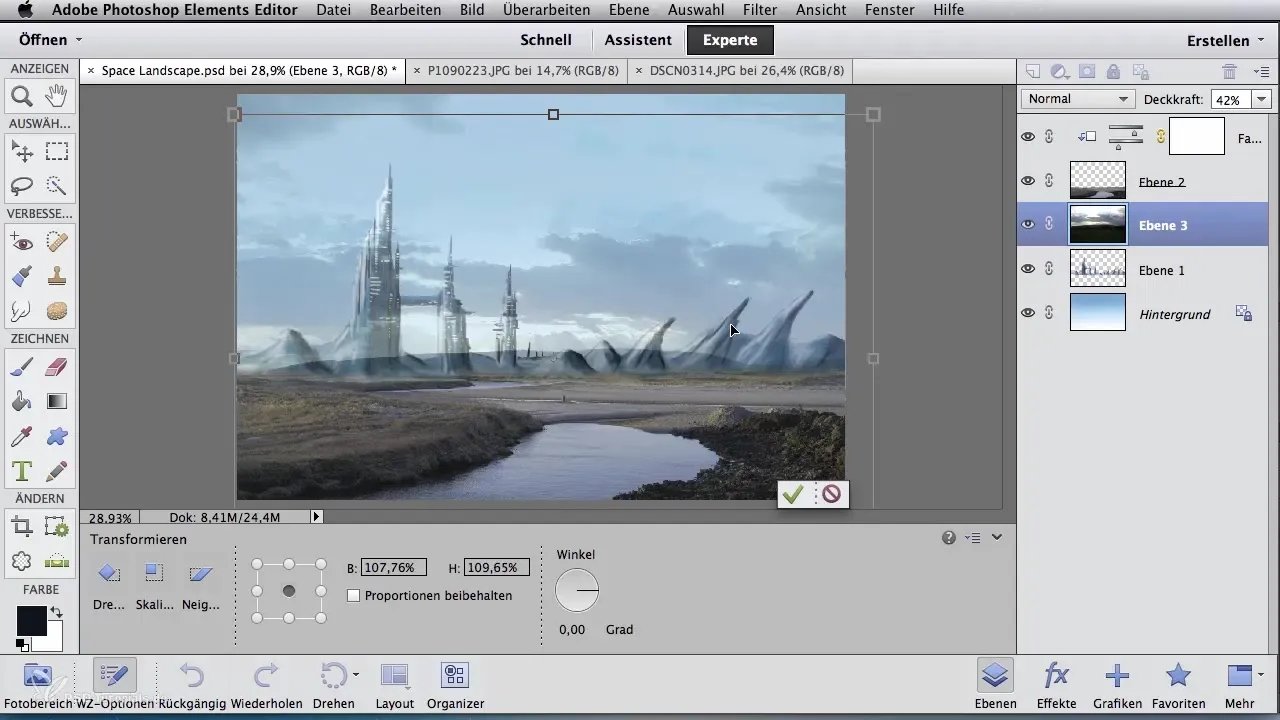
Drag the cloud structure onto the layer that represents your main composition. Once the image is placed, slightly increase the opacity of the cloud layer so that it is more visible. Then focus on the layer mode to get the most out of your image.
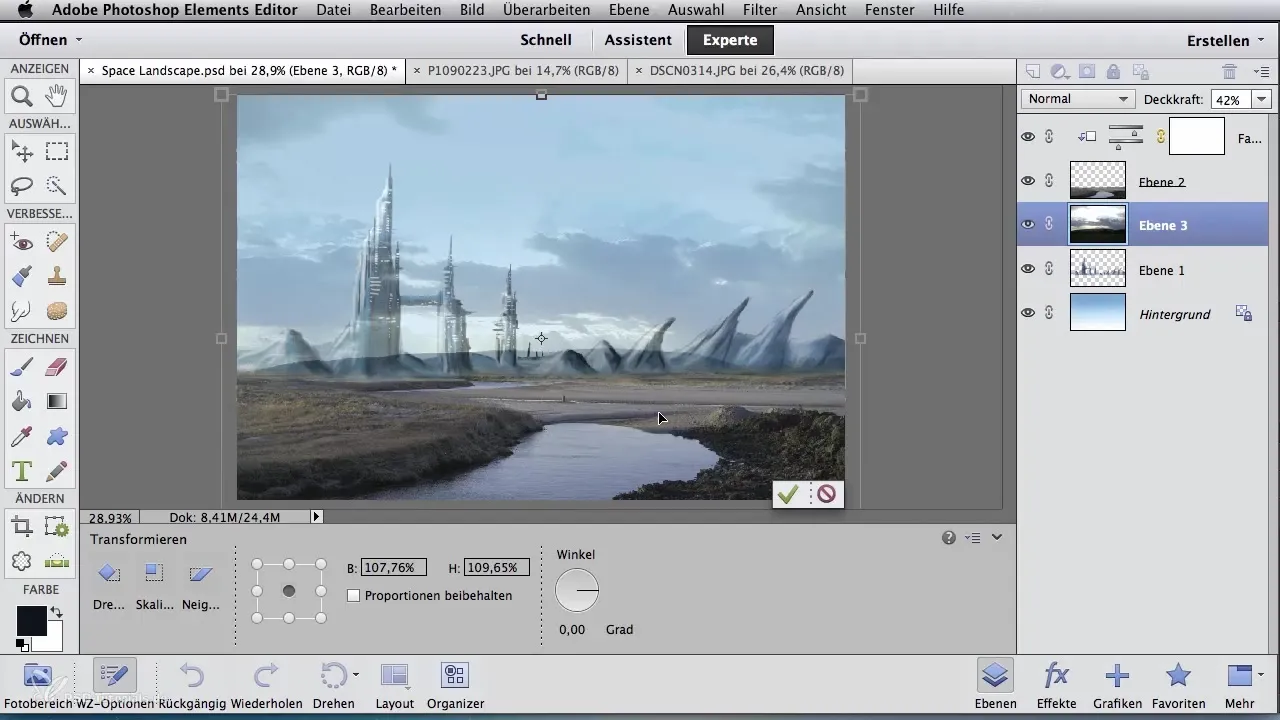
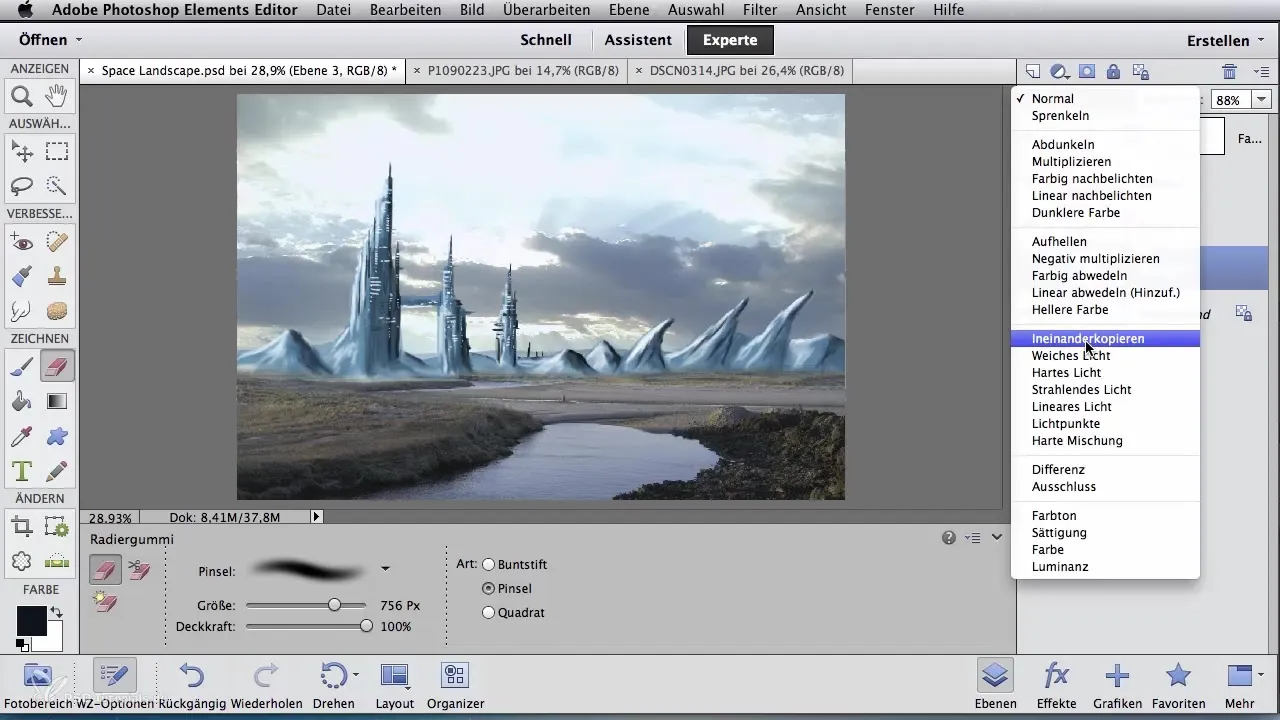
Experiment with different layer modes. For example, switching to “Overlay” gives an interesting texture. But the “Soft Light” mode can also add a special depth to the image. Try out what suits your overall image best.
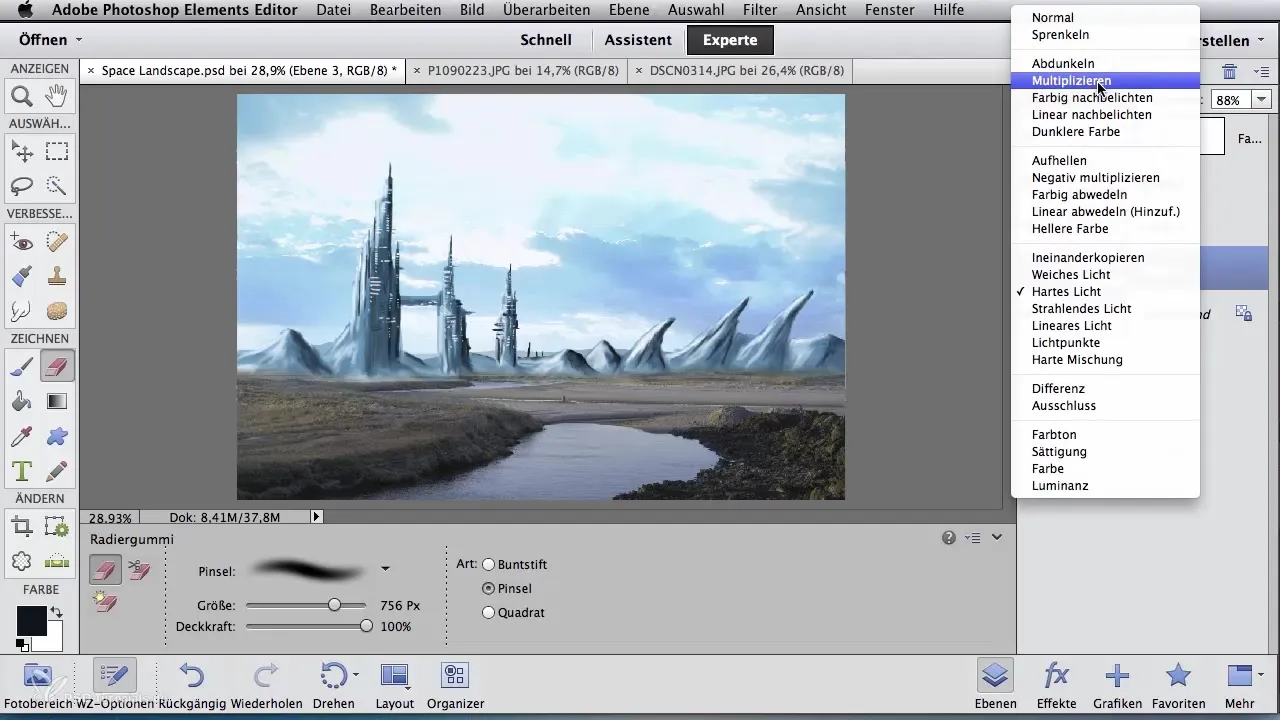
Another interesting option is the “Multiply” mode, which makes the clouds appear slightly darker and can thus integrate the background gradient. The result can be very appealing, as it harmonizes the composition.
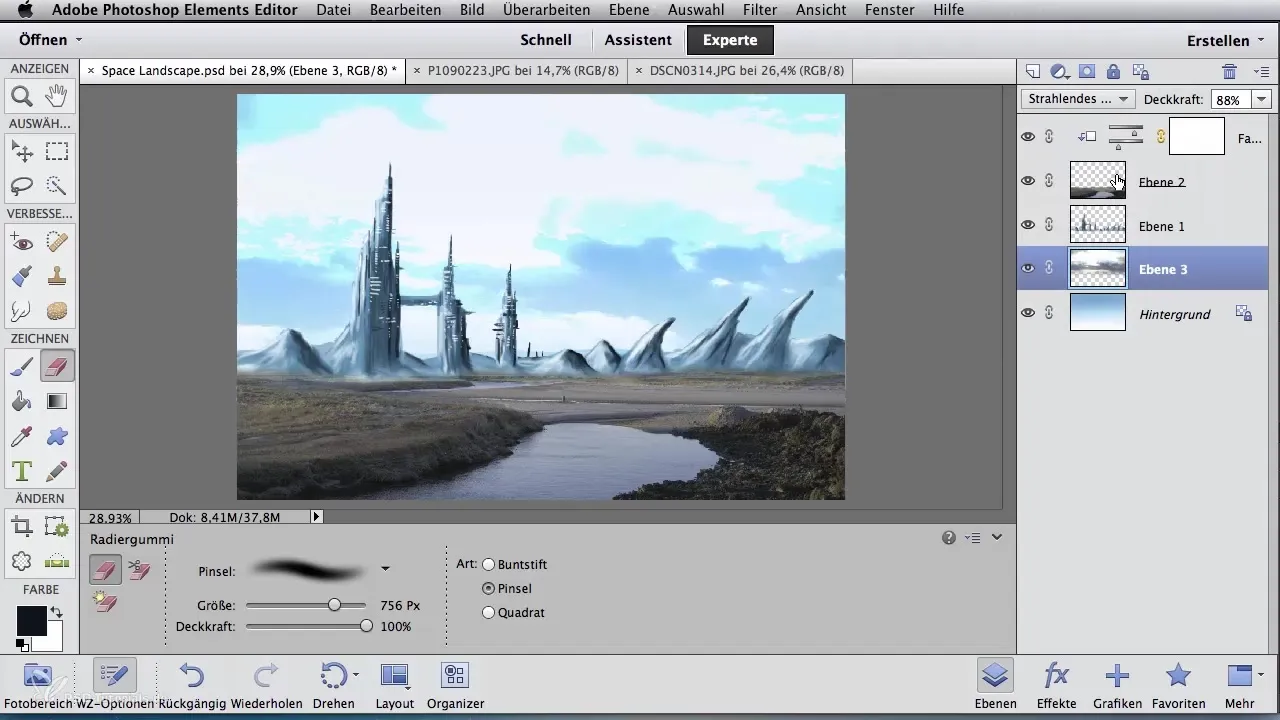
If the clouds are still too bright, you can also try “Color Dodge,” which brightens the display and provides more clarity. Each of these elements contributes to the overall picture and brings different nuances to your project.
After several tests, you may decide on the classic “Normal” mode for the cloud layer. Slightly reduce the opacity for a smoother transition and a coordinated color scheme.
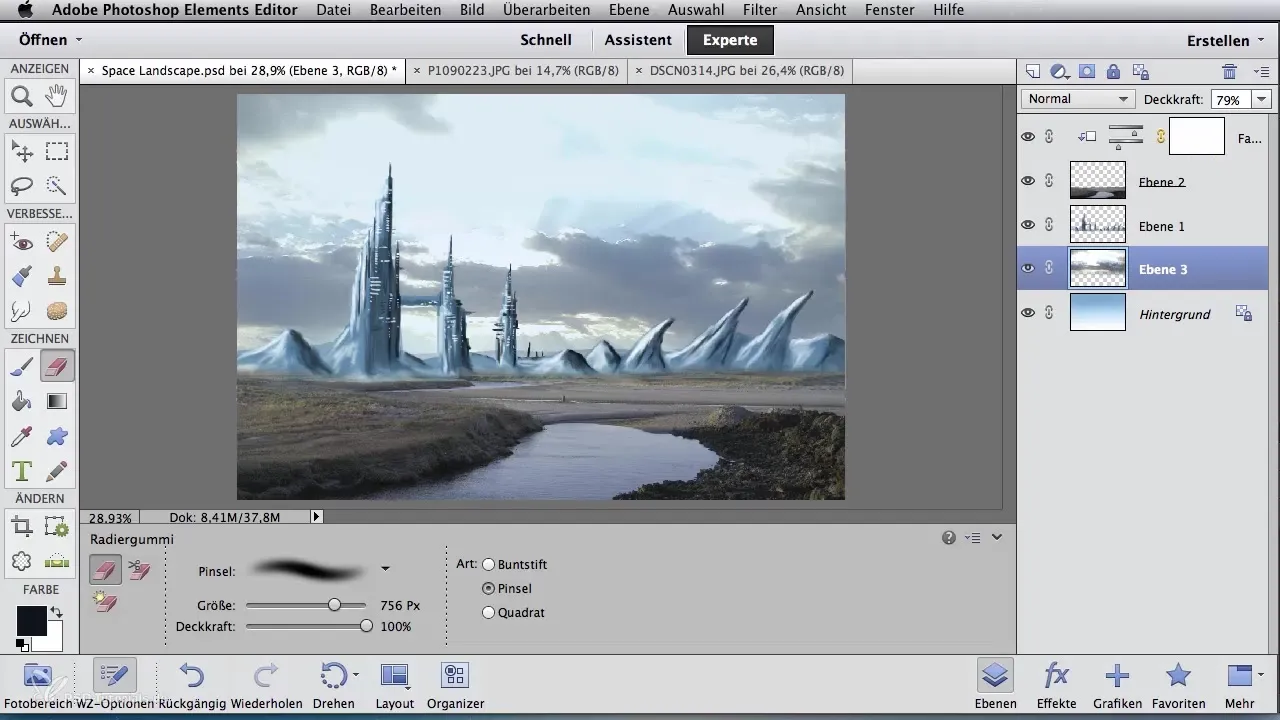
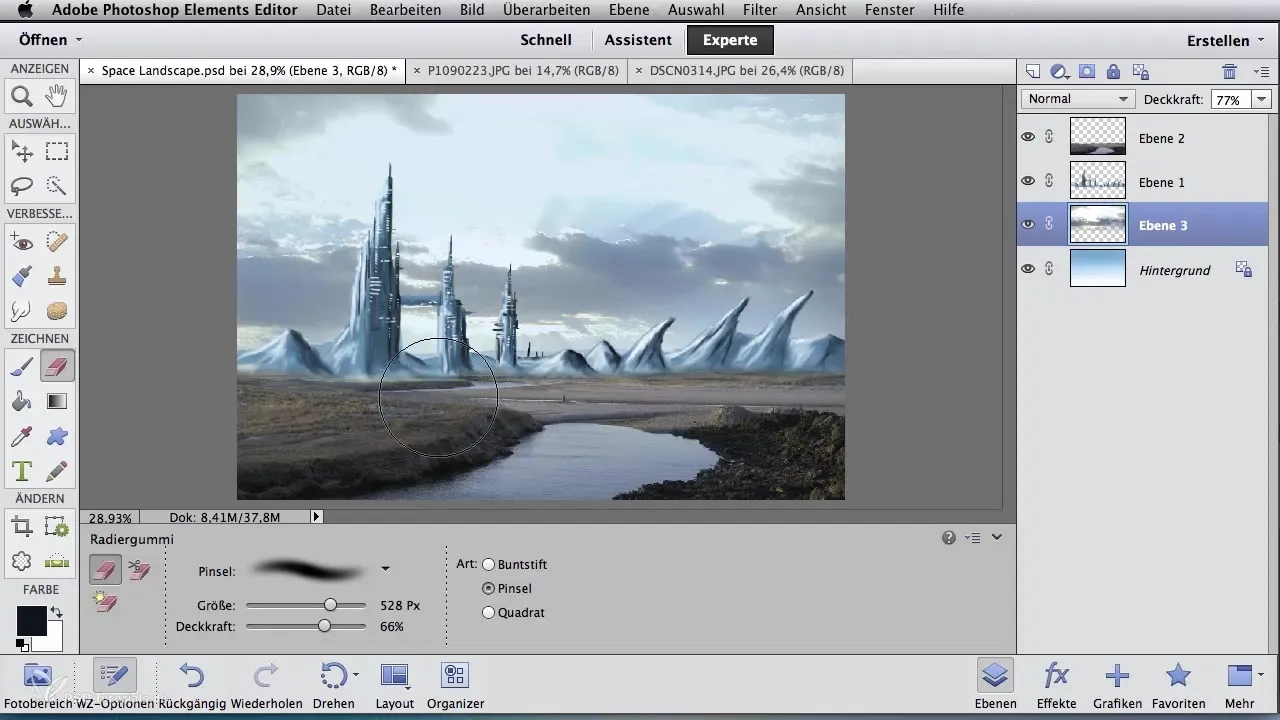
Finally, to integrate the cloud structure even better into the overall picture, gently go over the cloud layer with the eraser. This process ensures that your clouds do not distract from the main scene but rather add subtle depth to it.
Summary – Digital Image Editing for Airbrush Artists: Creating Clouds for the Perfect Background
Adding clouds to your digital landscape painting can be easy and effective. With the right technique and the right tools in Photoshop, you can create robust and coherent backgrounds.
Frequently asked questions
What are the best layer modes for cloud images in Photoshop?The best layer modes are “Overlay” and “Soft Light” as they integrate the clouds well.
How can I best integrate the clouds into the landscape?Firstly, reduce the opacity of the cloud layer and use the eraser tool to ensure a smooth integration.
Which software is used in this tutorial?The tutorial uses Adobe Photoshop.
How do I find suitable cloud images for my projects?Use stock photo websites or create your own cloud images through photography or digital painting.
Can I apply the technique to other objects as well?Yes, the same method can also be applied to other image elements to integrate them organically into your compositions.
