Do you want to produce your coloring template as a poster print to transfer it to your painting surface? In this guide, I will show you step by step how to go from a digital template to a high-quality poster print. You will learn how to make the right settings in your graphic program and what to keep in mind when printing to achieve perfect results.
Key insights
- Use the size 50 x 70 cm for your poster.
- A resolution of 150 dpi is sufficient for inkjet and laser printers.
- The PDF document for printing should be saved in print output quality.
- Pay attention to the correct printer settings and the use of trim marks.
Step-by-Step Guide
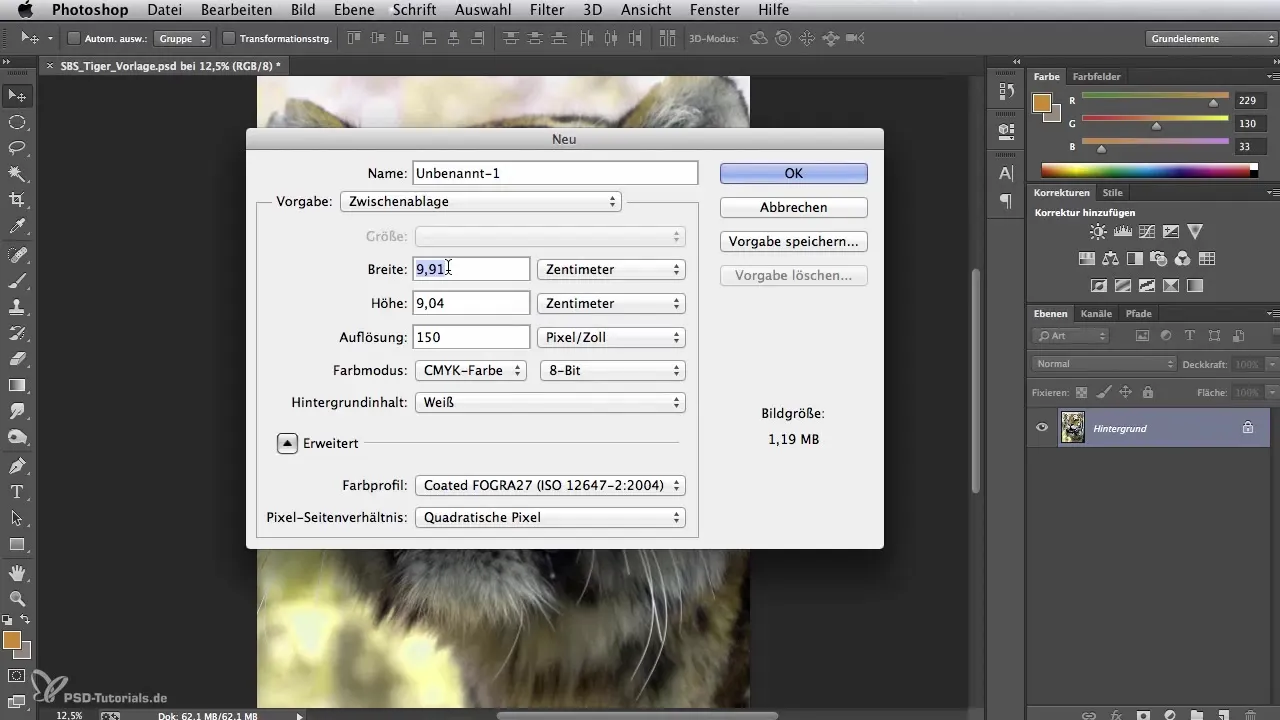
First, open your graphic program and create a new document for the poster print. Set the desired size of the poster; in this case, it is 50 x 70 cm. Additionally, a resolution of 150 dpi is completely sufficient for print quality. Distribute your working title across the document and click "OK". This prepares the foundation for your project.
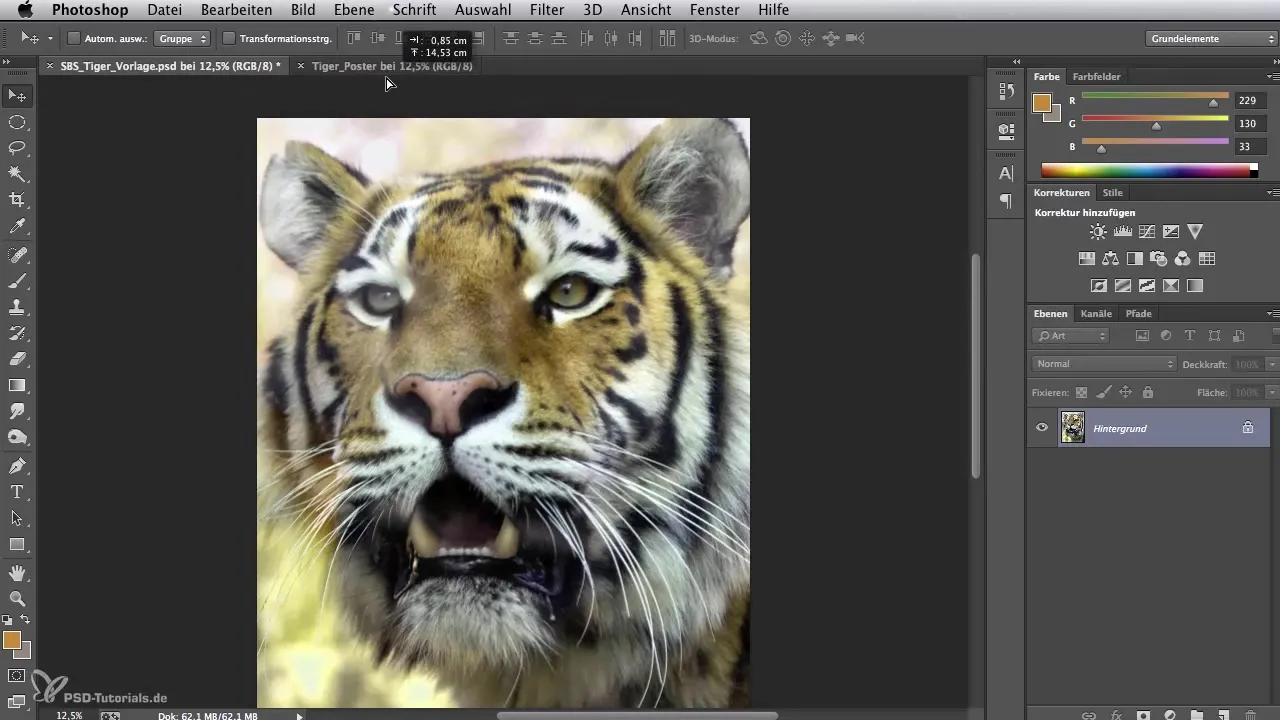
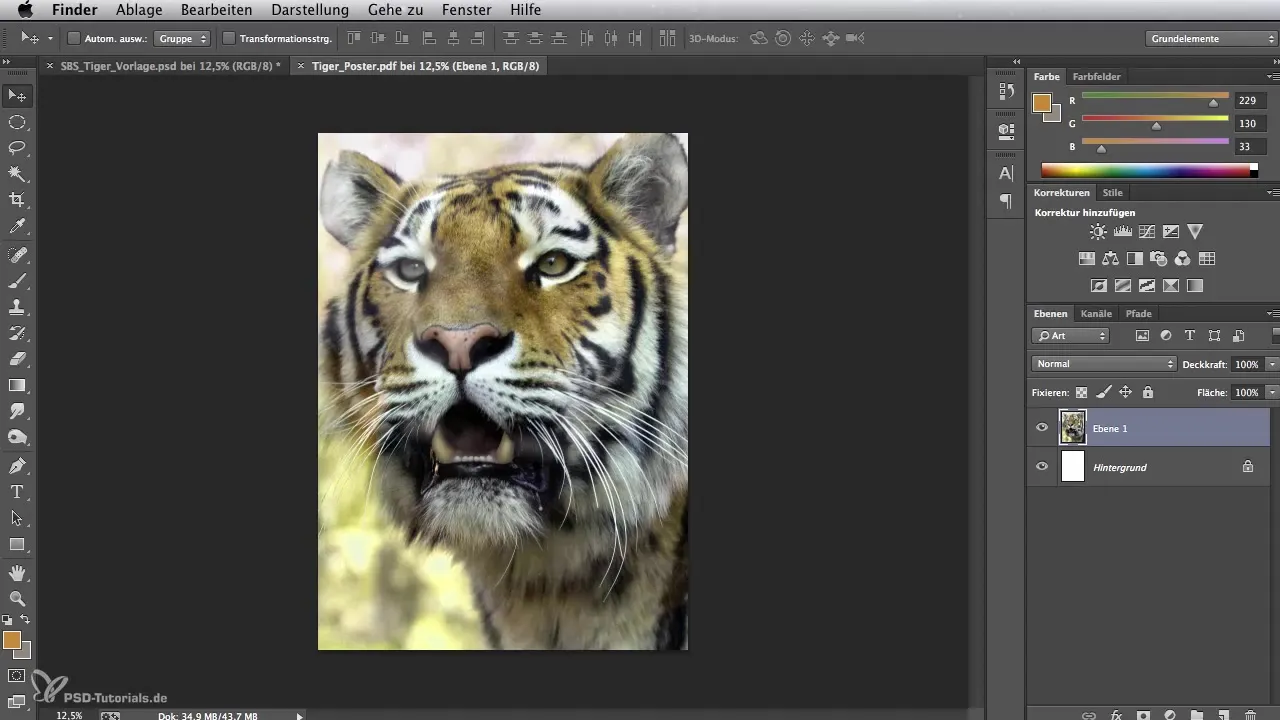
Now you have a white area in front of you, into which you will import your photo template. You can drag the desired template, in this example a tiger, into your new document. With the transformation function, you can adjust the image as desired so that it fits perfectly into the 50 x 70 format. Make sure the quality remains optimal.
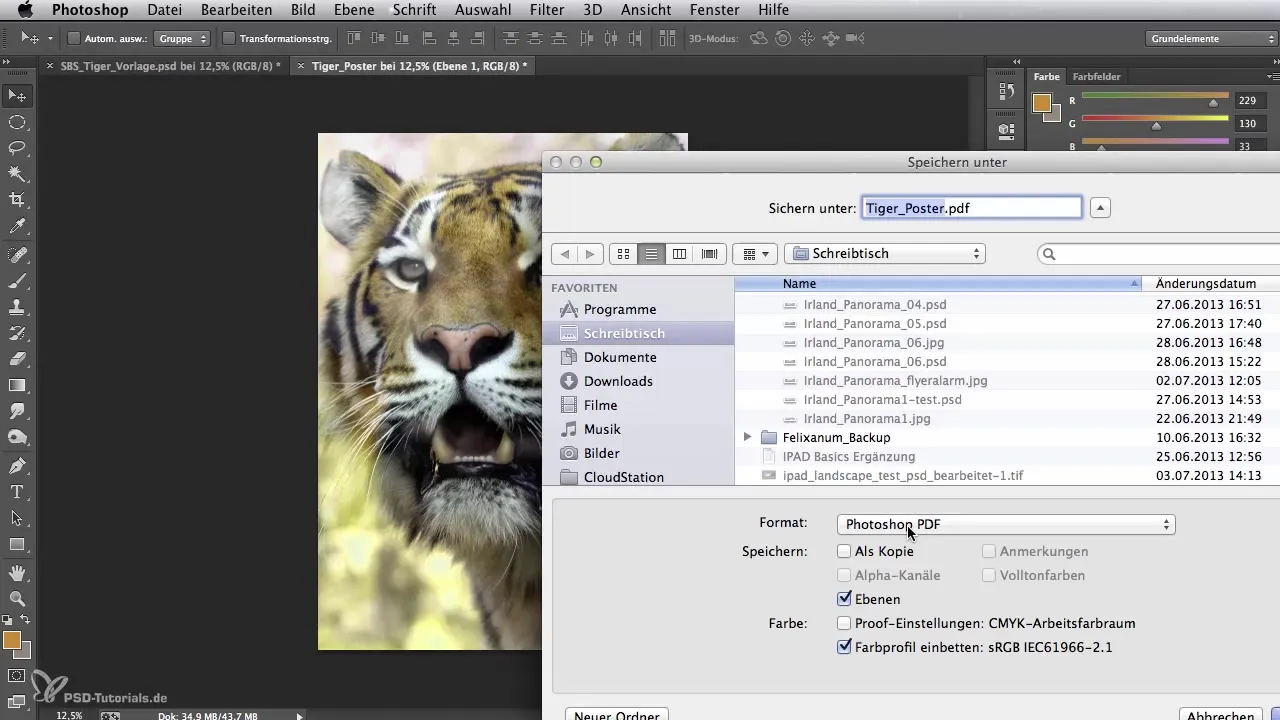
Once the image is properly positioned, the next step is to save the file as a PDF. For this, select the "Photoshop PDF" option in the format options window. Click "Save", then the menu will appear where you can set the quality of the PDF. Since this PDF is not intended for offset printing, print output quality is sufficient. Finally, click "Save PDF".
Now open the PDF with Adobe Reader. To do this, drag the PDF file into the opened program. Here you have the opportunity to verify once more whether the format has been set up correctly. Move the mouse pointer into the document after you have called up the overview. In the lower left, you should see the dimensions 50 x 70 cm – this confirms that everything has worked.
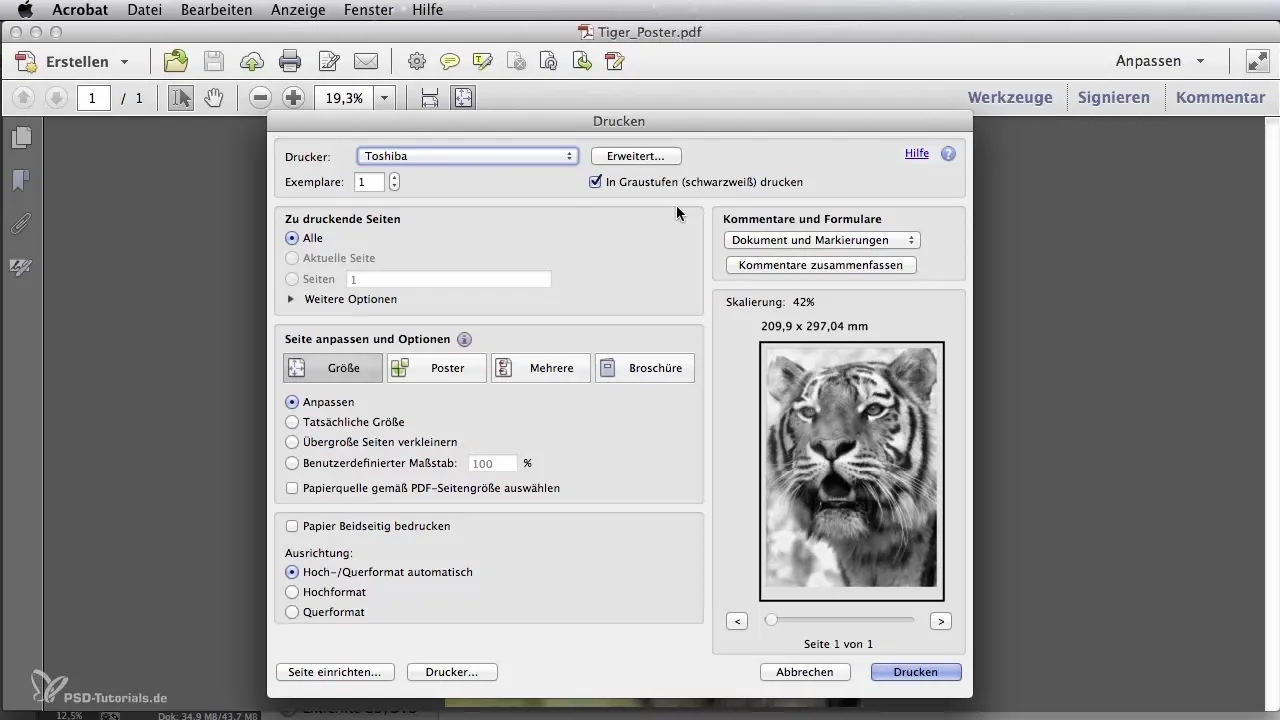
To start the printing process, click on the print icon. Now check the printer settings to ensure everything is configured correctly. Decide whether you want to print with an A3 or A4 printer; in this example, we are using an A3 printer. Since the poster will be printed in four parts, adjust the settings accordingly to ensure a neat arrangement of the sheets.
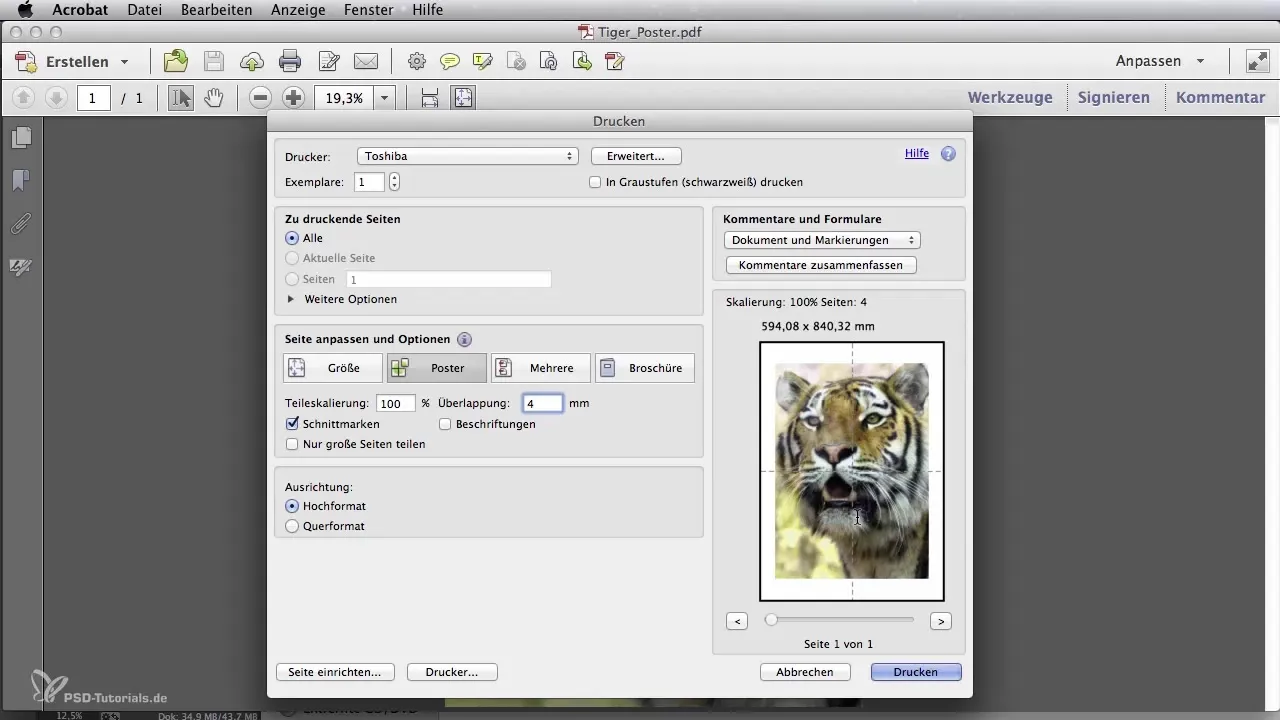
Activate the option for trim marks and set an overlap of about 4 mm so that the pieces can be perfectly aligned later. Ensure that the document prints in portrait mode. When everything is set correctly, start the printing process. It may take a moment for the printer to output all four sheets.
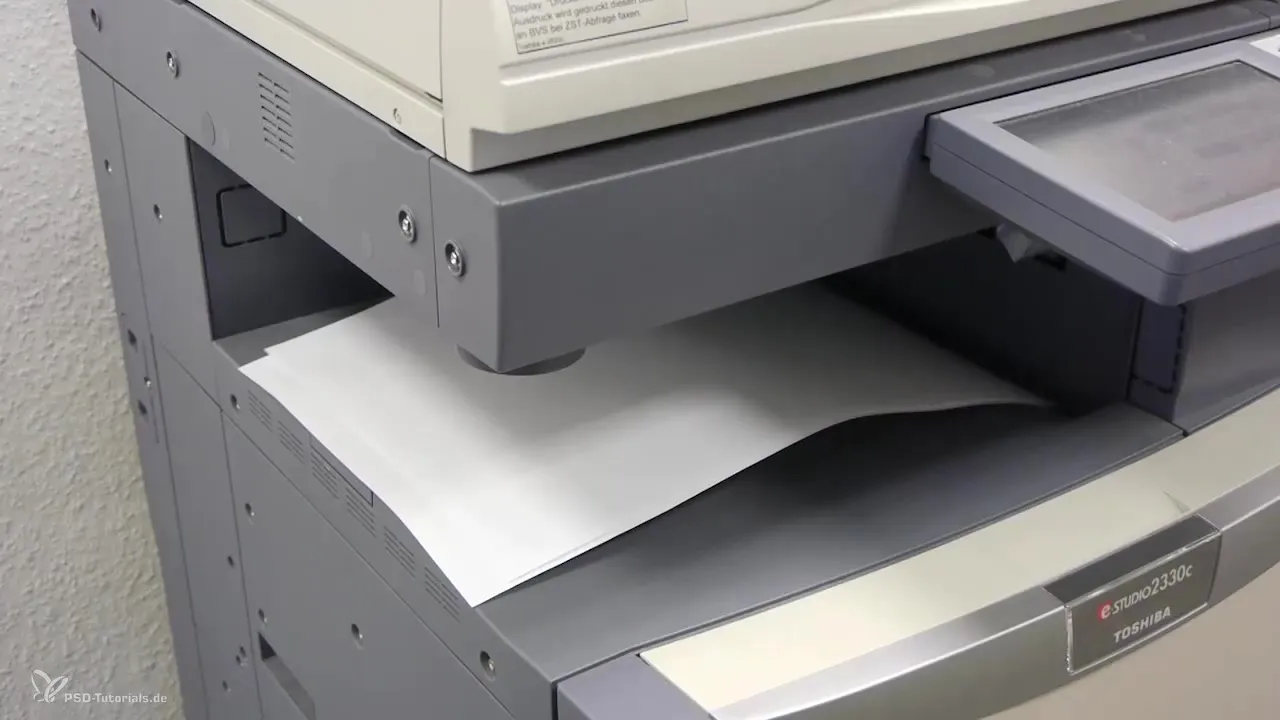
Once the printing process is complete, the four printed parts will be in front of you. Check them in order and ensure that the print is clean and free of errors. You will find so-called registration marks on the edges. If you cut along these lines, you can perfectly position the pieces next to each other and transfer the motif to your painting surface.
Summary – Digital Image Editing for Airbrush Artists: How to Achieve Poster Printing
In this guide, you have learned how to transform a digital template into a high-quality poster. You know what settings to make in your graphic program and how to proceed with printing to achieve optimal results.
Frequently Asked Questions
What size should the poster be?The poster should be 50 x 70 cm in size.
What resolution is required for printing?A resolution of 150 dpi is sufficient for inkjet and laser printers.
In what format should the file be saved?You should save the file as a Photoshop PDF.
How many parts are needed for A3 printing?You need four parts for A3 printing to form the poster.
When do I use trim marks?Trim marks are necessary to optimally align the pieces together.
