With the right technique, you can transform any color photo into an impressive black-and-white image. Whether you're an airbrush artist looking to adapt your templates for painting or just want to achieve creative effects, converting to grayscale is an effective way to give your images a new look. In this guide, I will walk you through the steps to change your color template into a successful black-and-white image.
Key Insights
- Converting color photos to black and white is easy and effective with Photoshop Elements.
- Adjusting the tonal range improves the contrasts and details of your black-and-white images.
- Different conversion methods provide you with a lot of creative flexibility.
Step-by-Step Guide
Convert Color Photo to Grayscale
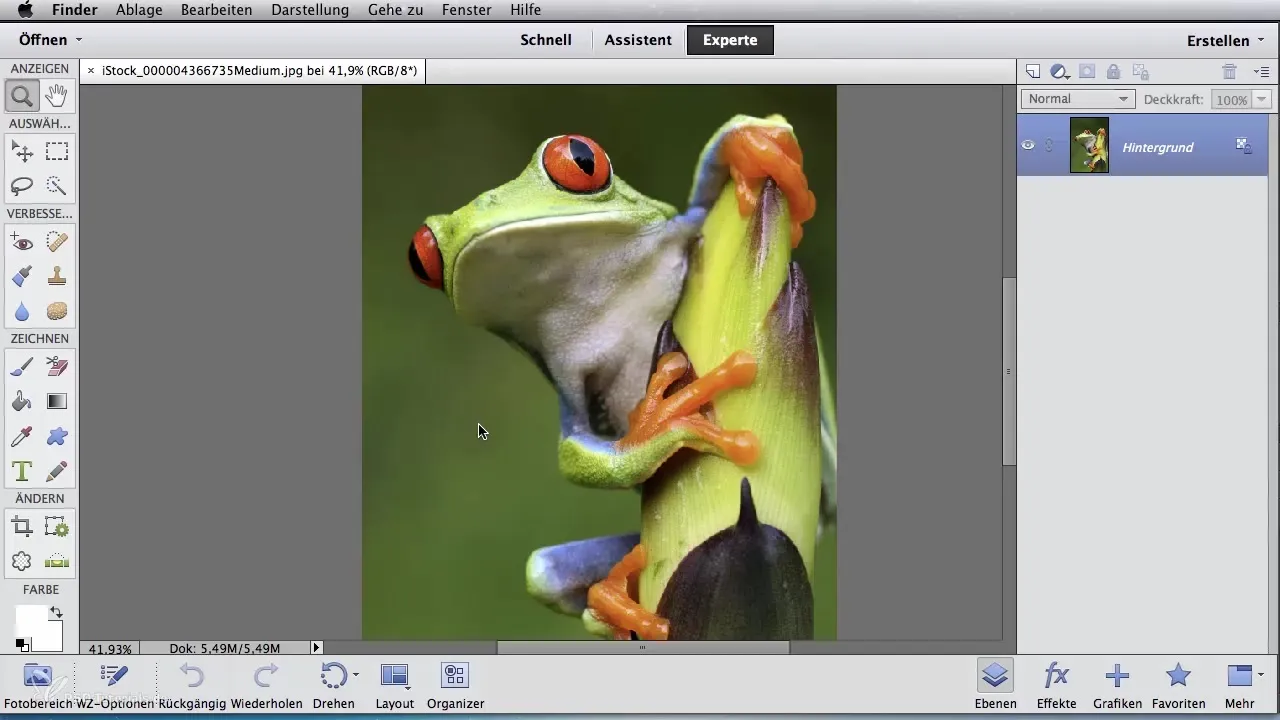
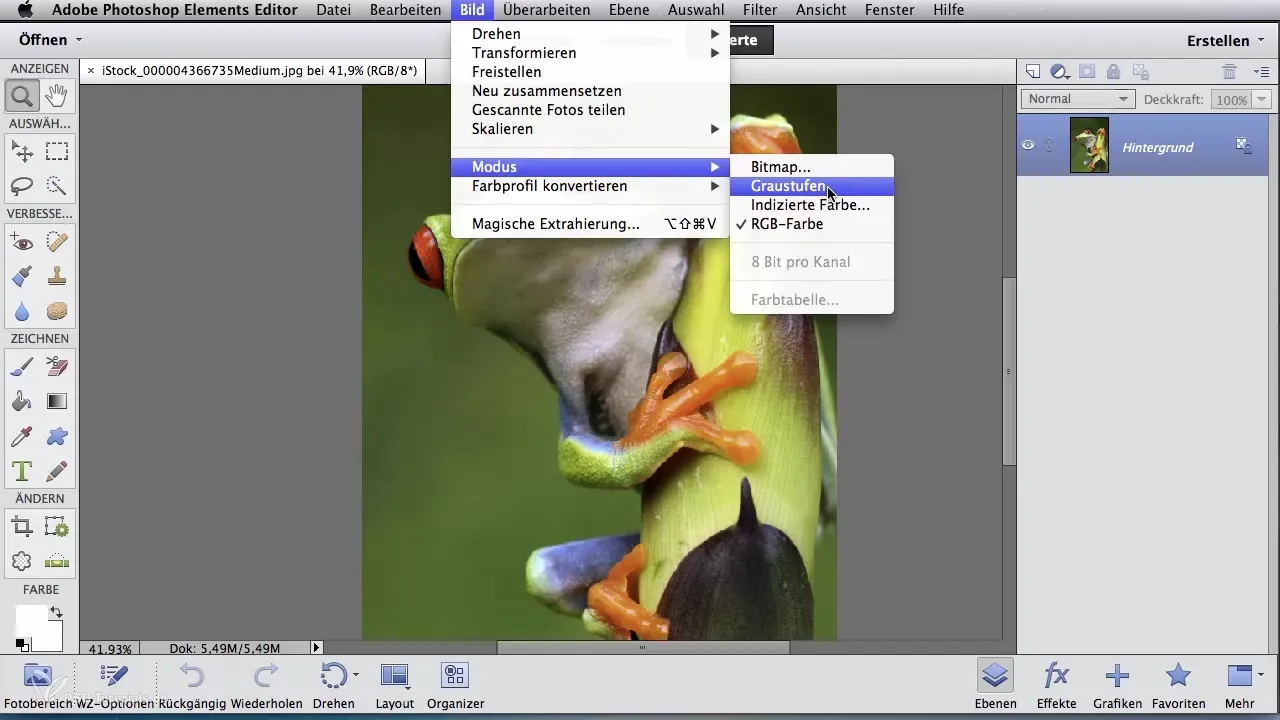
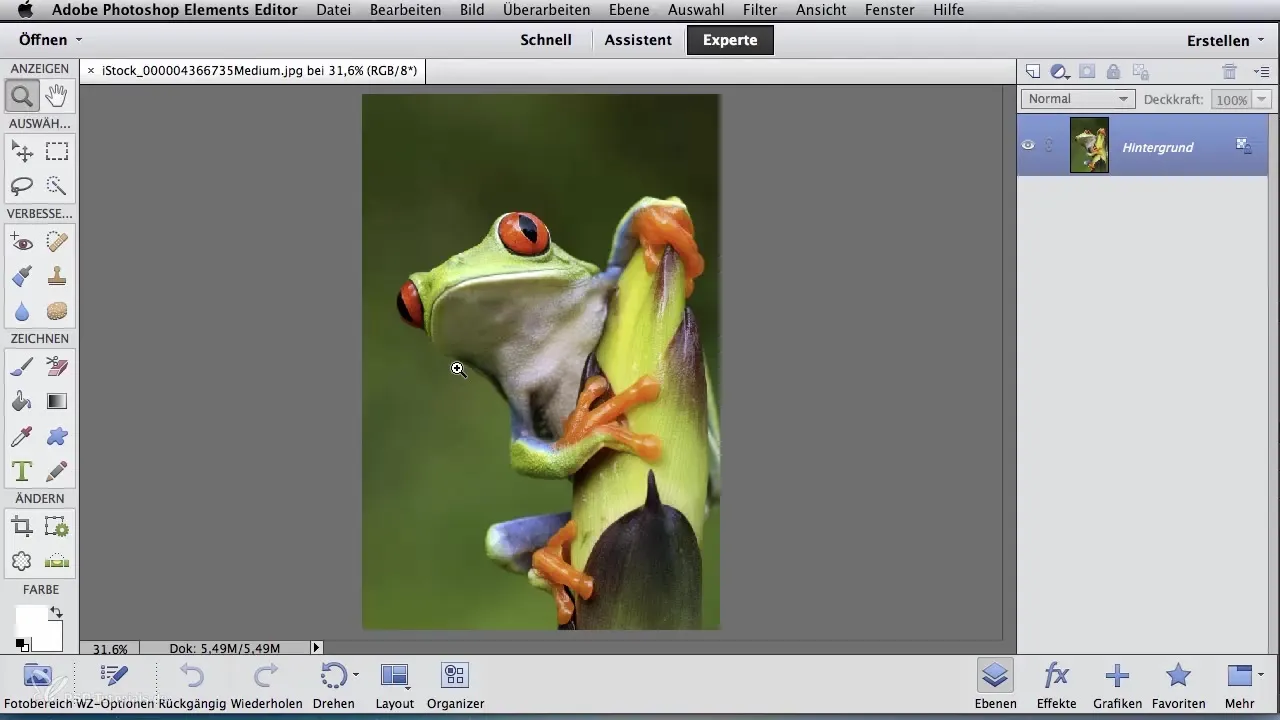
First, you need your color template in Photoshop Elements. The first step is to open the image. Navigate to Image in the program, then select the Mode section. Here, choose Grayscale.
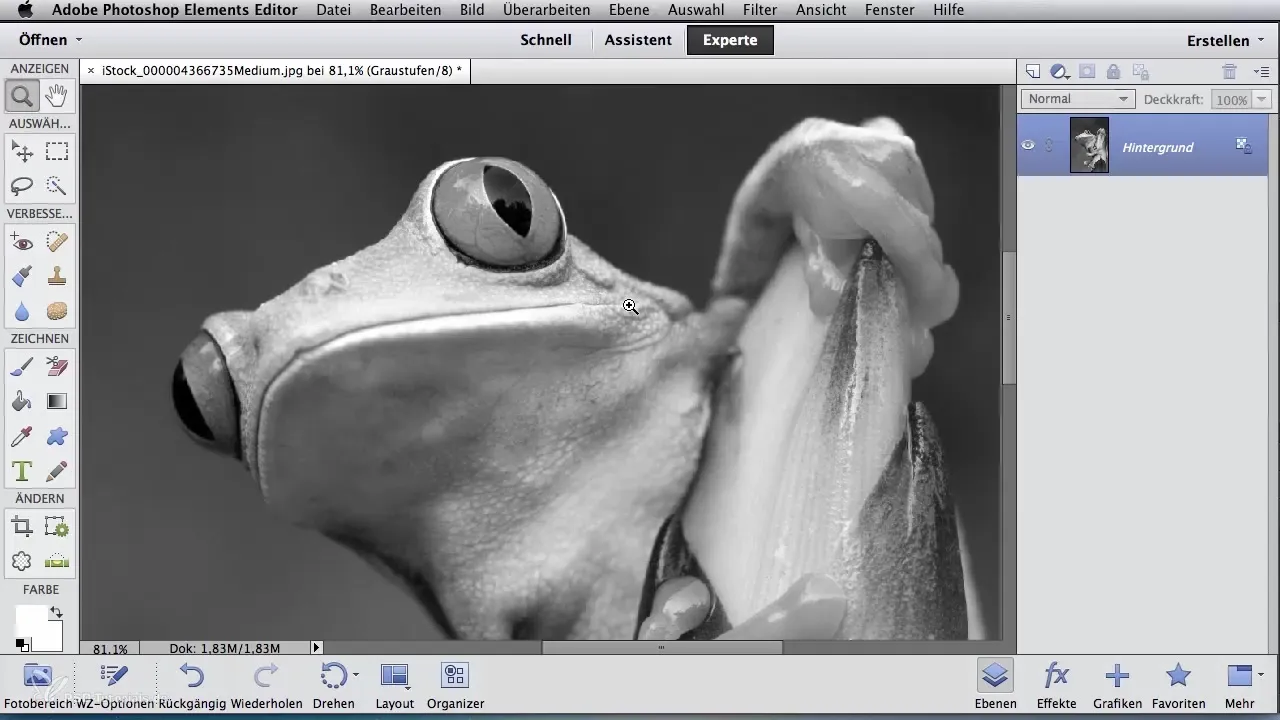
After the selection process, Photoshop Elements will ask if you want to discard the color information. Confirm this with OK. After this confirmation, Photoshop will convert the image to grayscale.
However, the result may initially look a bit “muddy.” Here, it's useful to perform tonal adjustments.
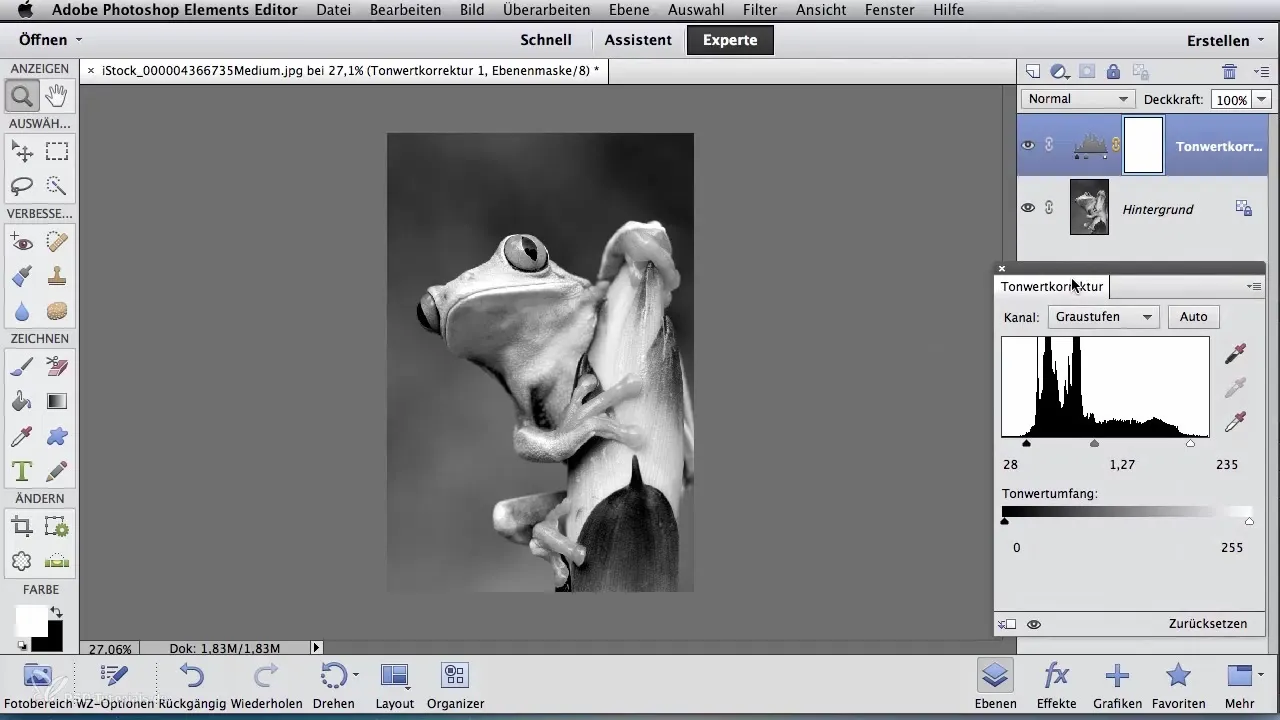
To do this, go to the tonal adjustments section. You will find sliders for the black and white points. Move the black slider to the beginning of the peaks and the white slider a little further to the left.
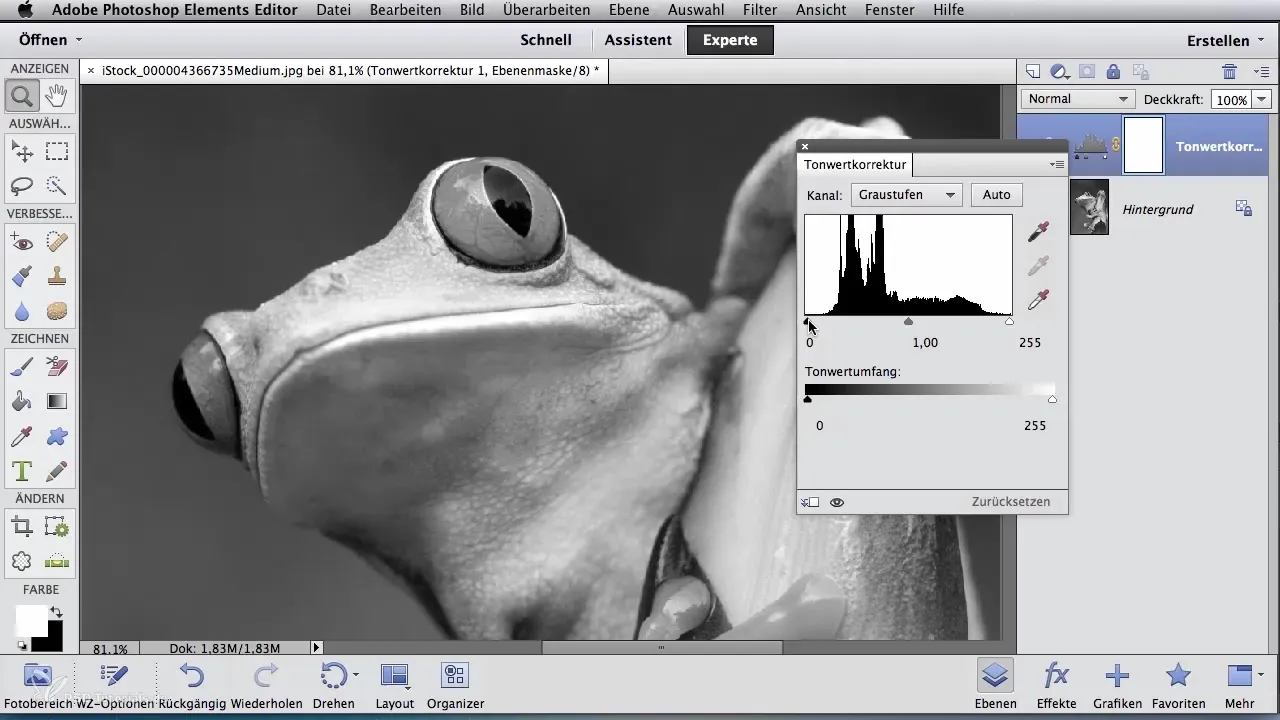
Now you will see the contrasts increase significantly. It’s best to check the result directly on the image. Pay attention to how some colors might disappear.
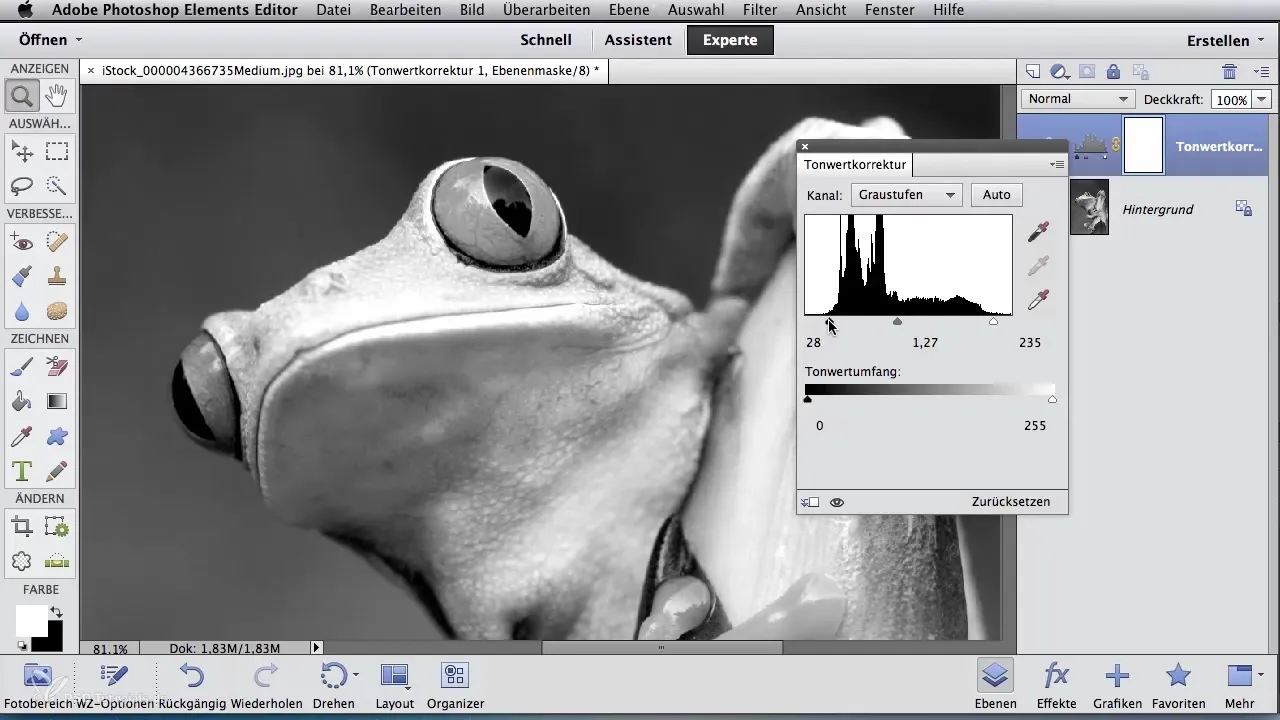
Adjust the tonal values until you are satisfied with the result.
Alternatives to Black-and-White Conversion
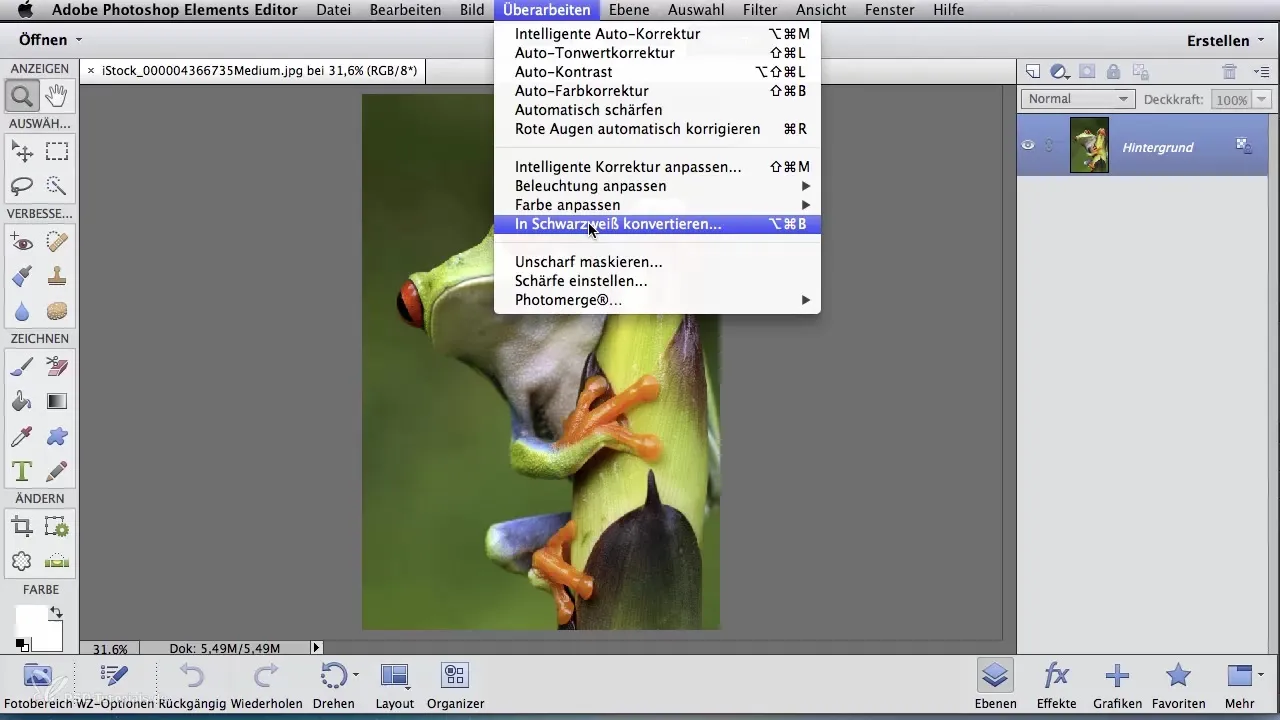
There are other ways to convert your color image to black and white. Another method is to use the Rework function, where you can select the option to convert to black and white.
In the following dialog box, you can see a preview of before and after. This makes it easier for you to decide how your image should look. On the bottom left, you have a selection of styles that you can test.
Feel free to browse through the options to find a setting you like. Furthermore, on the right side, you have the option to adjust the intensity of red, green, and blue.
Here you can also increase or decrease the contrast to further optimize the black-and-white image.
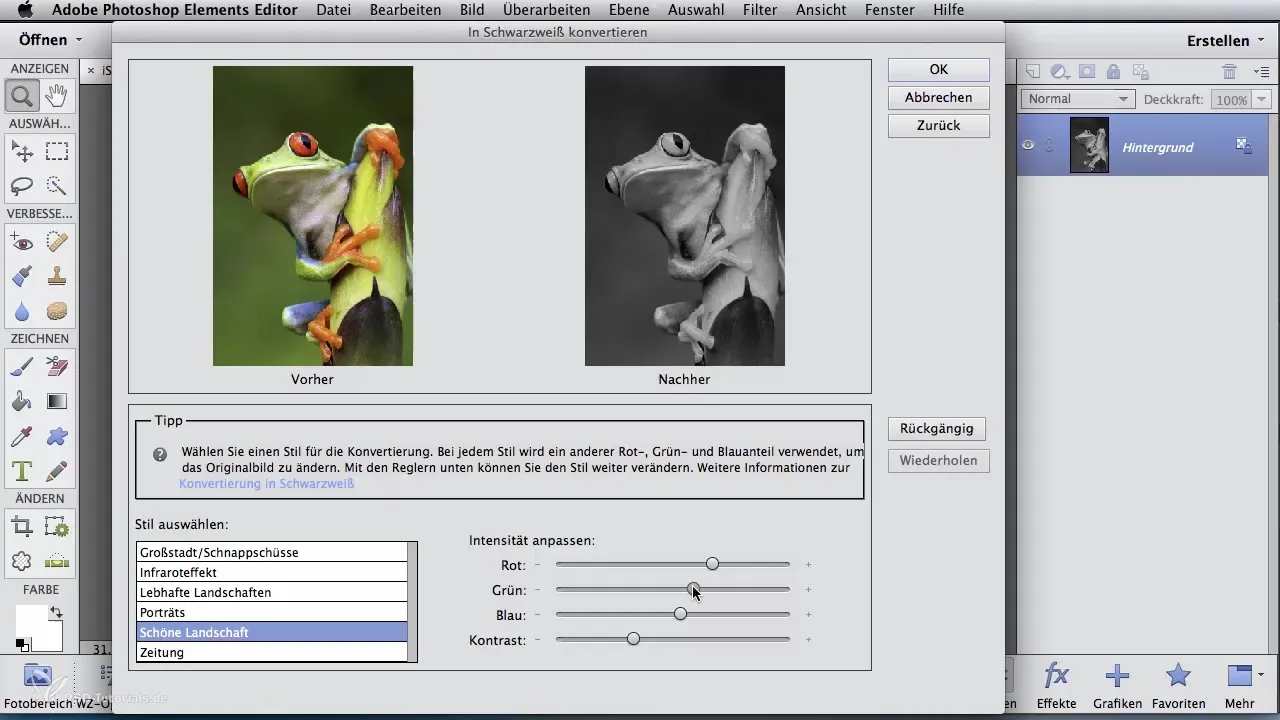
When you are satisfied with the result, confirm the settings.
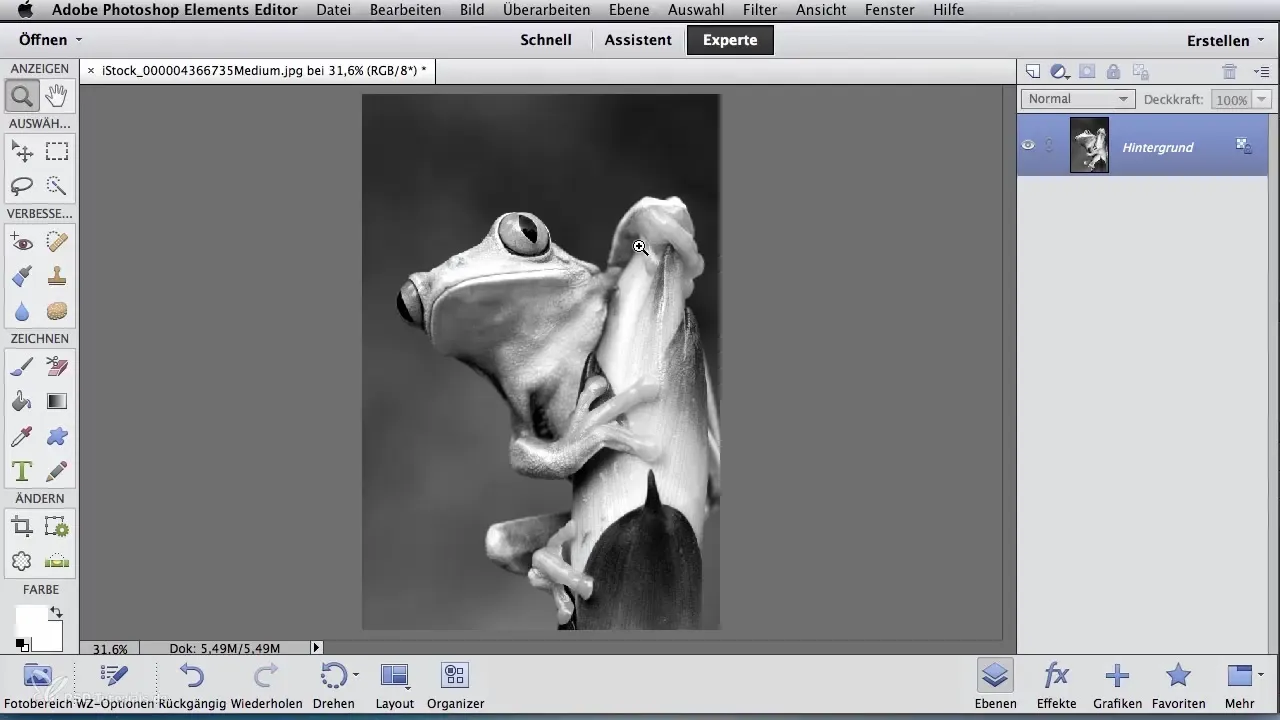
Final Check of the Black Values
Now you should take one final look at your black values. Make sure they match your expectations and that the image achieves the desired effect.
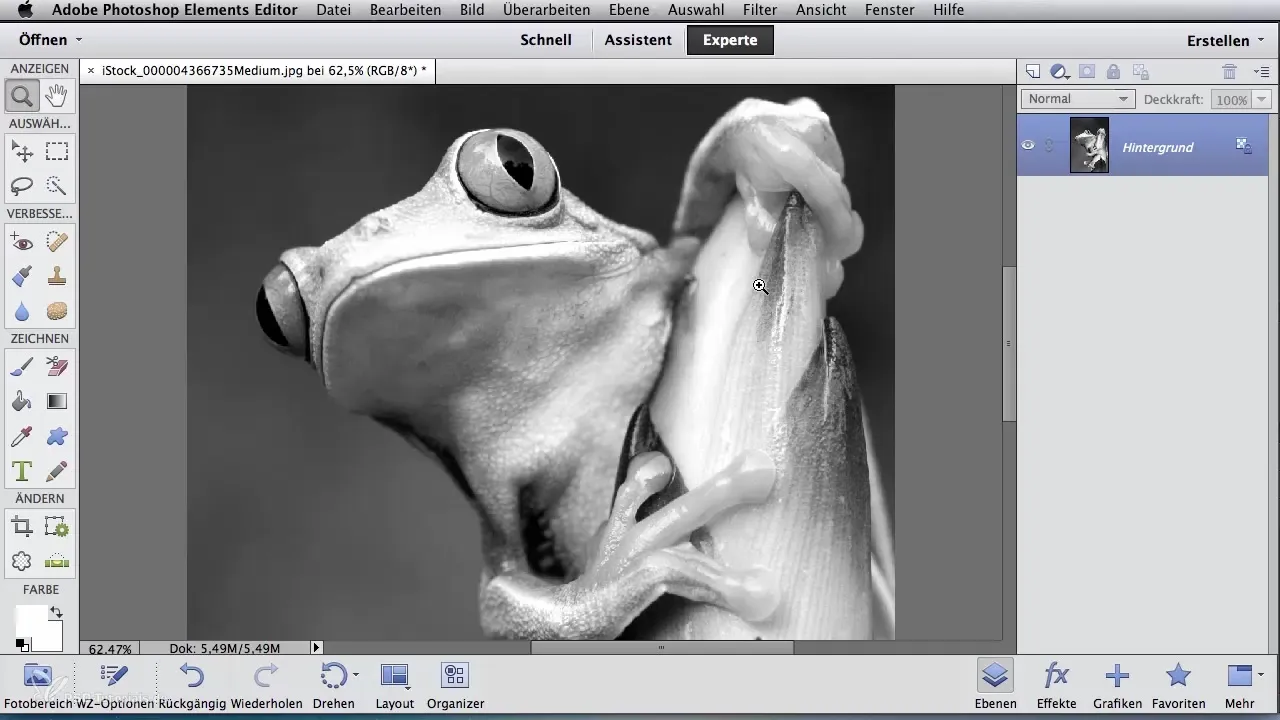
Depending on your creative vision, you can make final adjustments here to create the perfect black-and-white artwork.
Summary – Digital Image Editing for Airbrush Artists: Grayscale Made Easy
Transforming a color photo into a black-and-white image is both creatively and technically straightforward. With the right steps and appropriate software, you can achieve impressive results. Be sure to apply the tonal adjustments correctly and explore the various conversion options. This will give your image the necessary contrast and depth it needs.
Frequently Asked Questions
What do I need to convert a color photo to black and white?You need Photoshop Elements and your color template.
How can I increase the contrast in the black-and-white image?You can do this through tonal adjustments by adjusting the sliders for black and white accordingly.
Are there alternative methods for black-and-white conversion?Yes, you can also use the “Rework” function and select “convert to black and white.”
What should I do if the image looks muddy?Perform a tonal adjustment to improve contrasts and details.
Do I really have to discard the color information when converting?Yes, to convert the image to grayscale, you must discard the color information.


