Whether you run a private Linux server or work in a collaborative environment, the management of users and groups is a crucial part of your system administration. Creating and deleting groups provides flexibility and control over access rights, which is especially important when multiple users access the same machine. In this guide, I will show you step by step how to create new groups and delete existing groups.
Key Insights
- New groups are created using the command addgroup.
- Users can be added to a group with the command adduser.
- Groups can be deleted using the command delgroup.
- The configuration of groups is found in the file /etc/group.
Step-by-Step Guide
Step 1: Clear and Prepare the Screen
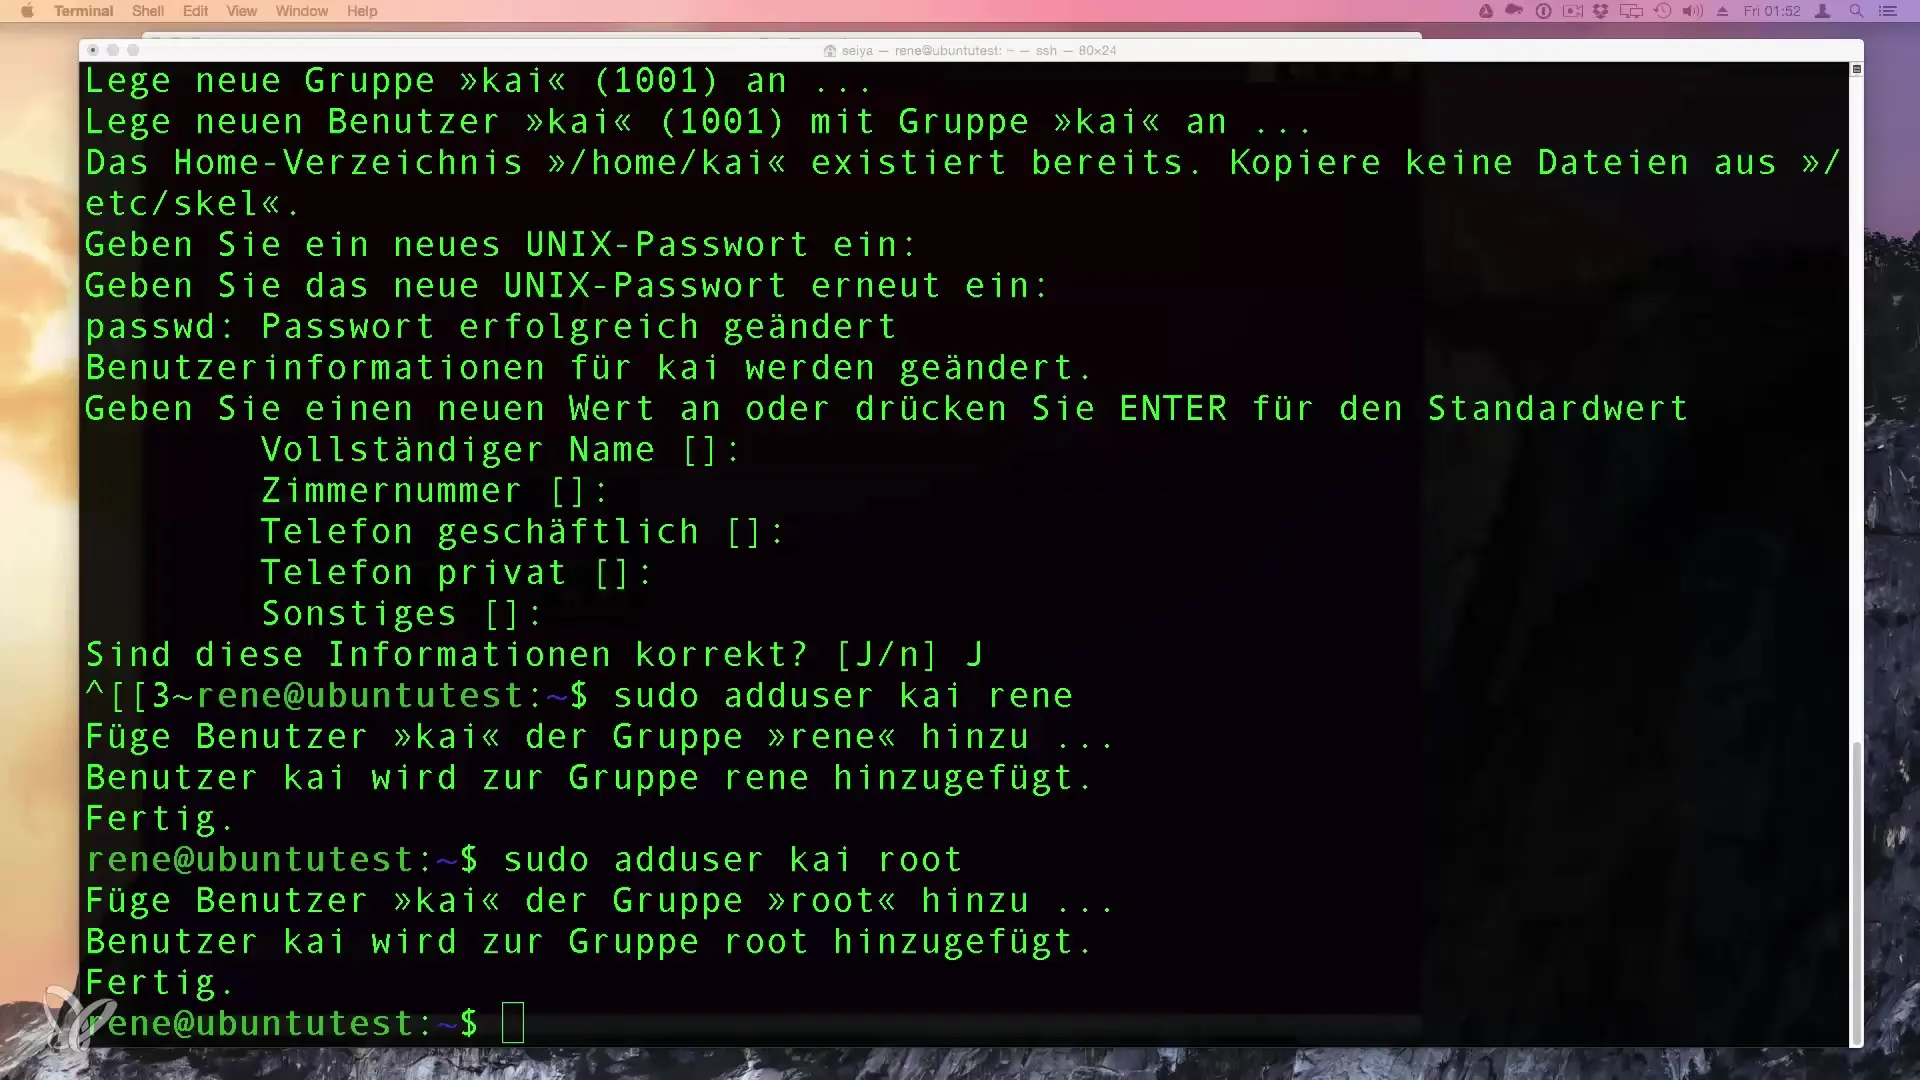
First, you should clear your terminal screen to have a clear view of the next steps. This can be done with the command clear. This ensures that you have a tidy view when working with the next commands.
Step 2: Create a New Group
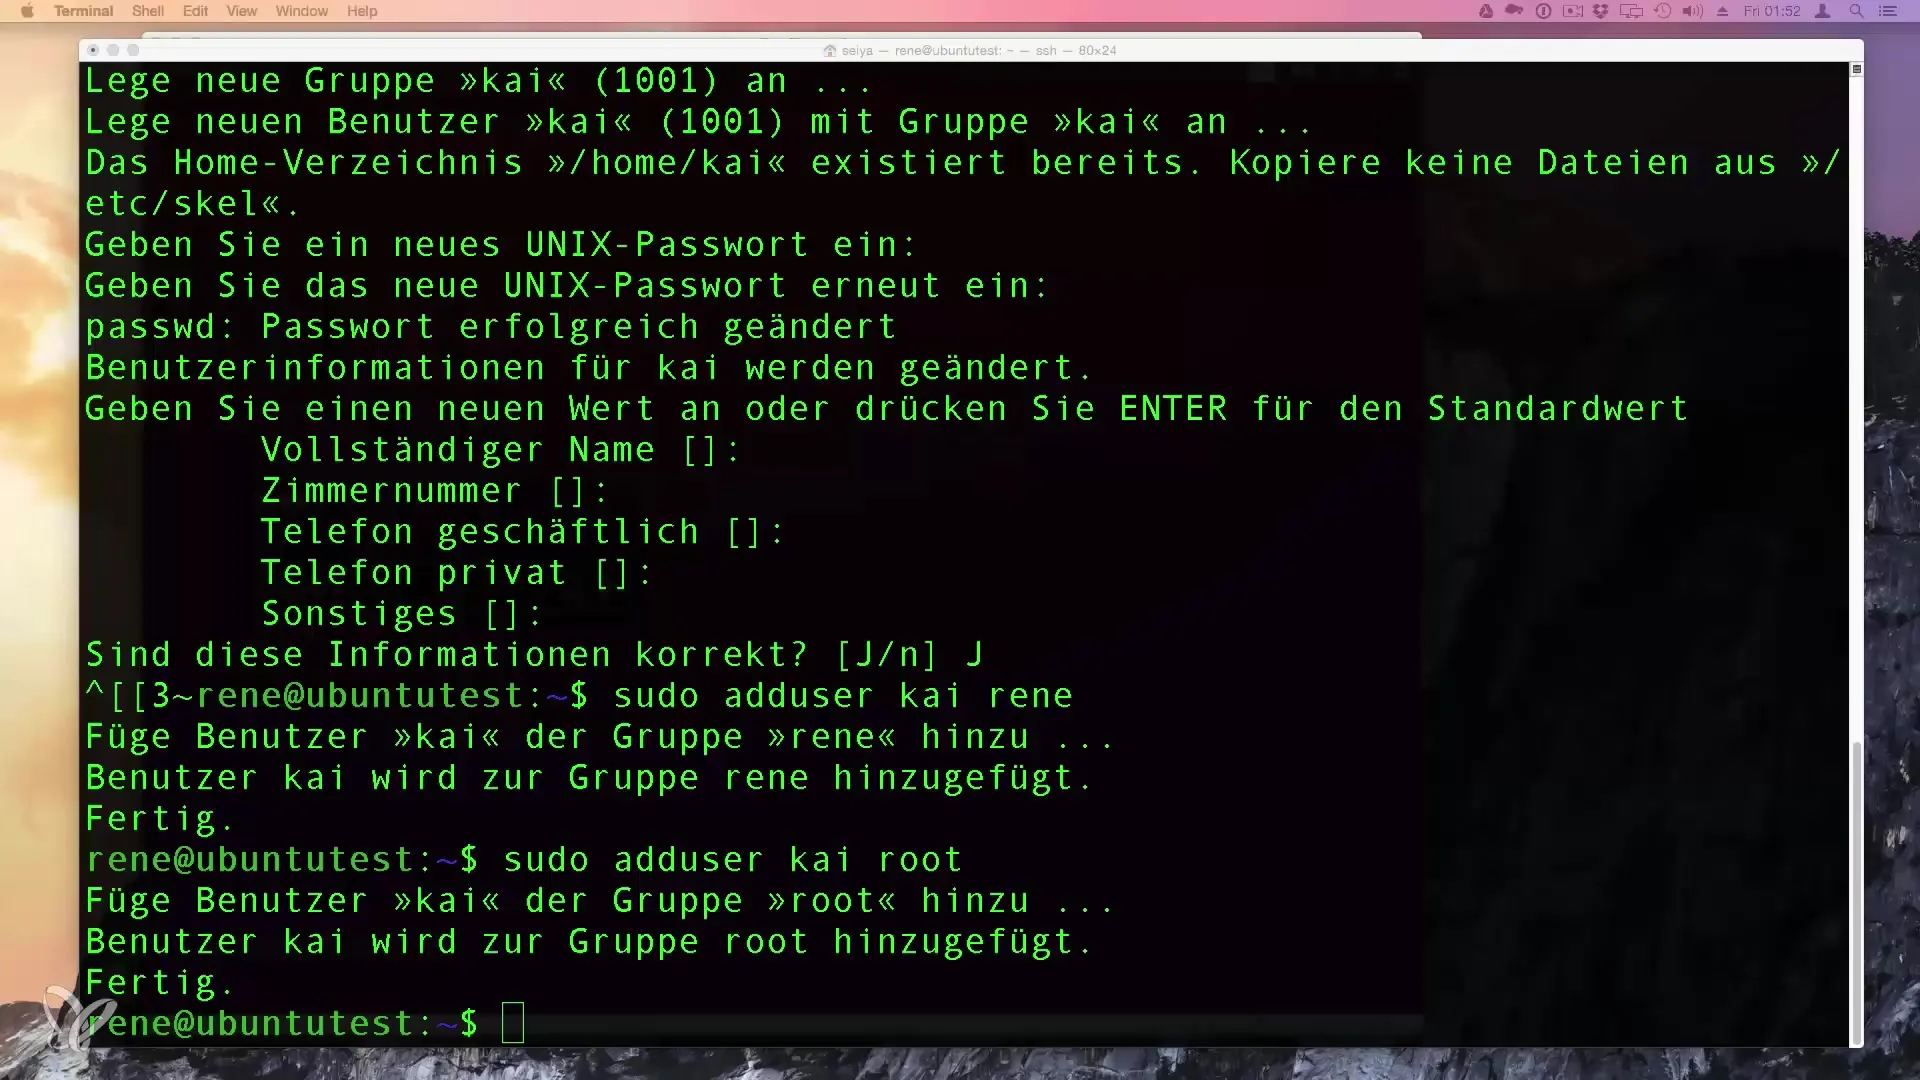
To create a new group, use the command addgroup. In this example, we will name the group "Friends". The command is entered as follows:
Press Enter, and you will see that the group has been created with a unique group ID (GID). Linux manages the GID automatically; however, you can also set it manually.
Step 3: Add Users to the Group
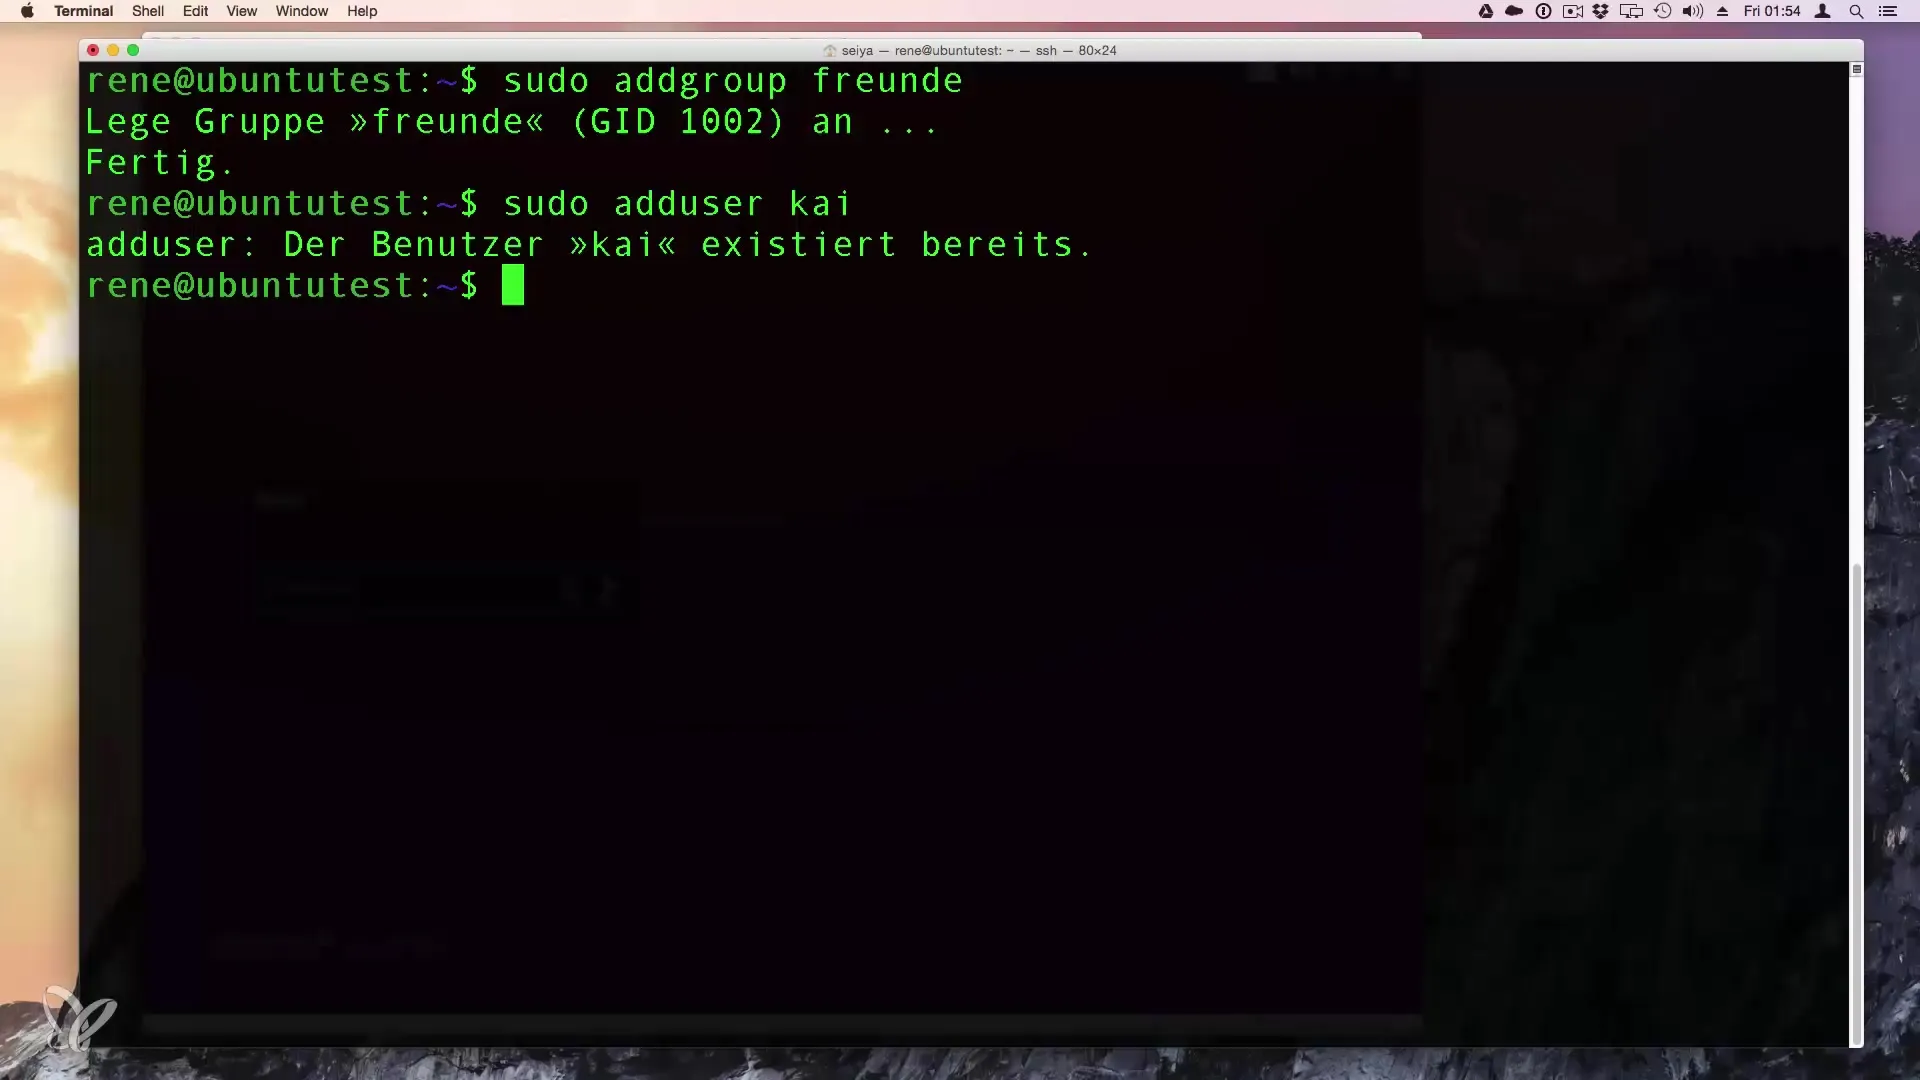
Now we want to add an existing user, in this case "Kai", to the newly created group "Friends".
This command confirms that the user "Kai" is now also part of the group "Friends". If Kai does not exist yet, you must first create him with adduser Kai.
Step 4: Assign Permissions
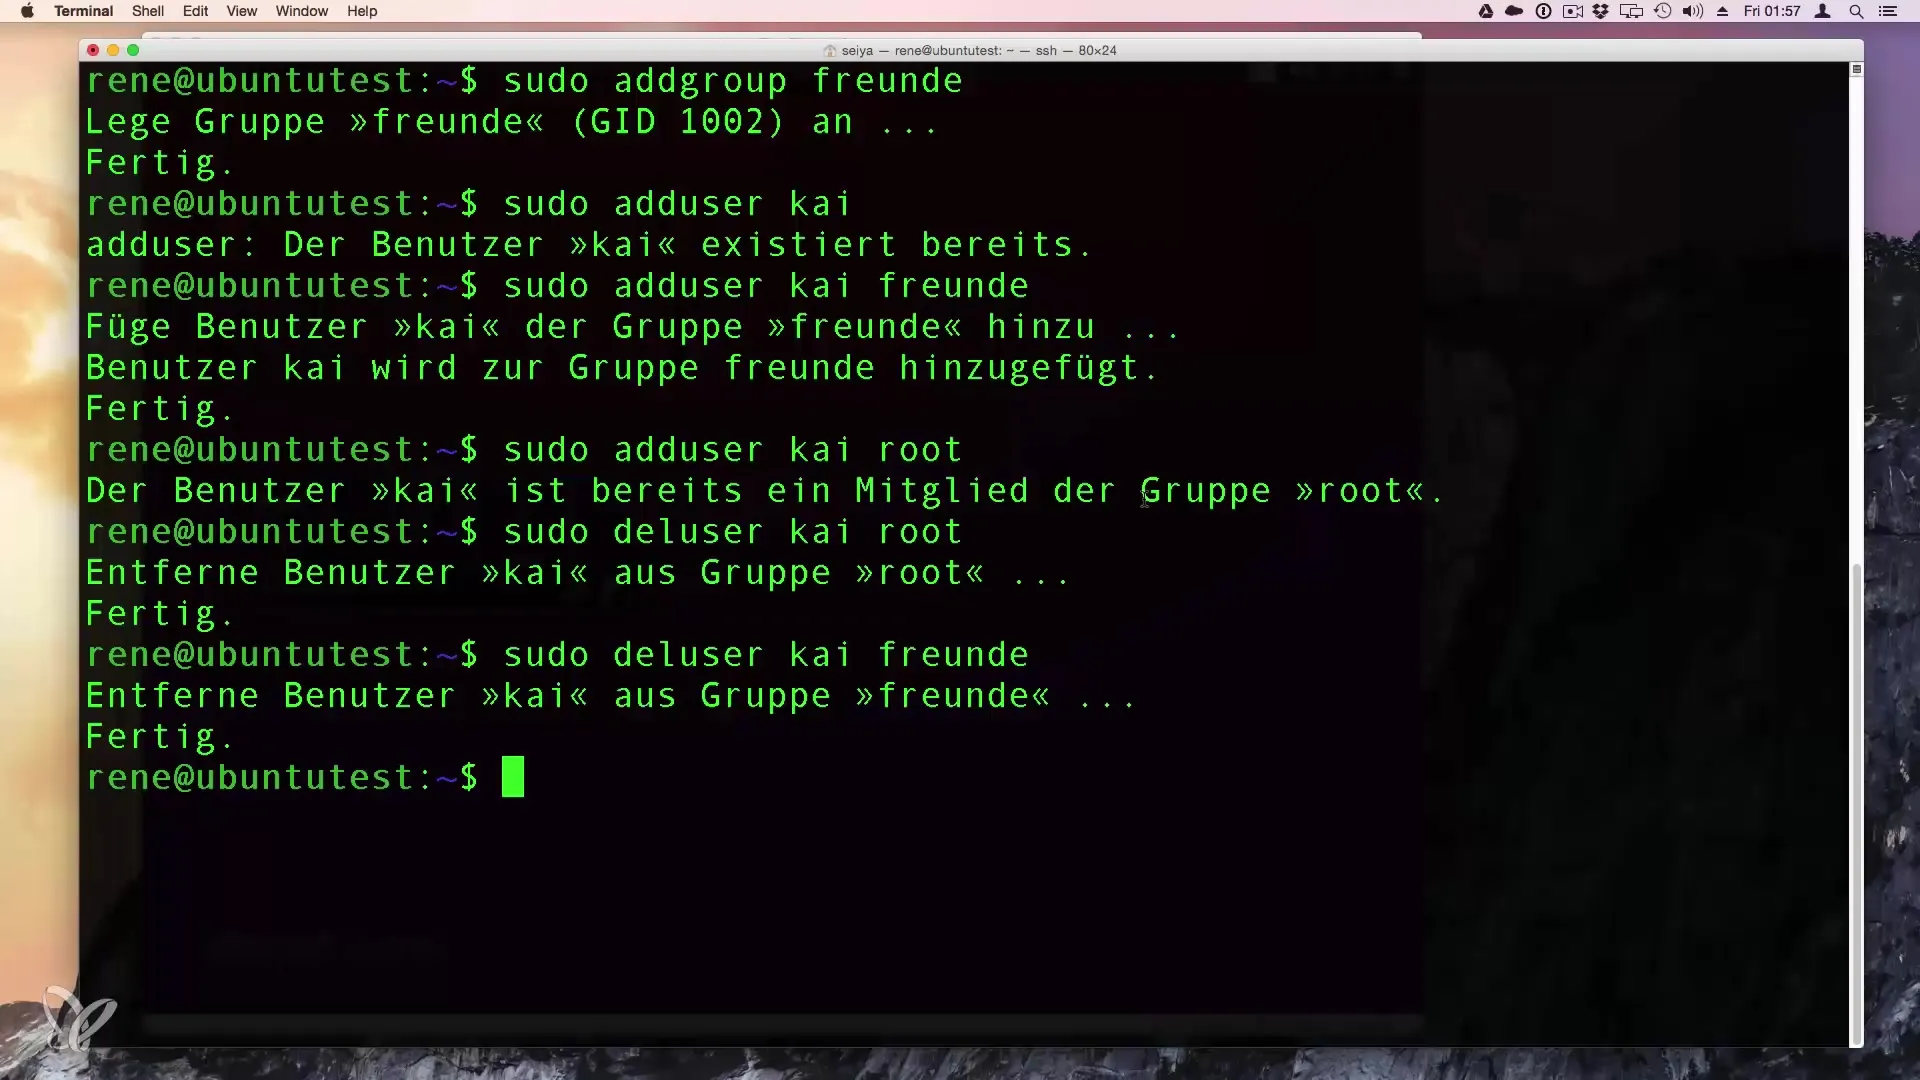
If Kai is also to act as a system administrator, you can additionally grant him access to the "root" group. This can be done with the following command:
With this, Kai has permission to execute the sudo command and perform administrative tasks.
Step 5: Manage Groups and Users
Removing a user from a group is done with the command deluser. For example, if you want to remove Kai from the "root" group, you use:
The same principle applies to the "Friends" group. You can remove the user with the following command:
Now Kai is no longer part of the "Friends" group.
Step 6: Manage Groups
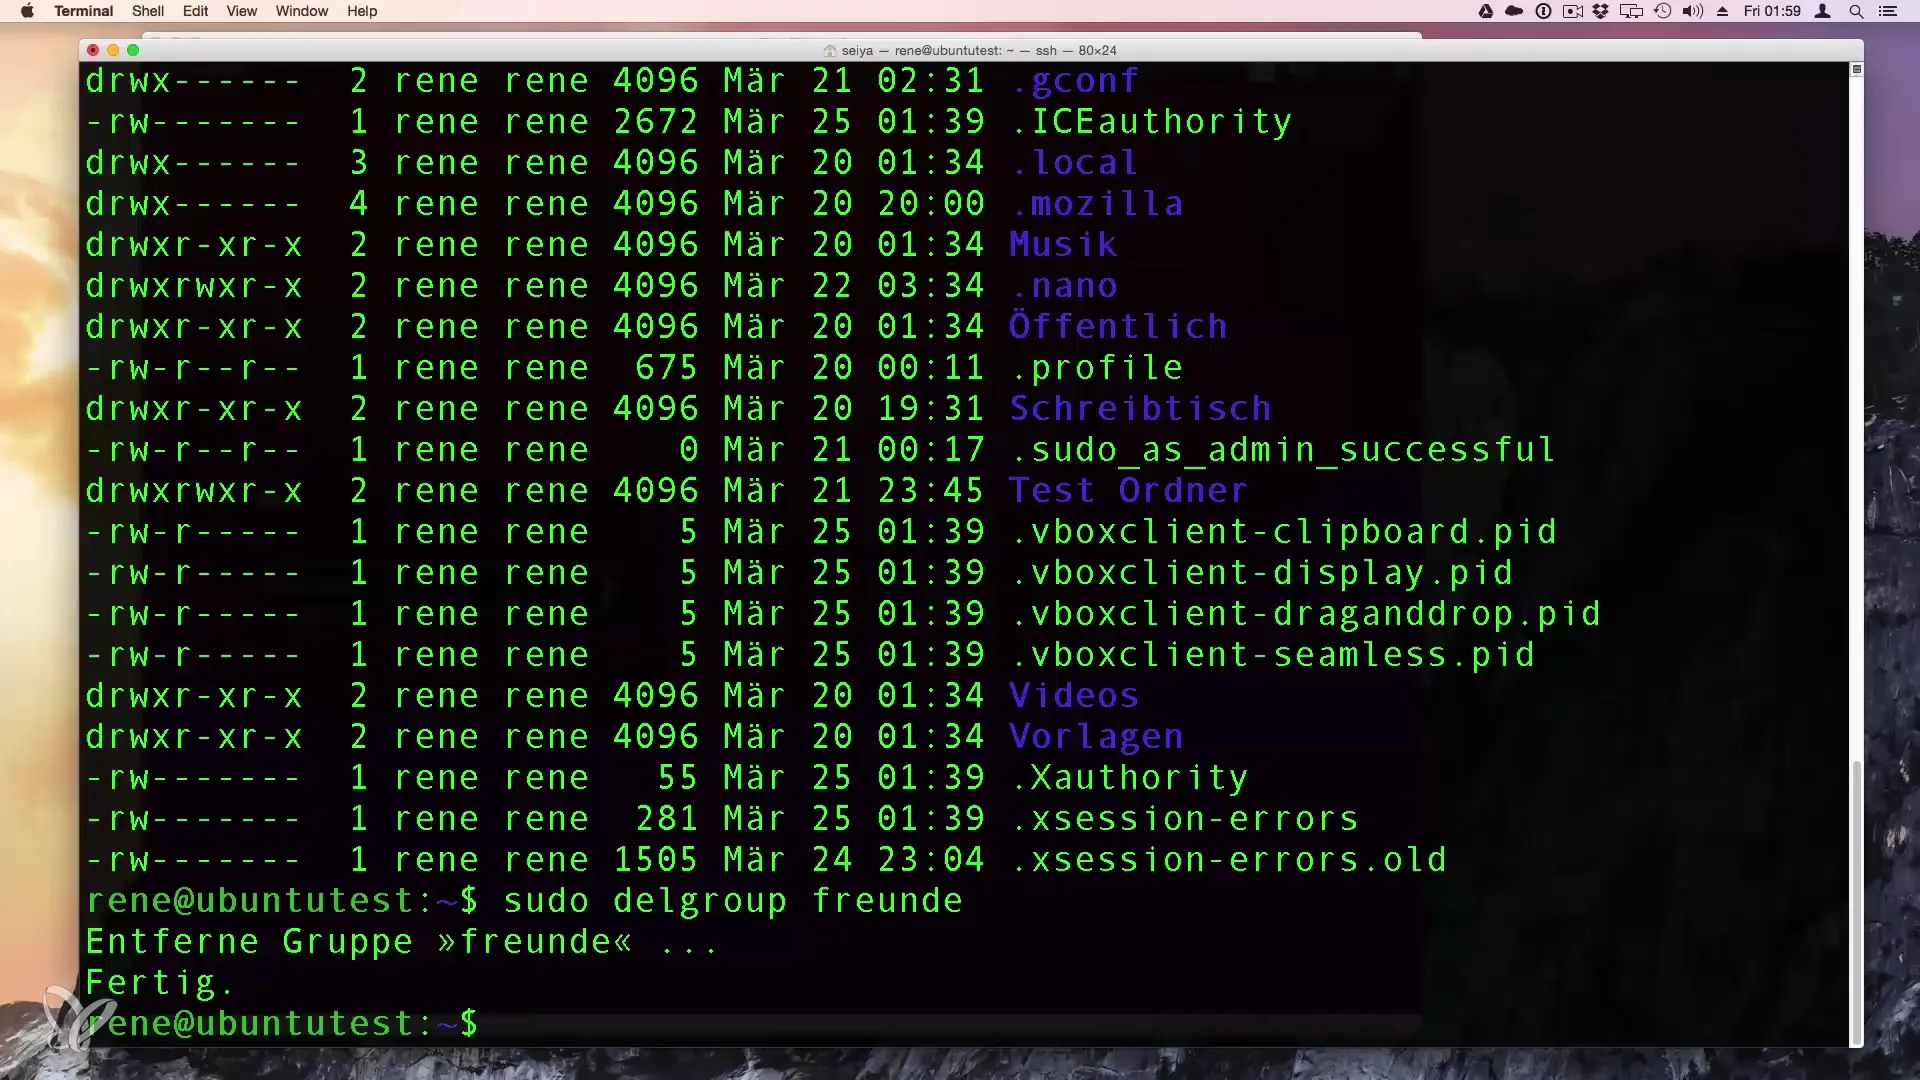
To completely delete a group, we use the delgroup command. For our group "Friends", this looks like:
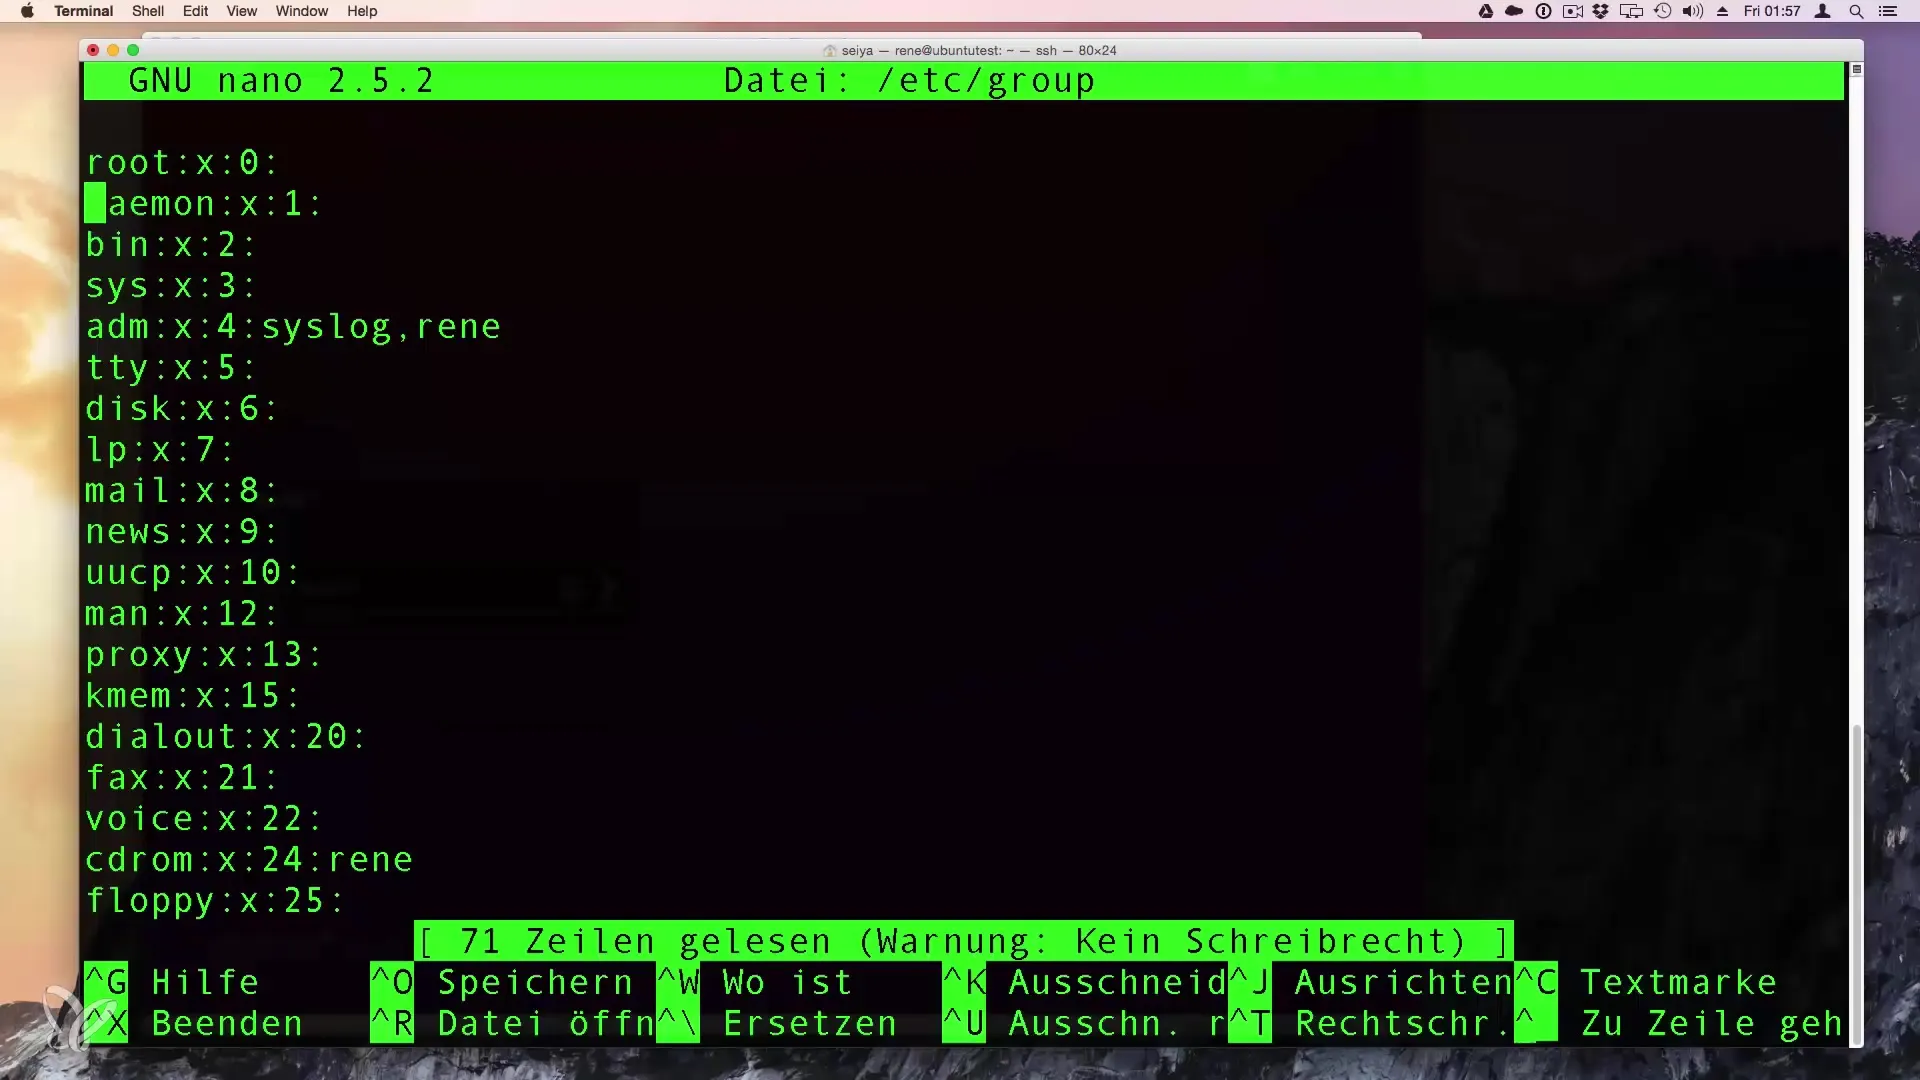
After confirmation, you will see that the group has been removed. To verify this, you can open the file /etc/group and check.
Step 7: Check Groups in the File
To see all groups and their members, open the file /etc/group. Here you will find all groups on your Linux server. The structure is set up so that each user is associated with a group, and you can also read the group ID (GID) for each group.
Summary – Guide to Creating and Deleting Groups in Linux
Creating and deleting groups in Linux is a simple but essential skill for any system administrator. You have learned how to create groups with the command addgroup, add users with adduser, and delete groups with delgroup. To keep track of groups and their members, you can check the file /etc/group at any time.
Frequently Asked Questions
What is the purpose of a group in Linux?Groups allow for assigning common permissions to users, making it easier for them to access specific files and directories.
How do I add a user to a group?Use the command adduser [username] [groupname] to add a user to an existing group.
Can I also create groups manually with a specific ID?Yes, with the command addgroup --gid [GID] [groupname], you can create a group with a specific group ID.
What happens if I delete a group?When a group is deleted, all members lose their group membership and the specific permissions associated with that group.


