Whether you want to start a blog or create a personal website, using WordPress on a Linux-based web server is a powerful and flexible way to do it. In this guide, you will install WordPress on your Ubuntu 16.04 system – following best practices and as quickly as possible. Let’s get started!
Key insights
- Installing an Apache web server
- Setting up PHP 7 and MySQL
- Installing WordPress and configuring the database
Step-by-Step Guide
First, log into your Ubuntu system and open the terminal. In order to install WordPress, you need some basic packages that you can quickly install.
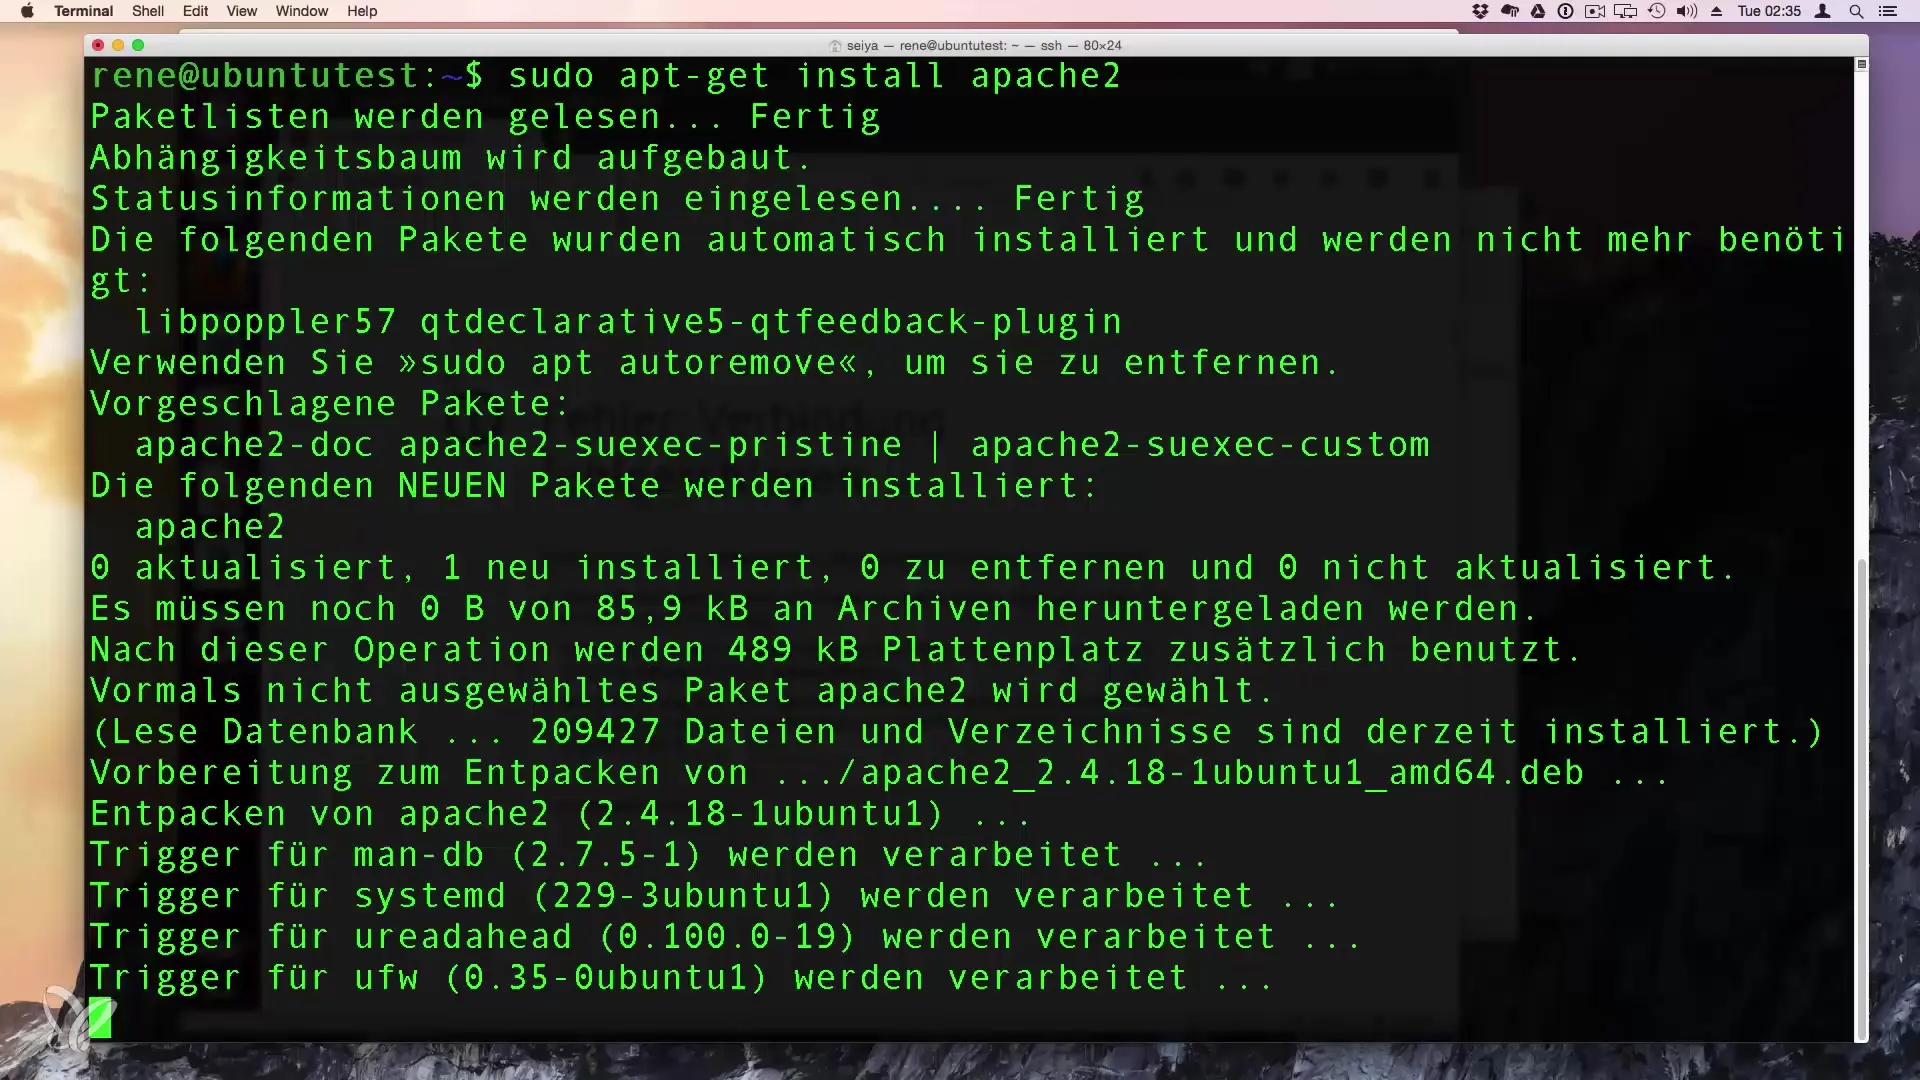
Start with the Apache web server. You can install this with the following command:
After executing the command, you will be prompted for confirmation. Confirm the installation to install the web server.
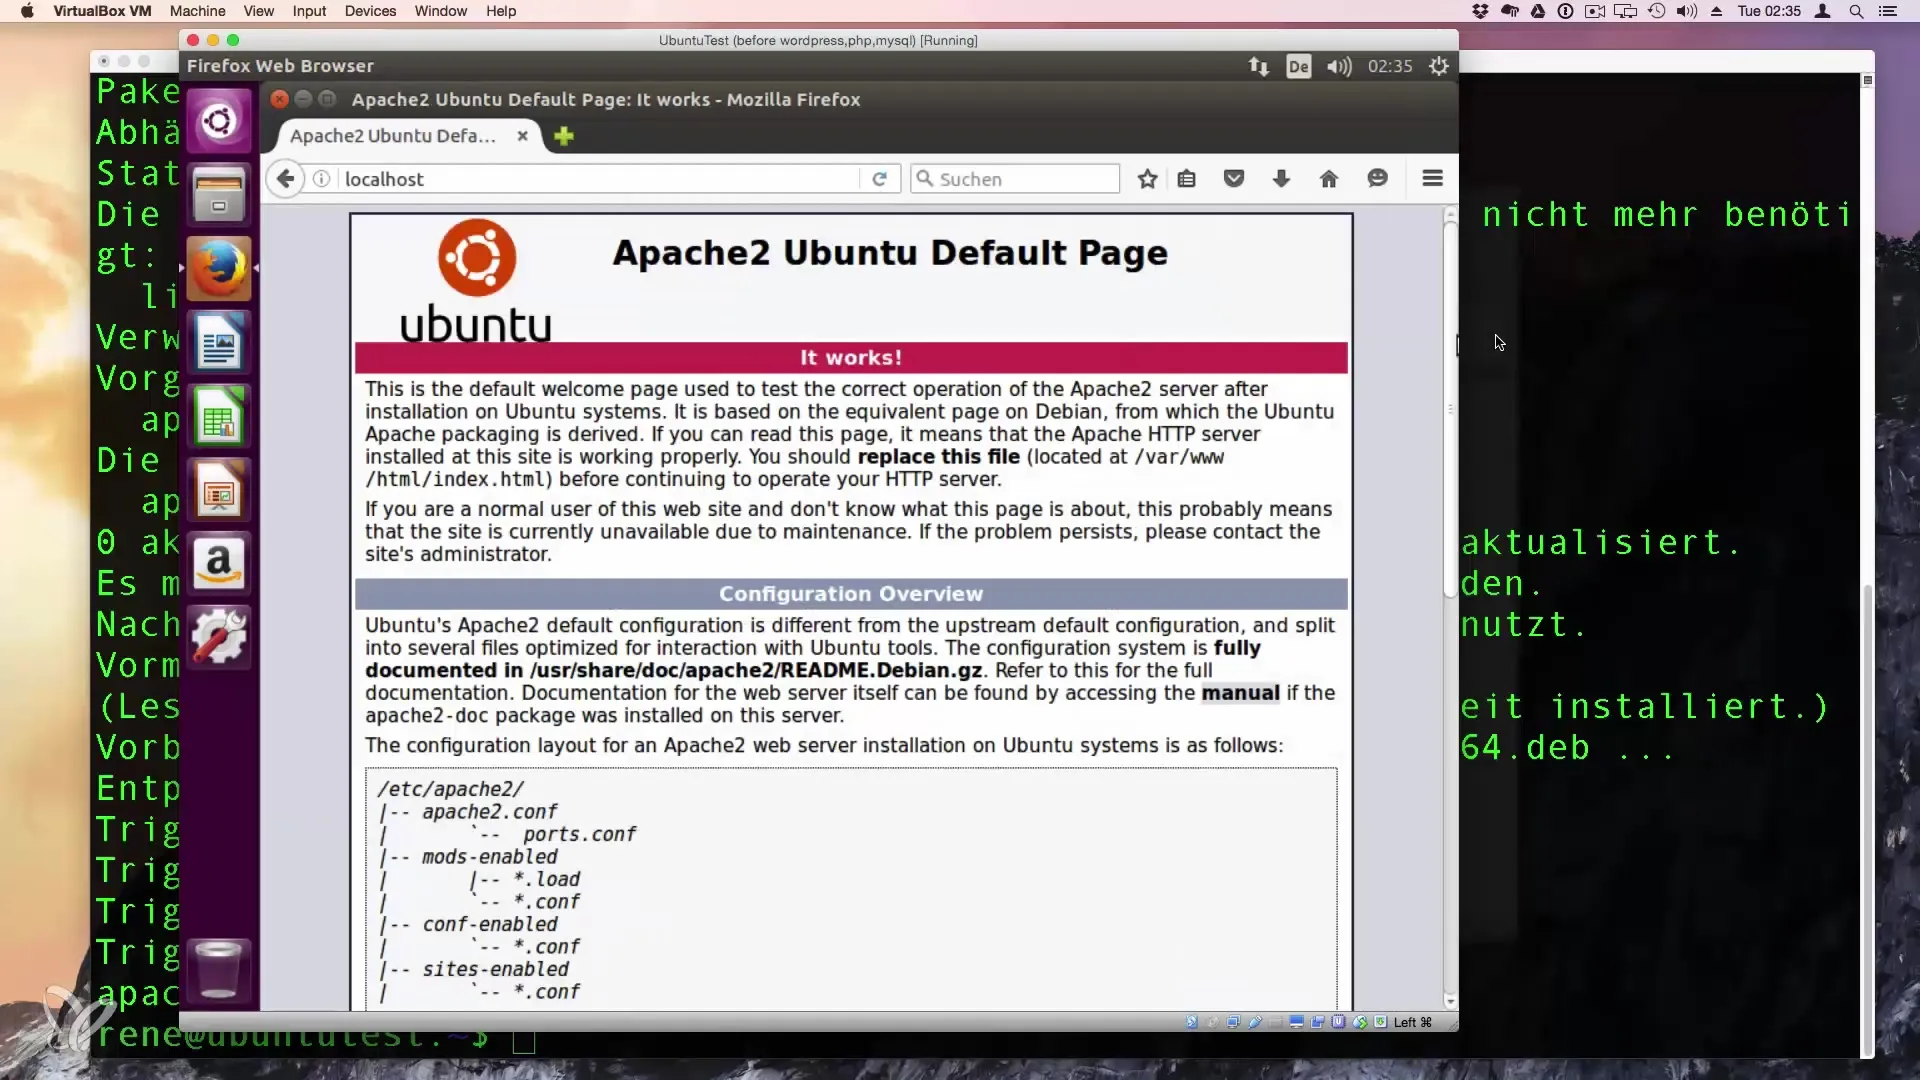
Once the installation is complete, check if Apache is running successfully. To do this, open your browser and enter localhost in the address bar. Here, you should be able to see the default Apache page.
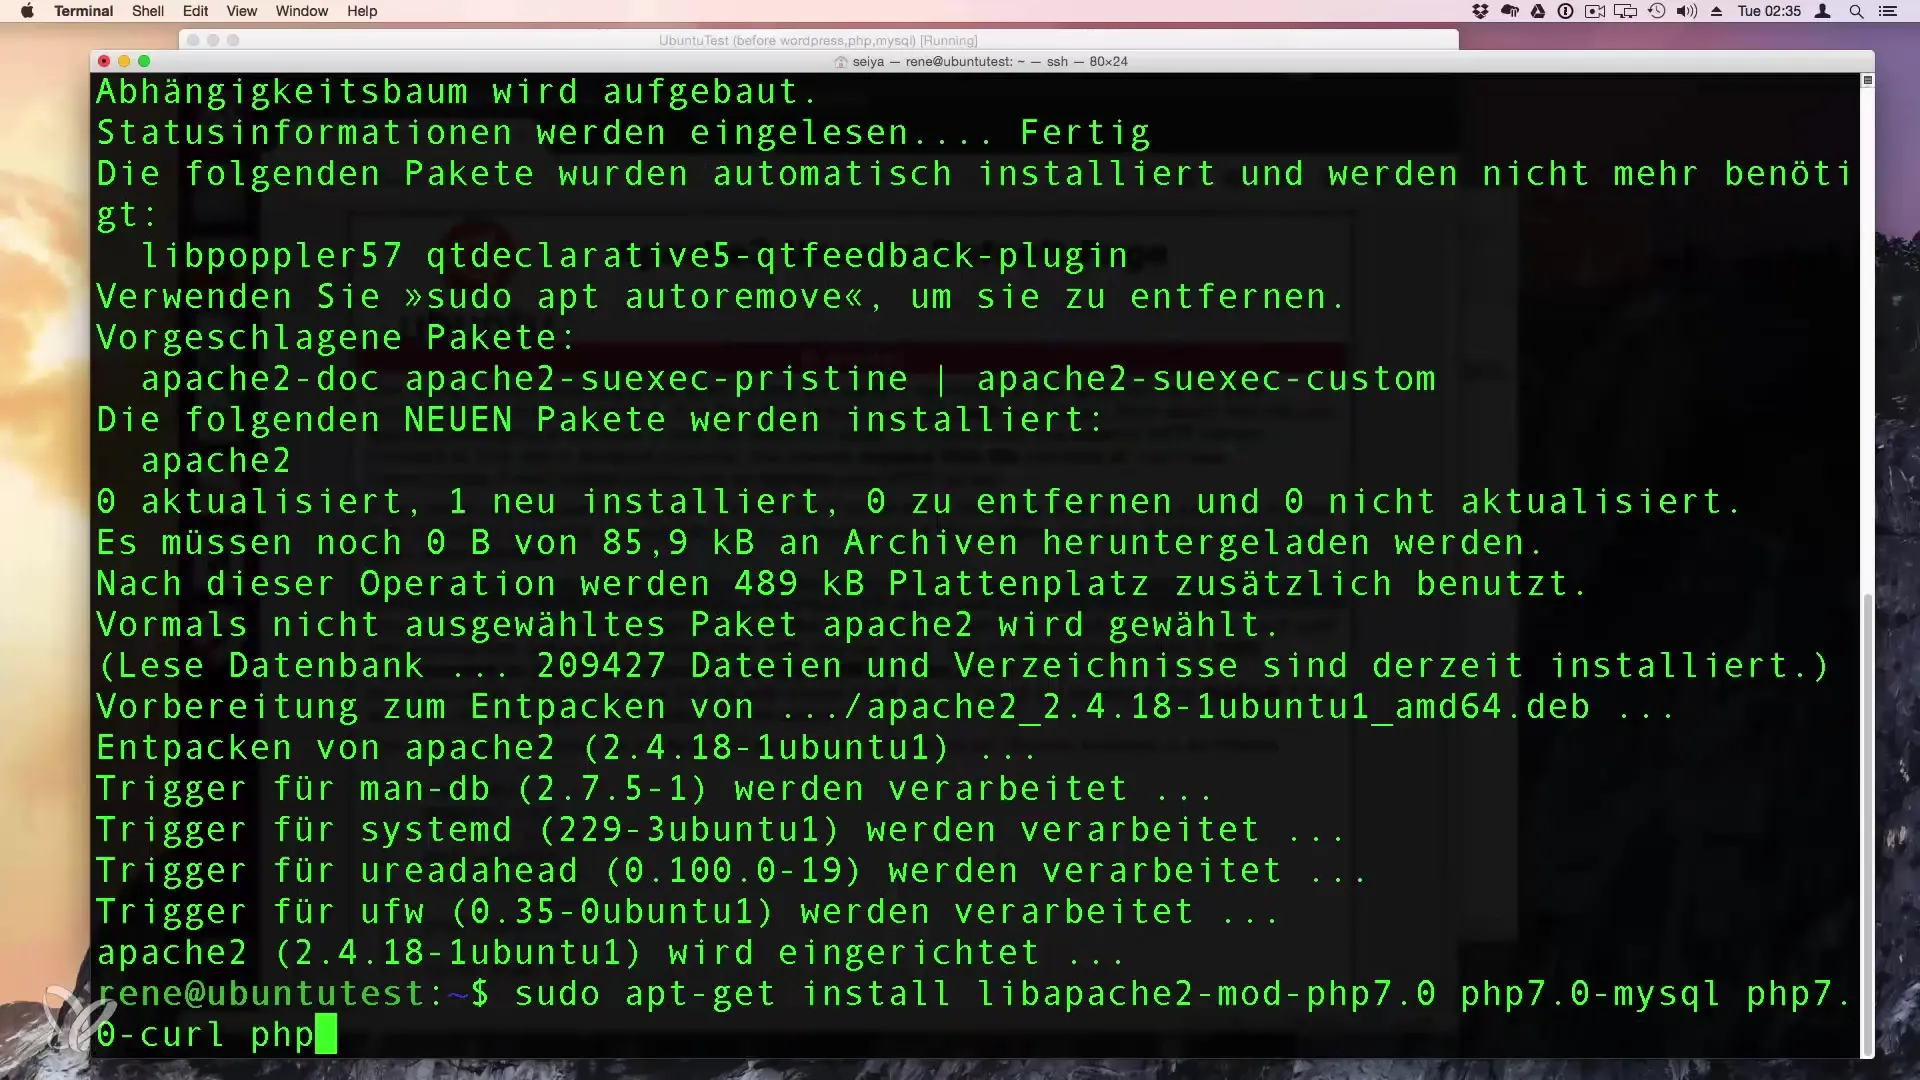
Now it’s time to install PHP 7. Use the following commands:
These packages ensure that your web server understands and can work with PHP. You can also install the JSON plugin, which is useful for WordPress, although it is not strictly necessary.
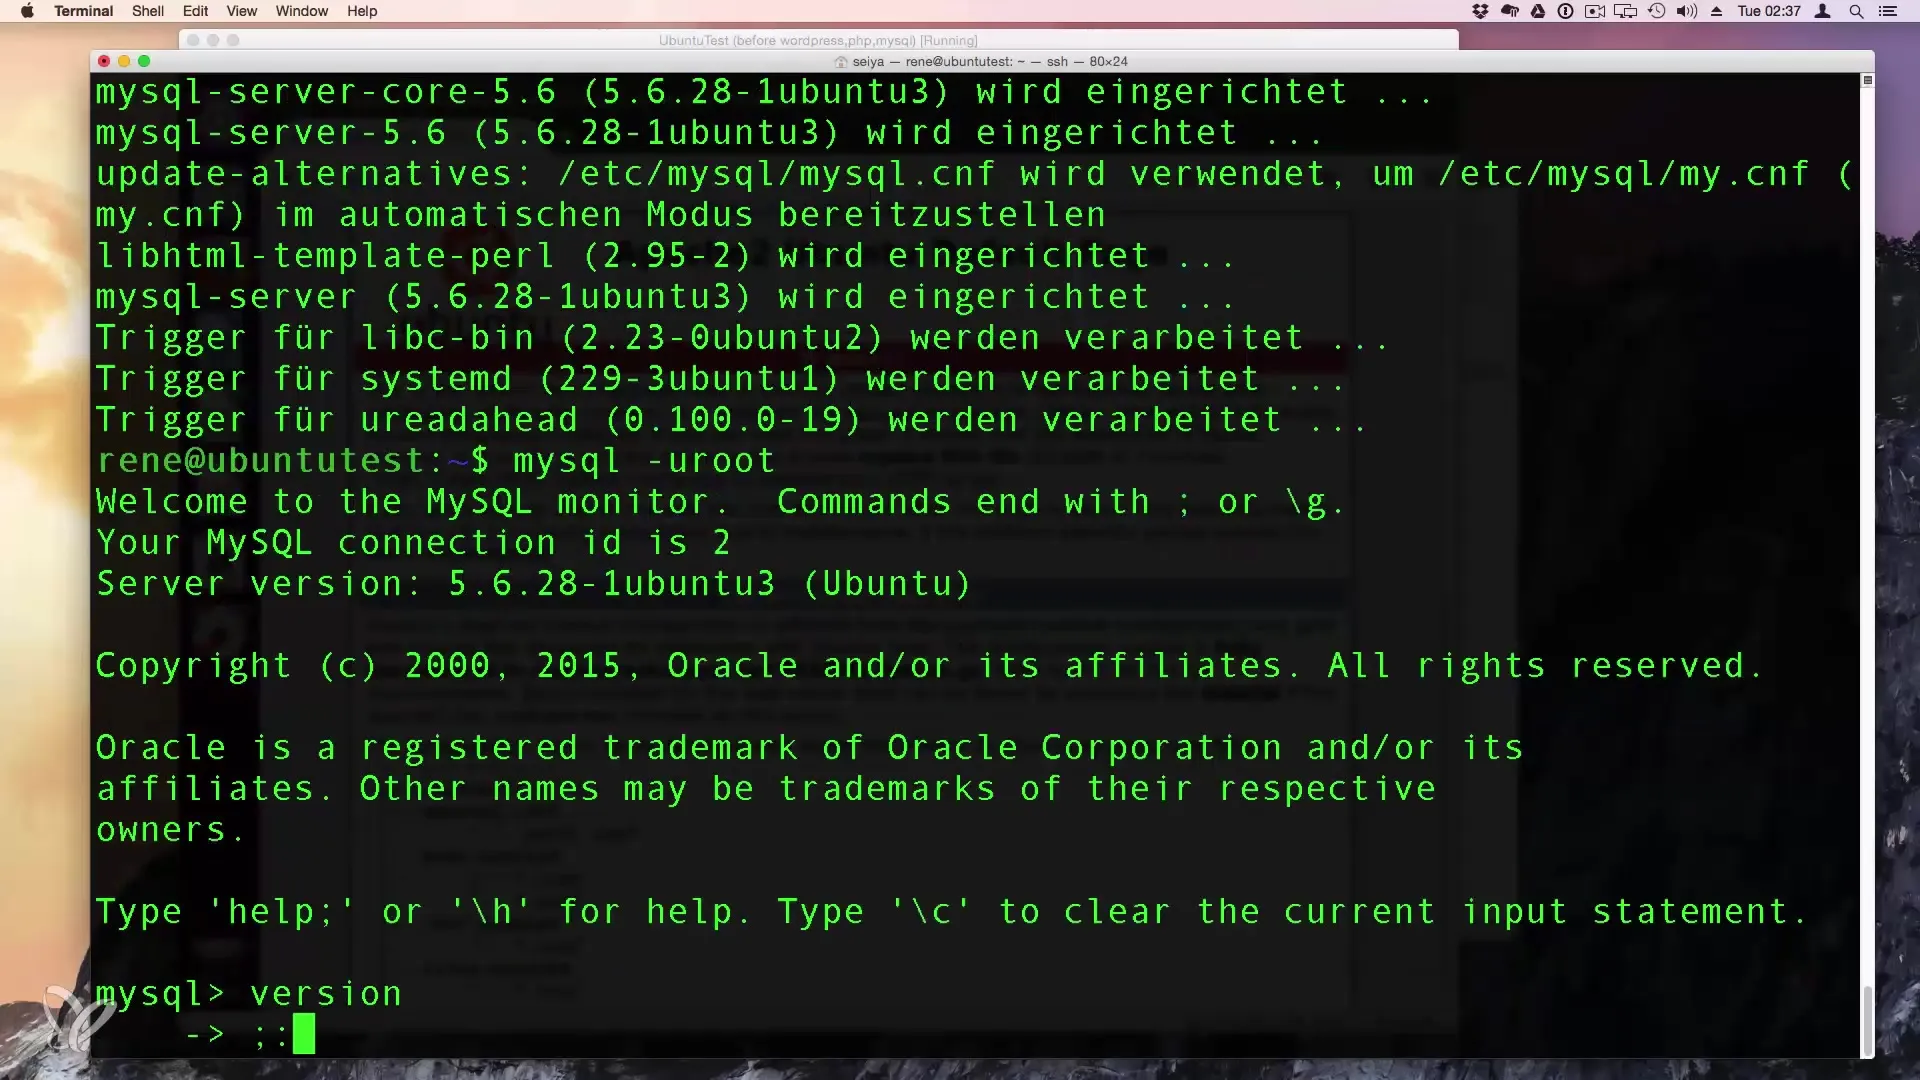
Once PHP is installed, set up MySQL to manage the database for your WordPress site. We will also use the following command for this:
Choose a secure password for root and follow the instructions for installation. After that, you can access the MySQL console with the following command:
Here, you can check if the server is running correctly by entering status.
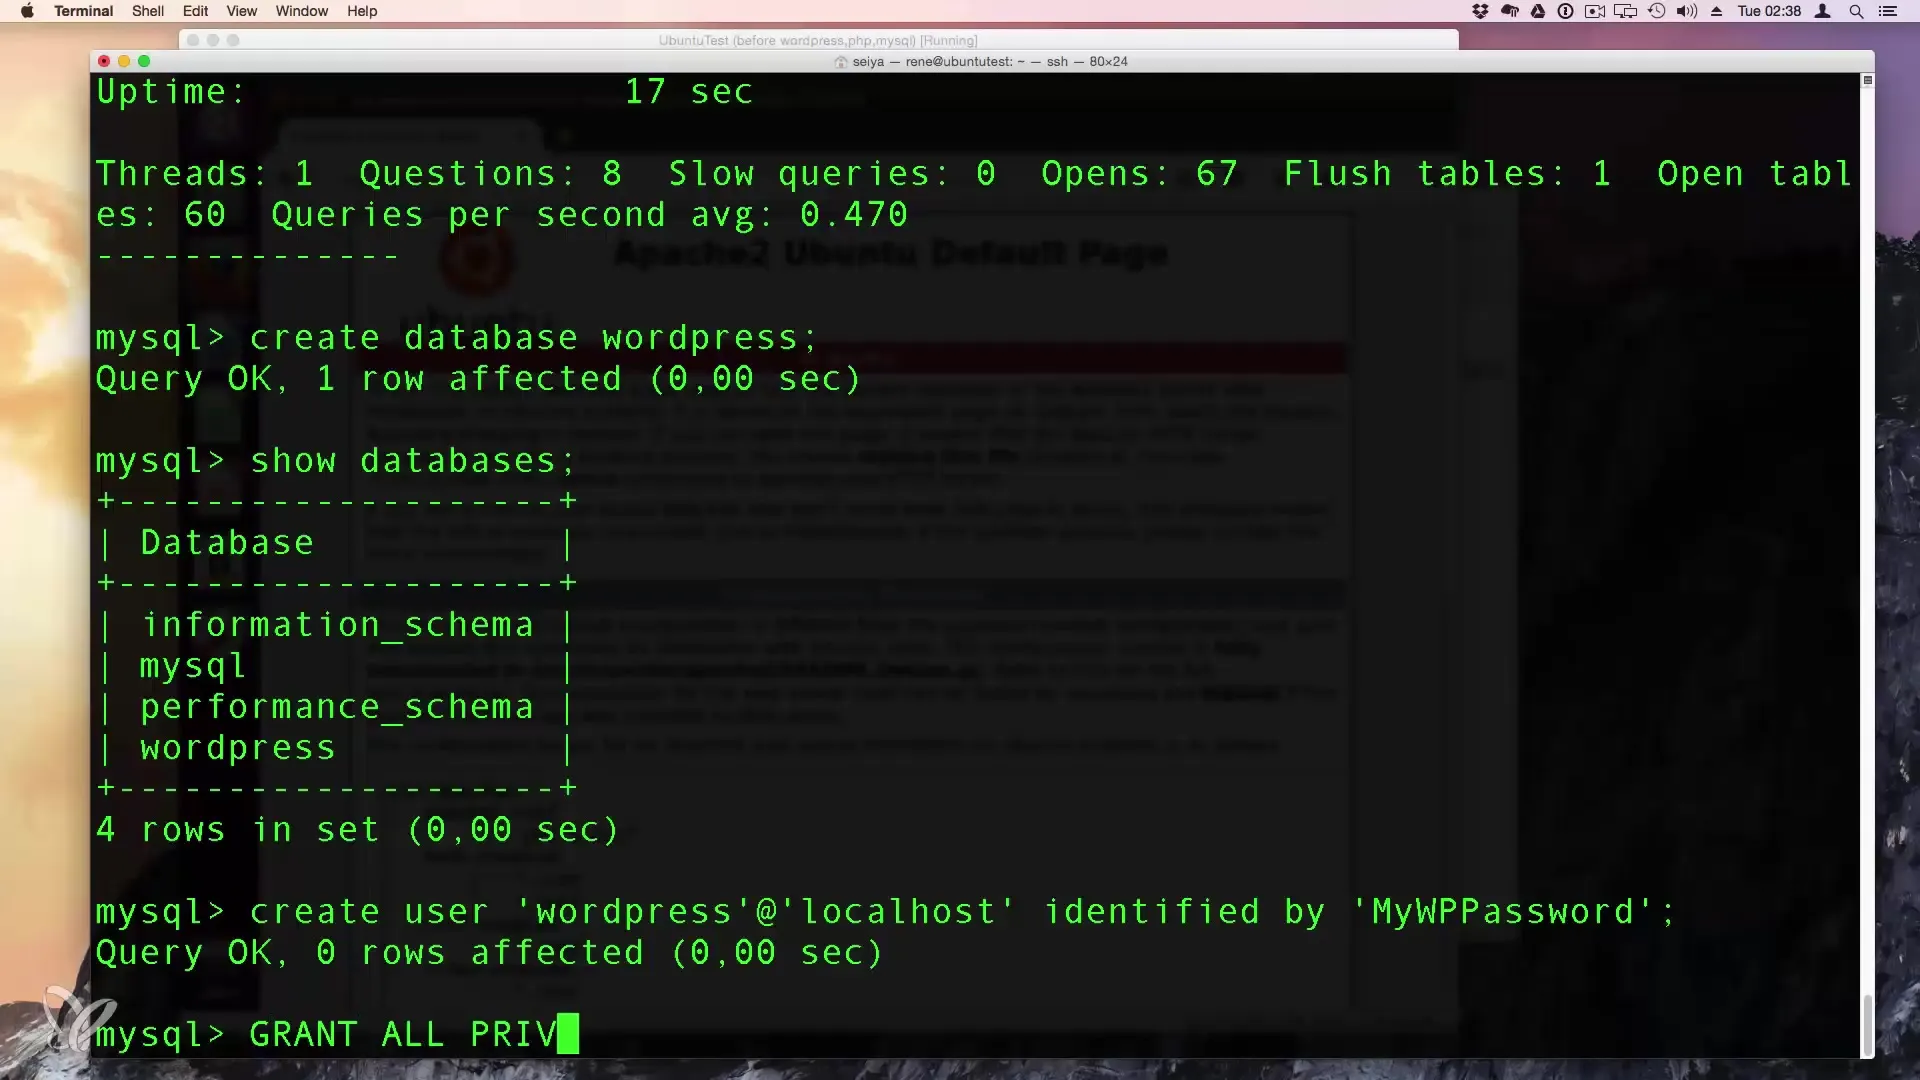
Now you need to create a database for WordPress. Use the MySQL commands to create a database:
Next, create a user that has access to this database. This is important to ensure that your WordPress does not operate with the root user, which could pose a security risk. Here’s an example of how to create a new user:
Remember to replace the password with your own choice.
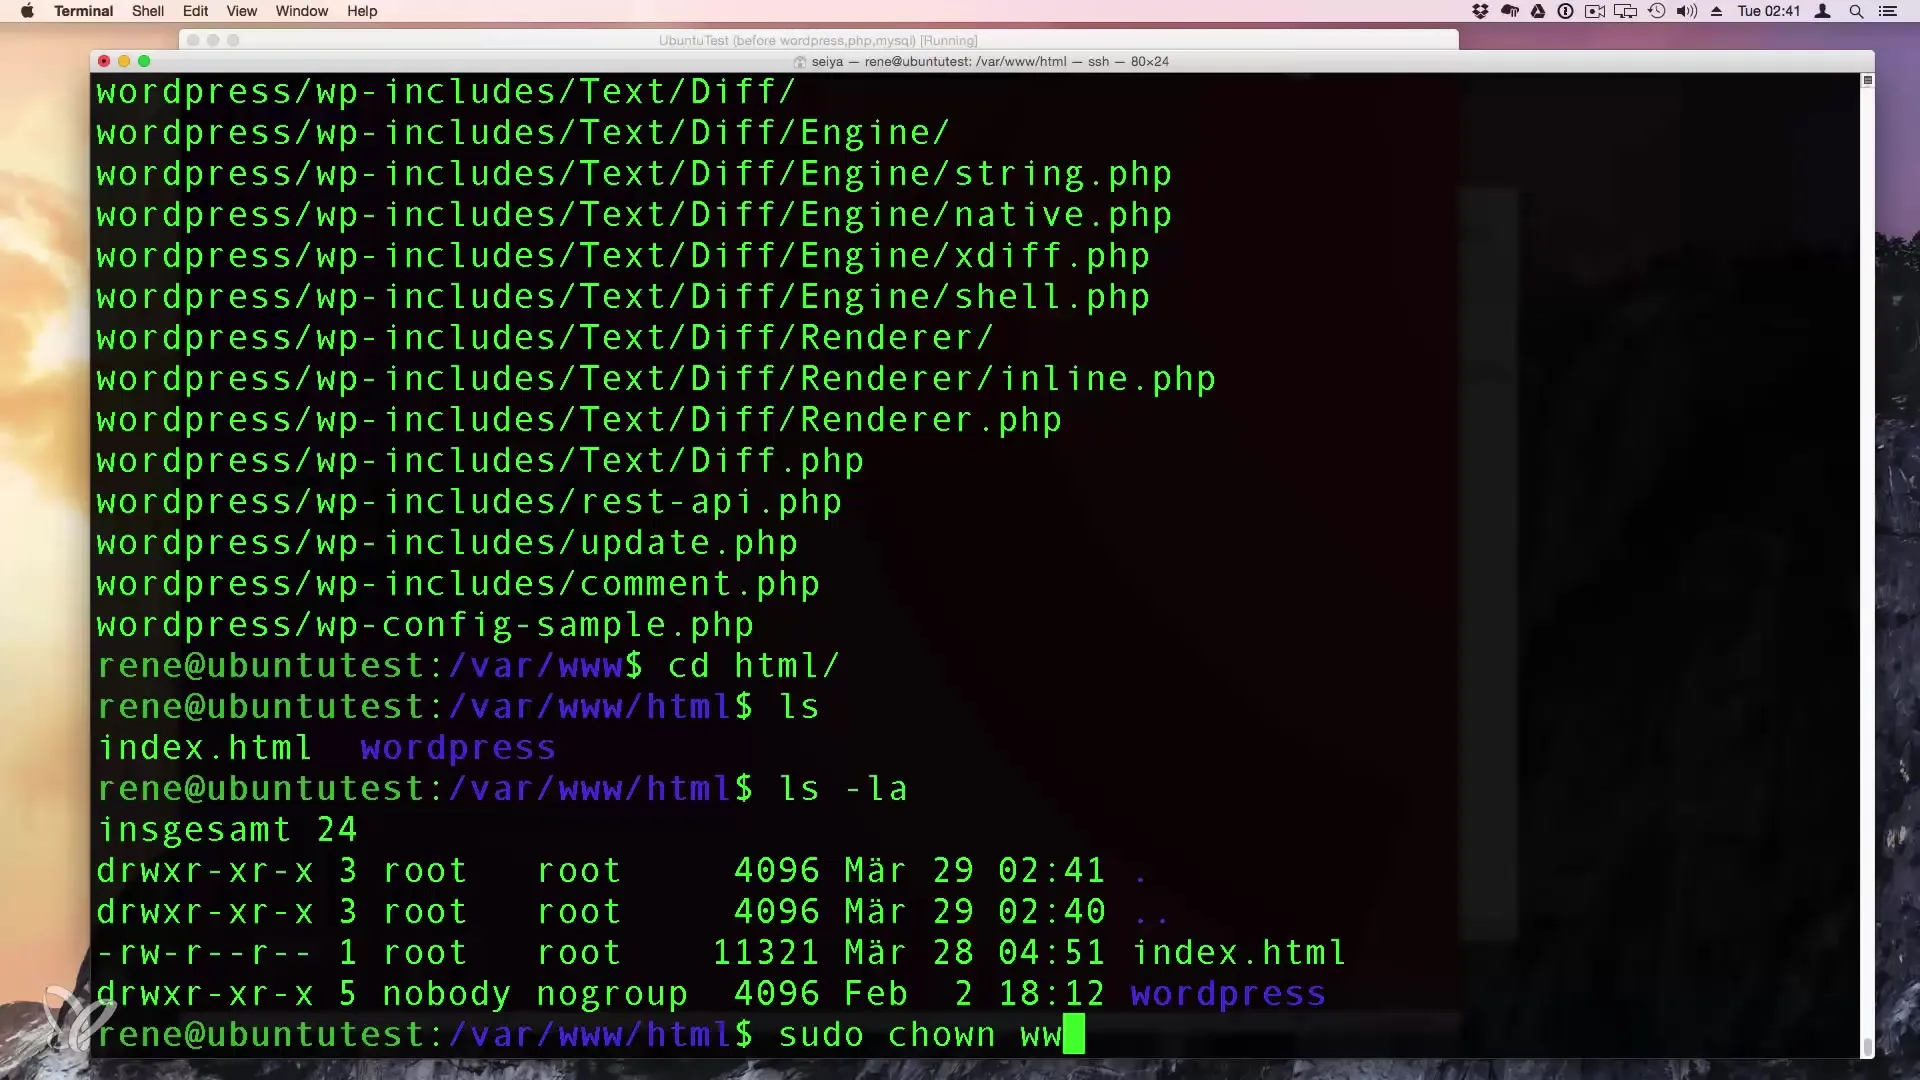
Afterwards, change to the WWW directory to install WordPress. Download the latest version of WordPress as follows:
Unpack the downloaded file into the HTML directory:
It is important to set the permissions for the WordPress directory correctly. Change the owner of the WordPress directory to www-data, which is the user under which the Apache server runs:
Now you can access the WordPress installation in your browser. Go to http://localhost/wordpress and follow the on-screen instructions. During the installation, you will be asked to enter some information, including the database name, username, and password that you set earlier.
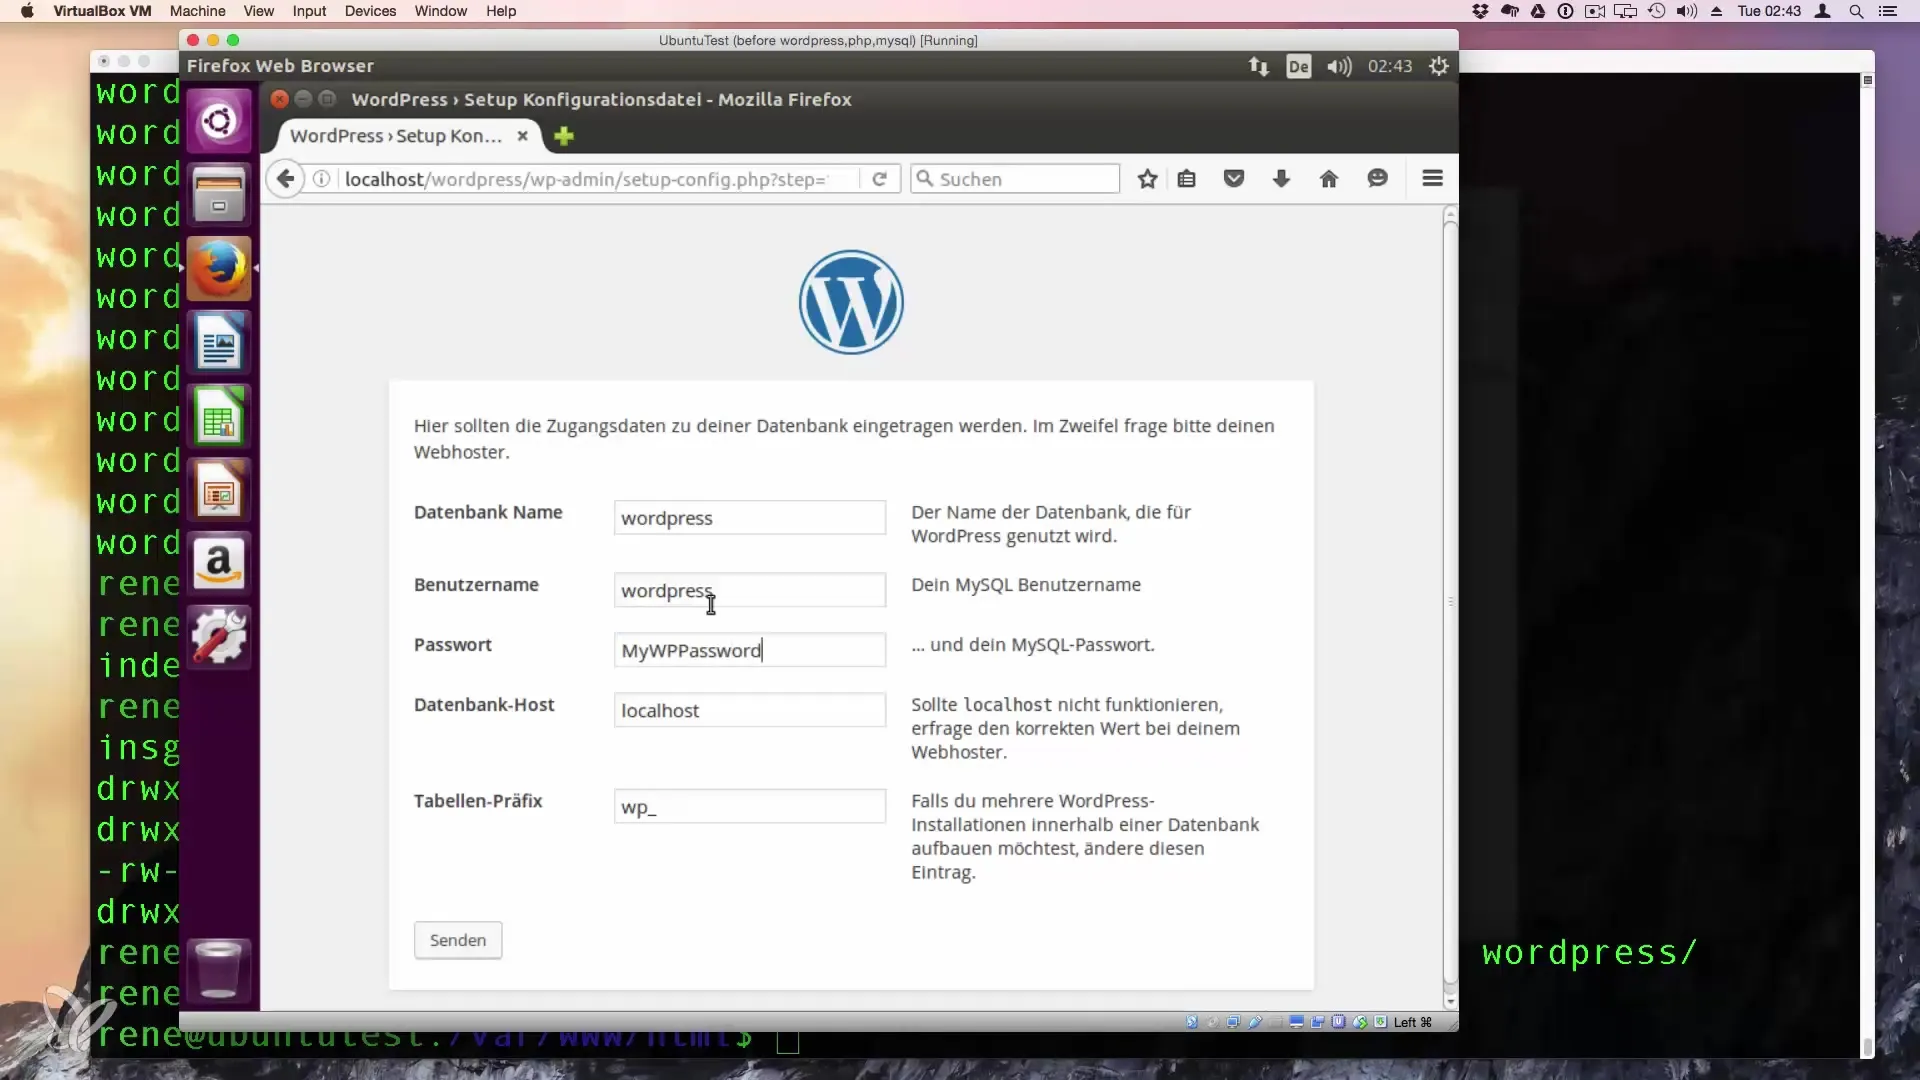
If you have filled out all the fields accordingly, you can complete the installation. Don’t forget to choose a strong password for the administrator account to protect your website.
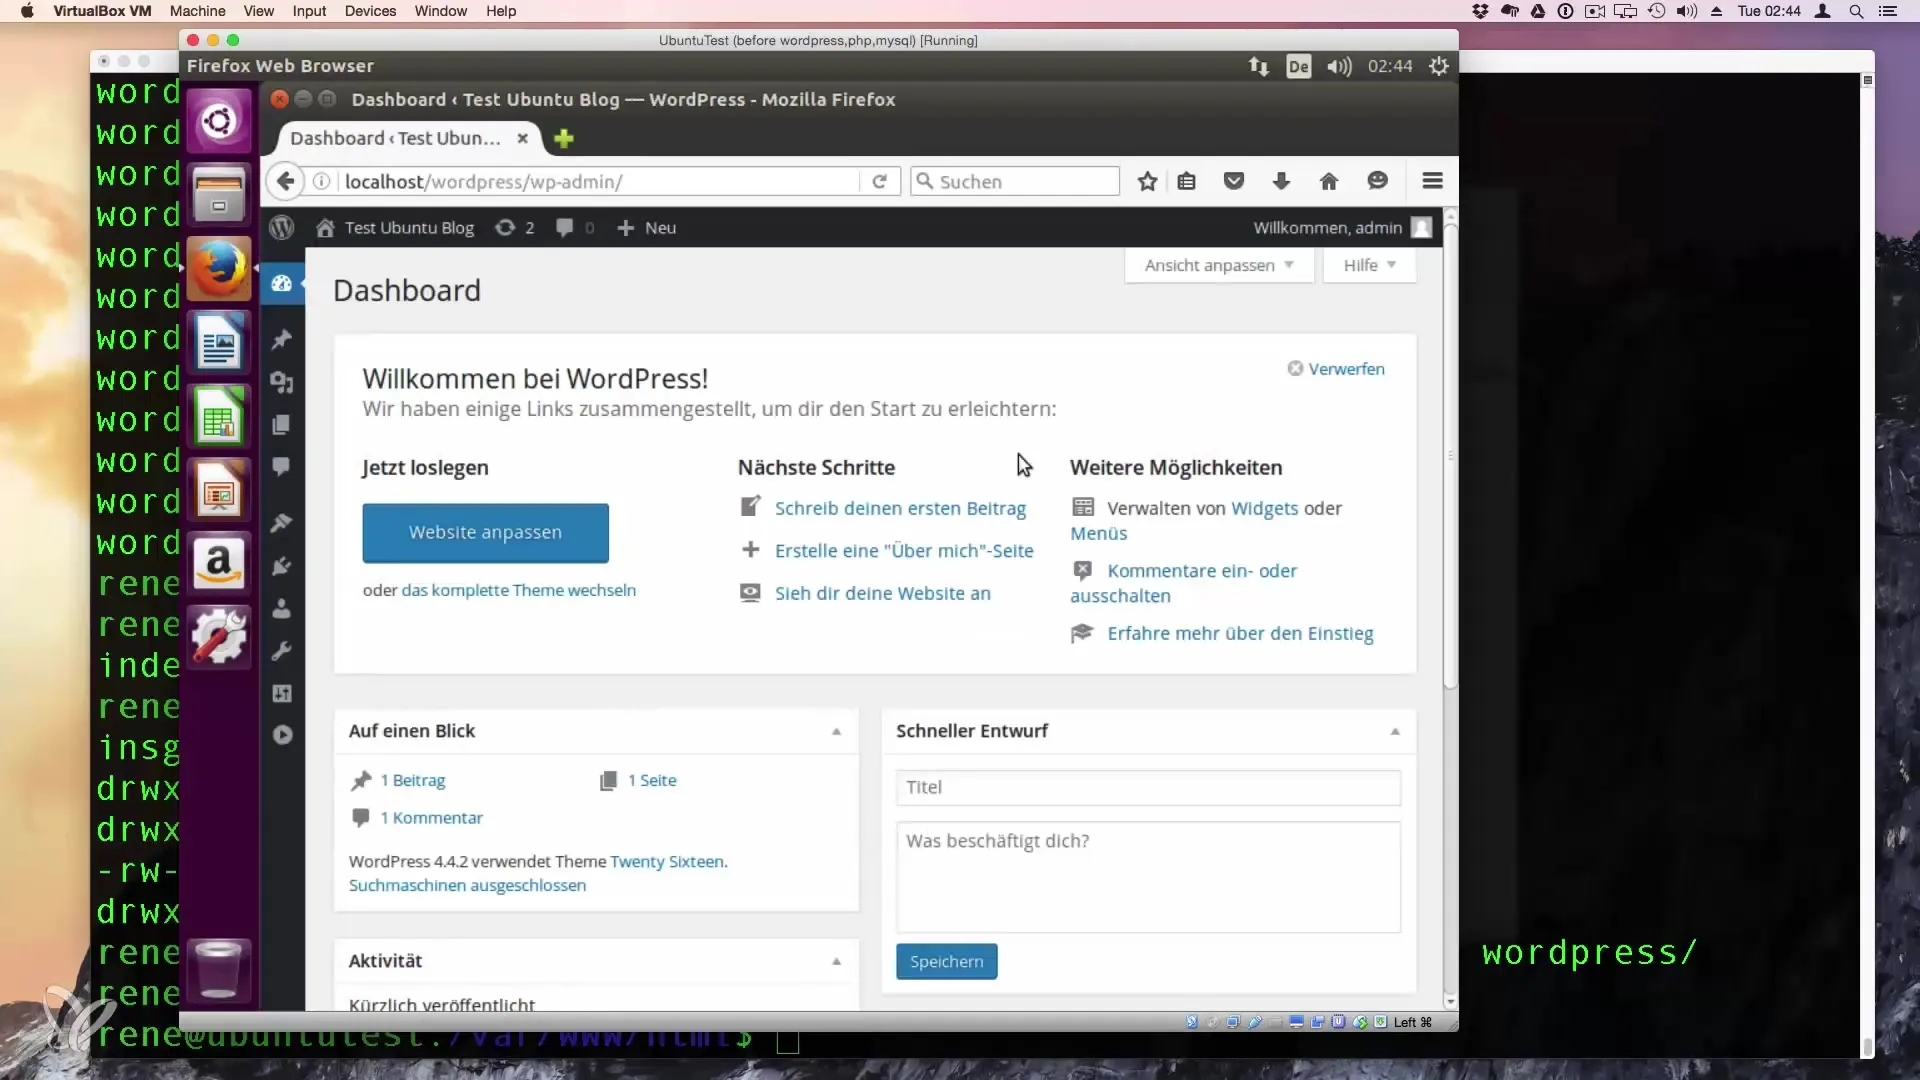
After completing the installation, you now have a functional WordPress site on your Linux server. Enjoy the flexibility that WordPress offers you and start your next project.
Summary - Using Your Linux as a Web Server for WordPress
You have successfully installed WordPress on your Ubuntu 16.04 system. With the Apache web server, PHP 7, and MySQL, you have a solid foundation for your web projects. Use the gathered information to customize and further develop your WordPress website.
Frequently Asked Questions
What is the difference between Apache and Nginx?Apache is commonly used for PHP applications, while Nginx is faster for static content.
How do I secure my WordPress installation?Use strong passwords, keep all plugins up to date, and only allow necessary user privileges.
Can I install WordPress on other Linux distributions as well?Yes, the steps are similar, but there may be differences in package management.
Do I need to manually install PHP modules?Most modules are available by default, but some may need to be added manually.
How often should I back up my website?Regular backups are advisable, ideally at least once a week or before major changes.

