The rental of a root server offers you many advantages, especially if you want to work with a live system. DigitalOcean is a suitable platform that allows you to run a server cost-effectively and efficiently. With my special link, you will receive a $10 voucher, giving you the opportunity to use a real Linux root server for free for up to two months. In this guide, you will learn how to sign up for DigitalOcean, create your server, and access it.
Main insights
- By signing up for DigitalOcean, you receive a $10 voucher.
- The use of the server is free for the first two months.
- You can choose different Linux distributions and create a server.
- Access is via SSH and can be done from various locations.
Step-by-step guide
Step 1: Sign up for DigitalOcean
First, you need to sign up for DigitalOcean. Go to the DigitalOcean website via the link I provide, and click on "Sign Up." You will be asked to enter your email address and create a password.
Step 2: Activate voucher
After registration, you can activate your $10 voucher. This can be done in your account under the payment options. Enter your payment details so that DigitalOcean can ensure that you accept clear payment terms, even though the first two months are free.
Step 3: Create your first Droplet
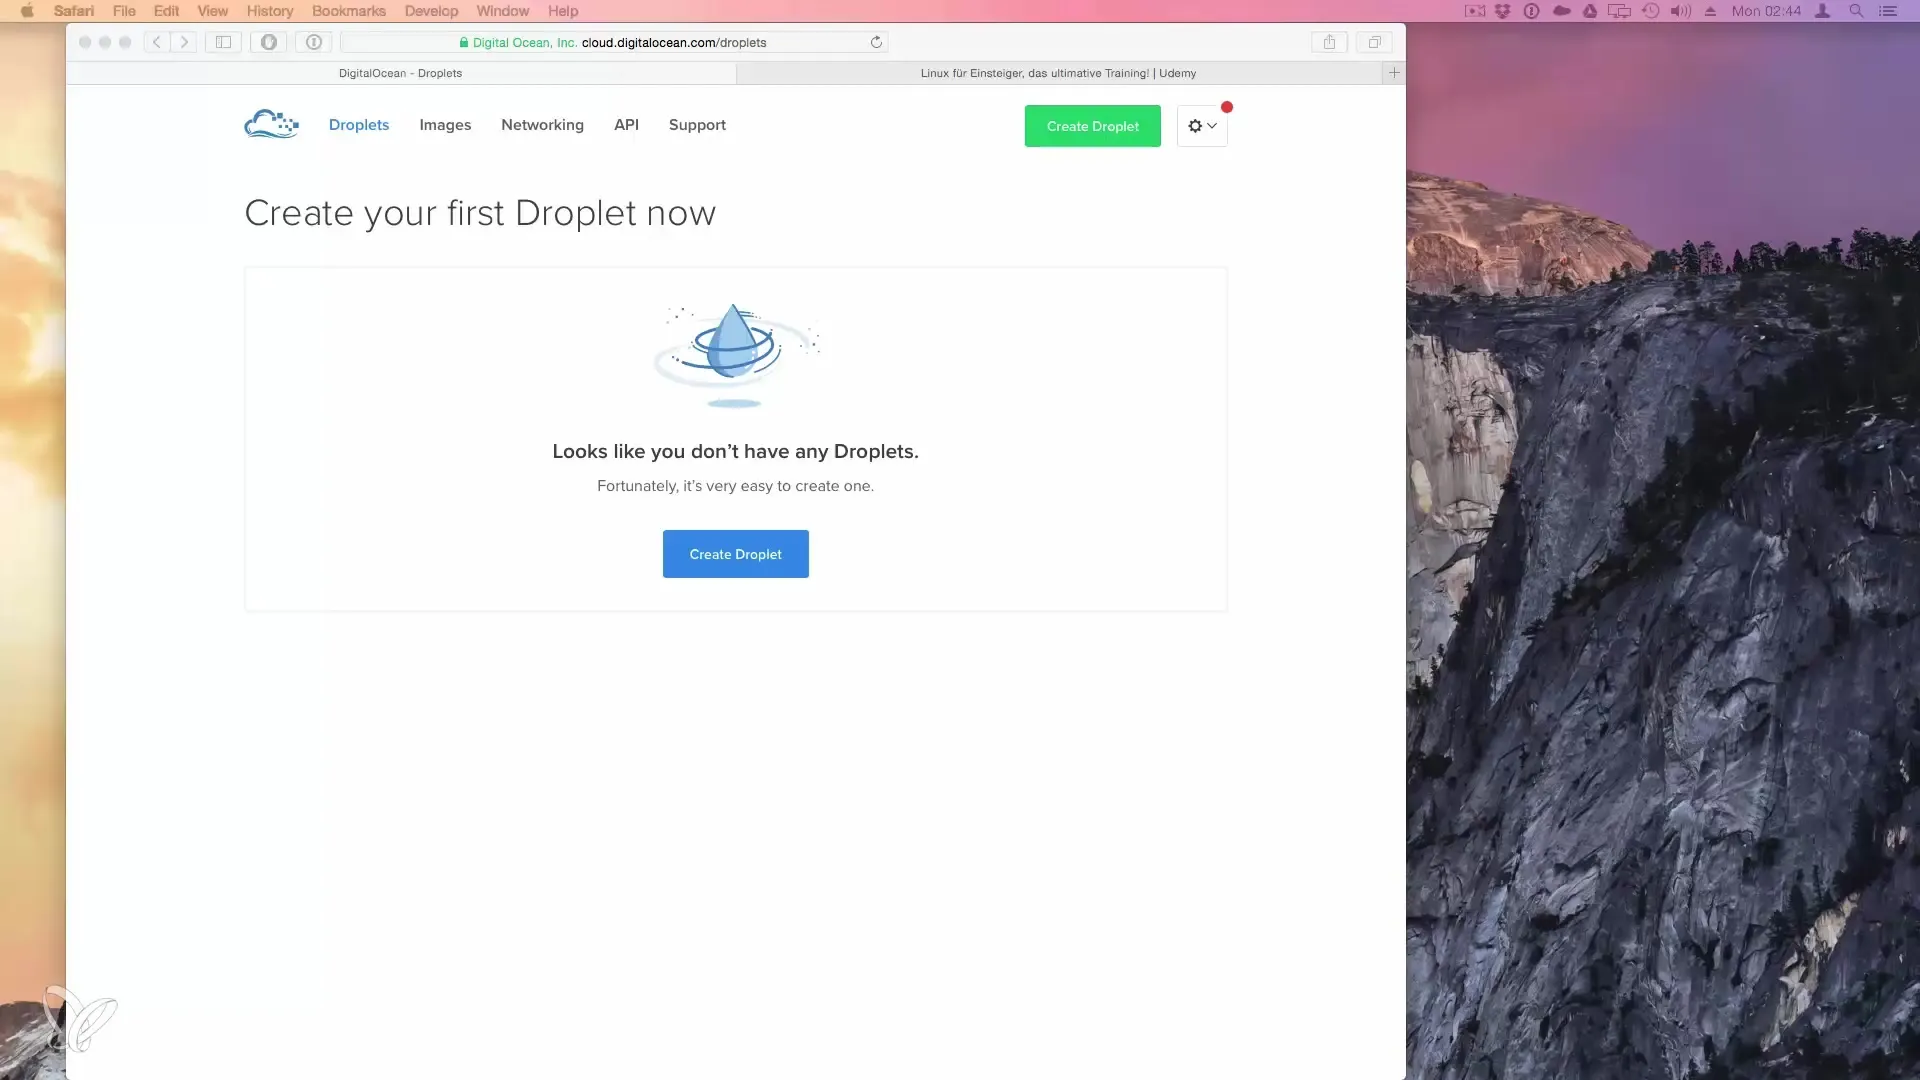
Once you are logged in, you will see the option "Create your first Droplet" on your dashboard. A Droplet is digitally the server that you rent. Click on it to proceed.
Step 4: Choose your Linux distribution
Now you can choose from various available Linux distributions. DigitalOcean offers pre-configured images, including Ubuntu, Debian, and others. For this guide, we will select Ubuntu as it is particularly widely used.
Step 5: Configure your server
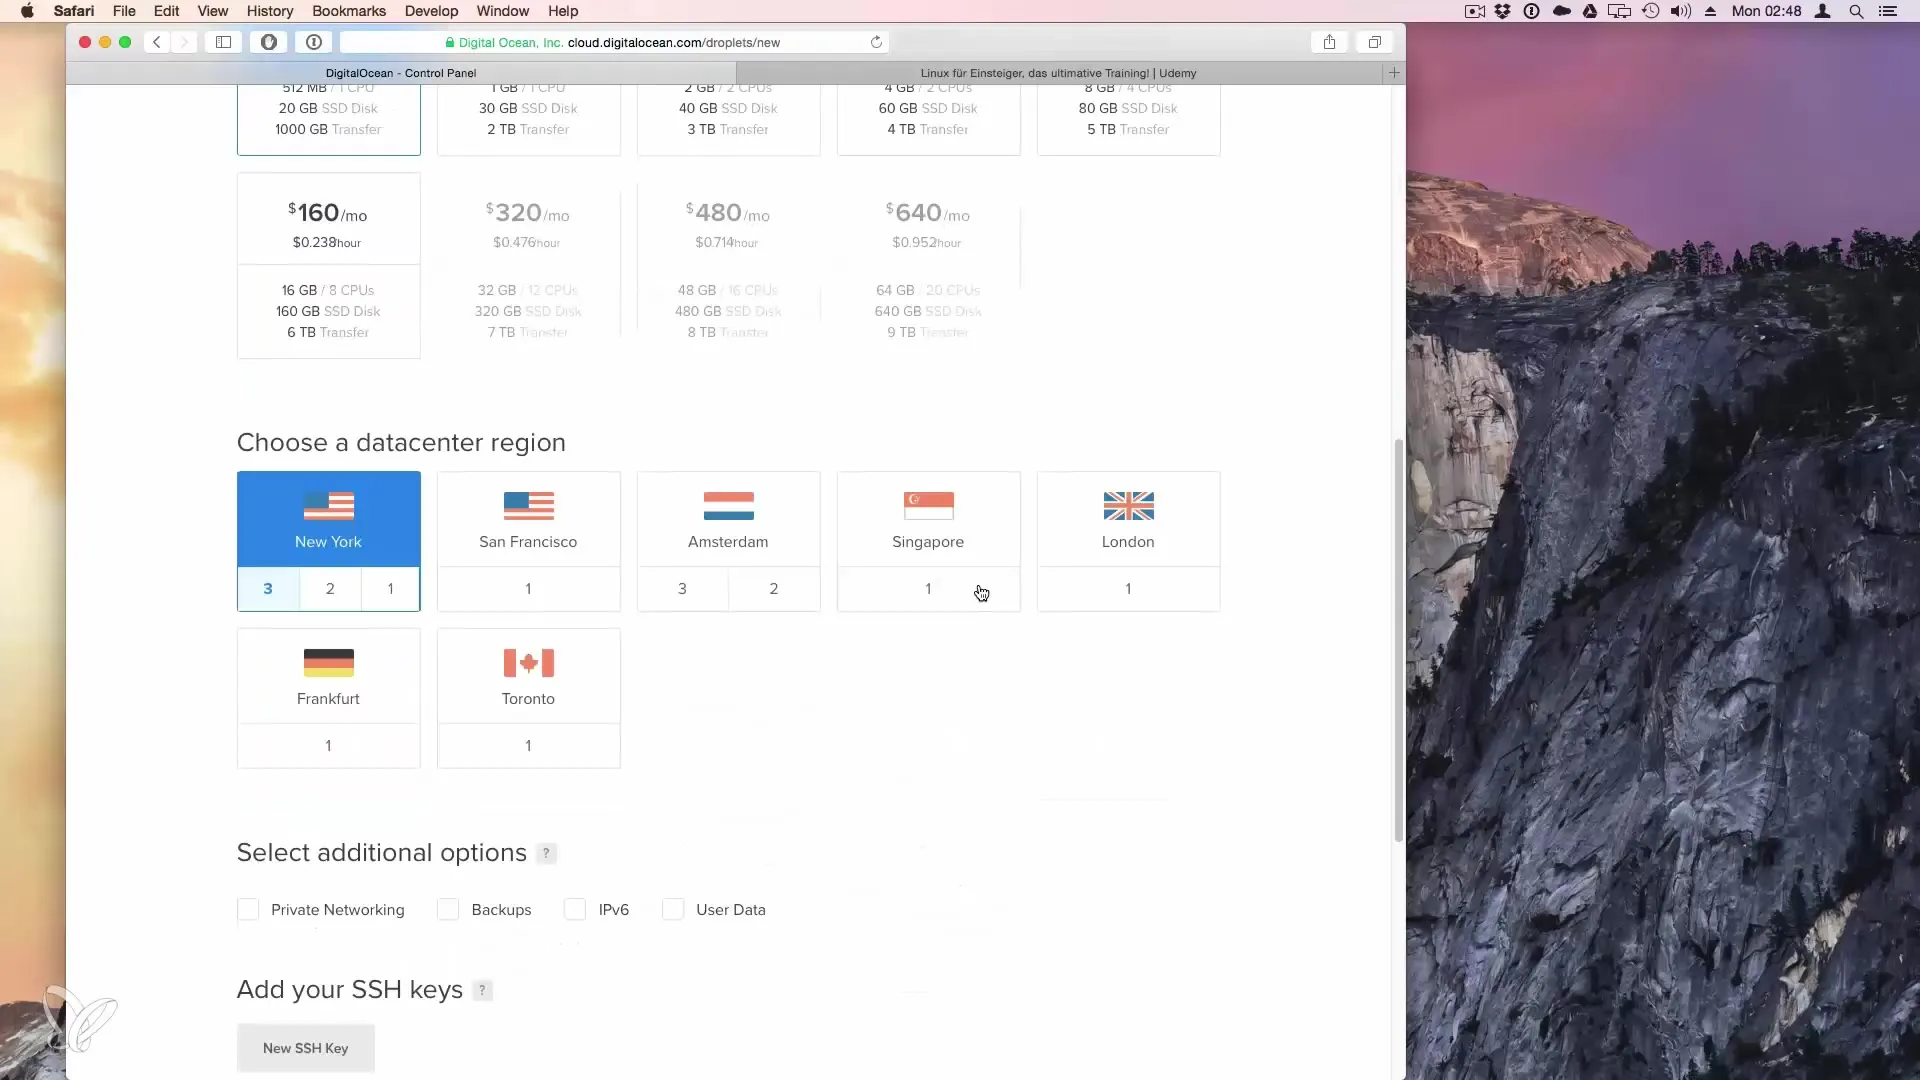
In the next step, you can define the server configuration. DigitalOcean offers you various pricing options ranging from $5 per month to $640. You can also select the data center locations to optimize performance for your target audience.
Step 6: Customize server options
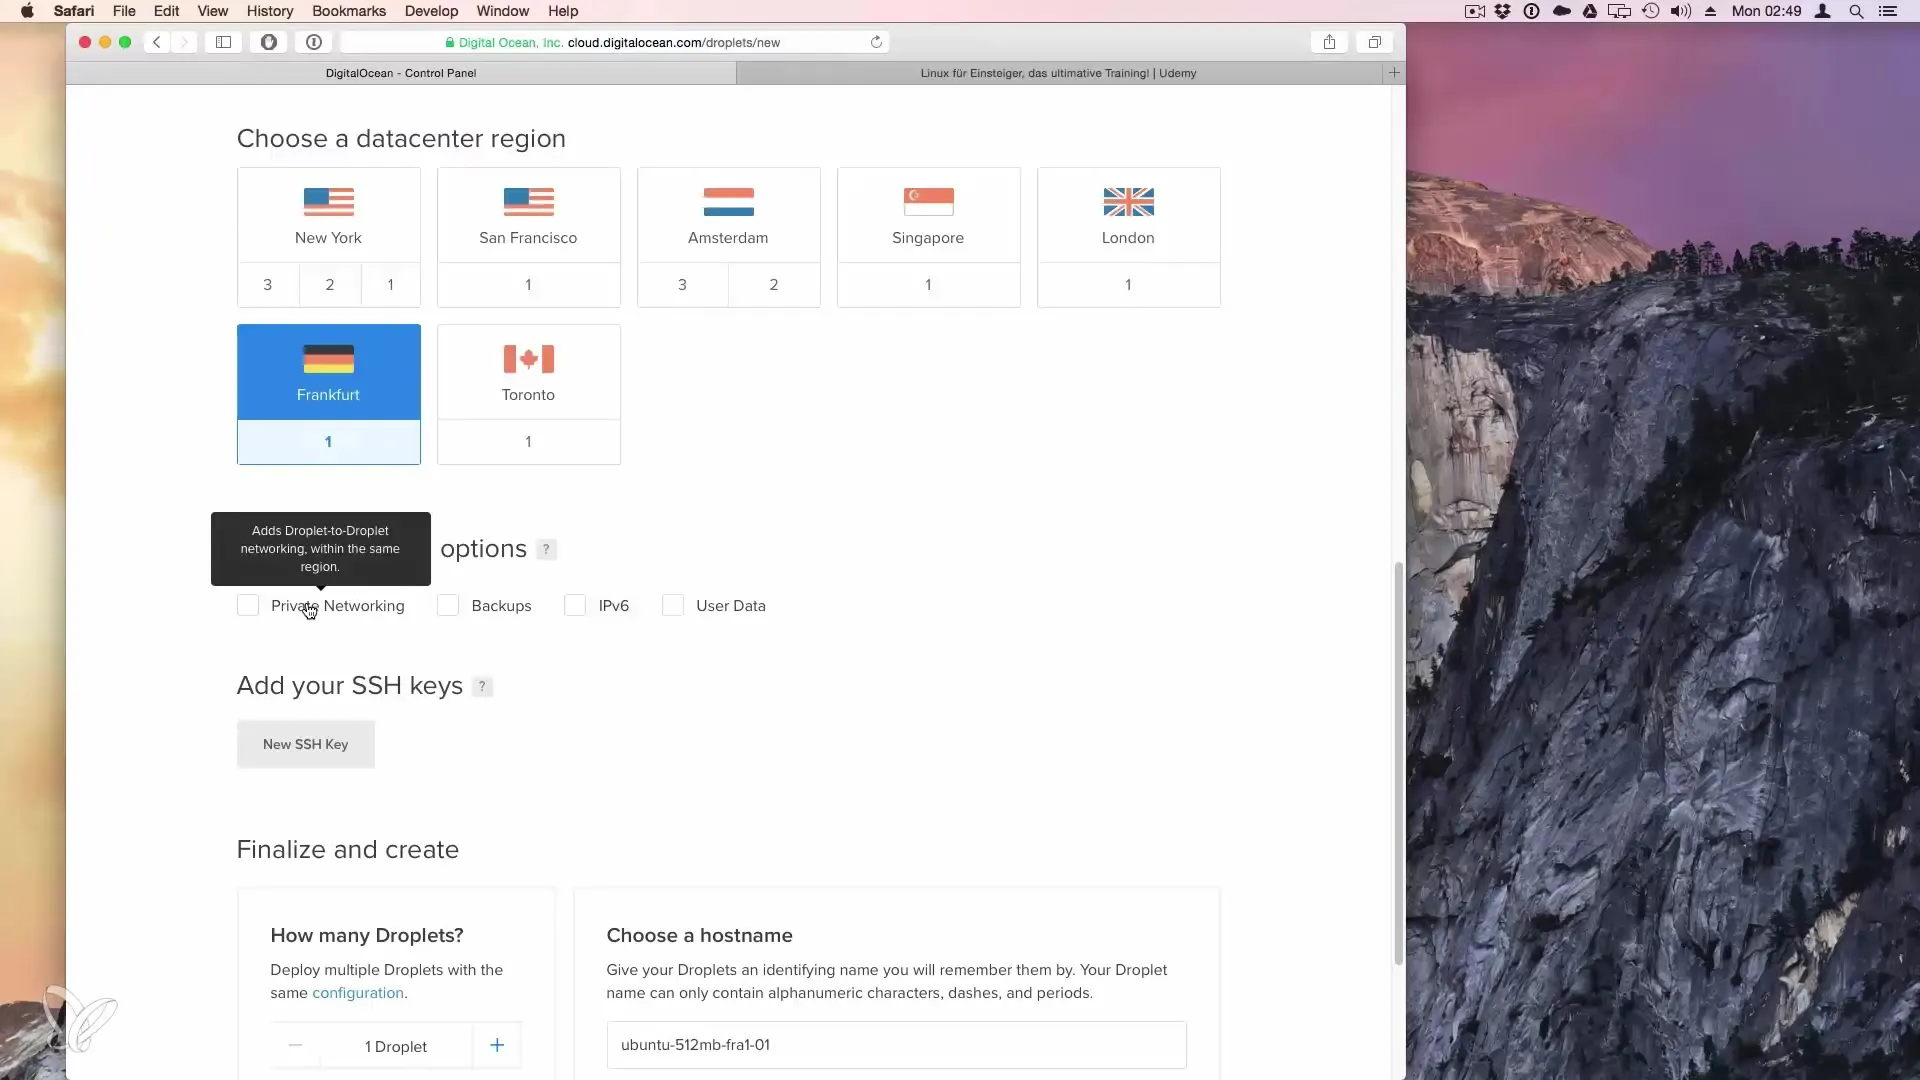
In the configuration menu, you have the option to select multiple options. These include snapshots that allow you to save your server's status. Note that this may incur additional costs. You can also specify whether you want to enable IPv6.
Step 7: Create SSH key
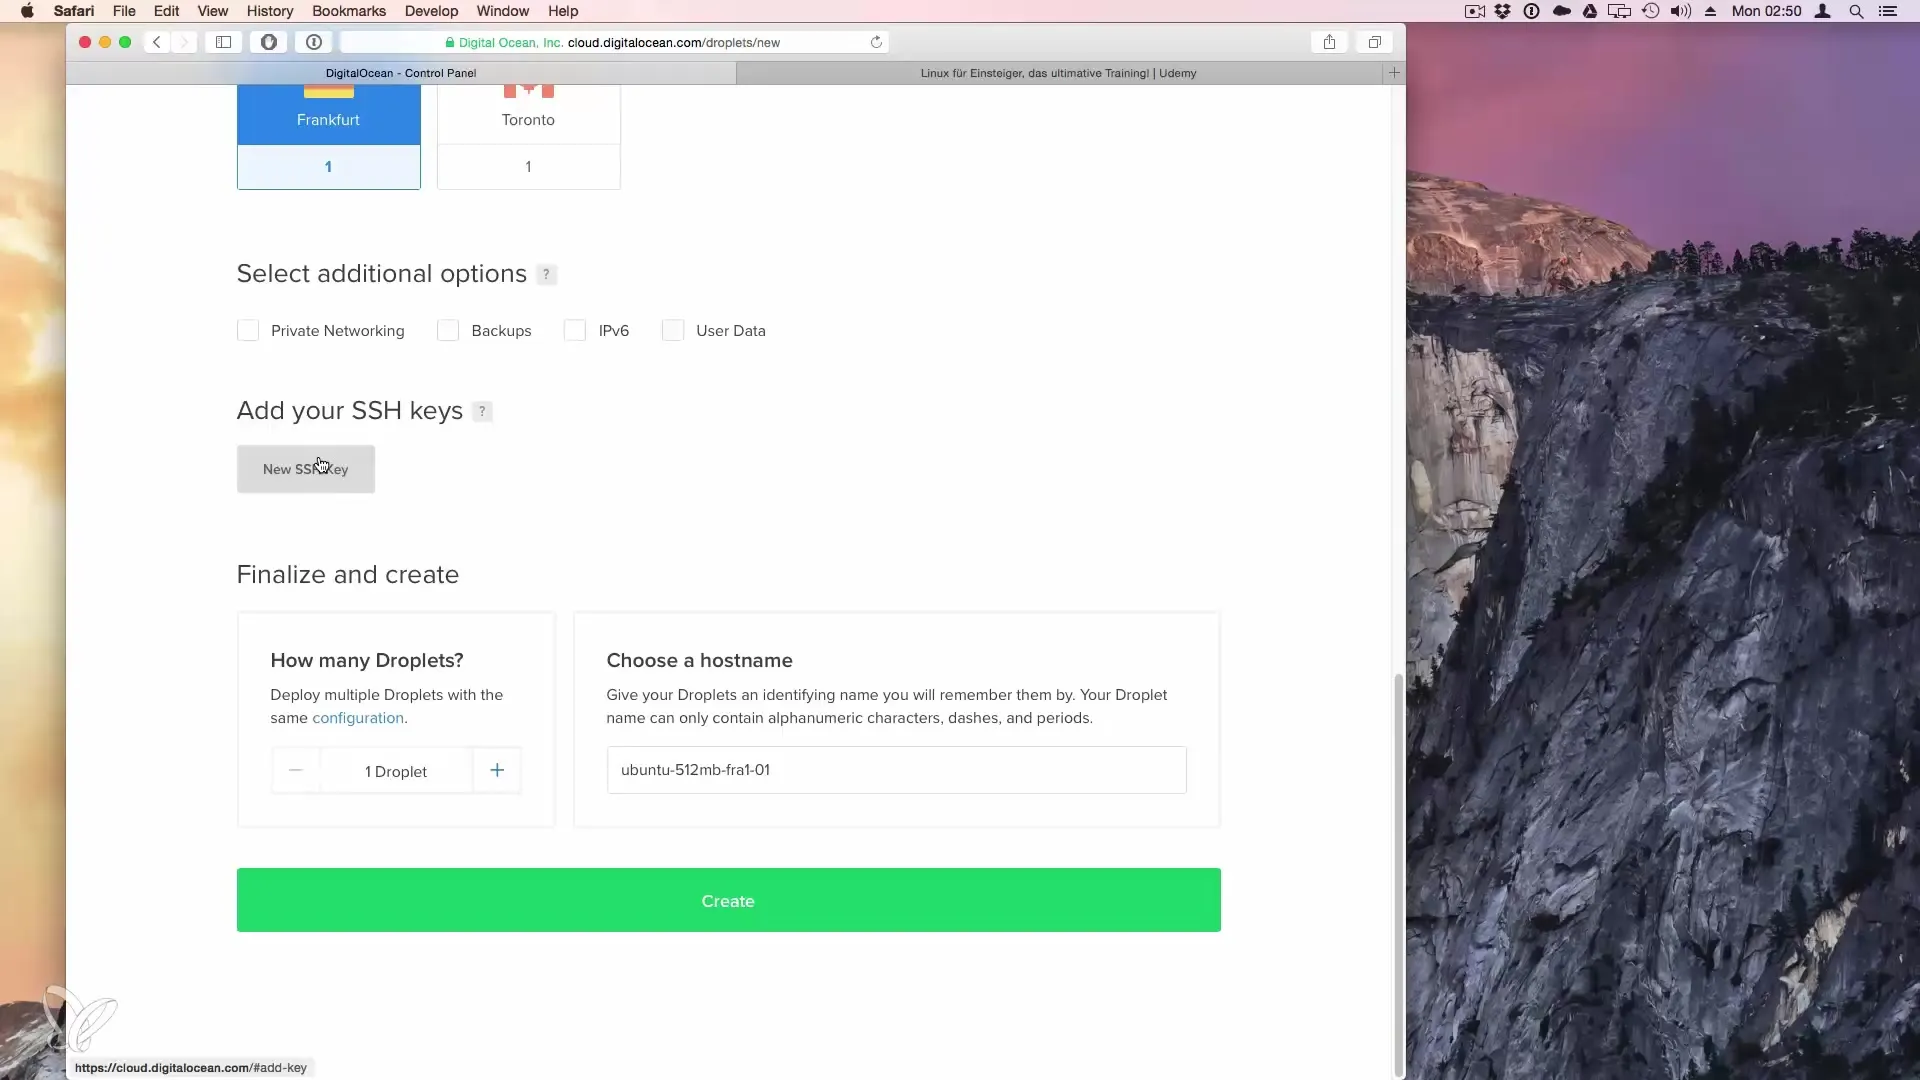
To establish a secure connection to your server, you can use SSH keys. Create a key and paste it into the respective fields. This simplifies access and increases security.
Step 8: Create Droplet
After you have made all your settings, you can give your Droplet a name, such as "Ubuntu Root Test." Click on "Create Droplet" to create the server. The process will take only a few minutes.
Step 9: Retrieve access data
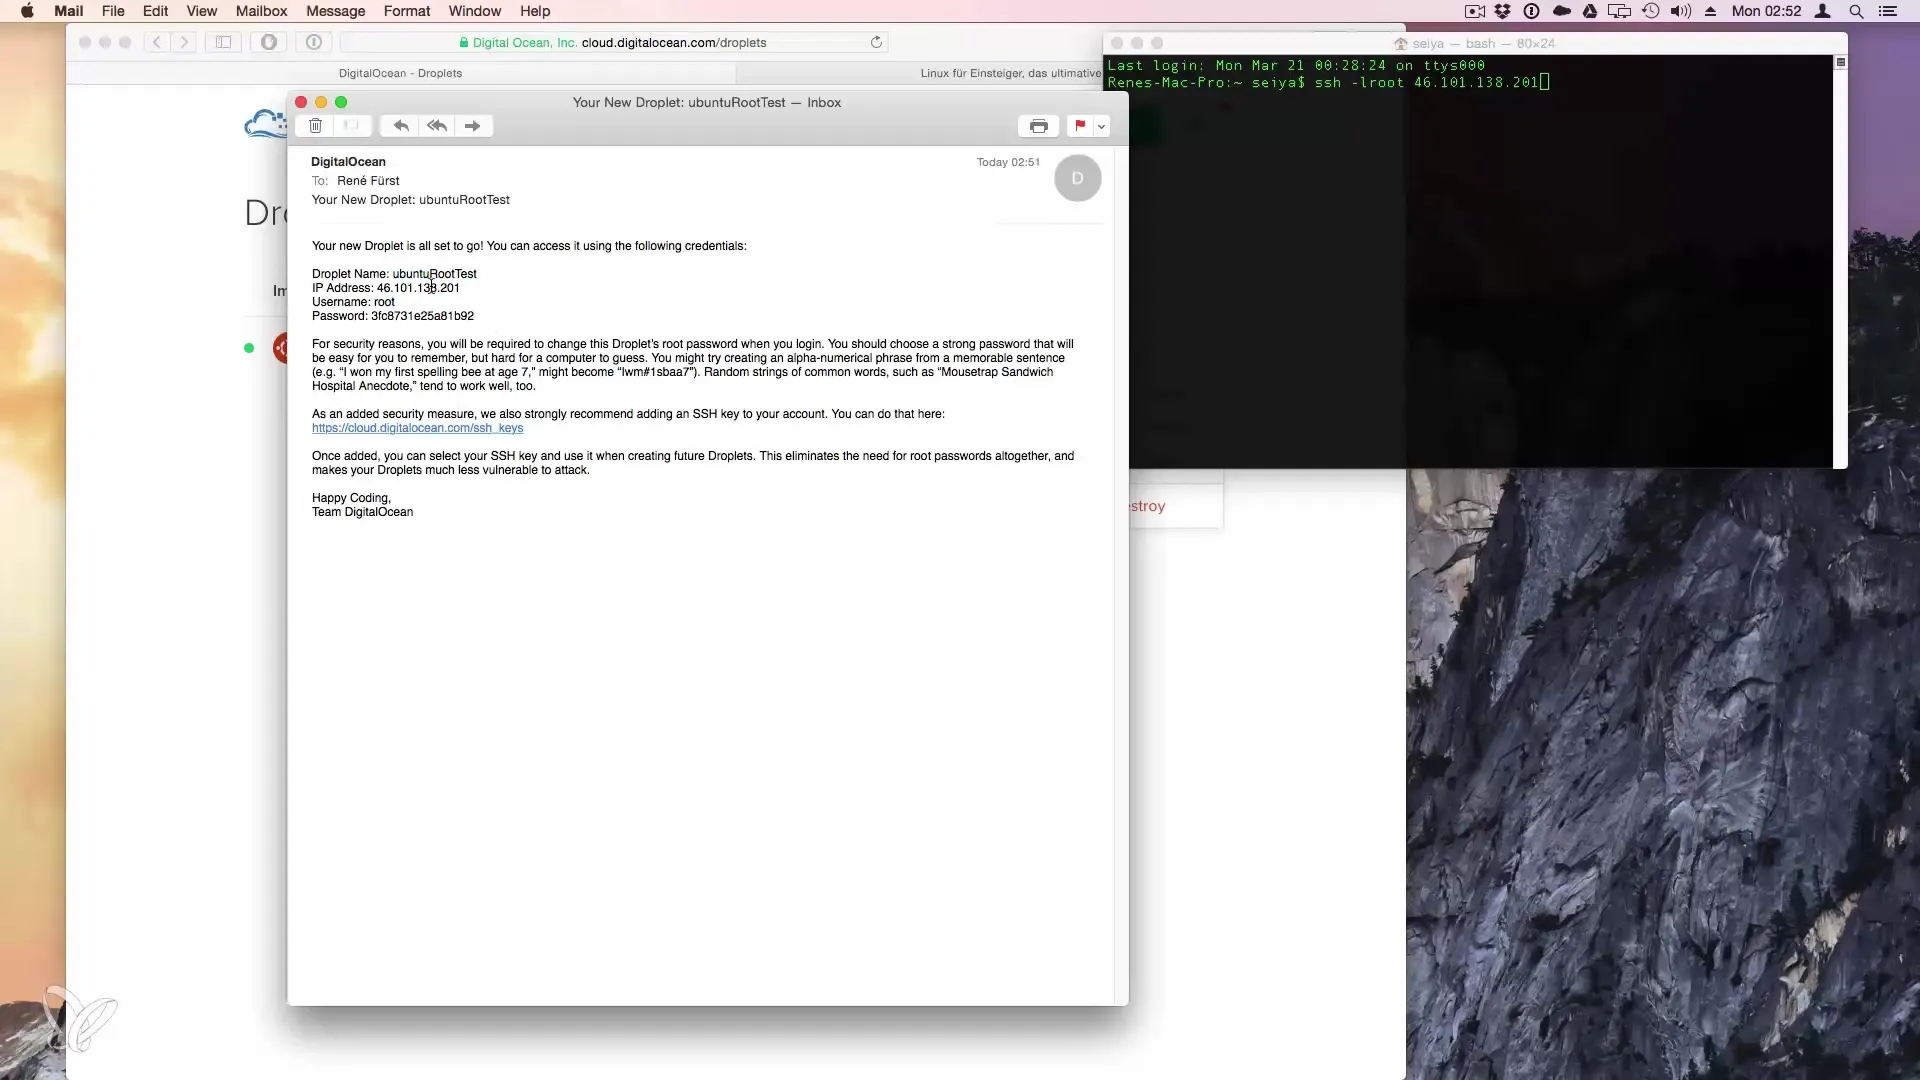
You will receive an email with the access data, including your IP address and the password for root login. Check your email inbox and note down the details.
Step 10: Connect via SSH
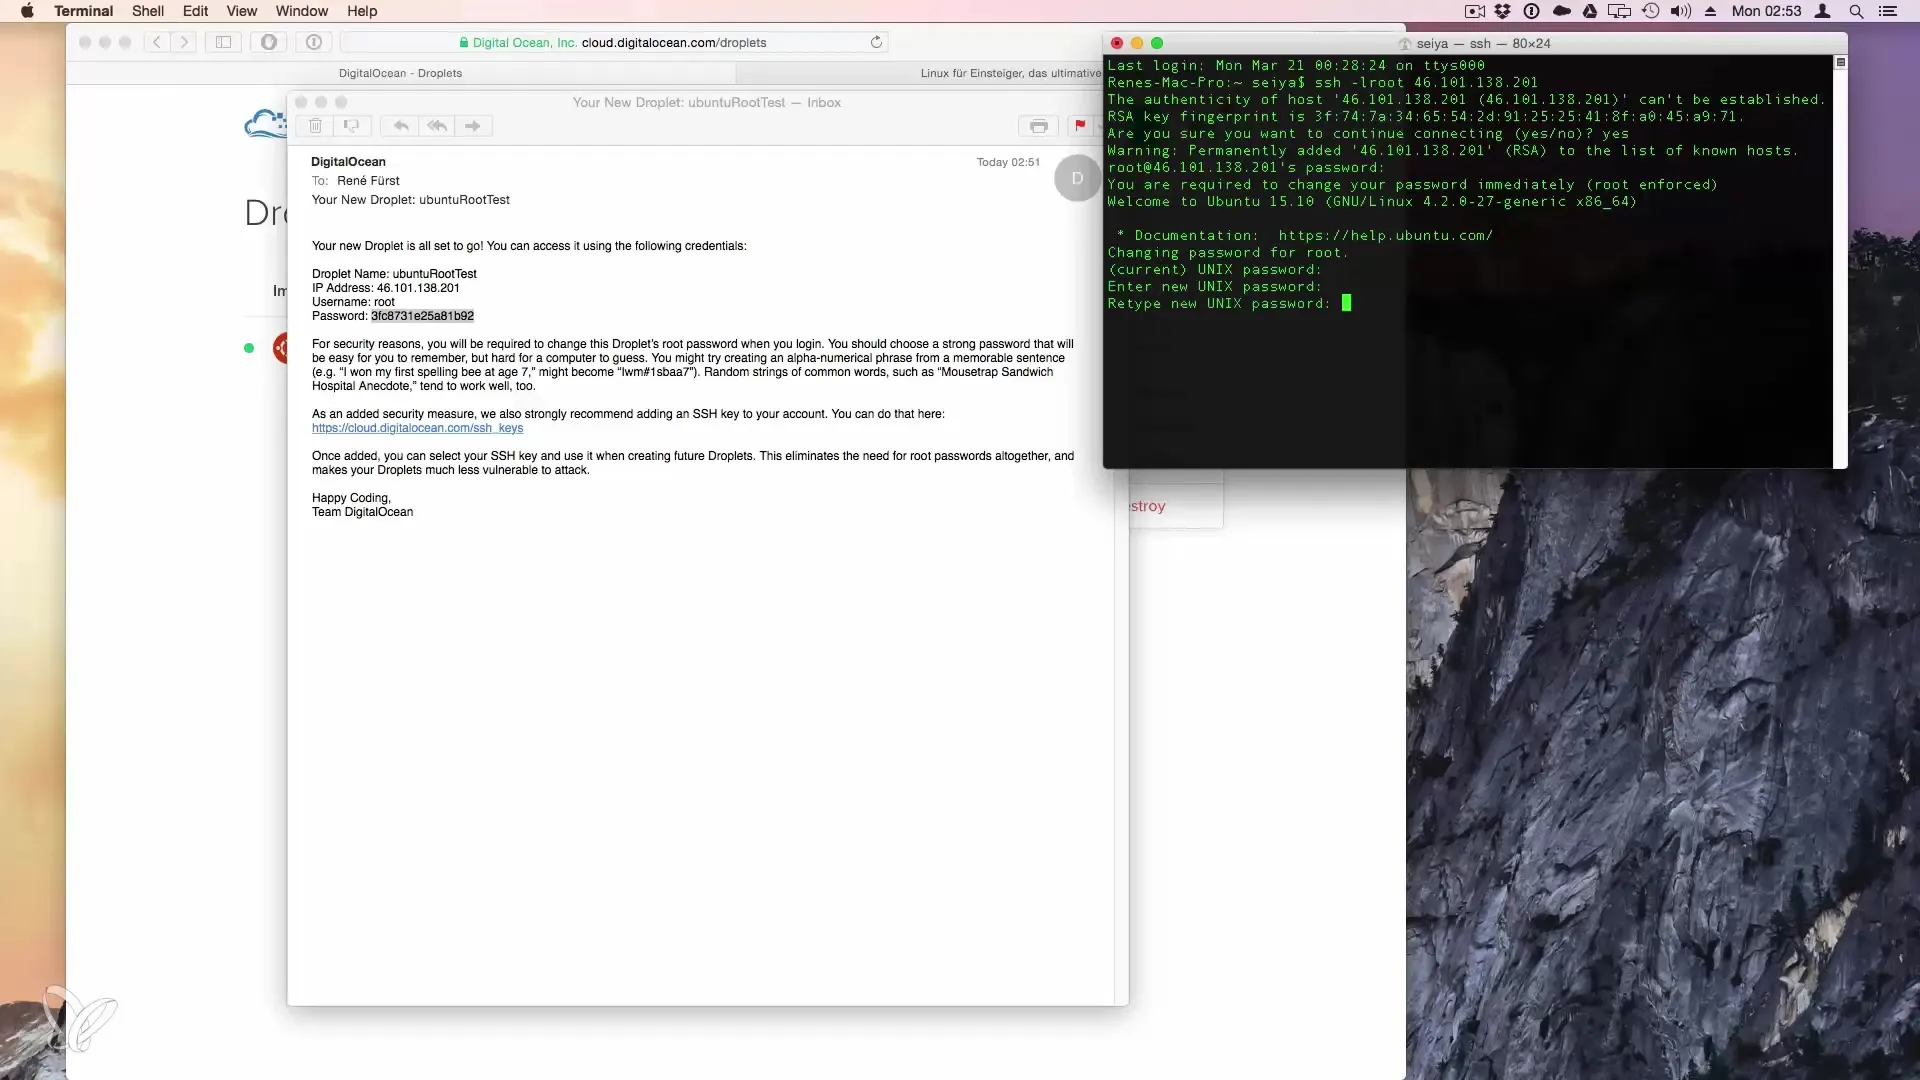
To access your server, open your terminal or Putty (if you are using Windows). Type the command ssh -l root {IP address}. Here, replace {IP address} with the IP address you received in the email. Confirm the fingerprint and enter your password.
Step 11: Change password
Upon first access, you will be prompted to change your password. Enter the original password and choose a secure new password. Now you are logged into your Ubuntu test root server.
Summary – Rent your own Linux server
Setting up your own Linux root server at DigitalOcean is an uncomplicated way to dive into the world of server management. You can test different distributions, scale your projects, and choose from a wide variety of server options.
Frequently asked questions
How do I get the $10 voucher?You receive the voucher by signing up for DigitalOcean through the provided link.
Can I use different Linux distributions?Yes, DigitalOcean gives you the option to choose between different distributions.
How long can I use the server for free?With the voucher, you can use the server for up to two months for free.
How do I connect to my server?You use SSH to connect via the terminal or Putty with your IP address.
