The installation of software on a Linux system may initially seem intimidating, but it is a crucial step in customizing your operating system to meet your needs. With APT (Advanced Package Tool), the standard package manager for Debian-based distributions like Ubuntu, this process is greatly simplified. You gain access to a wide selection of programs and tools that you can easily install and manage.
Key Insights
- APT allows for easy installation, uninstallation, and updating of software.
- The command apt-cache helps you search for available programs.
- Software can be installed using apt-get install, requiring administrator rights.
- Updates of software packages can also be easily performed with APT.
Step-by-Step Guide
Step 1: Open the Terminal
To use APT, you first need to open the terminal. There you will enter commands to install or manage software.
Step 2: Using apt-cache
To find out which programs are available to you, you can use the command apt-cache search. For example: If you are looking for web servers, simply enter a search term like "webserver".
Step 3: Search for Specific Programs
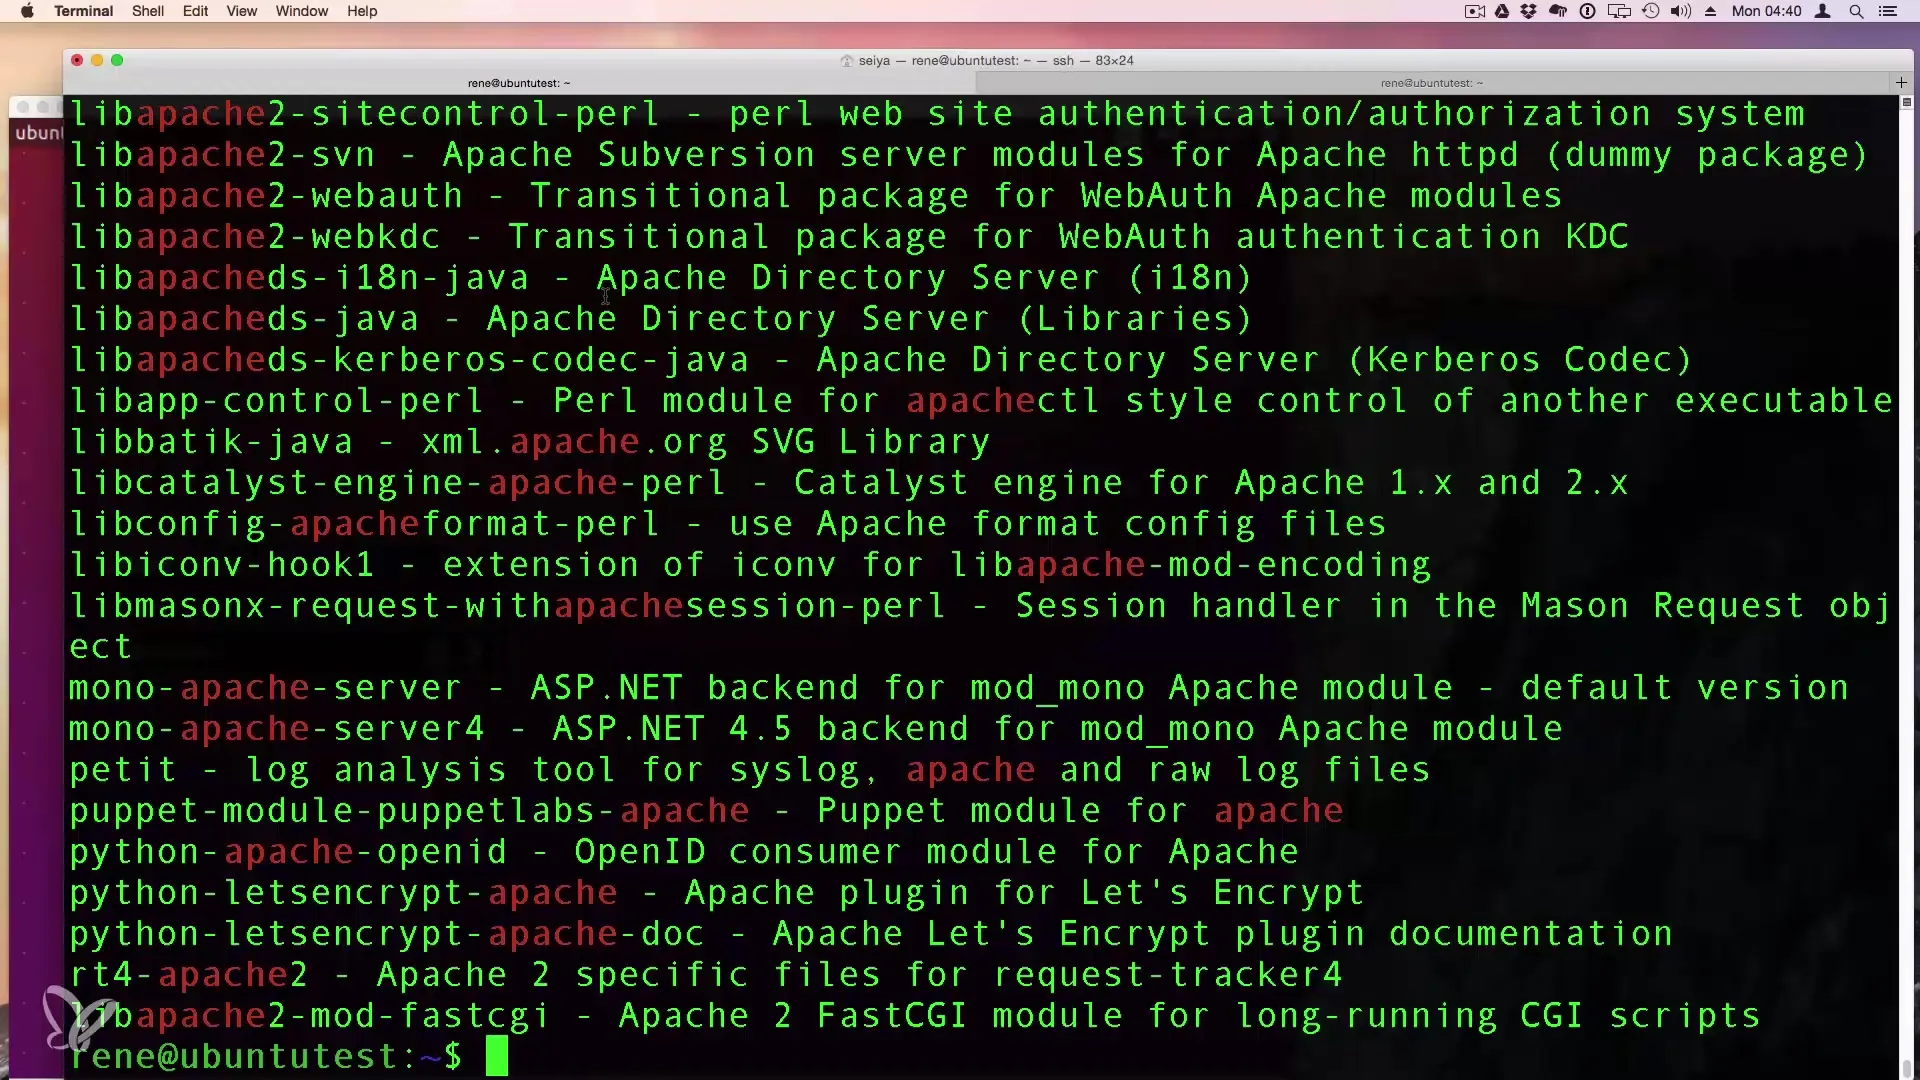
After you have received the search results for "webserver", you can specifically look for a certain program, such as Apache. Enter apt-cache search Apache to see all relevant packages.
Step 4: Installing Software with apt-get
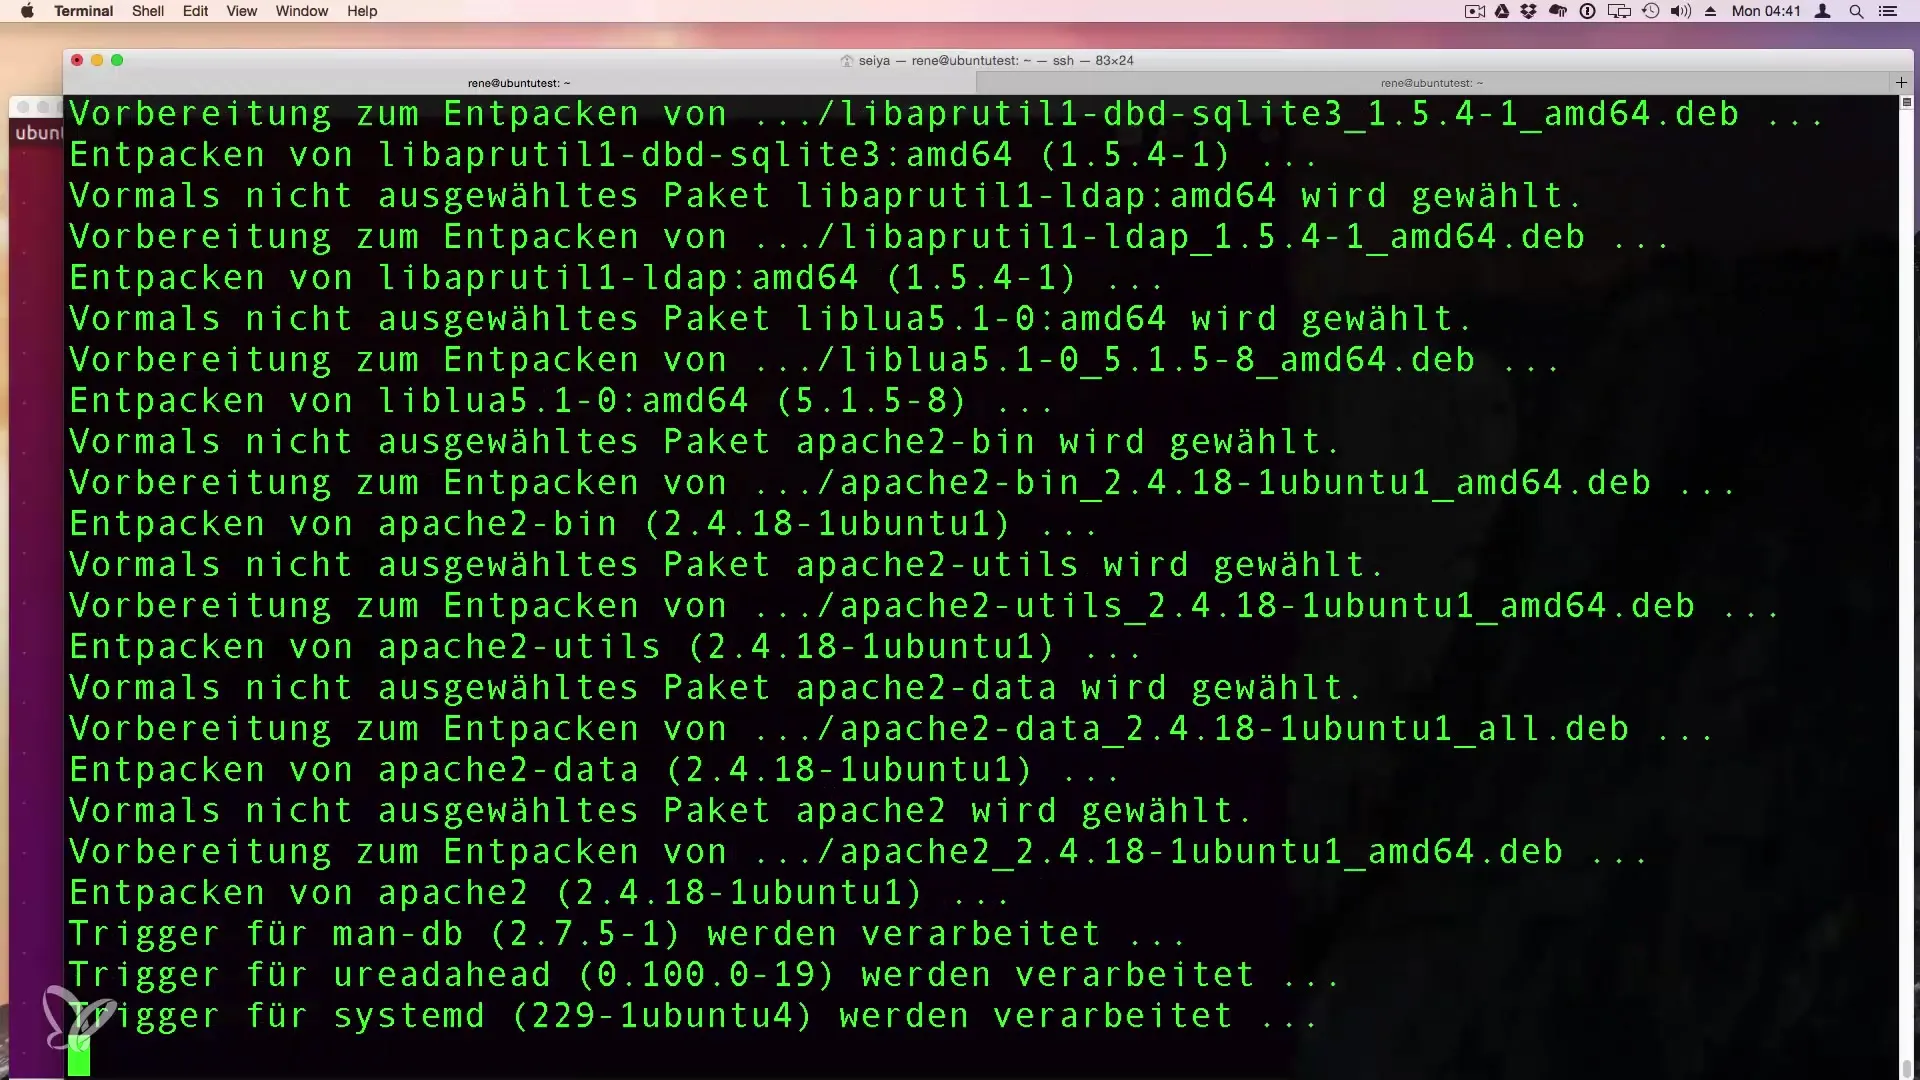
Once you have found the desired package, you can install it using the command apt-get install. If you want to install Apache 2 for example, enter sudo apt-get install apache2. Using sudo ensures that you have the necessary administrator rights.
Step 5: Confirm Installation
After entering the installation command, you will be prompted to confirm the installation. You will see information about the additional packages that will be installed alongside Apache 2. Confirm with "y" and press Enter.
Step 6: Access the Web Server
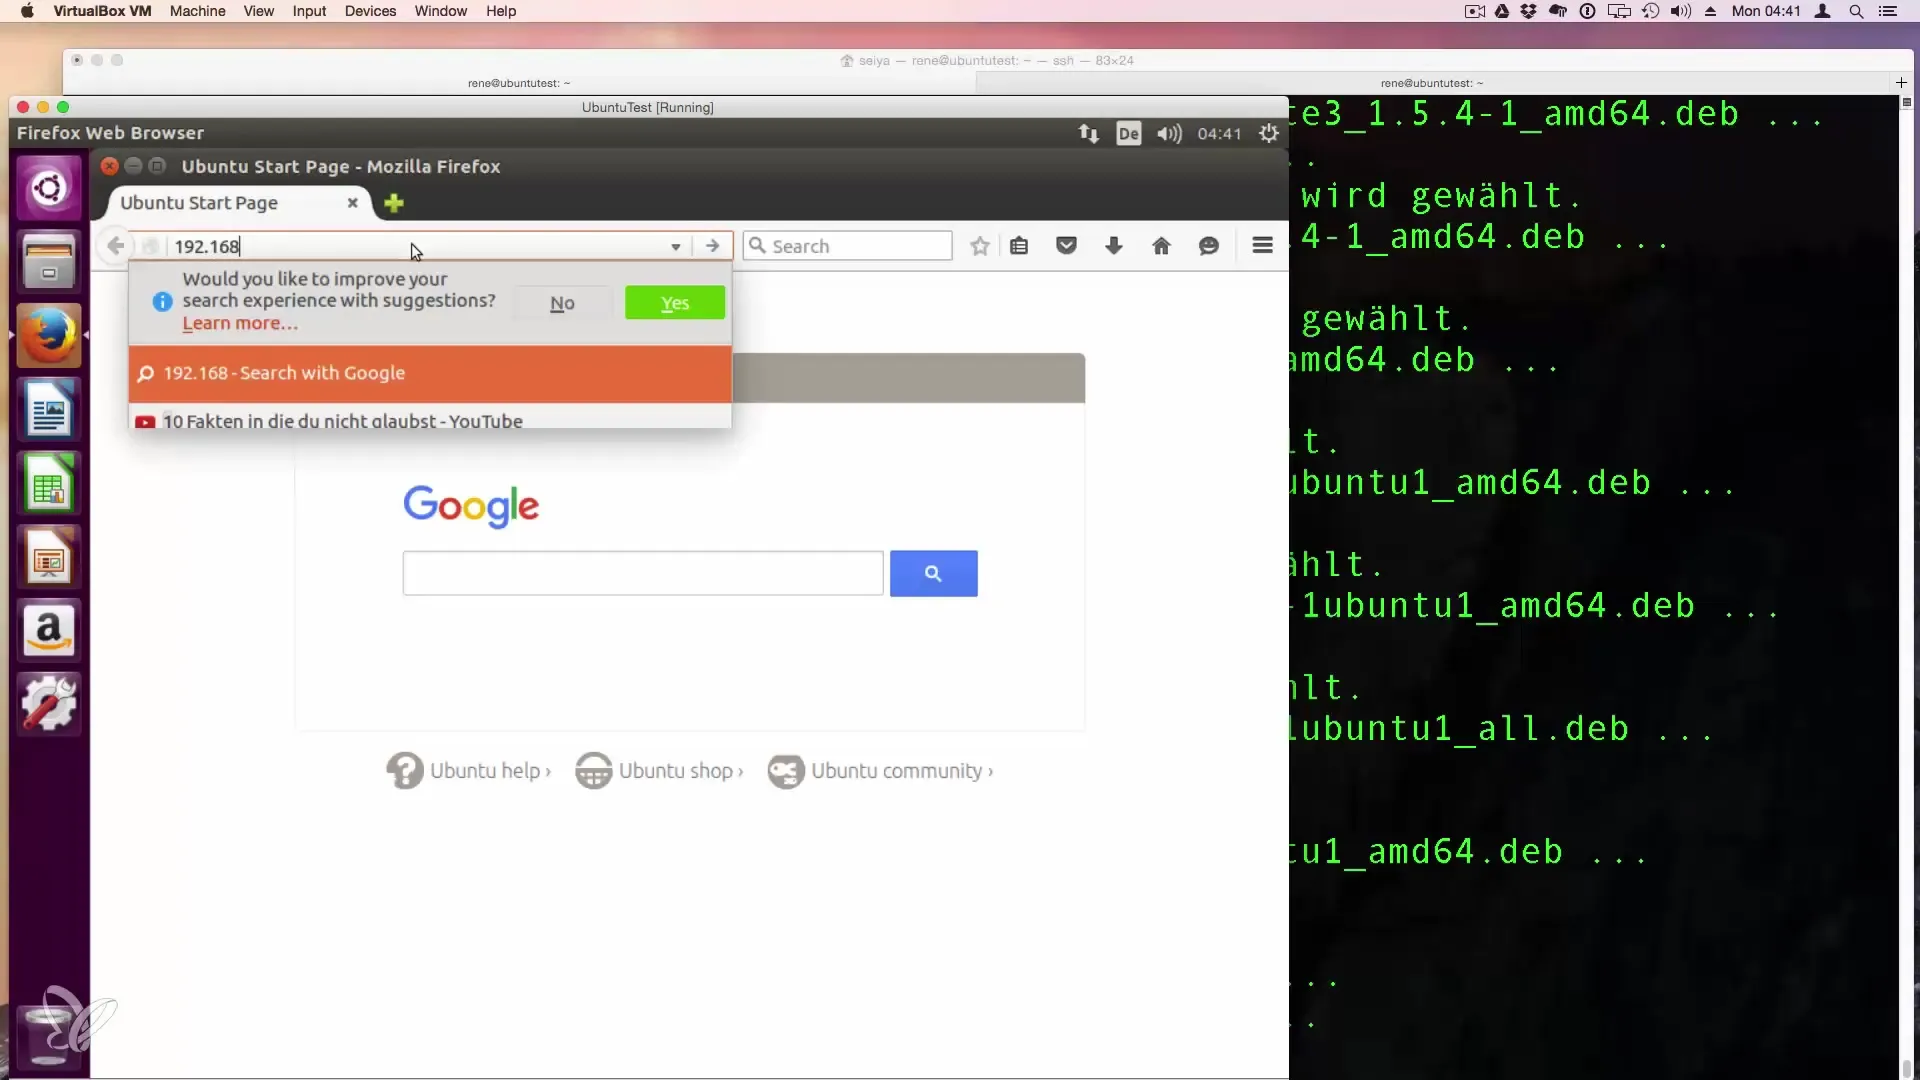
Once the installation is complete, you can enter your server's IP address in your browser to ensure that Apache is running correctly. You should see the default Apache welcome page.
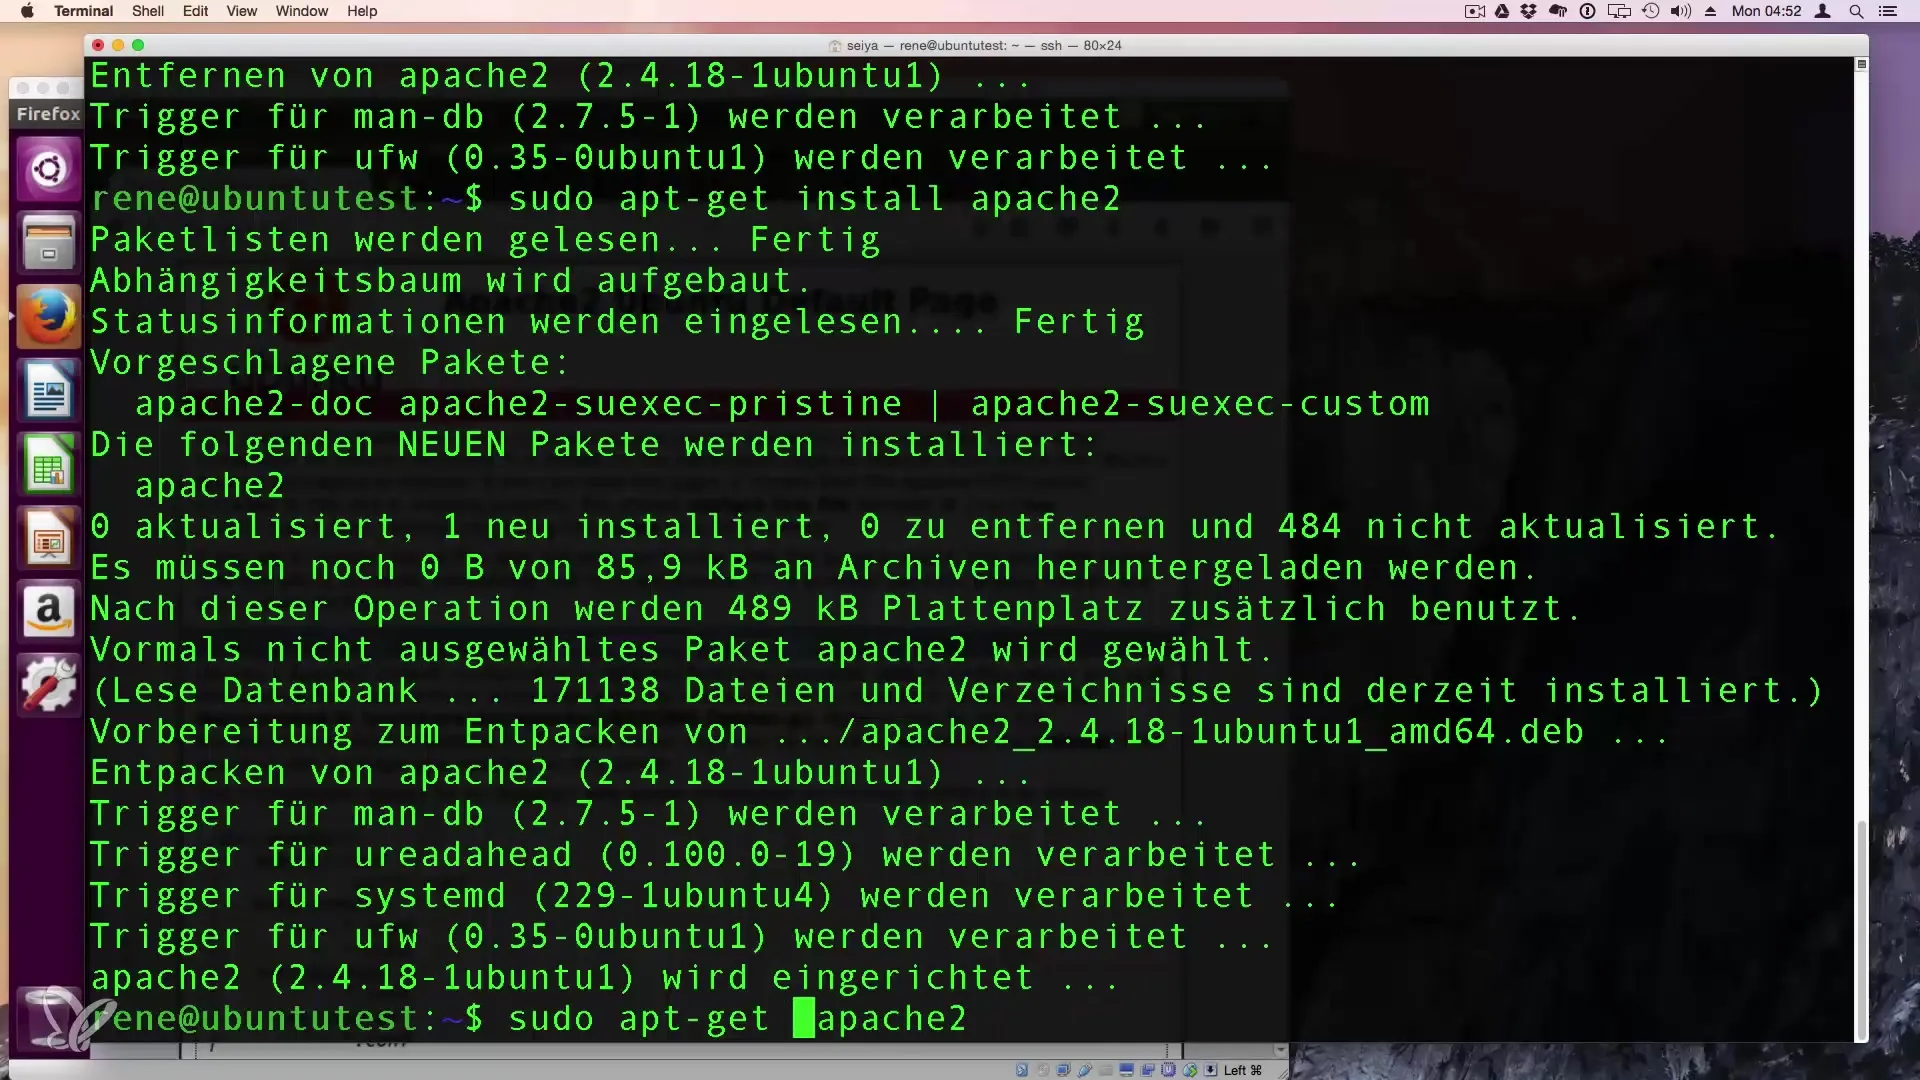
Step 7: Uninstall Software
If you want to uninstall a program, you can also do this with APT. Use the command sudo apt-get remove
Step 8: Update System
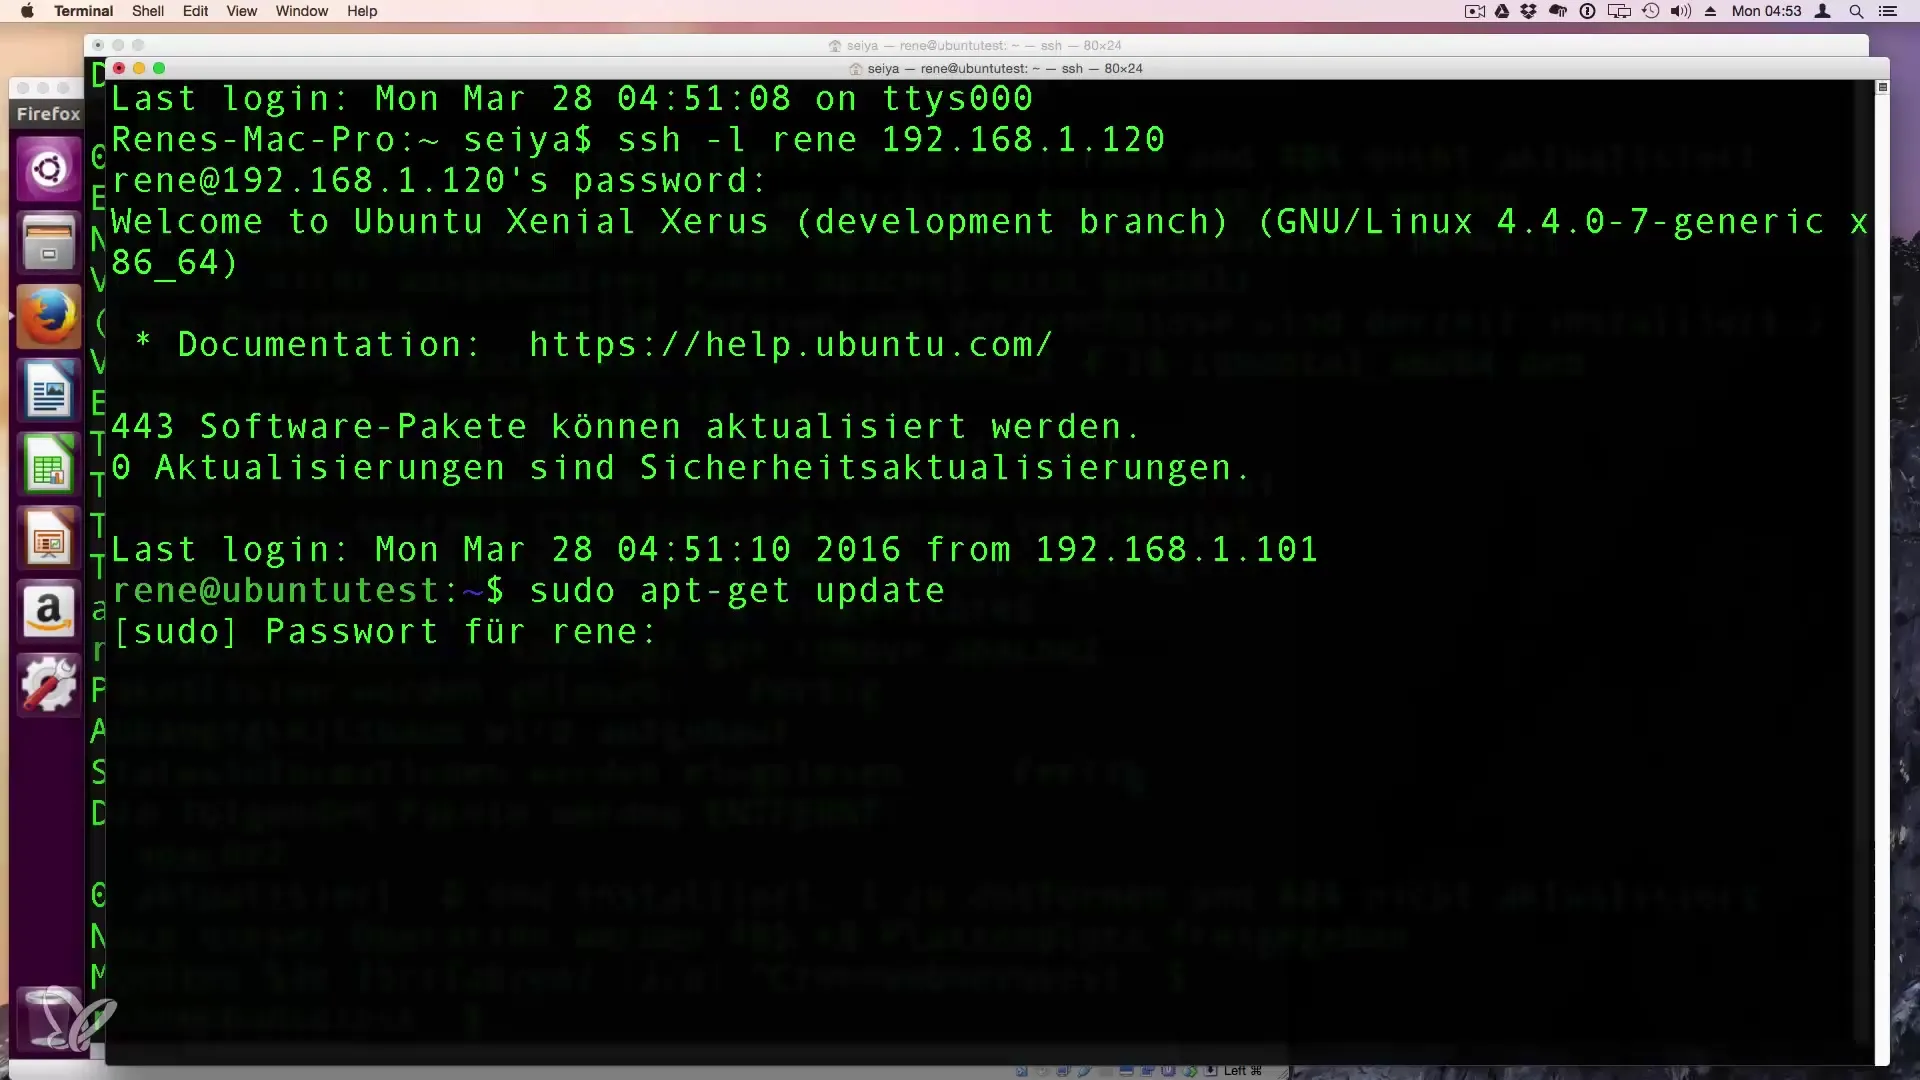
For software updates, use the commands sudo apt-get update followed by sudo apt-get upgrade. This updates the list of your installed packages and gives you the latest versions.
Step 9: Check Available Updates
You can check at any time how many packages could be updated by running apt list --upgradable. This will show you all packages that can be updated.
Step 10: Perform Updates
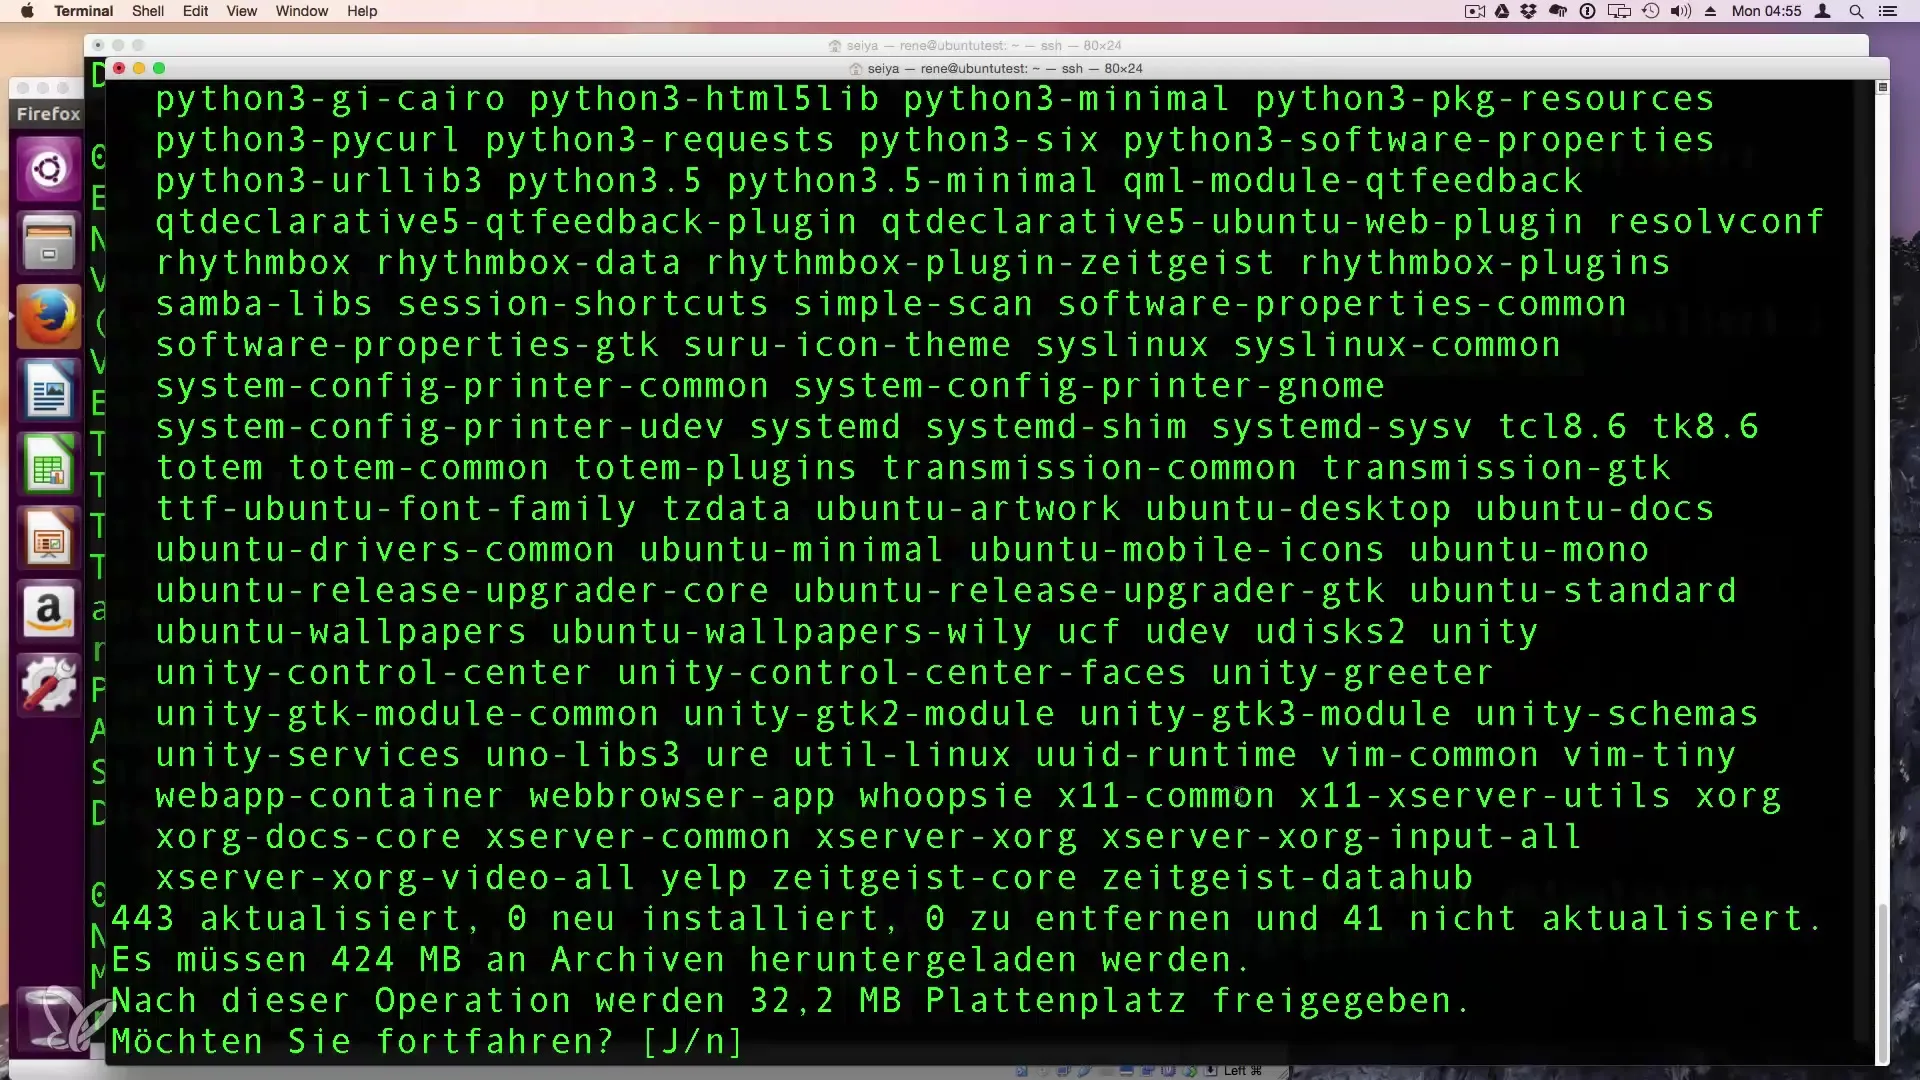
To execute the updates, enter sudo apt-get upgrade again and confirm the input with "y" to download and install all updated packages.
Summary - How to Install Software on Linux with APT
With these steps, you have learned the basics of software management on Linux. From installing new packages to regularly updating your system – APT provides you with the tools to manage everything efficiently.


