Do you want to optimally prepare your Raw files for further editing in Photoshop? In this guide, I will show you how to work effectively with the Camera Raw filter to make your images shine.
Key Insights
- The right sharpening is essential for details in your images.
- Chromatic aberrations can be removed with simple adjustments in the Camera Raw filter.
- The difference between saturation and vibrance is important for fine-tuning the colors.
Step-by-Step Guide
1. Open and sharpen Raw file
First, open your Raw file in Photoshop. It will automatically open in the Camera Raw converter. The first step in image optimization involves sharpening the image. Select the sharpening dialog and initially set the radius to 0.5. This gives you a fine sharpness that doesn't overwhelm the overall image. For portraits of women, you can choose a value between 60 and 80. For a rougher male portrait, like the one I have here, I recommend setting the radius a bit higher, around 0.7. This way, you obtain many details and textures in the skin.

2. Enable lens corrections
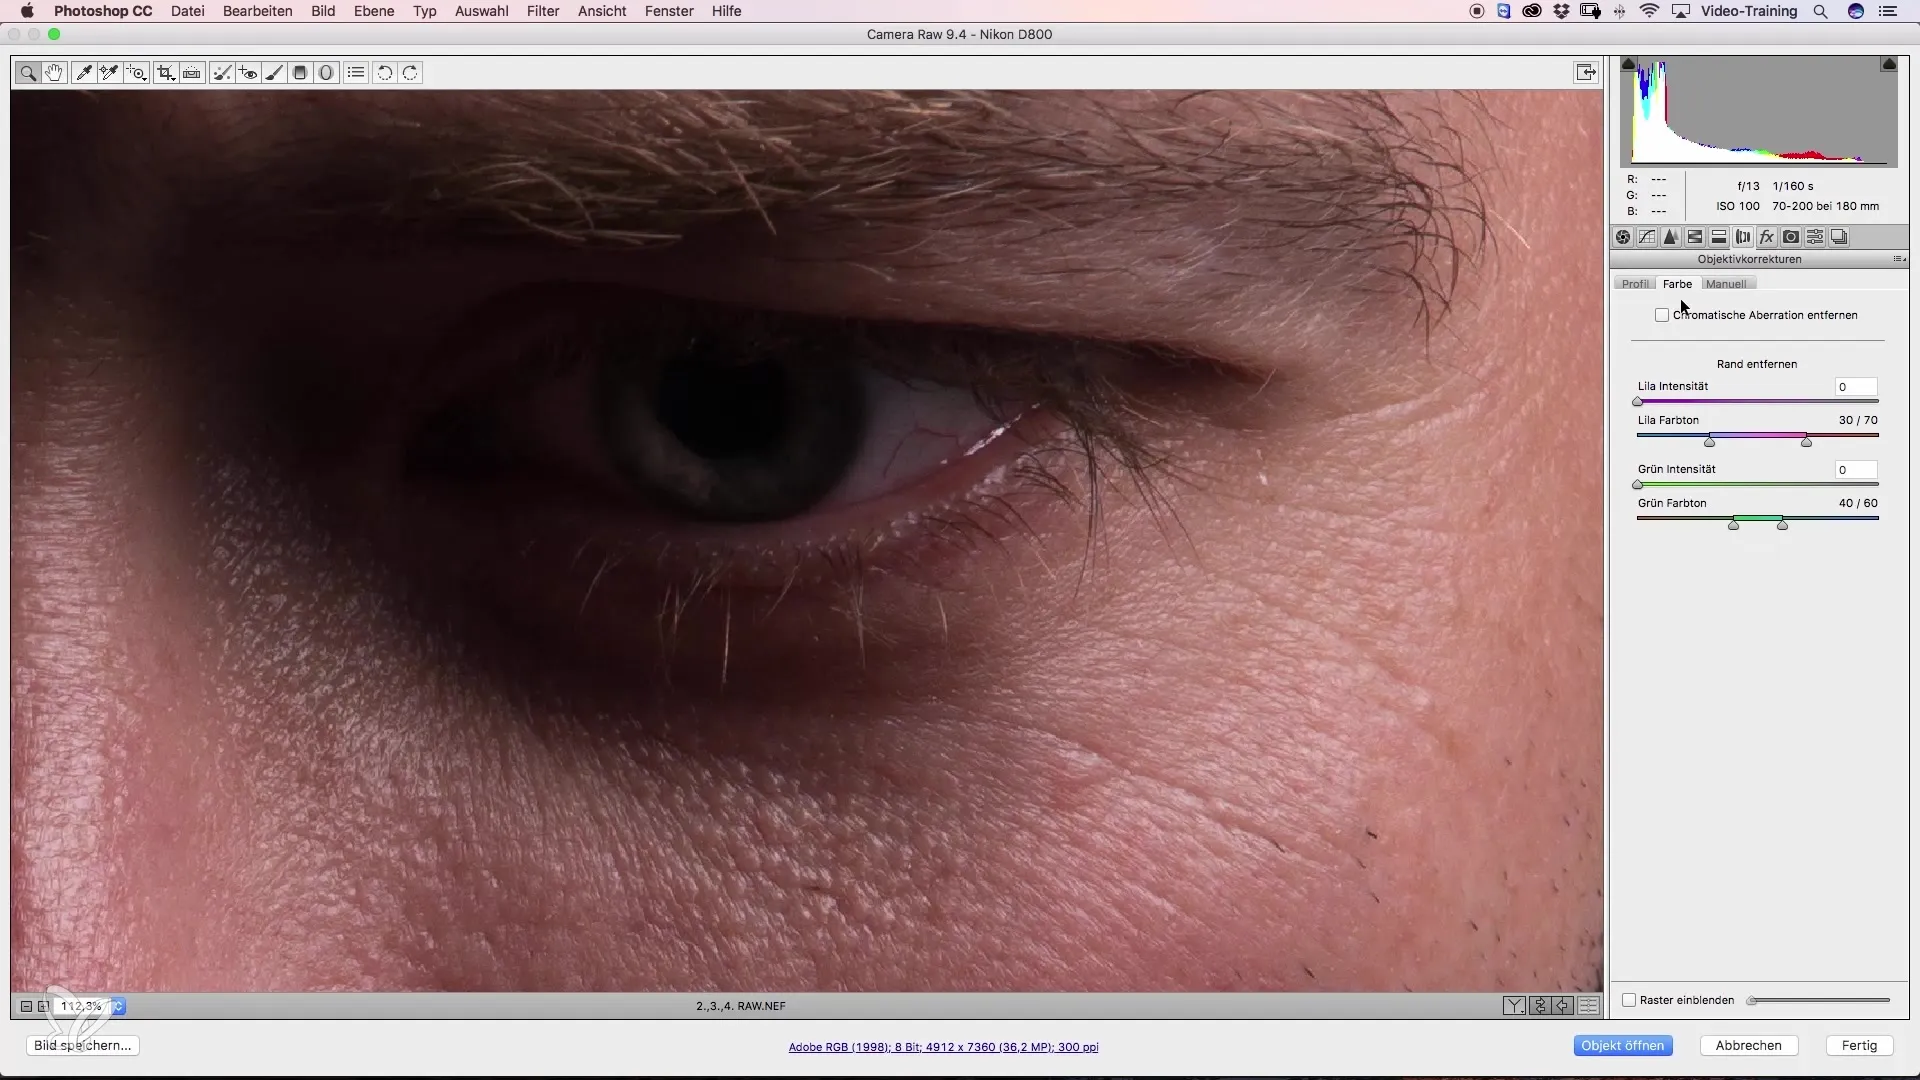
An additional step to enhance your image is correcting chromatic aberrations. To do this, go to the lens corrections dialog. Check the box for "Remove chromatic aberrations." These small color fringes that often appear around facial features are annoying and can easily be prevented, even if they are not visibly noticeable in the current image.

3. Adjust profile corrections
Under the "Profile" section, Photoshop offers corrections based on the lens used. However, sometimes this automatic adjustment can distort the image. In my case, it overly inflates the model. Therefore, I uncheck the box to prevent the default adjustments from applying.
4. Make basic adjustments
Now it’s important to move the sliders carefully. Think precisely about which effects you want to achieve. Adjusting the highlights to the left to avoid overexposure is advisable; it easily eats up details in the hair. You can shift the shadows to the right to gain more structure. A little more brightness is also helpful, but be careful not to overdo it.
5. Color correction – saturation and vibrance
For fine-tuning the colors, play with the values for saturation and vibrance. While saturation affects all colors equally, vibrance only boosts the less saturated colors, leading to a more harmonious overall impression. Reduce some saturation while you can slightly increase vibrance. This ensures more vibrant colors without overpowering the darker hues.

6. Final fine-tuning
After you have made the basic adjustments, you can lighten the image a bit, but be careful not to overdo it. I set the value to 0.25. When you are satisfied with all the settings, you have optimized the image for further editing in Photoshop. Now you can continue with skin retouching and other adjustments in Photoshop.
Summary – Mastering Raw Development with Photoshop
In this guide, you have received valuable tips on Raw development in Photoshop. The right steps for sharpening, color correction, and detail adjustment provide a solid foundation for professional image editing.
Frequently Asked Questions
How do I optimally sharpen my Raw file?The sharpening depends on the subject; for portraits, a radius of 0.5 is recommended, while for rougher subjects like male portraits, it can go up to 0.7.
What are chromatic aberrations and how can I remove them?These are color fringes at the edges of the image, which can be easily removed by activating the corresponding option in the Camera Raw filter.
How can I distinguish between saturation and vibrance?Saturation affects all colors equally, while vibrance only emphasizes the less saturated colors, leading to a more subtle effect.


