When preparing your images for the web, it is crucial to resize and sharpen them correctly. Inadequate adjustments can cause your images to appear blurry or lose quality. In this tutorial, I will show you how to effectively edit your images to achieve a perfect result.
Main Insights
- The correct image resizing is crucial for sharpness.
- Ensure that the "resample" option is disabled to avoid unwanted sharpening.
- Use the sharpening filter in Photoshop for precise adjustments.
Step-by-Step Guide
To properly sharpen and resize your images for the web, follow these steps:
Start by opening your image in Photoshop and first set the width. Assuming you want a width of 500 pixels, navigate to "Image" and select "Image Size."

Here, it is important that the "resample" option is not activated. If this option is activated, Photoshop may automatically sharpen the image, which you want to avoid.

Make sure to set the method to "bicubic smoother." This setting allows you to sharpen the image precisely later without losing image quality.
Confirm your settings with "OK" and then zoom in to check the details. If you look closely, you may see blurriness at the edges. This is why it is important to sharpen the image.

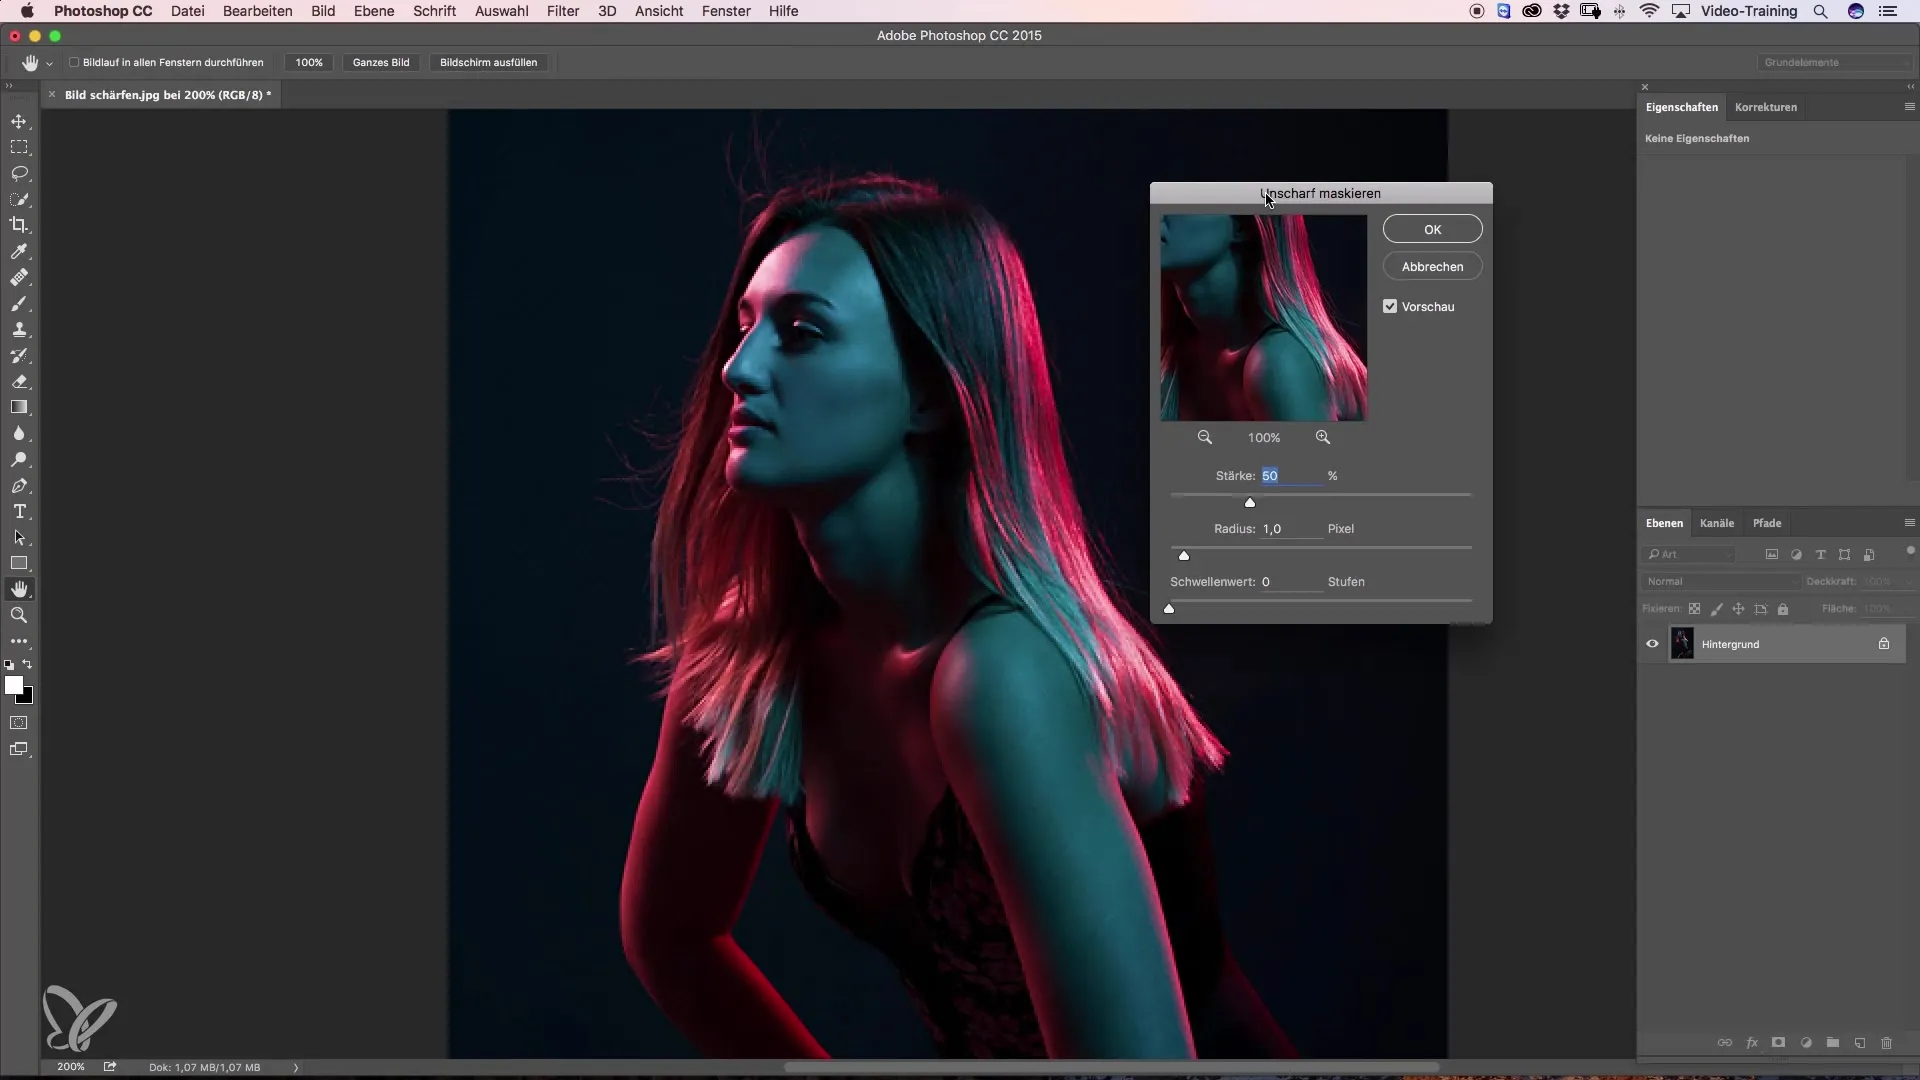
The sharpening filter I prefer is found in the menu under "Filter" -> "Sharpen" and then "Unsharp Mask." Here, set the radius to a very low value. A value of 0.2 pixels is optimal for achieving fine sharpness without overly editing the image.

Adjust the strength accordingly and adapt it to the image. Typically, I set the strength at around 220% to achieve significant sharpening without visible artifacts.

Once you are satisfied with the settings, confirm them with "OK." To check the result, you can make a before-and-after comparison.

The image will be visibly sharper and will hardly lose any quality, making it look much better when uploaded to social platforms.
Summary – Image Sharpening and Resizing for Optimal Web Quality
As you have seen, the steps for effective image resizing and sharpening in Photoshop are straightforward. Choosing the right settings ensures that your images remain both sharp and high-quality, significantly enhancing their presentation on the web.
Frequently Asked Questions
What should I consider when resizing images?Make sure the "resample" option is disabled to avoid unwanted sharpening.
How can I optimally sharpen the image?Use the sharpening filter with a radius of 0.2 pixels and adjust the strength to the image.
What impact does image size have on quality?An excessively large image size can reduce sharpness, while an optimal size improves quality.

