The liquefaction of images can decisively help refine the appearance of models in photography. In this tutorial, I will show you how to work effectively with the liquefaction tools of Photoshop to make subtle adjustments without having to overdo it. It's about emphasizing beauty without losing the natural form. Let's go through the basic steps together.
Main Insights
- Use the duplicate function for editing to keep an original copy.
- Convert your image into a smart object for non-destructive editing.
- Understand the various liquefaction tools and their specific applications.
- Pay attention to subtle, harmonious adjustments during editing.
Step-by-Step Guide
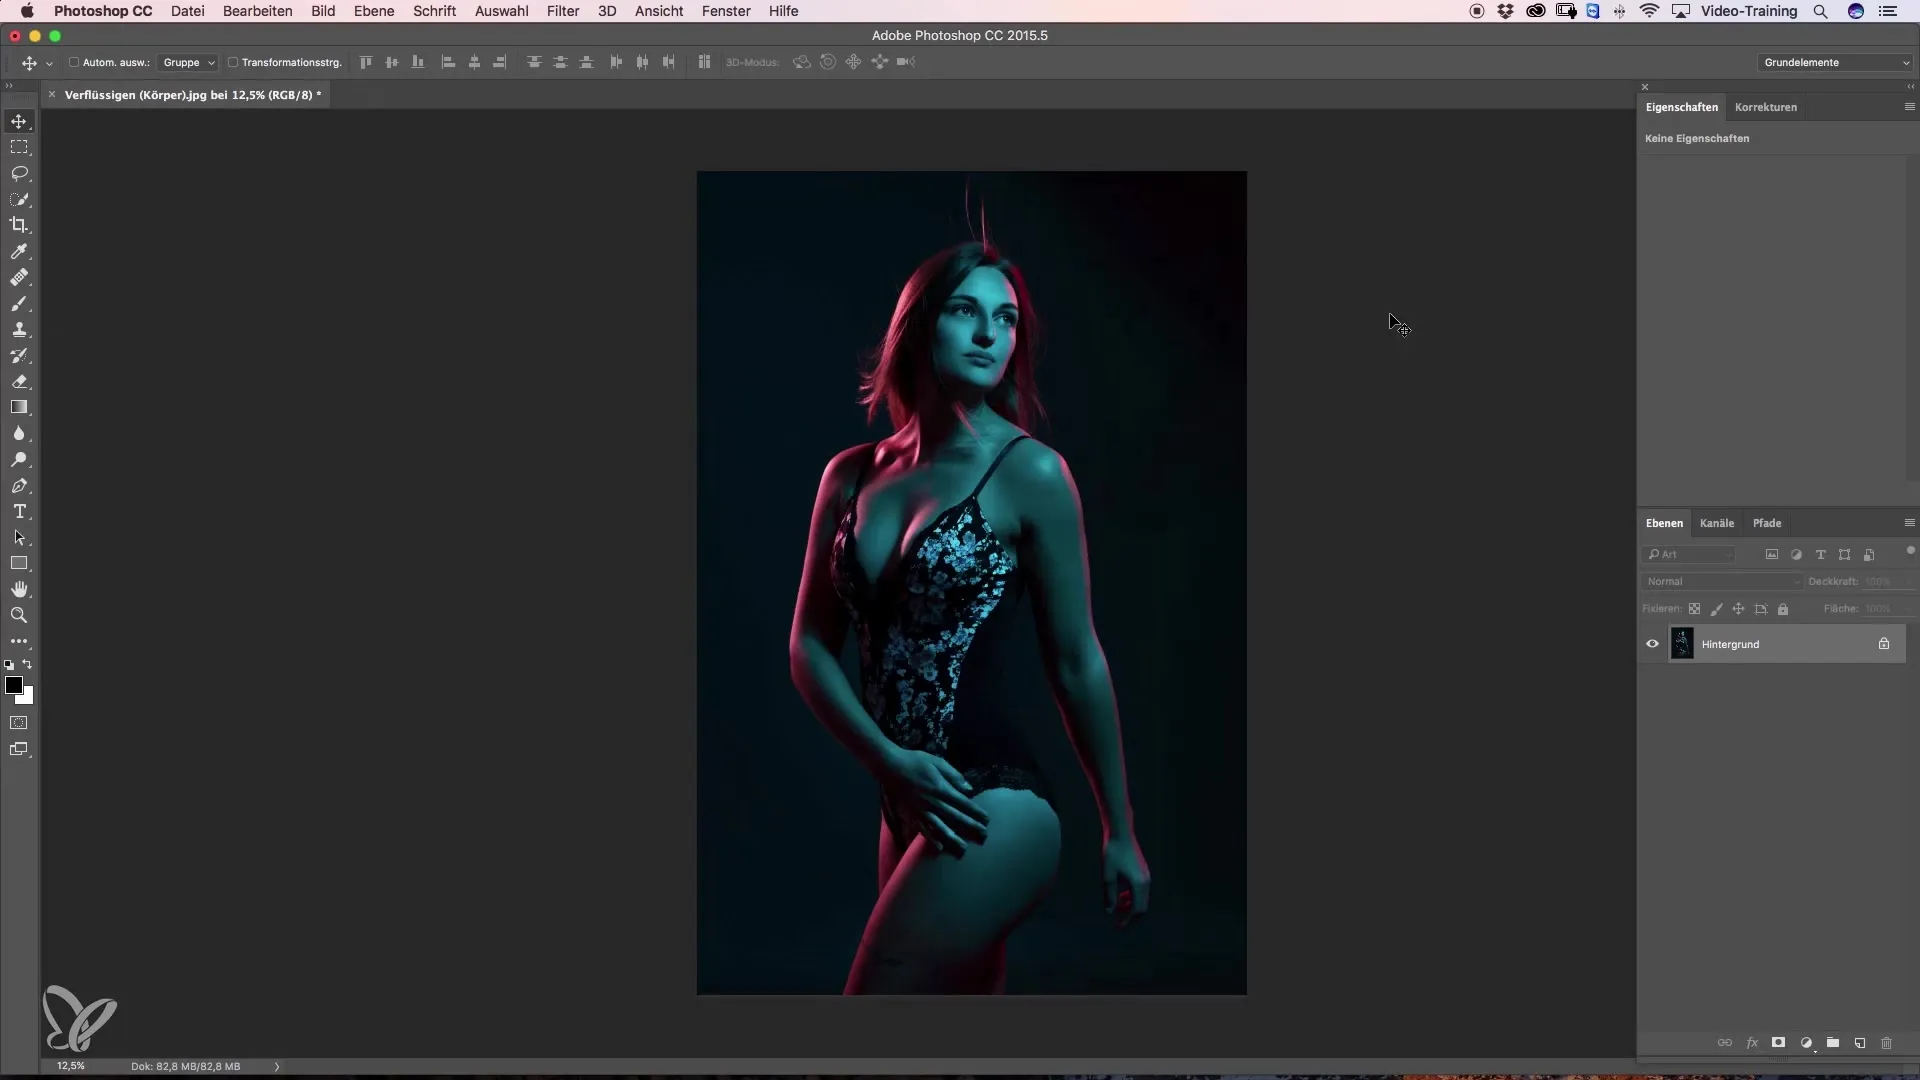
First, make sure you have the image you want to edit ready. Begin by duplicating the layer to protect the original version of your model. Press Command + J.

Now convert the duplicated layer into a smart object. Go to "Filter" and select "Convert for Smart Filters." This allows you to edit the liquefactions later at any time without altering the original pixels of your image.
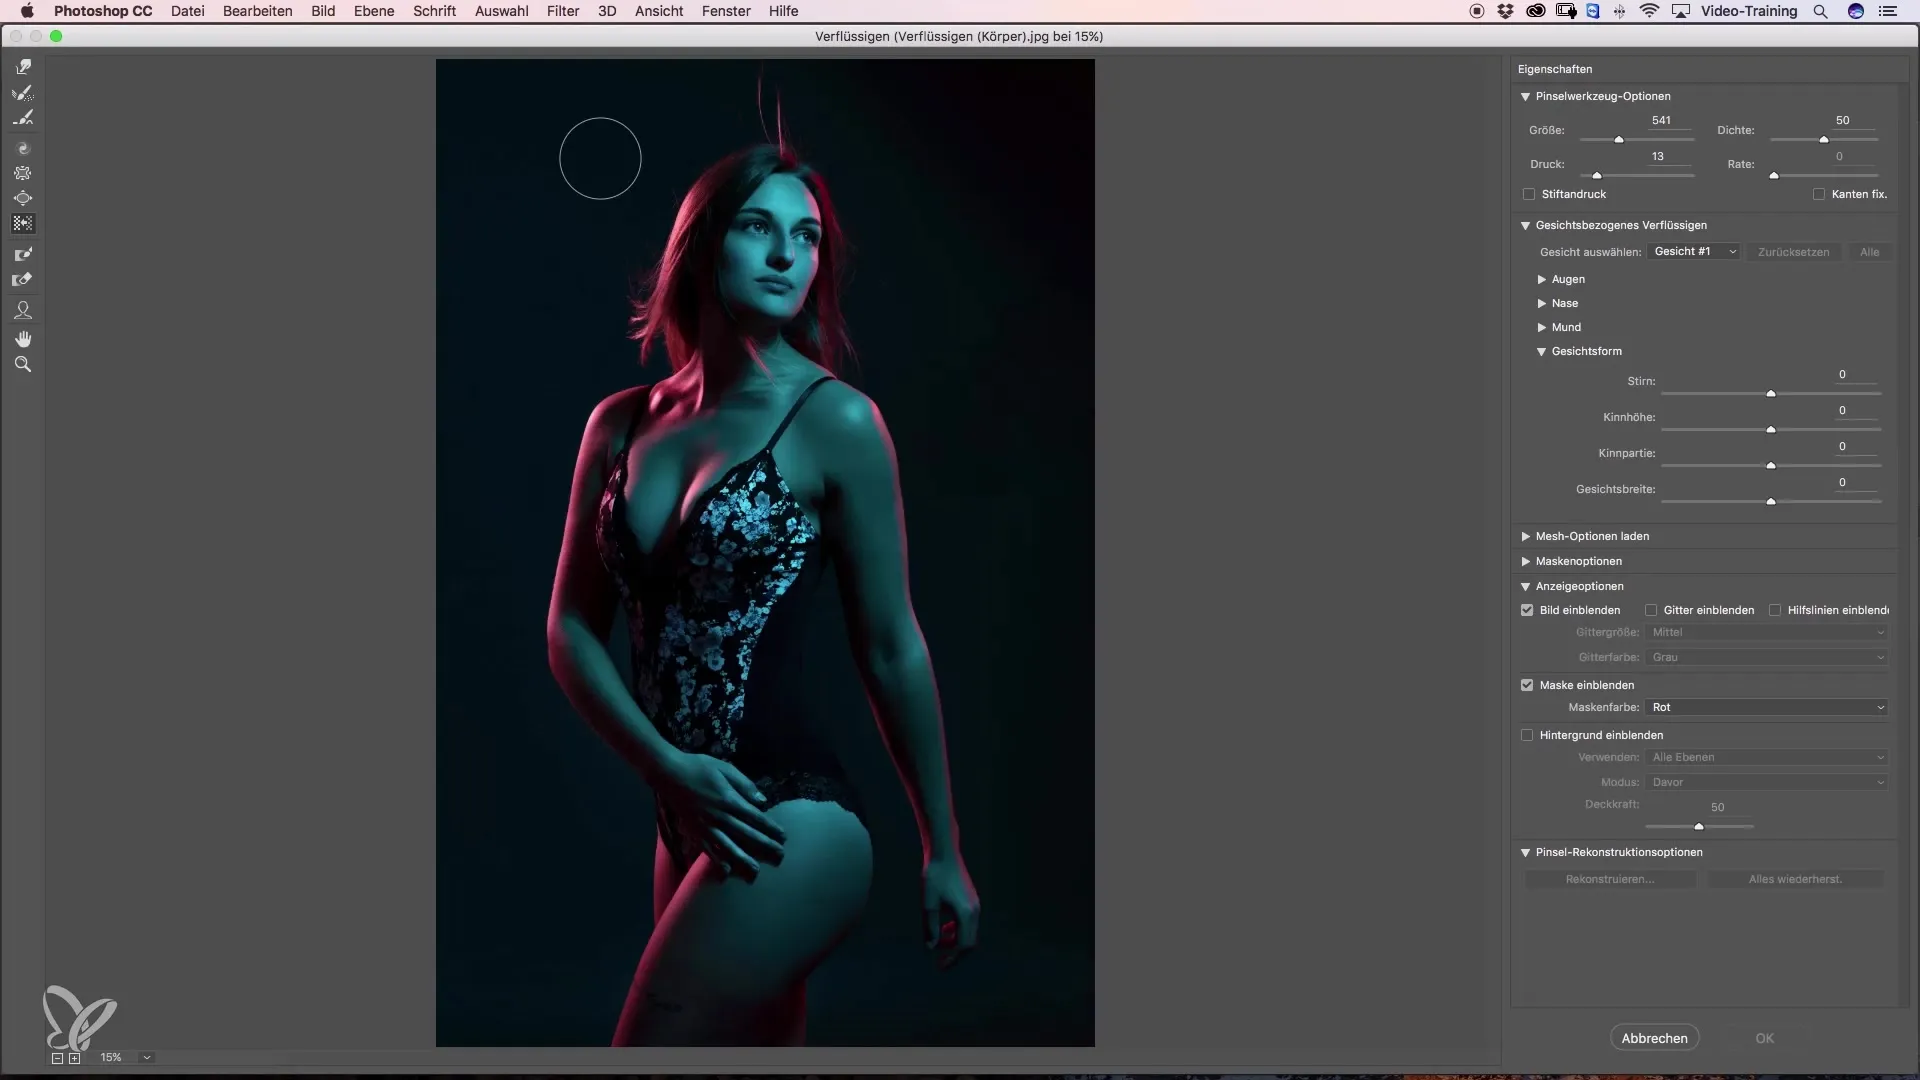
Now we are ready to apply the Liquify filter. Choose "Filter" and then "Liquify." The Liquify dialog will open, showing you various tool options that you can use.

Before you start editing, take a look at the overall image. In this example, I only want to make minor adjustments, such as fixing dents in the arm, slight corrections in the body area, and flattening the thigh.
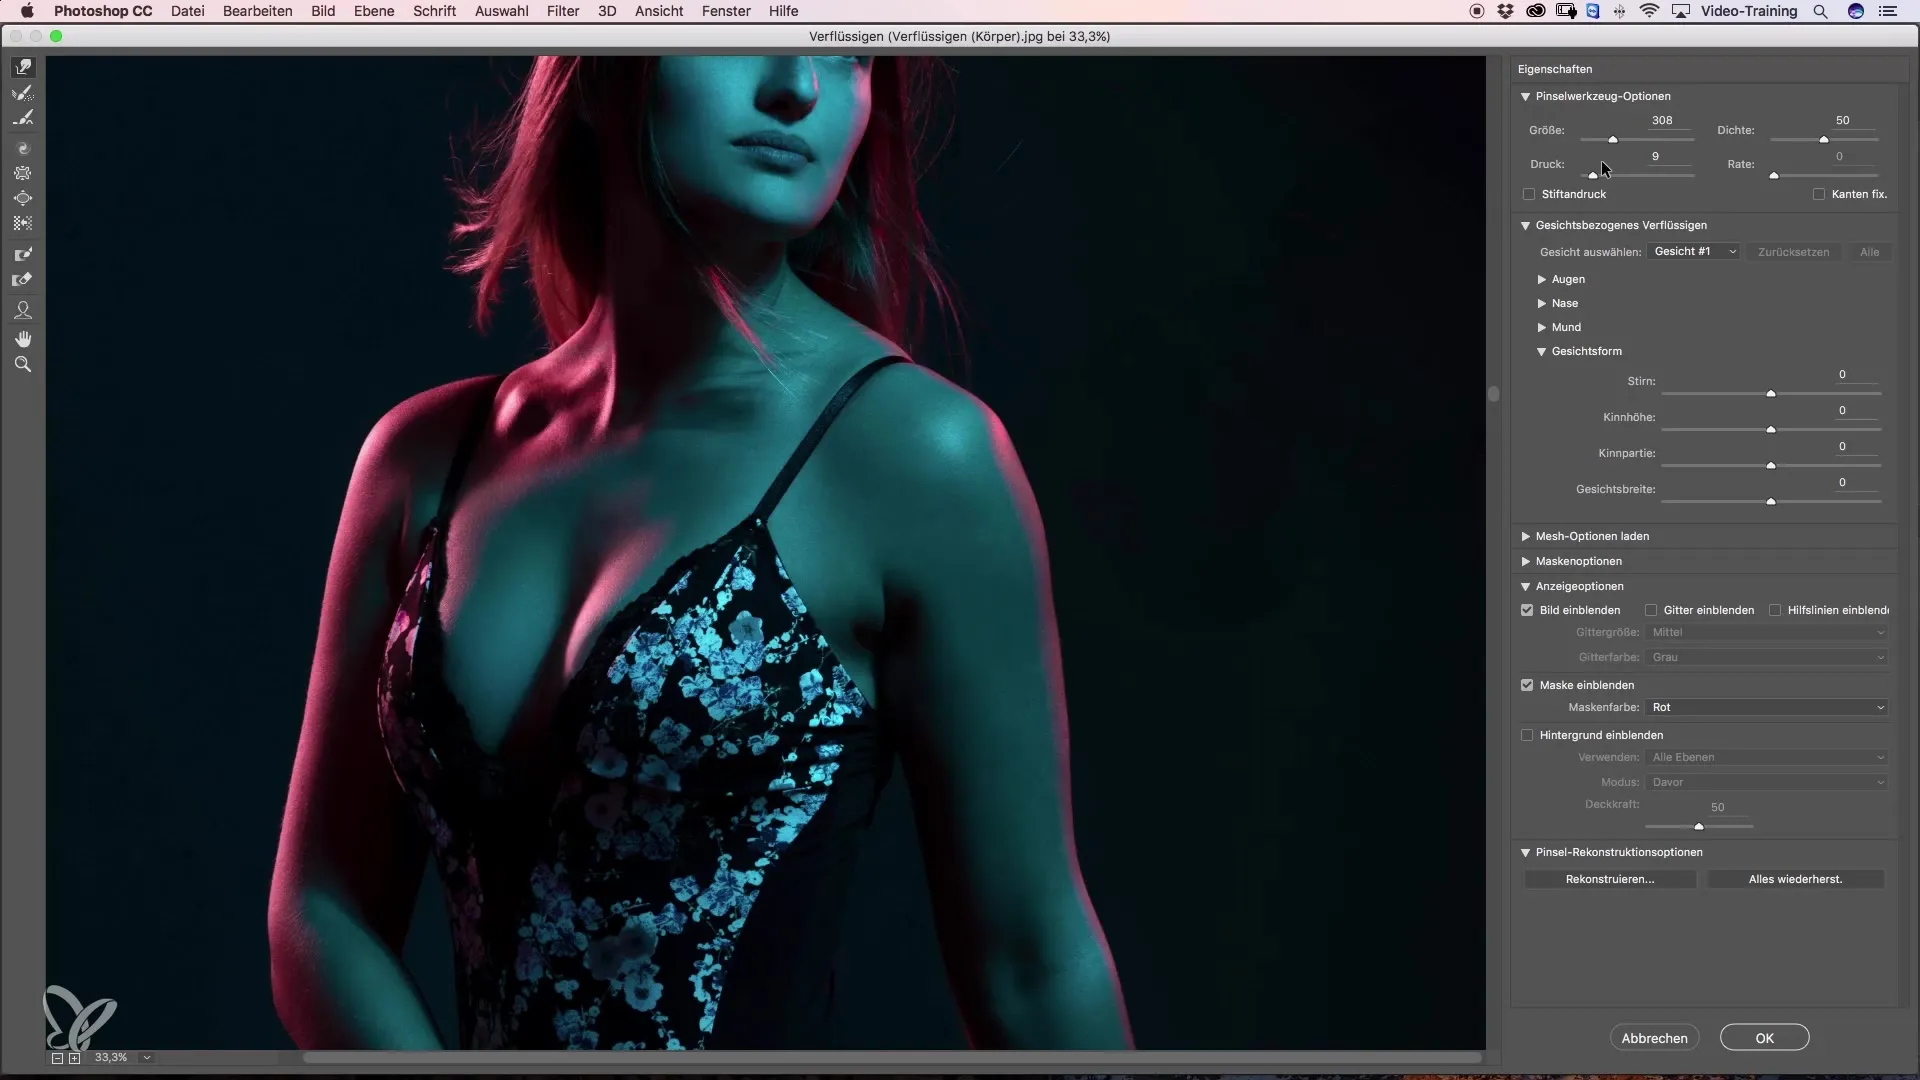
The first tool I want to introduce is the "Push" tool. This popular tool allows you to move pixels intuitively. Set the tool pressure to about 20% to work on the edges gently rather than pushing them hard.

Start by gently pushing the dents in the arm inward while keeping the pressure low. A slow and careful approach ensures that you achieve an aesthetic result.
The "Push Left" tool is my personal favorite. It moves pixels in the direction of travel, which is especially useful in complicated areas. You can adjust the brush tip to maintain control over the areas you are editing.
When you pull up with this tool, everything shifts to the left. This requires a sense of touch and patience but results in smooth outcomes.
To correct lines and edges, it is essential to regularly check how the changes look. Use the before-and-after comparison to visually assess the progress of your editing.
The adjustments are often subtle but crucial. You will notice that small deviations can enhance the entire image. Look at the edges; it’s about making them look smoother and more orderly.
Once you are satisfied with the result, confirm your changes to secure the image. You have now applied the liquefaction technique while preserving the model's natural beauty.
Summary – Beauty Retouching: Guide to Liquefying Models in Photoshop
This guide aims to provide you with the fundamental skills to master liquefaction in Photoshop. Keep the originality of your model in focus and apply the tools selectively to achieve harmonious results. With a little practice, you will quickly notice how much influence subtle adjustments can have on the overall aesthetics of an image.
Frequently Asked Questions
How does duplicating a layer work?Duplicate a layer by pressing Command + J to create a copy of the original layer.
Why is it important to use a smart object?A smart object allows non-destructive edits that can be adjusted anytime without changing the original image data.
What are the best tools for liquefaction?The "Push" tool and the "Push Left" tool are very helpful for optimizing image composition.
How do I know if I’m making the right adjustments?Use the before-and-after comparison in the Liquify dialog to visually check your changes.
Should I always use high pressure when working?No, it is advisable to keep the pressure low to make gentle and harmonious adjustments and avoid hard edges.


