The impression of an image is often determined by the symmetry of the facial features. Symmetrical traits attract the eye and give a shot a harmonious balance. If these elements are not aligned correctly or are not expressed as desired, the visual experience can suffer. In this guide, you will learn how to make your images more symmetrical through targeted editing techniques in Photoshop.
Key Insights To achieve the desired result, even lighting of the image is essential. Make sure that the facial expressions and reflections in the eye are carefully edited. With selection, transformation, and masking tools, you can achieve precise symmetry.
Step-by-Step Guide
To effectively create symmetry in your images, follow these steps:
Step 1: Image Preparation
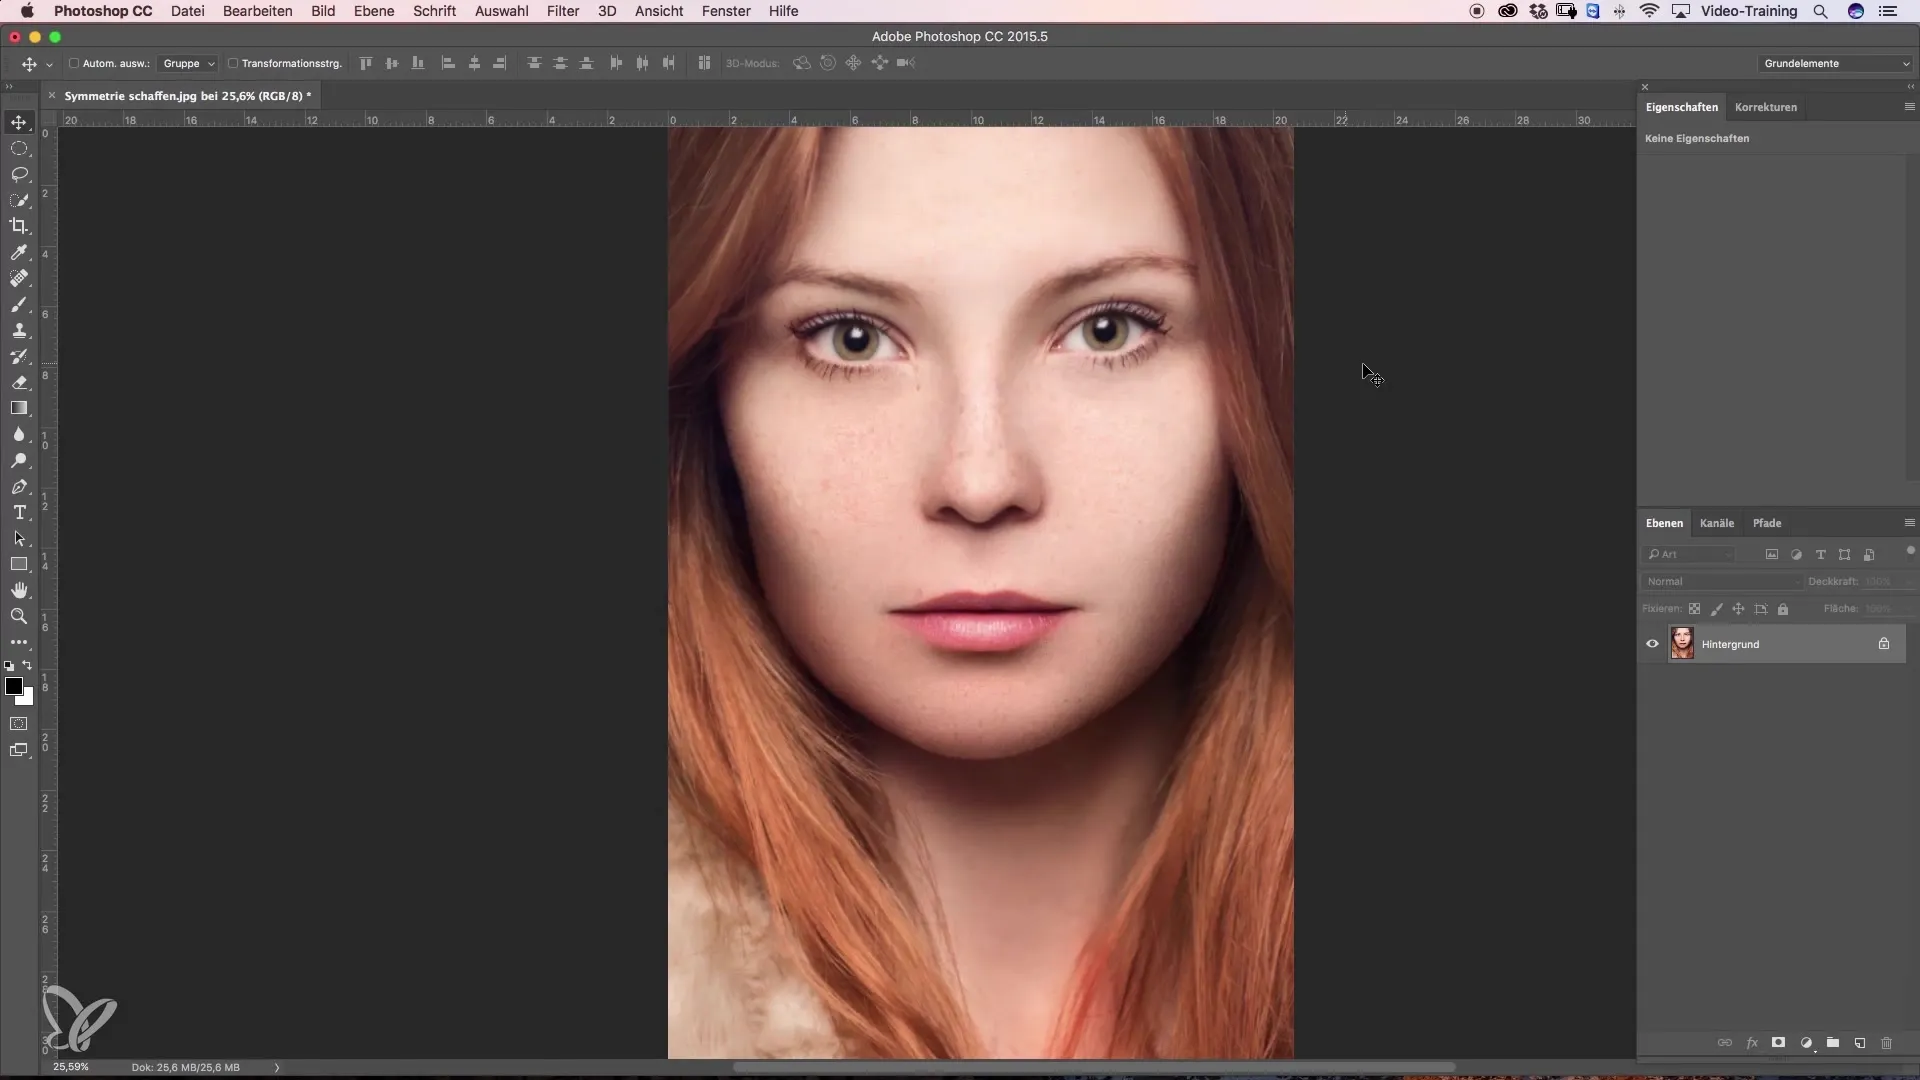
First, make sure your image is evenly lit. If one side of the face is not well-lit, subsequent editing will be challenging. The position of the eye reflection should also be centrally arranged. This is crucial for both sides to appear harmonious.
Step 2: Selecting the Eye
To start editing, create a selection of the eye you want to mirror. Use the elliptical selection tool in the top toolbar for this purpose. Draw a circle around the eye, ensuring that the selection is large enough to facilitate masking later.
Step 3: Creating a New Layer
Transfer the selection to a new layer. Press Command + J to do this. This will make your selected eye visible on a new layer while hiding the original layer. Make sure only the eye is visible on this new layer.
Step 4: Mirroring the Eye
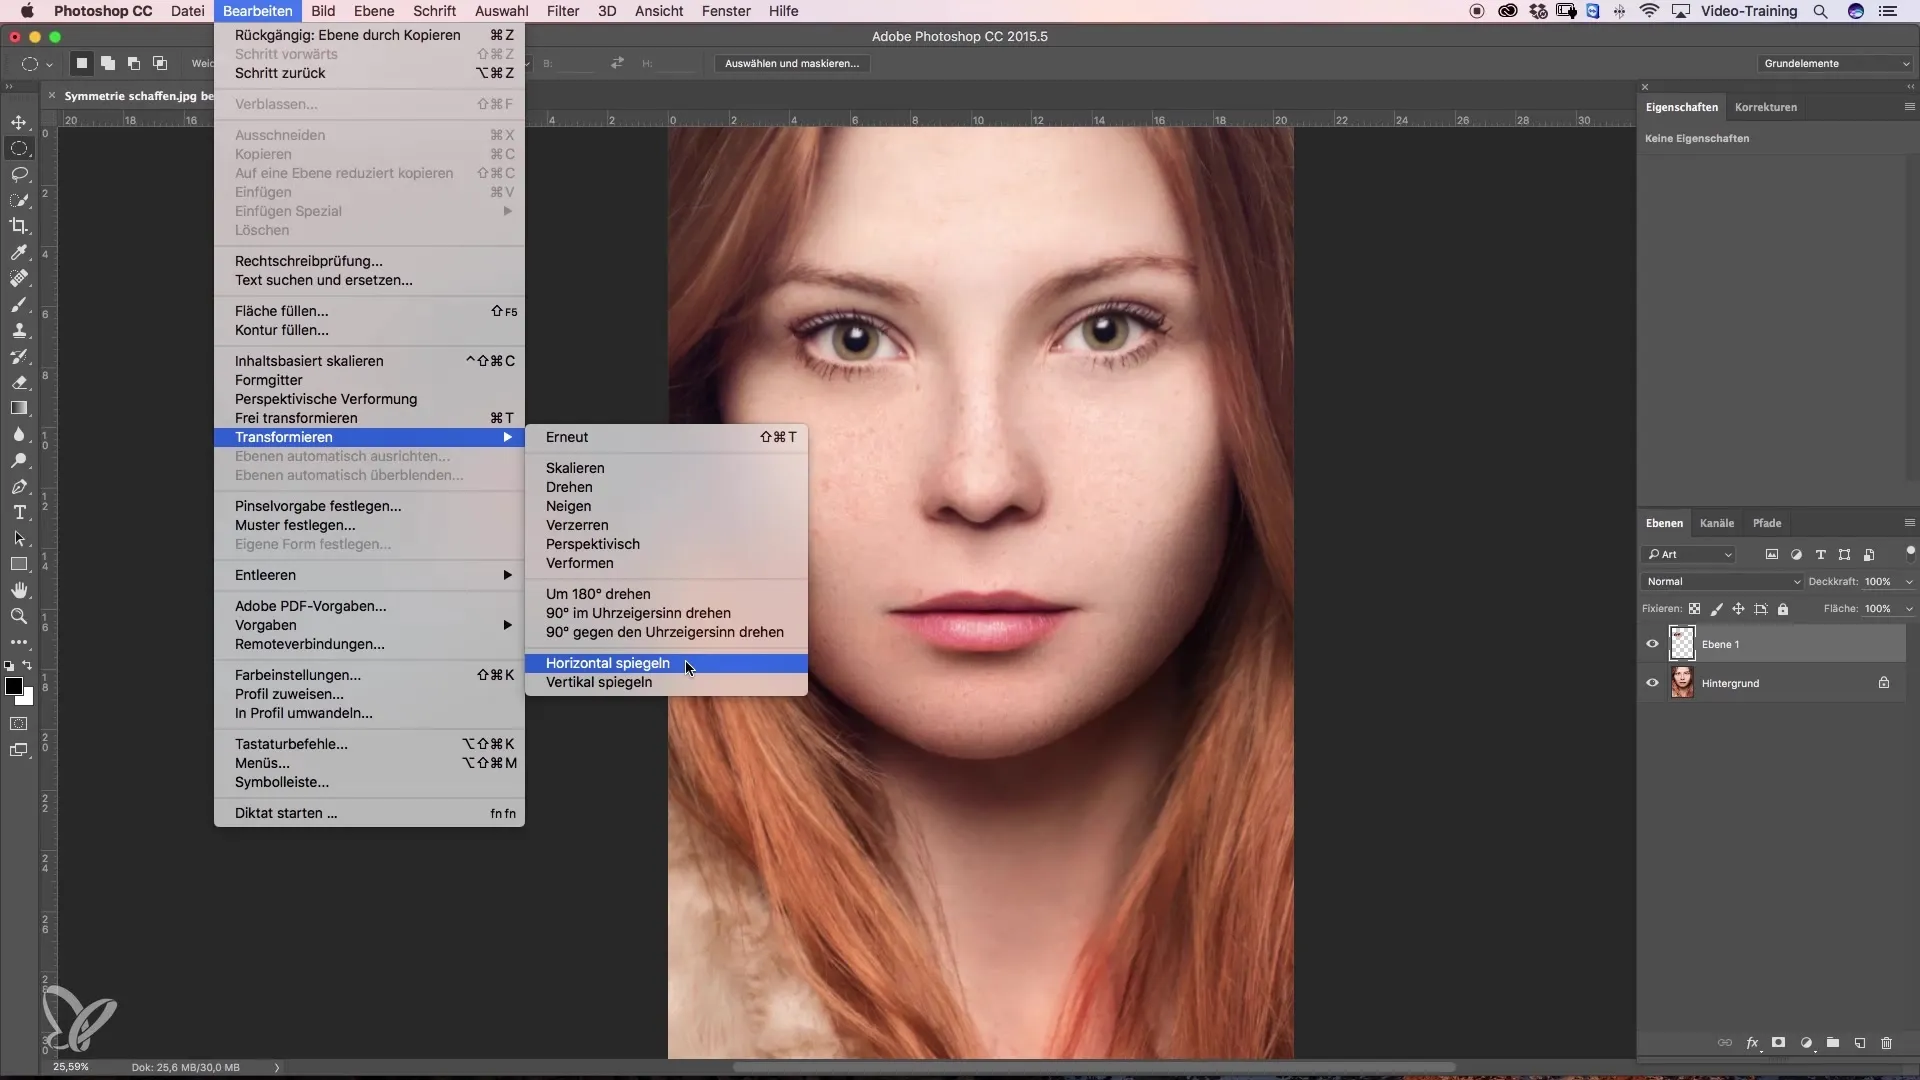
Now comes the exciting part: To move the eye to the other side, select the "Edit" menu and then "Transform". Choose "Flip Horizontal". The eye will now be transferred to the same position on the left side of the face.
Step 5: Positioning the Mirrored Eye
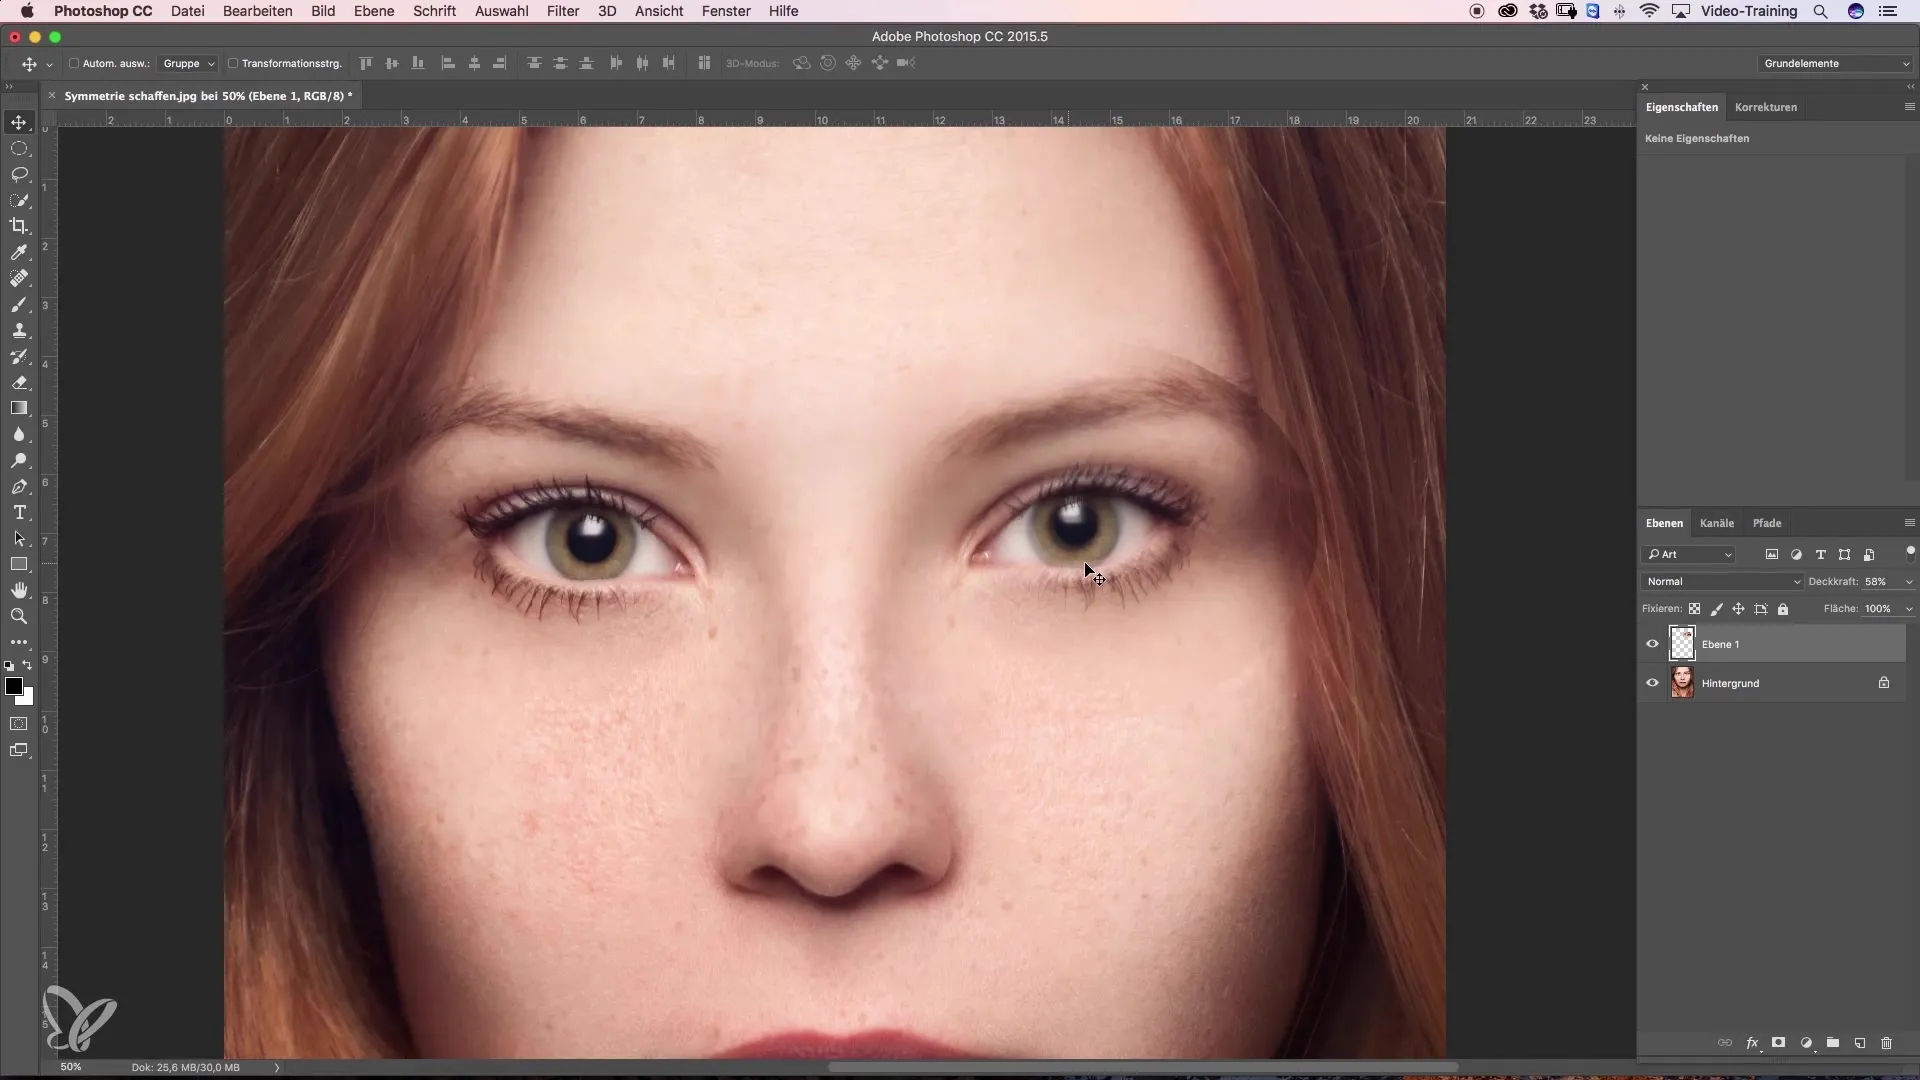
Move the mirrored eye to the desired position, with Photoshop helping you find the center of the image. Change the opacity of the layer to about 50% to better reflect the underlying eye. Now position the eye so that the inner corners align precisely.
Step 6: Fine-tuning the Position
Use the arrow keys to further refine the position of the mirrored eye. You can make smaller adjustments to achieve the best possible match. Ensure that the edges of the visible eye also match well.
Step 7: Masking the Edges
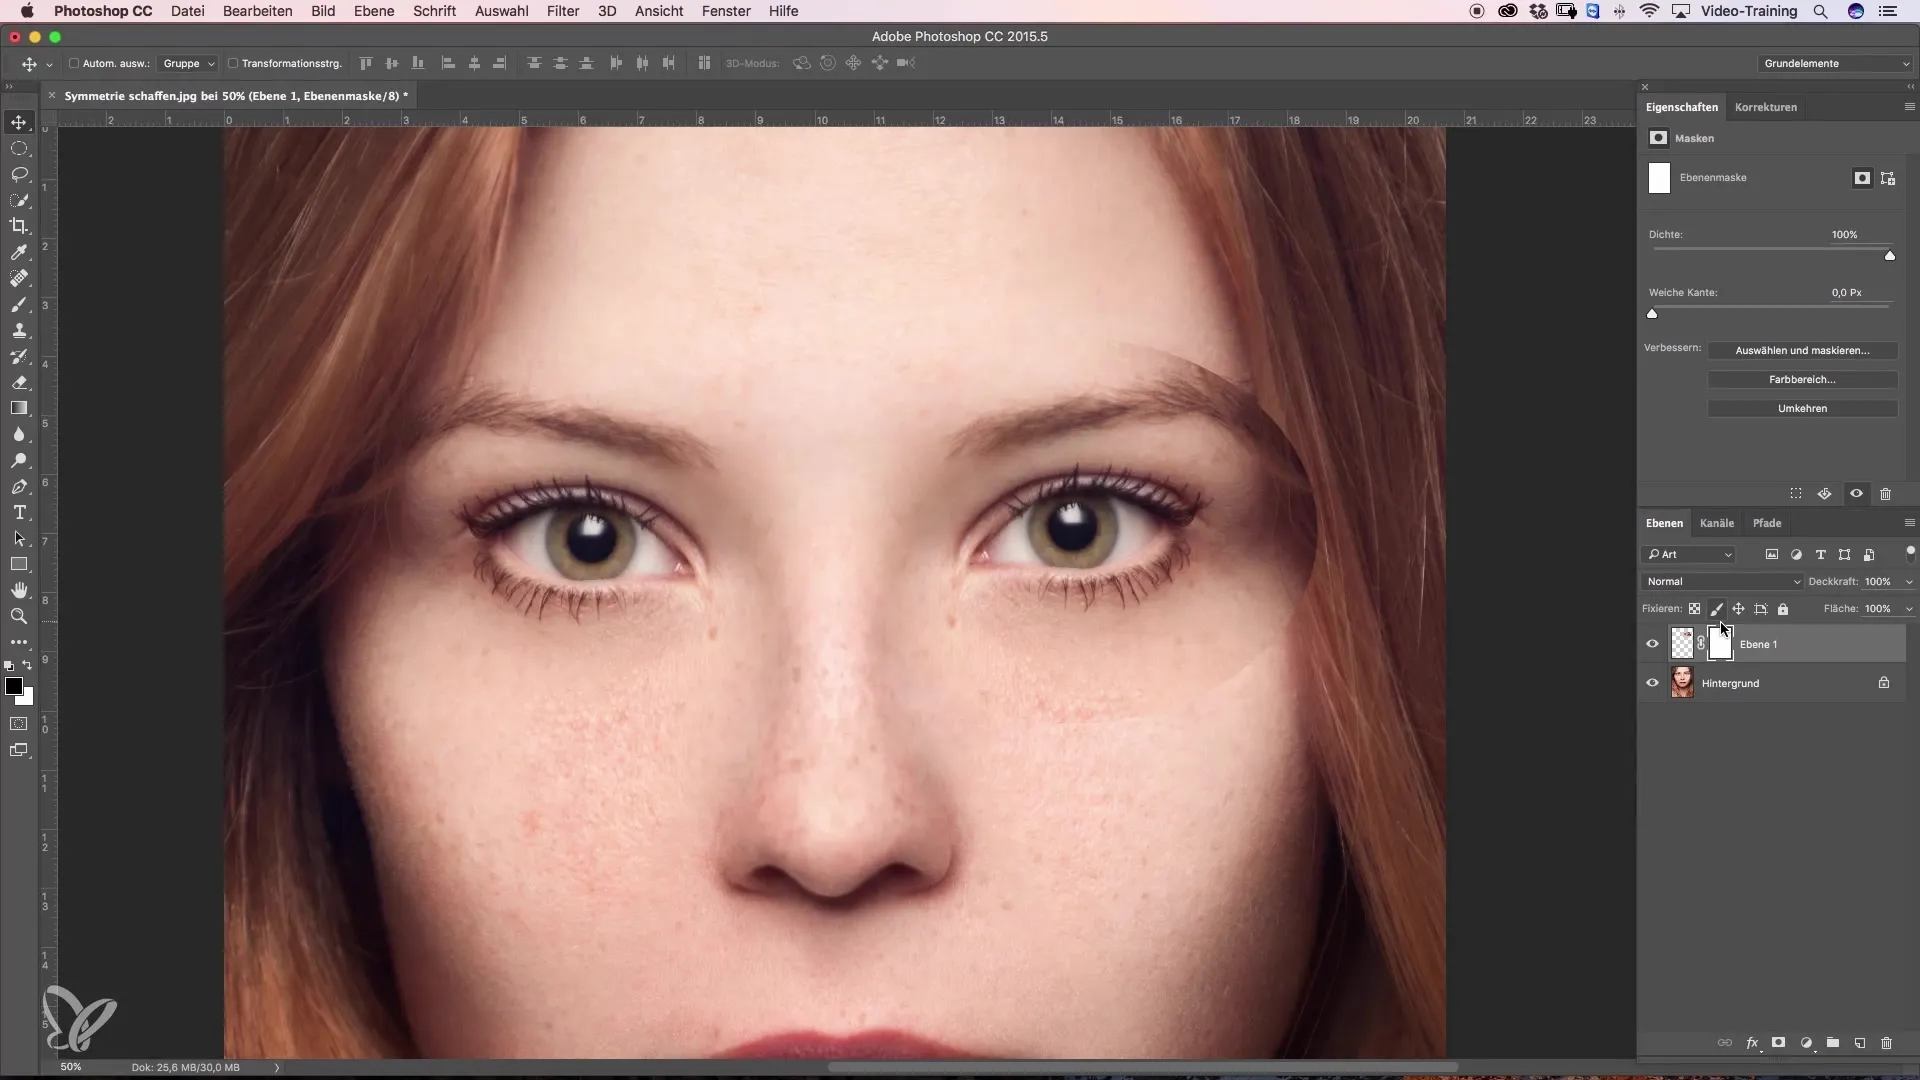
To mask the hard edges of the mirrored eye, click on the mask icon at the bottom of the layers palette. This will create a blank mask. Using a low hardness brush tool, you can softly blend the edges.
Step 8: Reverting the Color Change
To optimize the mix from the mask, set the foreground color to black. You can now paint over the filled area of the new eye with a large brush. Ensure that you create soft transitions to achieve a seamless appearance.
Step 9: Detailing the Masking
Change the brush tip to a smaller diameter to make precise corrections near the eye. Be careful to work attentively in the more challenging areas to enable optimal results.
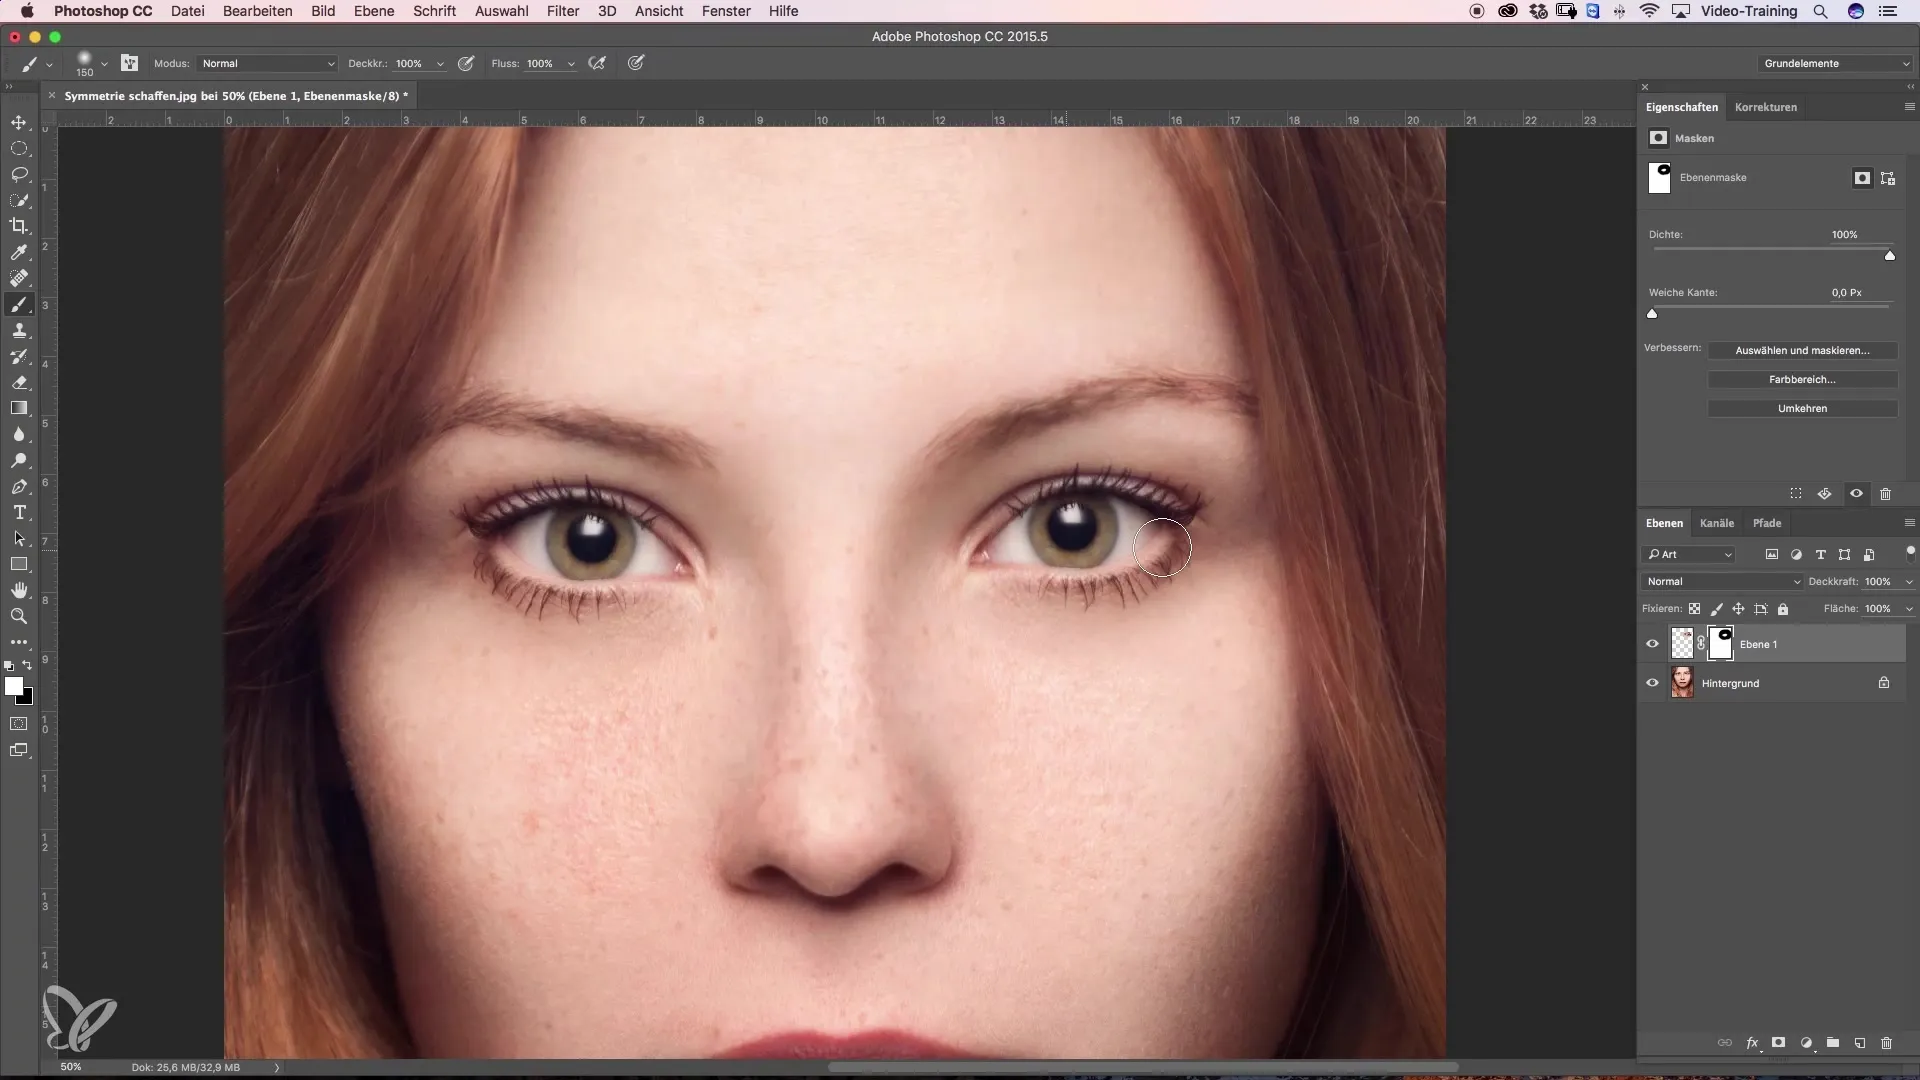
Step 10: Final Correction and Evaluation
Now, take a look at the entire image and decide if you are satisfied with the achieved result. Compare the changes before and after the edit and assess whether the symmetry and overall effect of the face appear pleasing.
Summary – Beauty Retouch: Creating Symmetry in Images
This guide shows you how to enhance symmetry in your images through targeted techniques in Photoshop. With well-achieved balance of the facial features, you can give your image a new aesthetic.
Frequently Asked Questions
How can I evenly light the image?Make sure that your light sources are evenly distributed and do not cast shadows on the face.
What should I do if one eye looks smaller than the other?Use selection and transformation tools to copy or enlarge the smaller eye.
How can I soften the edges of the mask?Reduce the hardness of your brush tool and work with a larger brush tip.
Can I use this technique for other facial features?Yes, the method can also be applied to the nose and mouth, as long as you follow the same principles.
Do you have tips for beginners in Photoshop?Start with simple images and experiment with selection and masking techniques to get a feel for the software.
