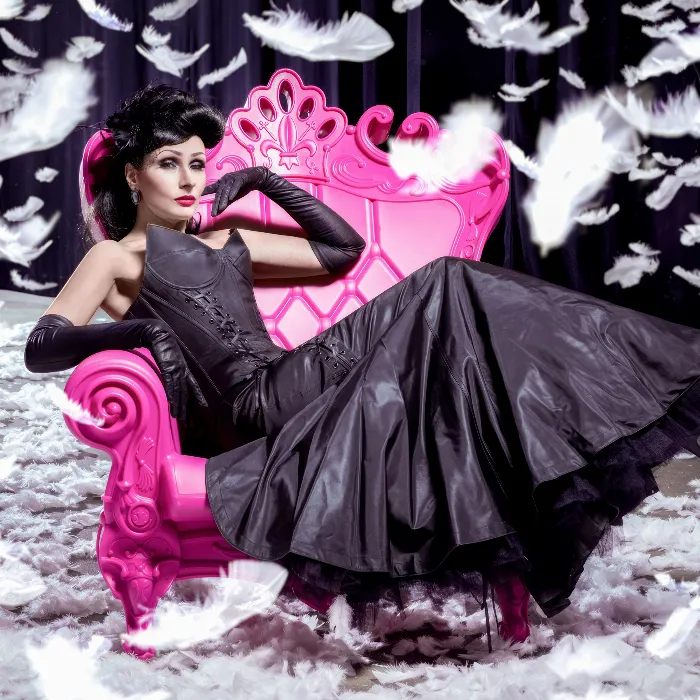
Colors have the power to evoke emotions and influence moods. If you have bright colors in an image that you want to change, Photoshop offers you powerful tools to accomplish this task easily and effectively. In this tutorial, you will learn how to specifically recolor certain areas, such as the color of a sofa or clothing.
Key Takeaways
Color changes in Photoshop require the right selection of hues, precise editing, and an understanding of masking. By using adjustment layers and tools, you can ensure that your result looks both appealing and harmonious.
Step-by-Step Guide
To choose and convert the desired color for your clothing or accessories, follow these steps.
First, open your image in Photoshop and identify the area you want to recolor. In this case, we'll use a bright pink sofa as an example. The first step is to create a new adjustment layer. To do this, click on the adjustment layer creation icon in the bottom bar and select the "Hue/Saturation" option.
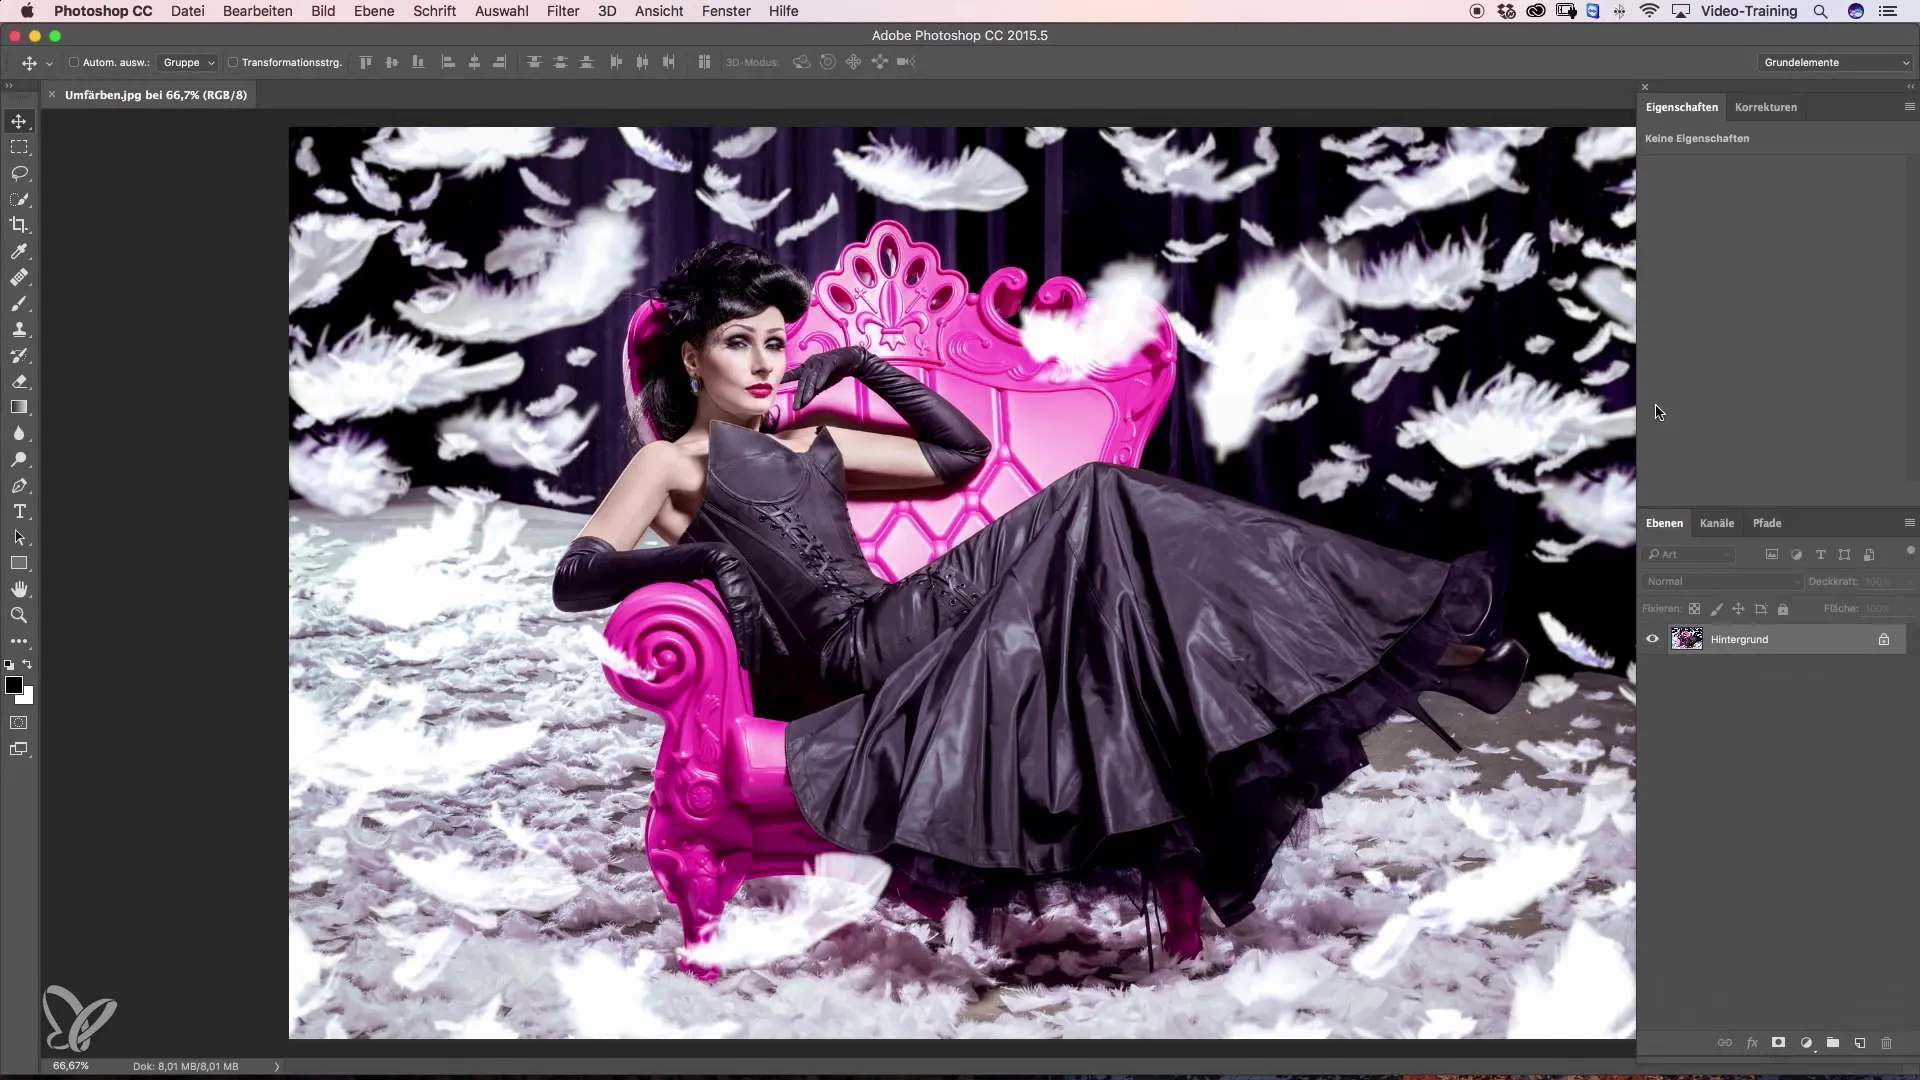
Once the adjustment layer is created, you need to take a close look at the hue of your sofa. In our example, the hue might lean more towards magenta than red. Click on the corresponding hue and compare the color values in the selection with those of your sofa.
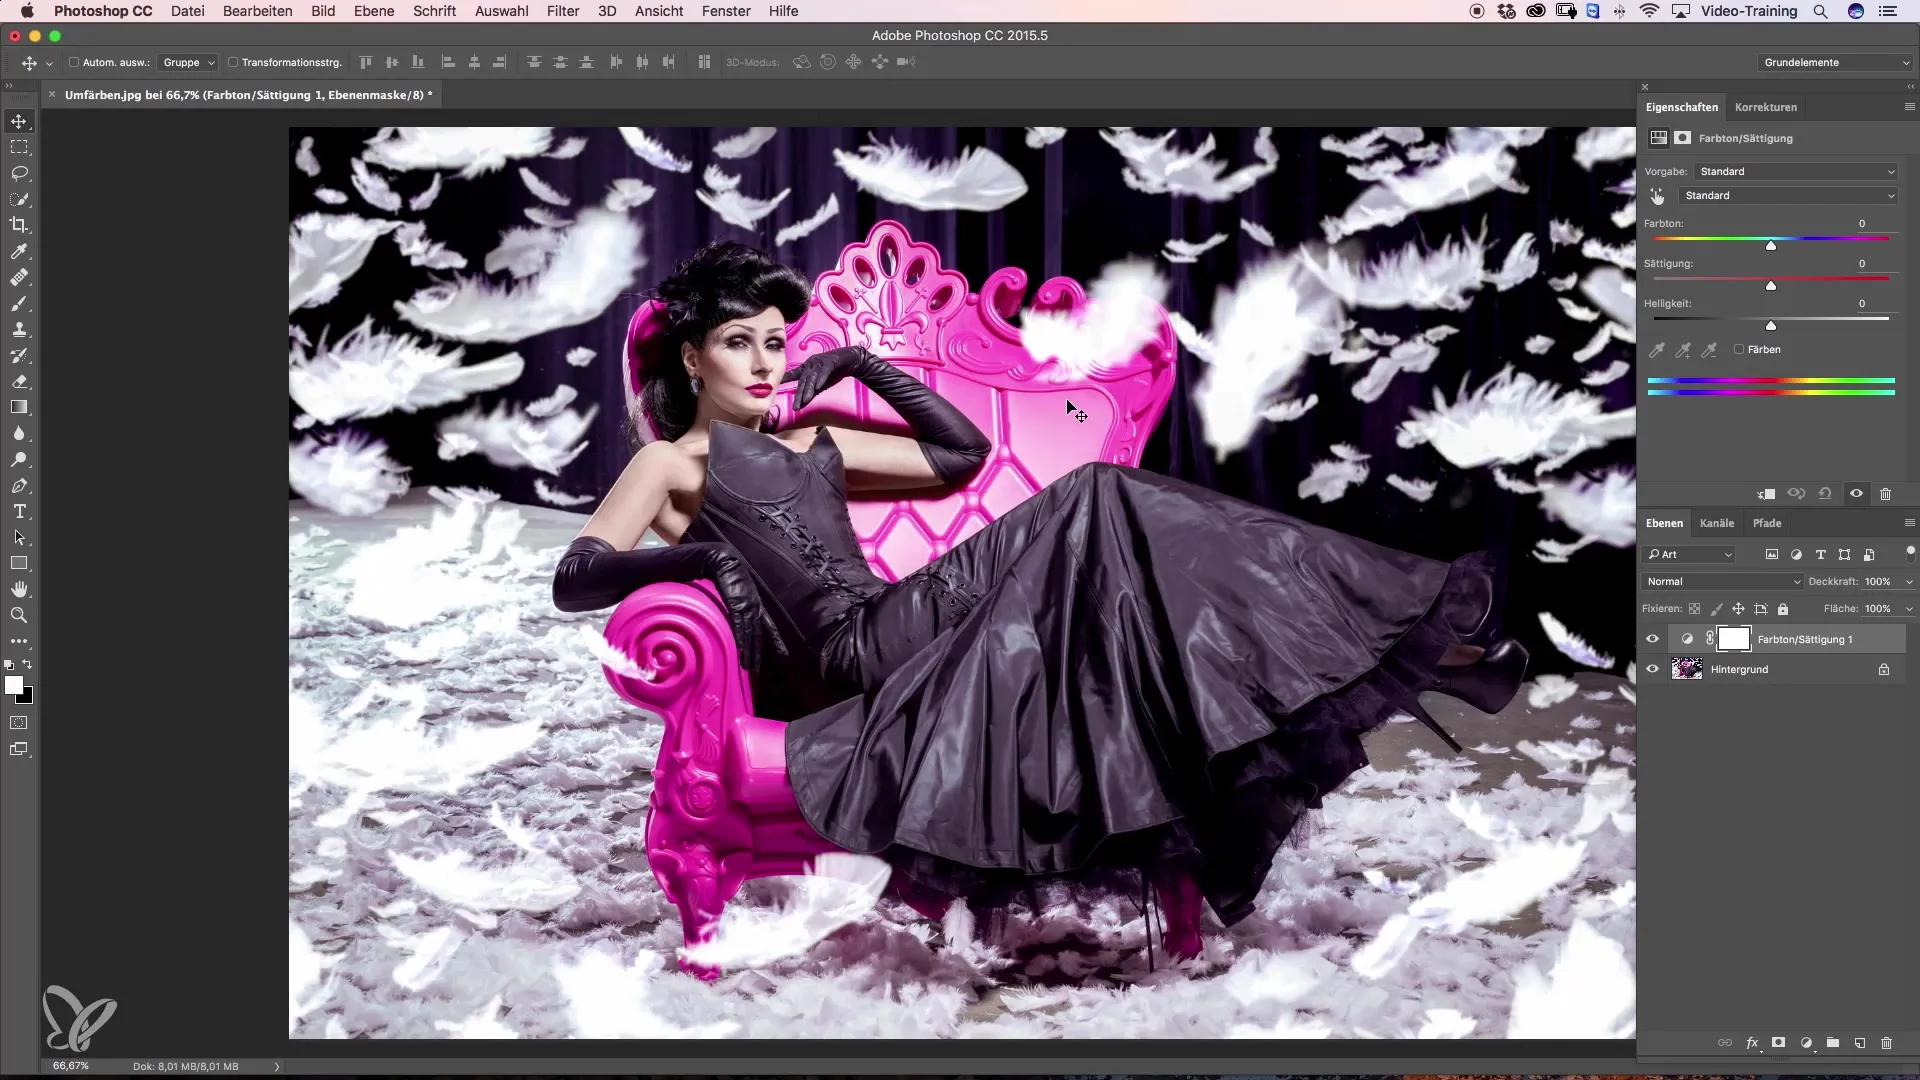
When you are satisfied with the color selection, use the eyedropppers that are now available to select a hue. It's important to set the sample area to more than one pixel – I recommend at least 5x5 pixels. This will make the selection more authentic and minimize the risk of choosing unfavorable hues.
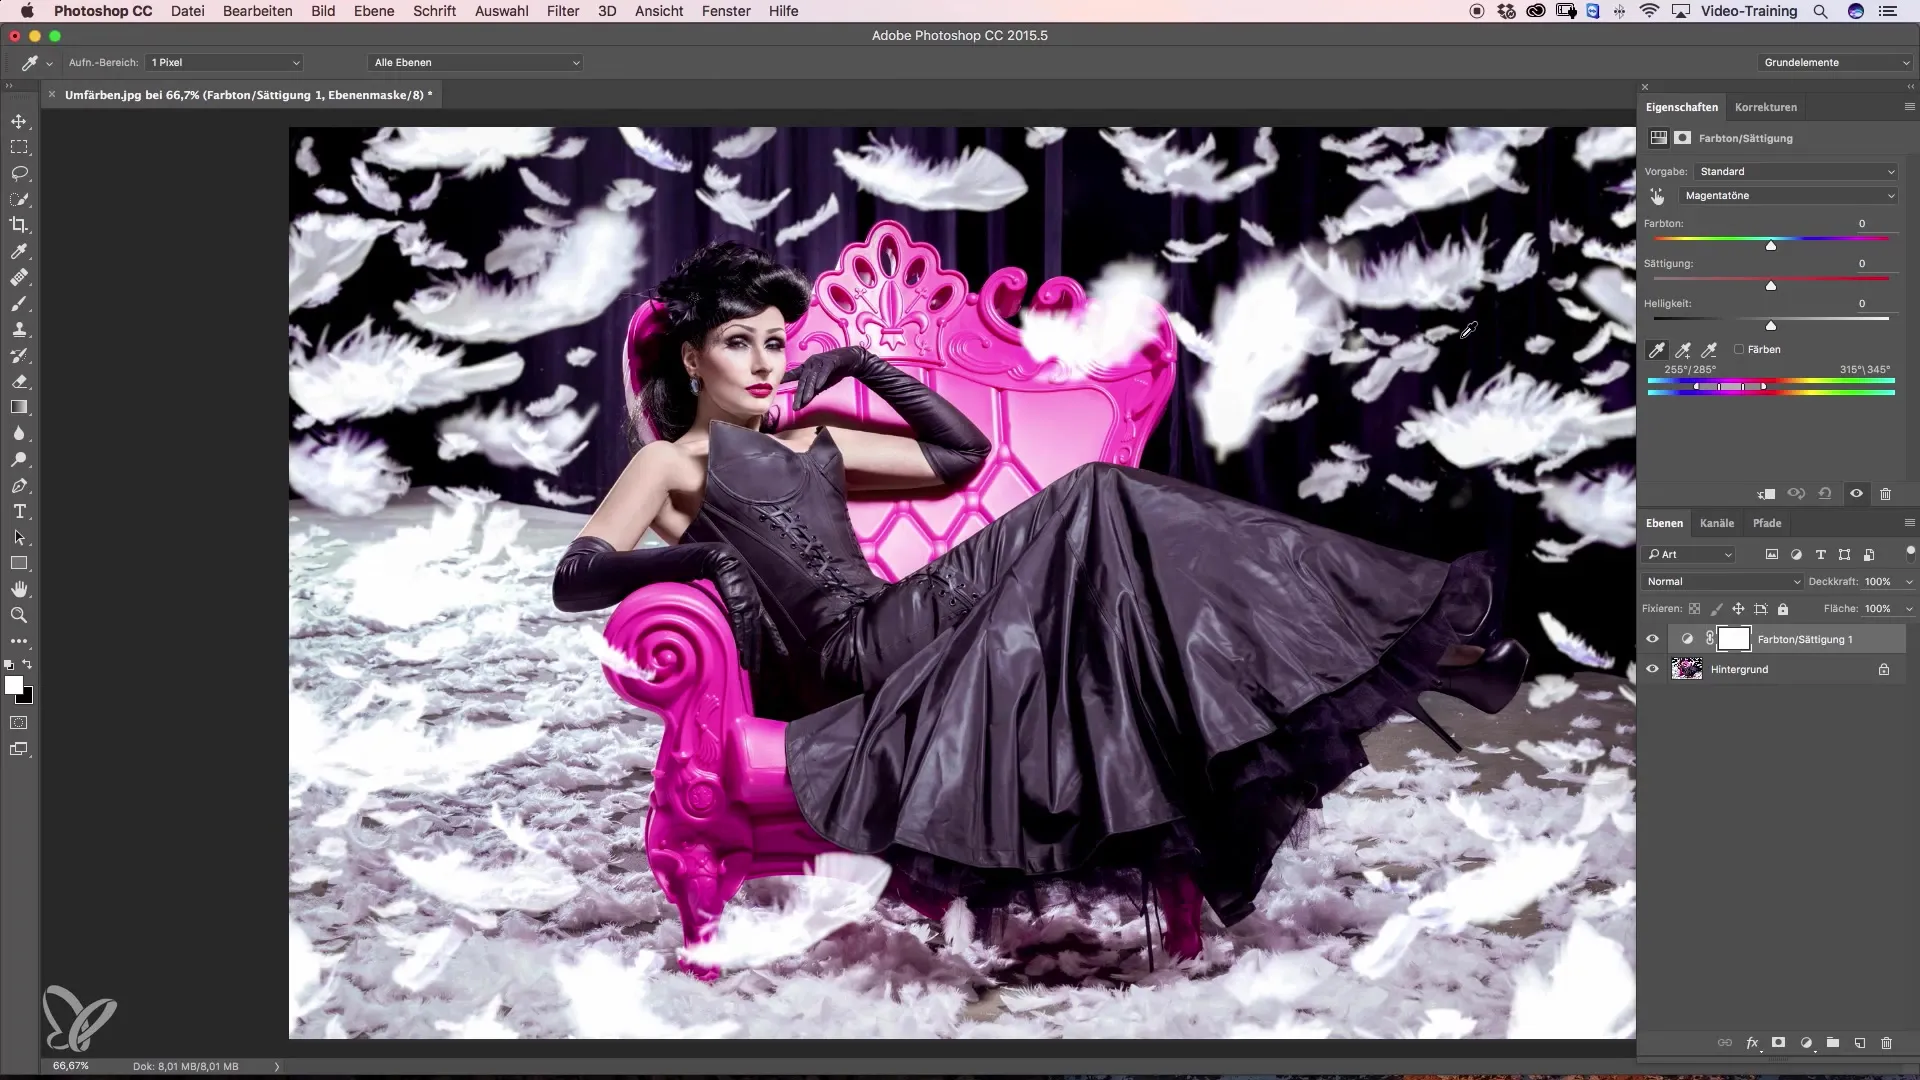
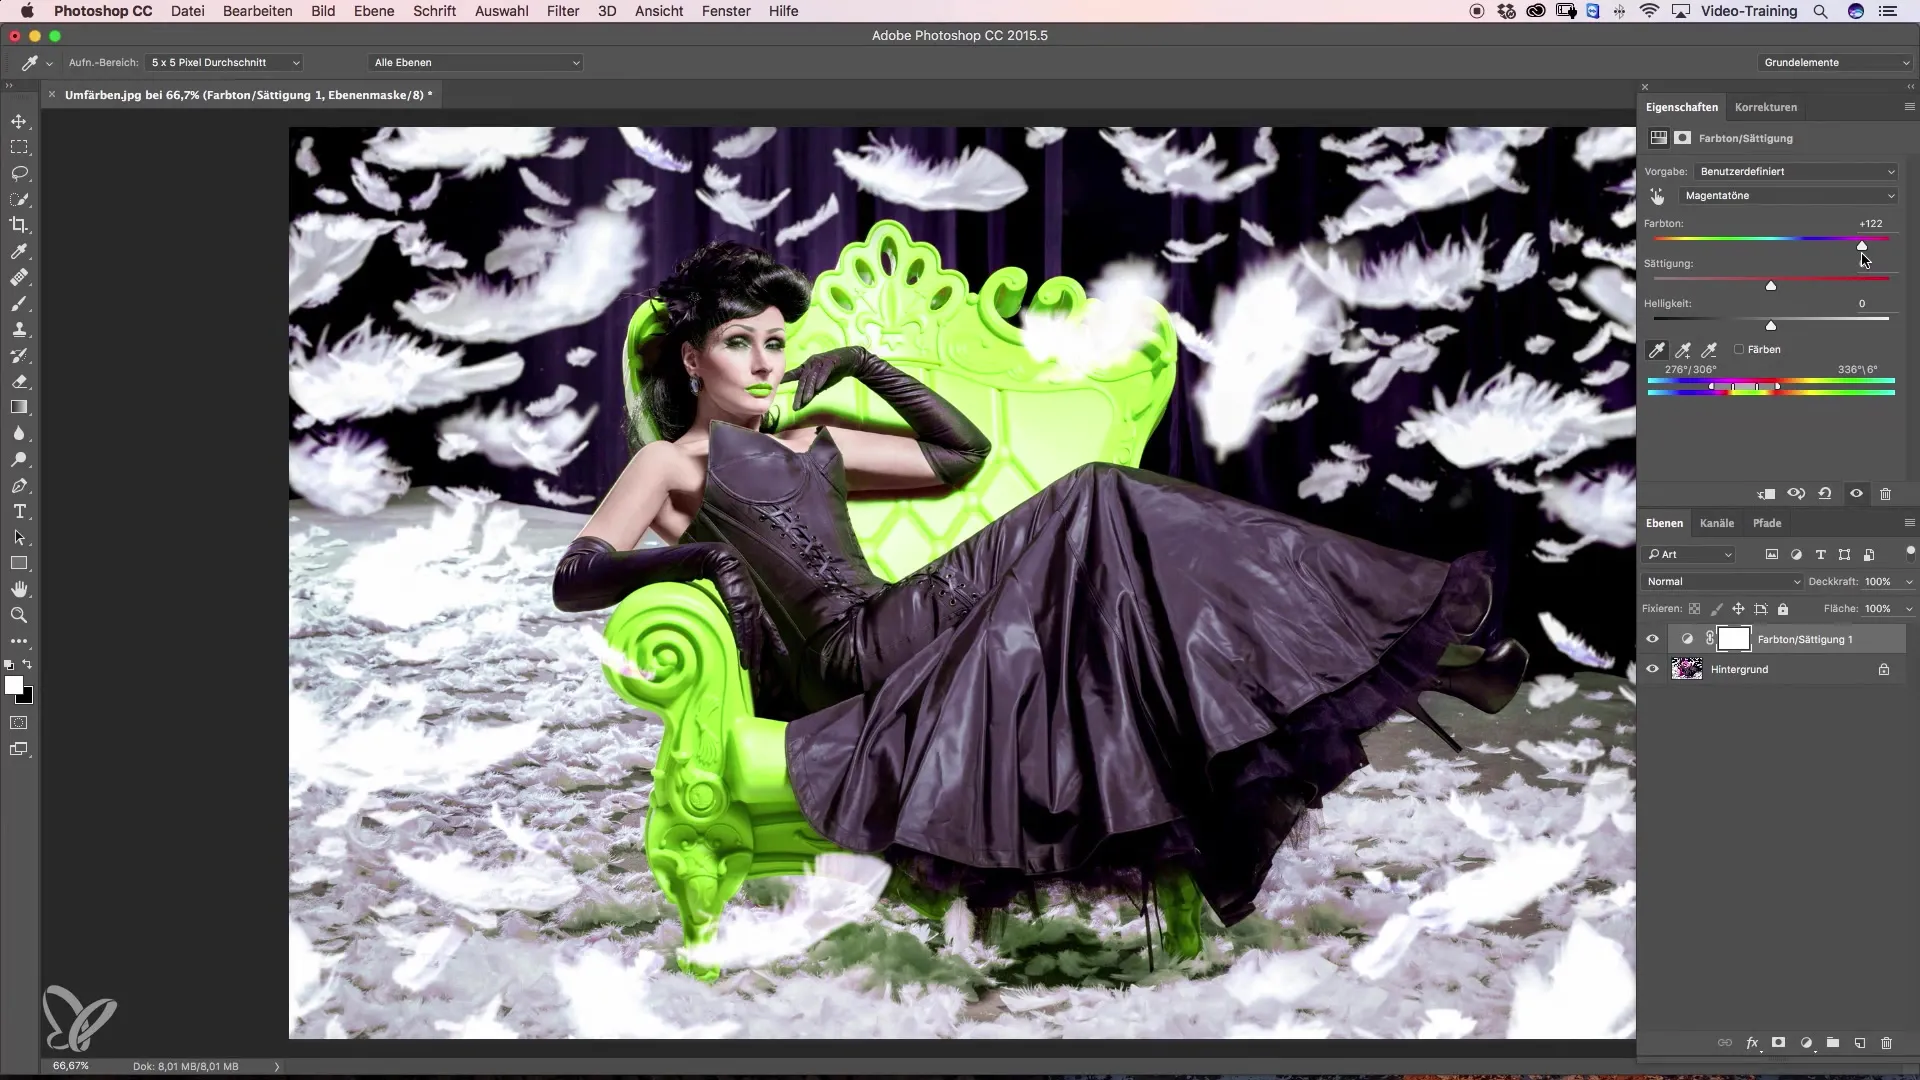
Click on the first hue in the eyedropper. Photoshop will now process the color you selected, which may lead to a deviation from the original magenta interpretation. Adjust the hue by moving the sliders in the window to achieve a better result.
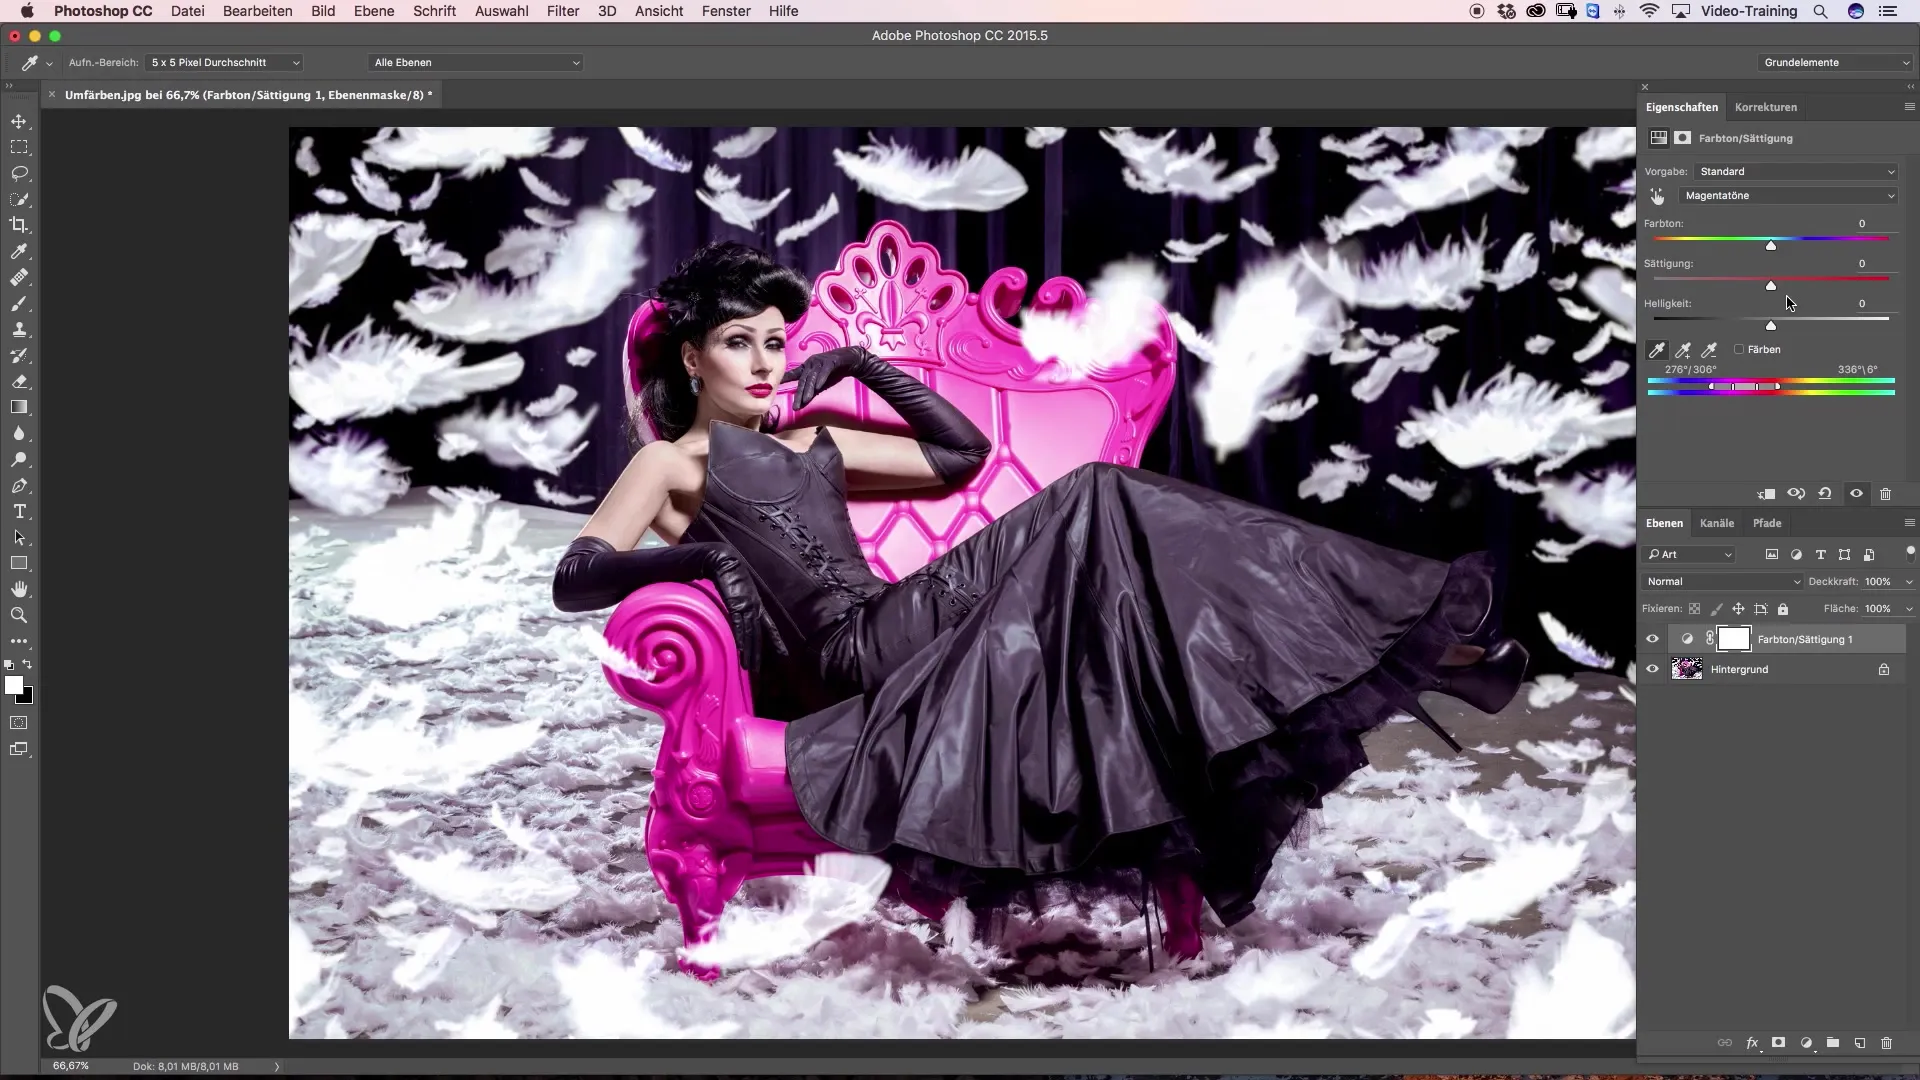
Now you can use the second tool to select additional tones that are present in the sofa. Sometimes Photoshop integrates additional tones into the selection that you can review and adjust.
After you have made the color change, take a moment to review the adjustments. Playfully tweak the sliders and observe how the colors change. Be careful to keep the selections harmonious – avoid massive color jumps.
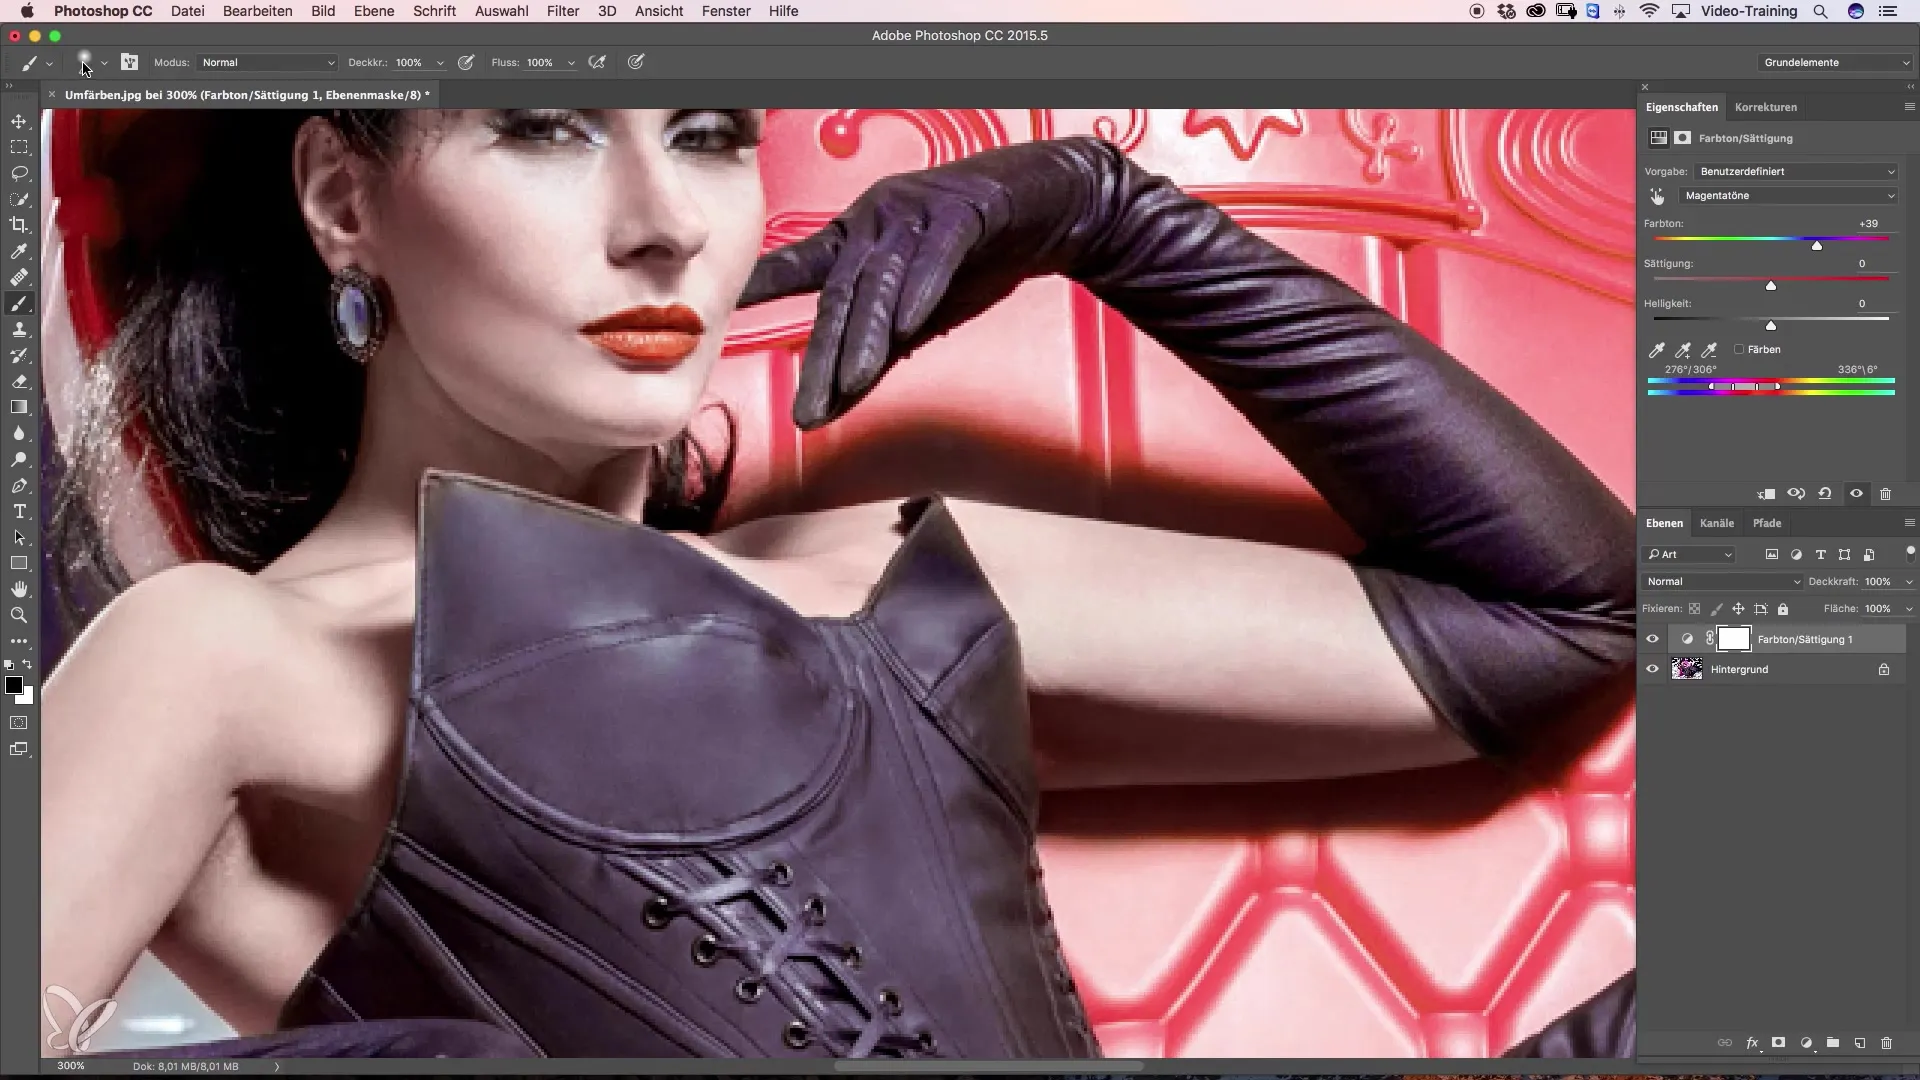
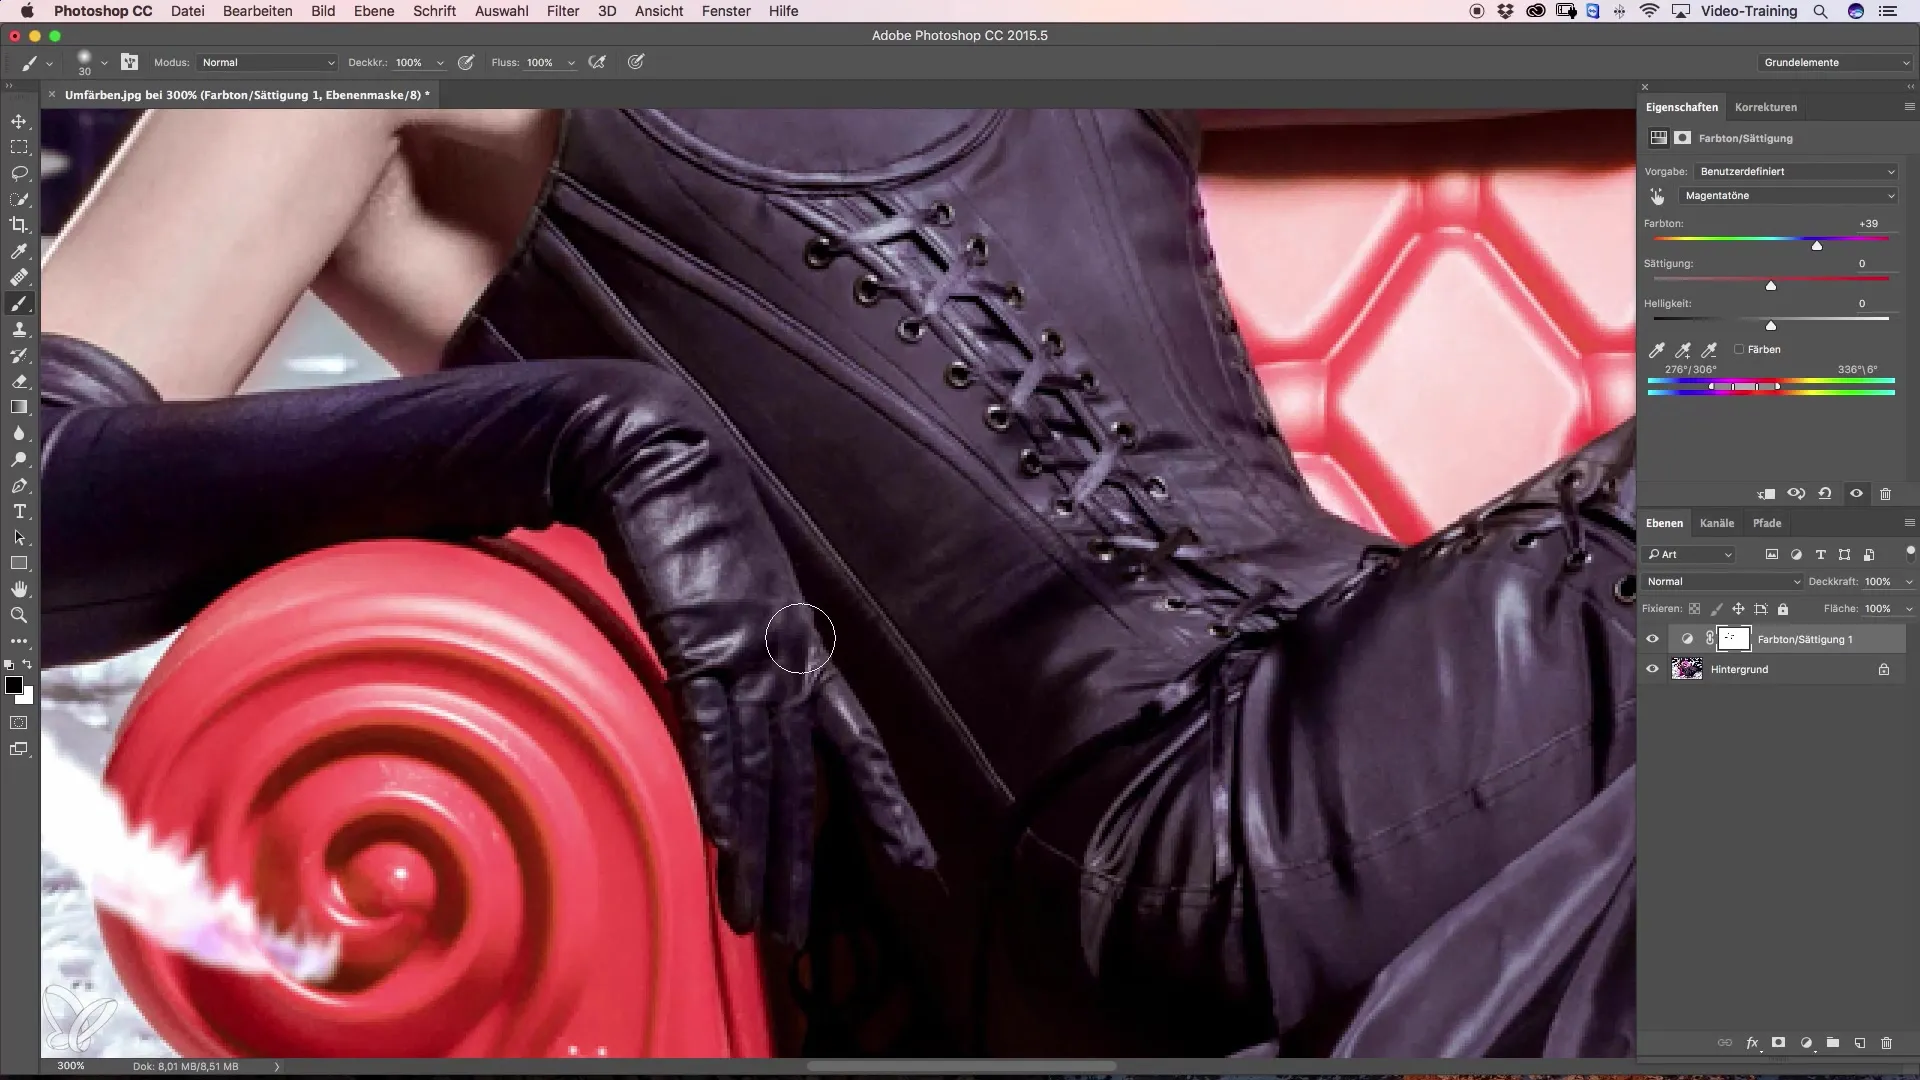
Another important step is to mask out any unnecessary color changes. Make sure to set the foreground color of your brush tool to black and the opacity to 100%. Use a soft brush tip to allow for smooth transitions while you edit the areas.
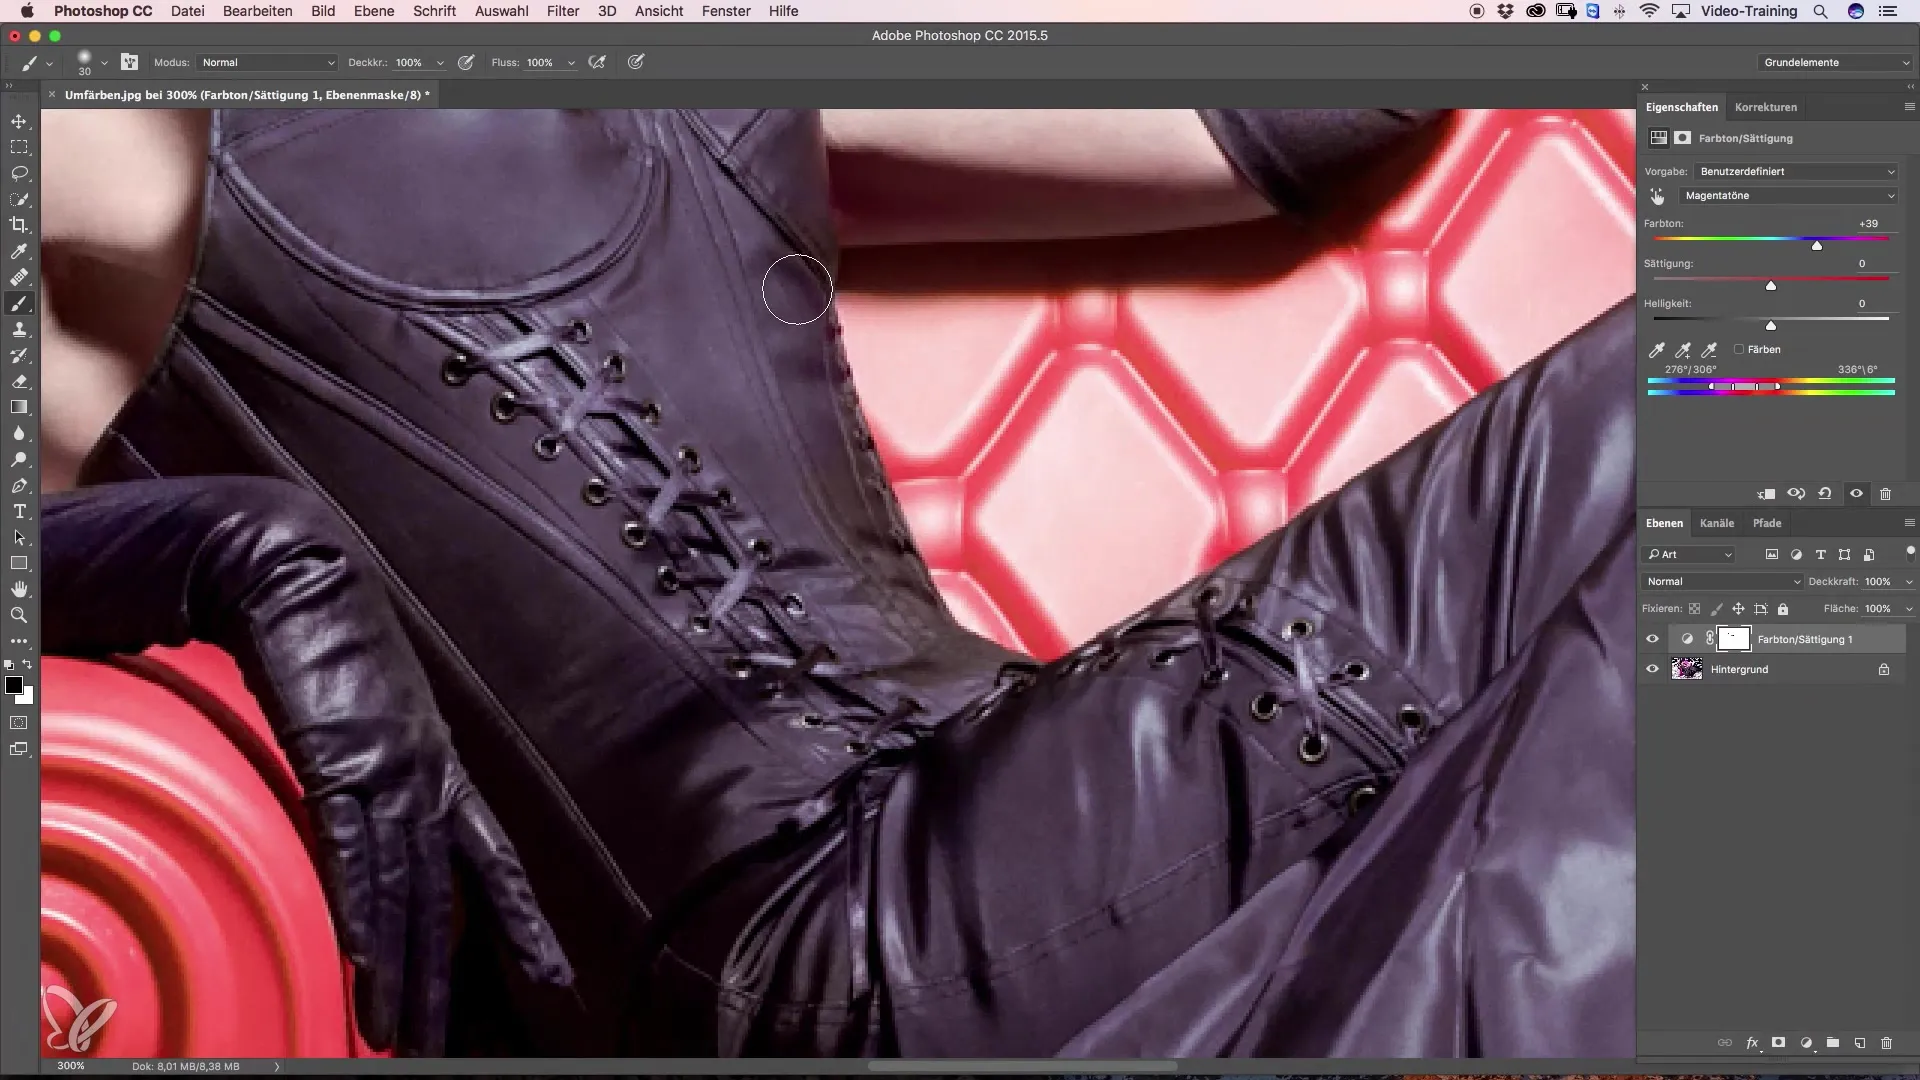
Now you can start resetting the unnecessary parts in the image. Take your time with this step, as it often holds the key to the final, professional result. Carefully edit the reviewed areas to achieve the desired look without distracting color deviations.
If you have followed all these steps and taken sufficient time for the details, you will end up with an appealing result that presents the colors harmoniously and well integrated.
Summary – Guide to Effective Recoloring of Clothing and Accessories in Photoshop
In summary, you have learned how to adjust colors in an image by using adjustment layers and masking. From selecting the right colors to masking unwanted hues – every detail contributes to achieving a high-quality result.
Frequently Asked Questions
How do I choose the right hue?Use the eyedropper and select an area with more than one pixel to achieve an accurate result.
Can I adjust my color selection during editing?Yes, you can adjust the color sliders at any time to achieve the best result.
What can I do if Photoshop adds other hues?You can either accept the additional tones or adjust them manually to ensure a harmonious result.
Will masking always be necessary?Yes, to avoid unwanted color changes and create a harmonious overall image.
