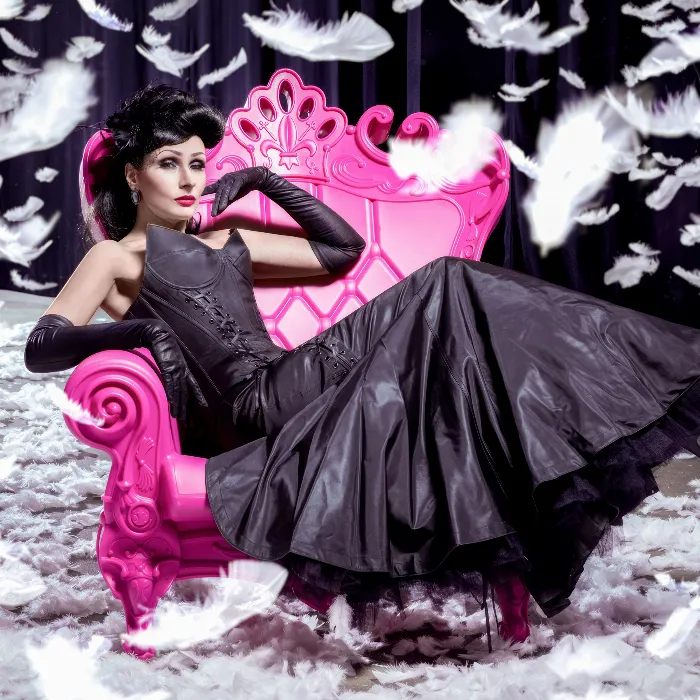
The thickening of the hairline can make a significant difference in the appearance of the hairstyle. Whether you simply desire a fuller look or, particularly for men who are often dissatisfied when the scalp becomes visible – this technique is an effective means to make the hairline appear visually fuller. Below, I will explain how to apply this method step by step.
Main insights
- By darkening the hairline, you create a fuller impression.
- A softer brush tip ensures natural transitions.
- Using an adjustment layer can minimize distractions from colors.
- It's advisable to remove spots immediately to achieve an optimal final result.
Step 1: Create a new layer
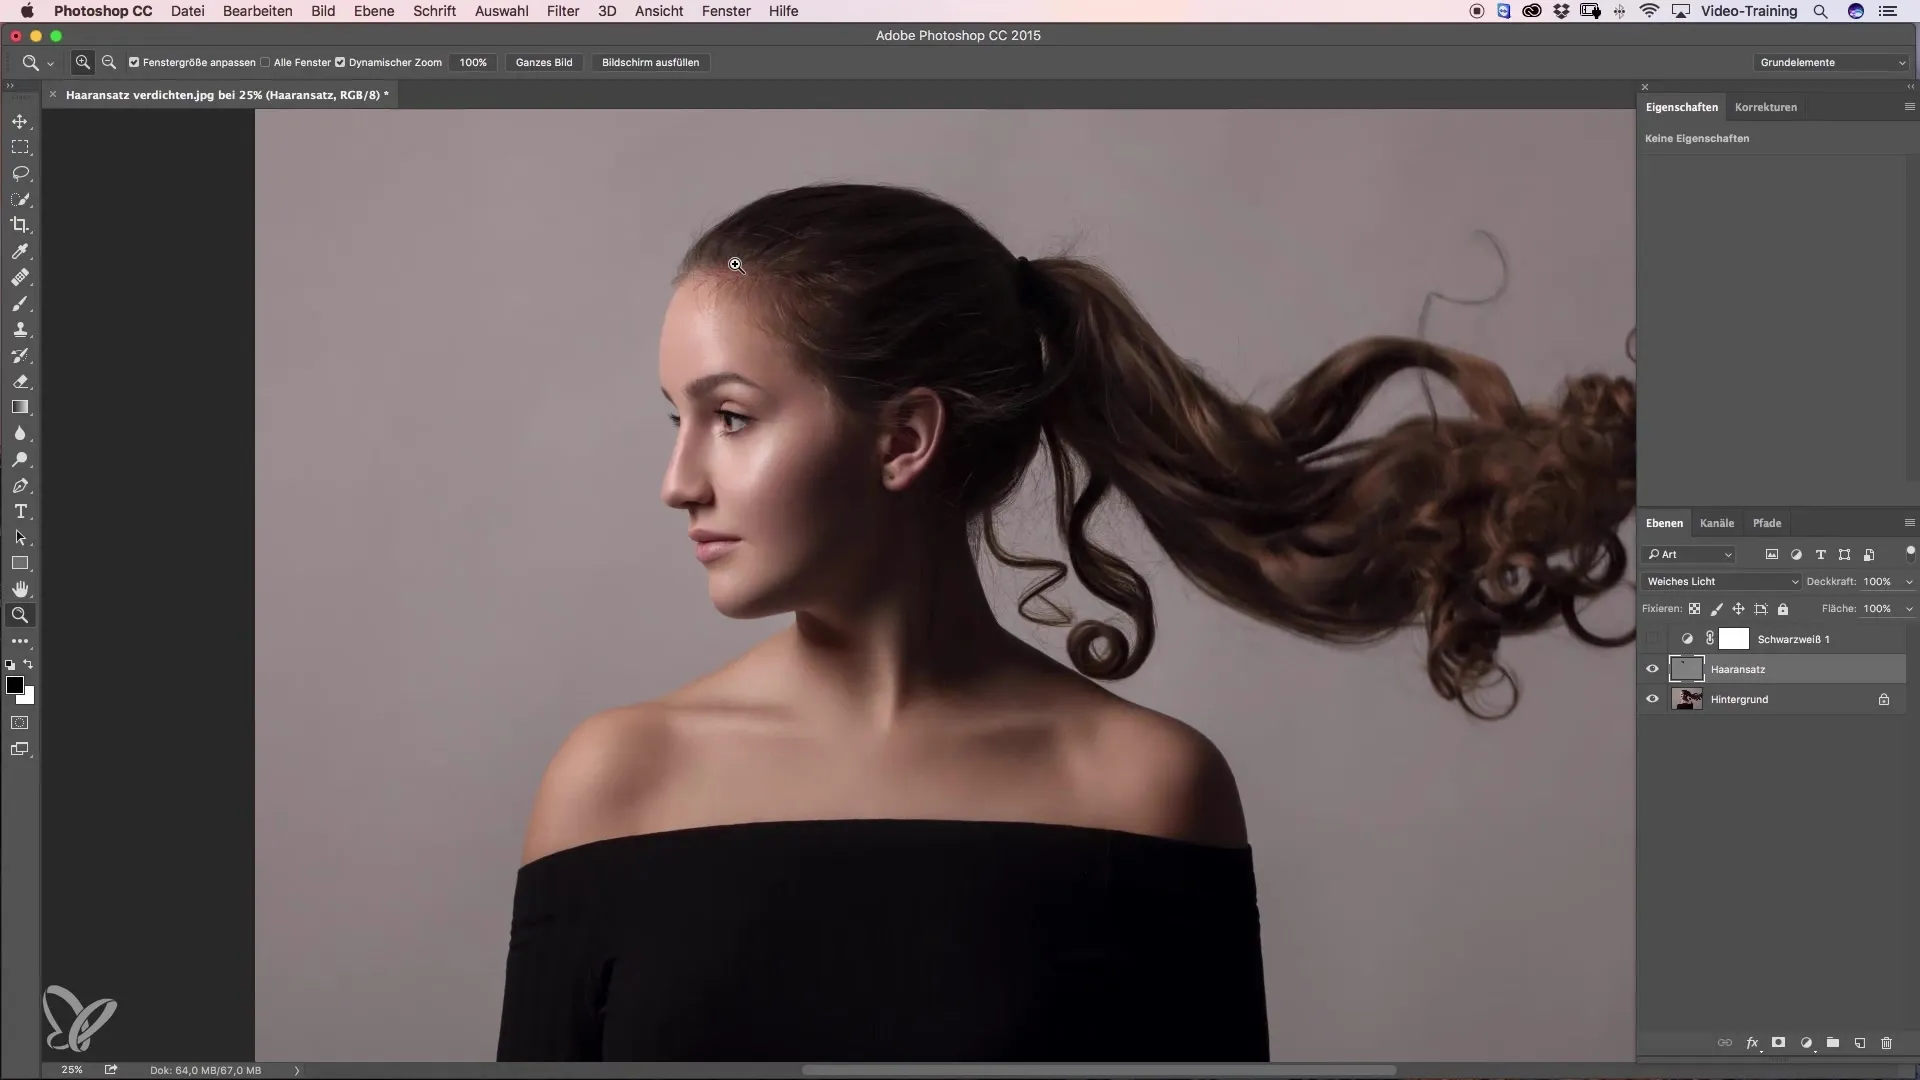
Start by creating a new "Dodge and Burn" layer. To do this, click the small layer icon while holding down the ALT key to open the dialog. Rename this layer to "Hairline" and set the layer mode from "Normal" to "Soft Light". Fill this layer with 50% gray to make the changes visible at any time.
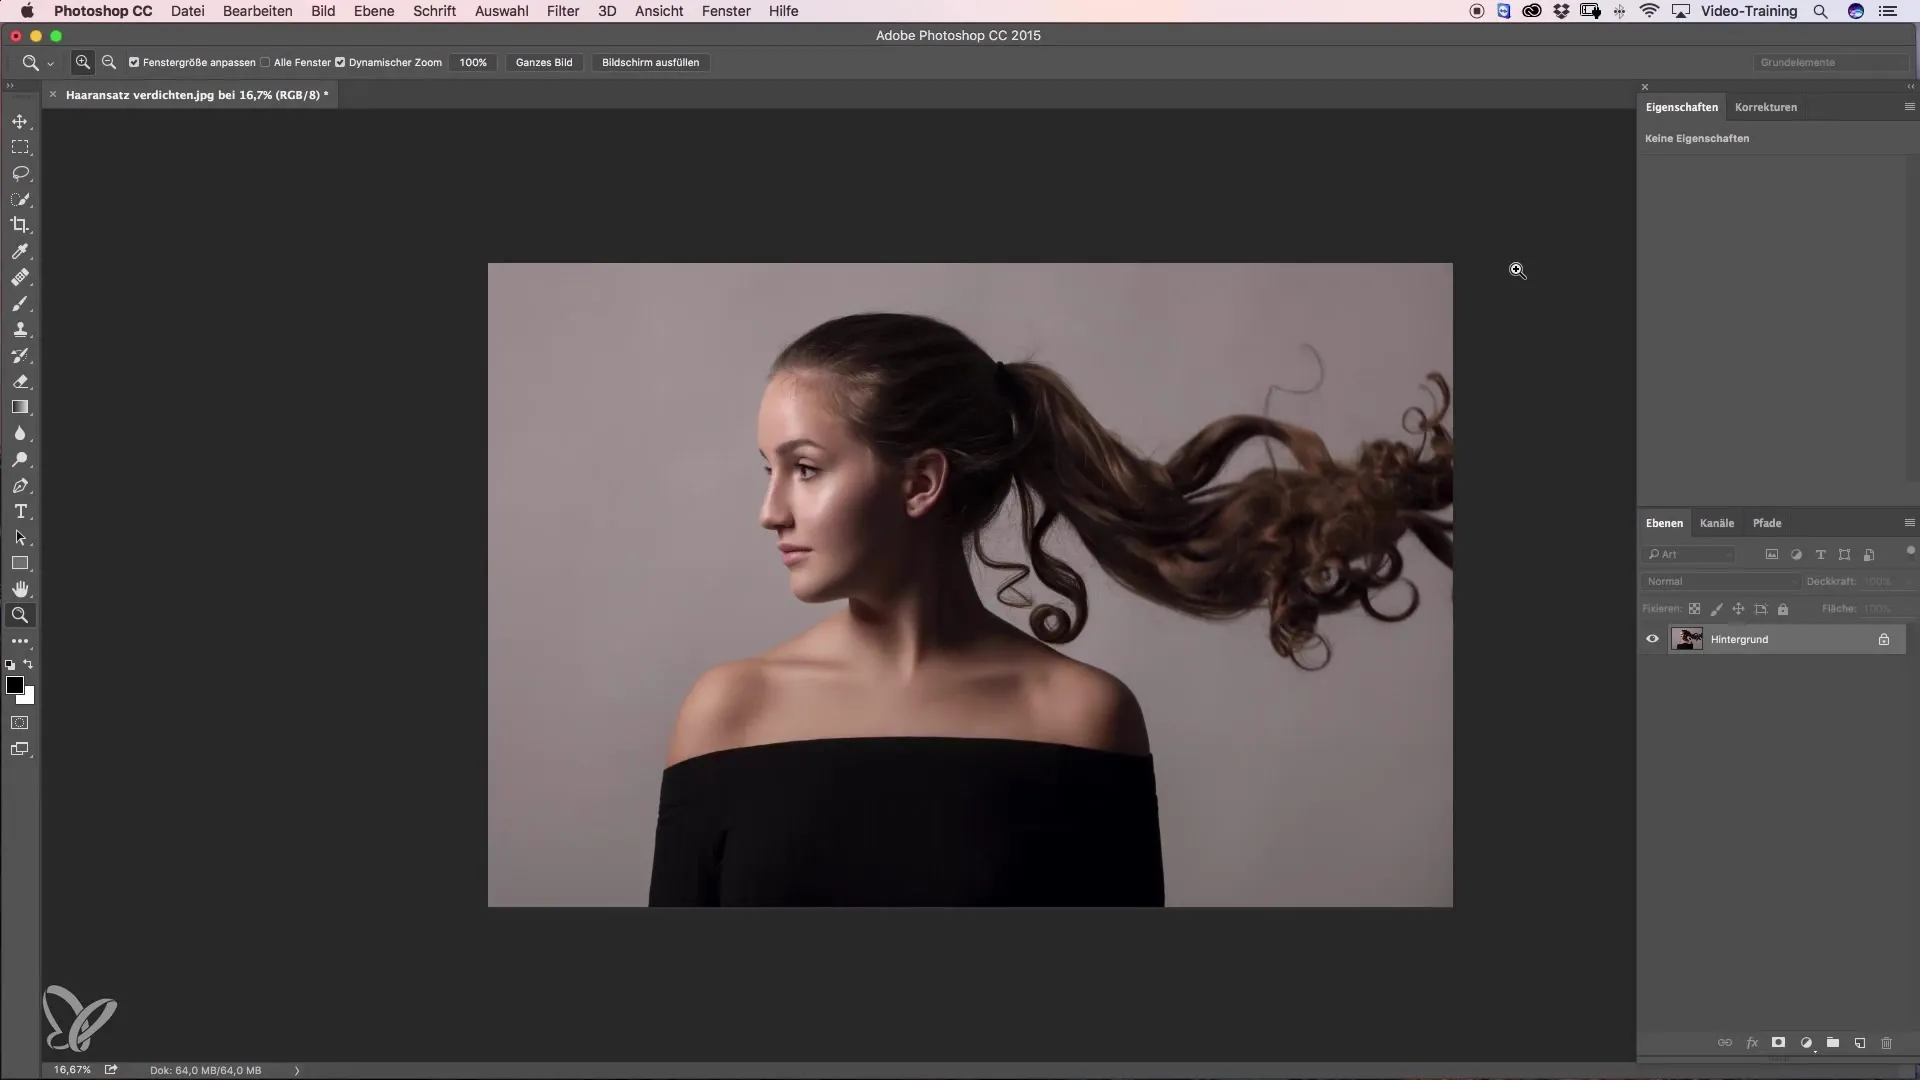
Step 2: Set the brush
Now check the brush settings. Set the hardness of the brush to 0% and the opacity to about 10%. Make sure the foreground color is set to black, as this is crucial for the next step.
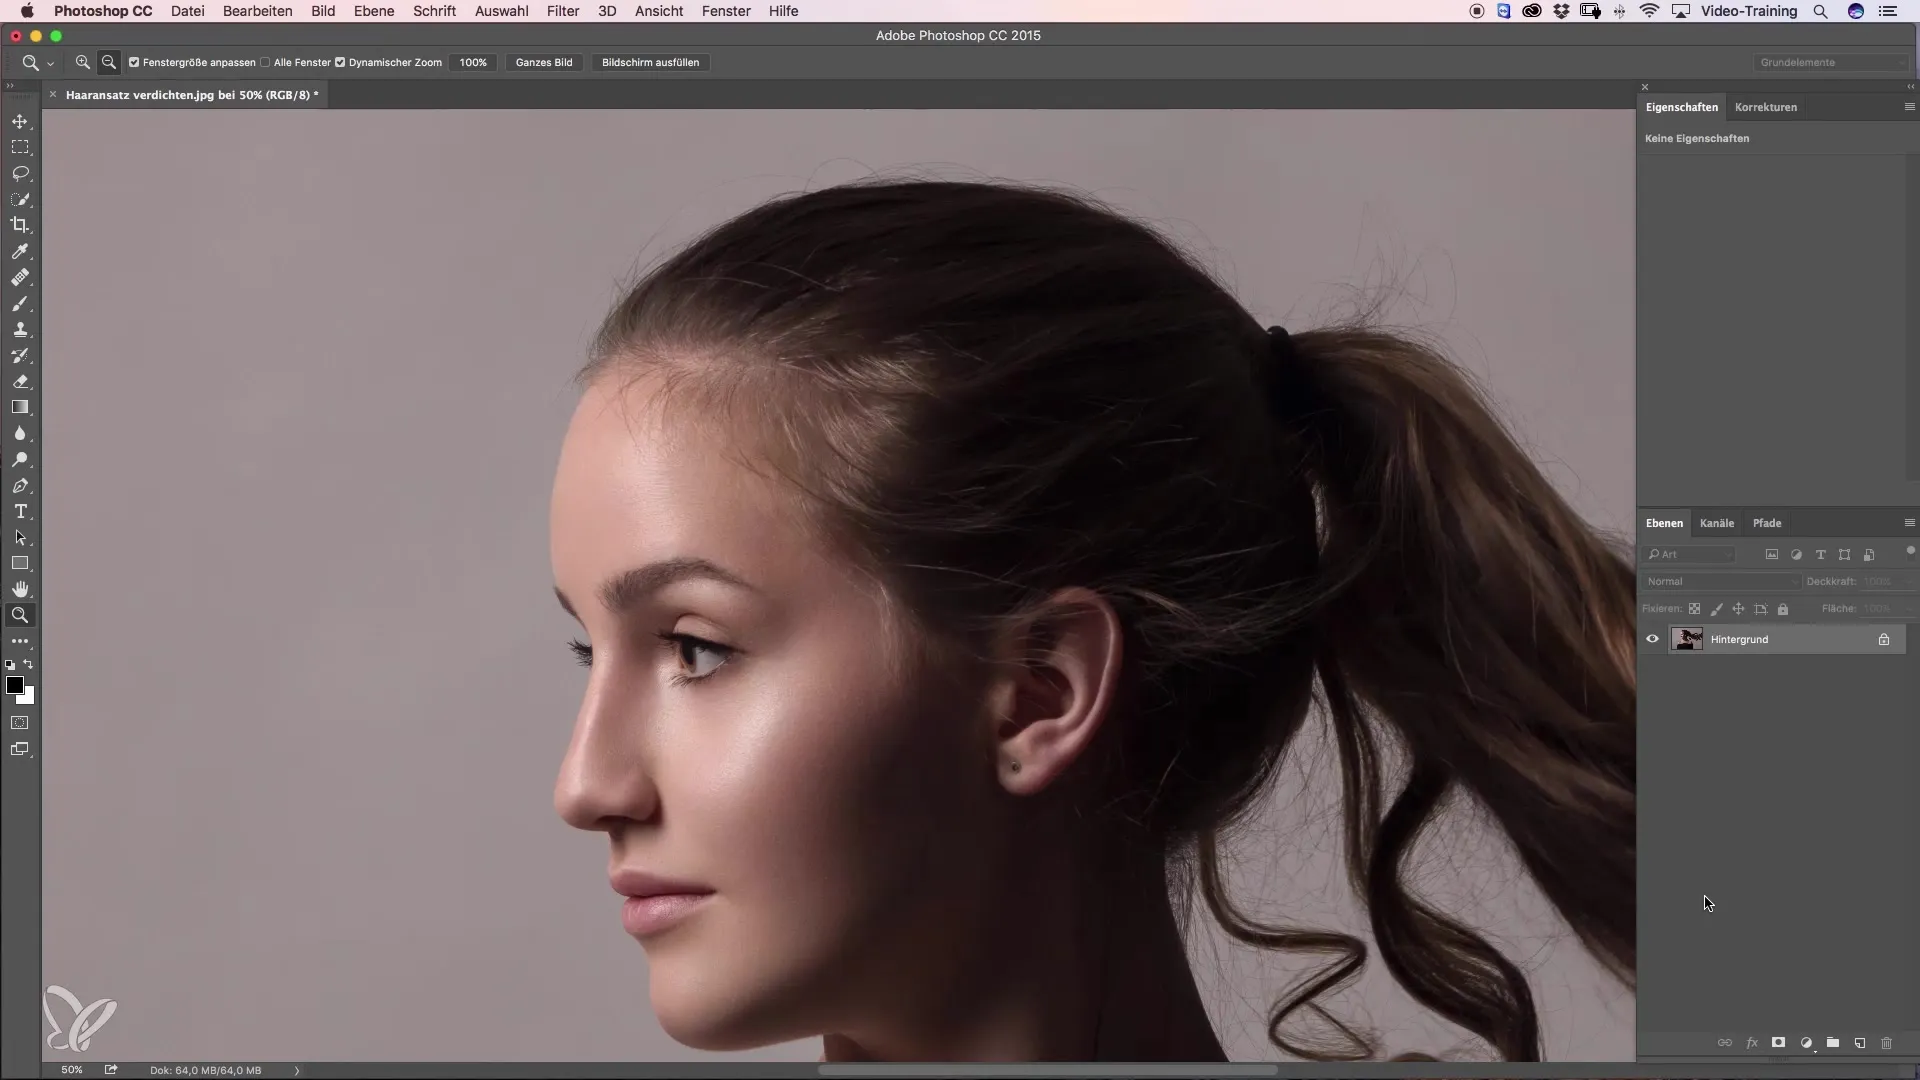
Step 3: Darken the hairline
Start by painting over the hairline with the brush in black at 10% opacity. Work carefully to slowly build the desired effect. It may happen that the saturation of the skin under the hair increases sharply and makes your image look restless.
Step 4: Minimize color distractions
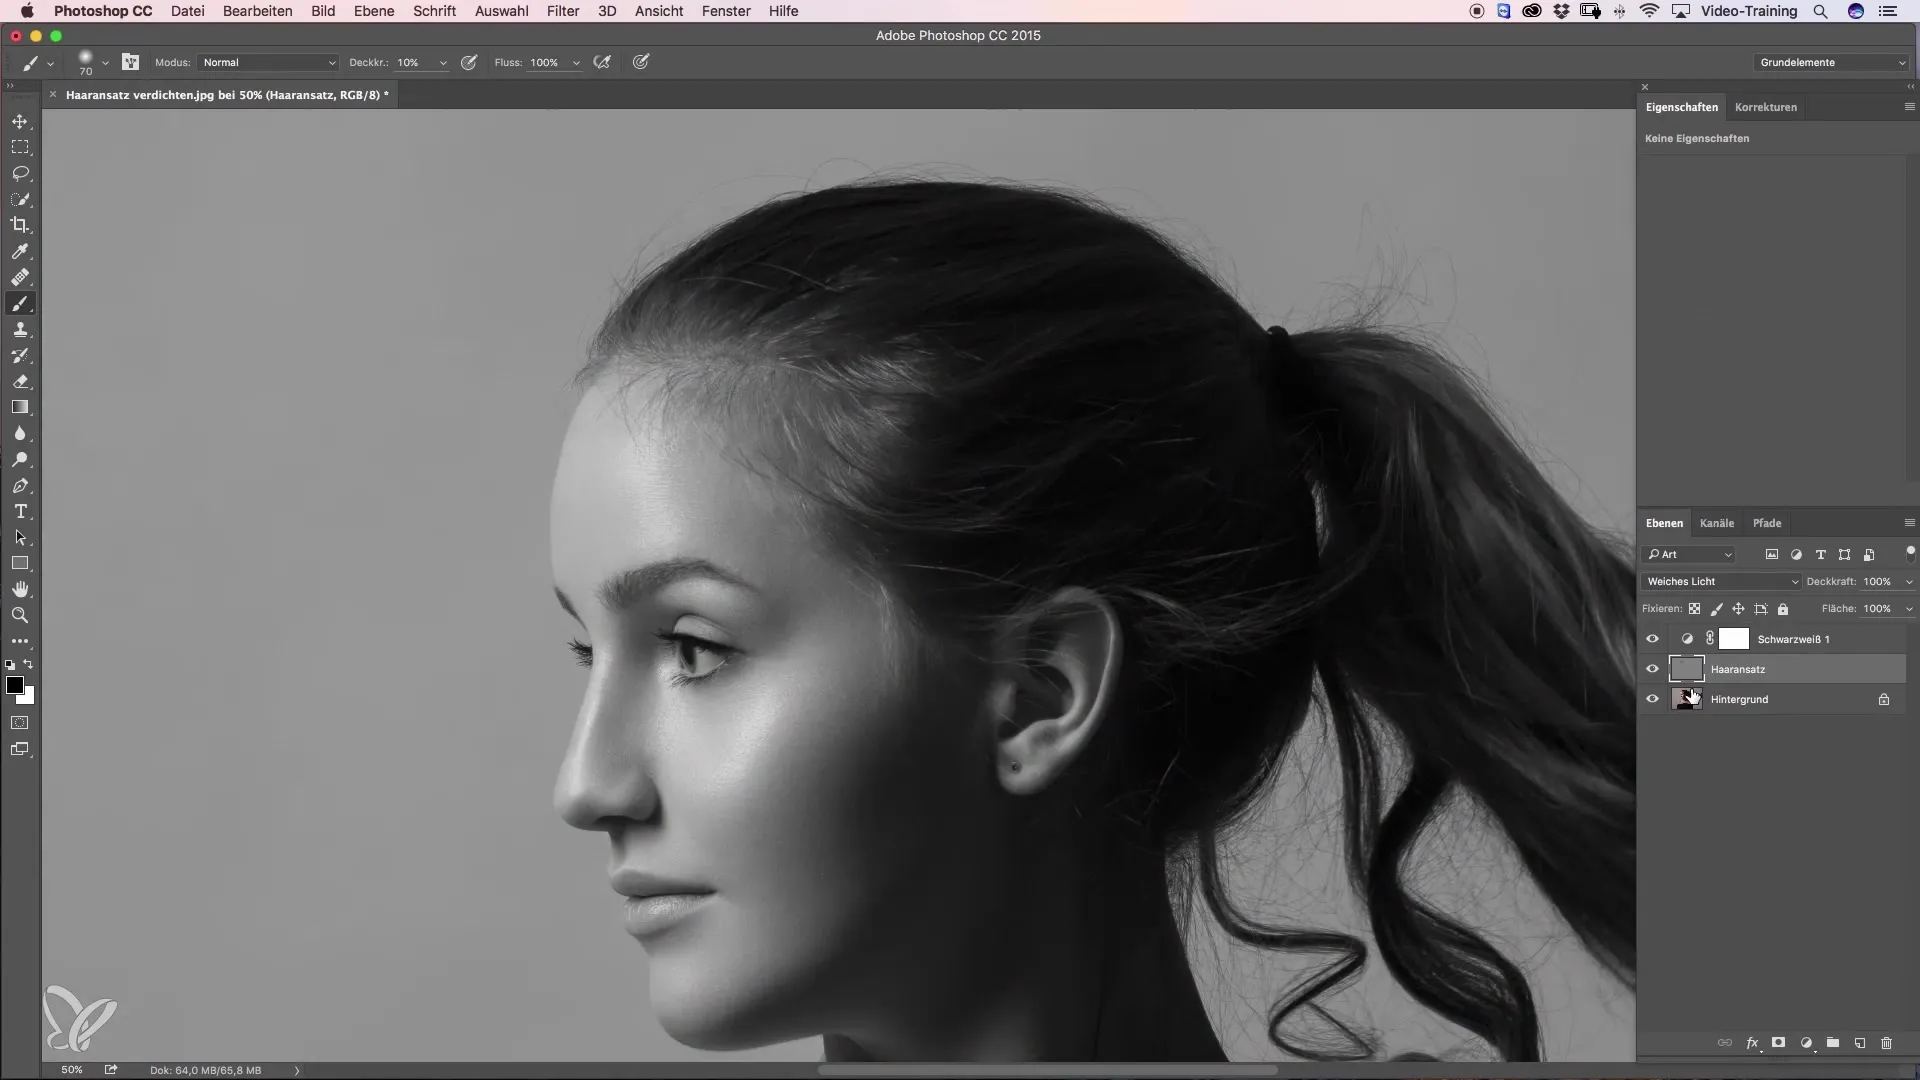
To avoid distractions from colors, create a new "Black and White" adjustment layer. This allows you to focus on the brightness information without being distracted by colors. Go back to your "Dodge and Burn" layer and continue painting. Make sure your edges are pleasantly soft to create a natural transition.
Step 5: Apply the right technique
Use a large brush to achieve soft edges and avoid hard lines. This ensures an authentic look. If you accidentally apply too much black, switch the foreground color to white to soften the exaggerations with a lower opacity (e.g., 3%).
Step 6: Remove spots
It is important to remove any spots immediately. Use the white brush with low opacity to take back the distracting points so you achieve a harmonious overall image. Note that it requires practice to get this back and forth right until you achieve the desired results.
Step 7: Final touches
Continue going over the image and ensure no excessive spots or blemishes remain. At this time, a good eye for detail would be advantageous. You should take on dark areas on the forehead, as they inevitably catch the eye. Later, check the image in full color to make sure everything looks good.
Step 8: Adjust tones
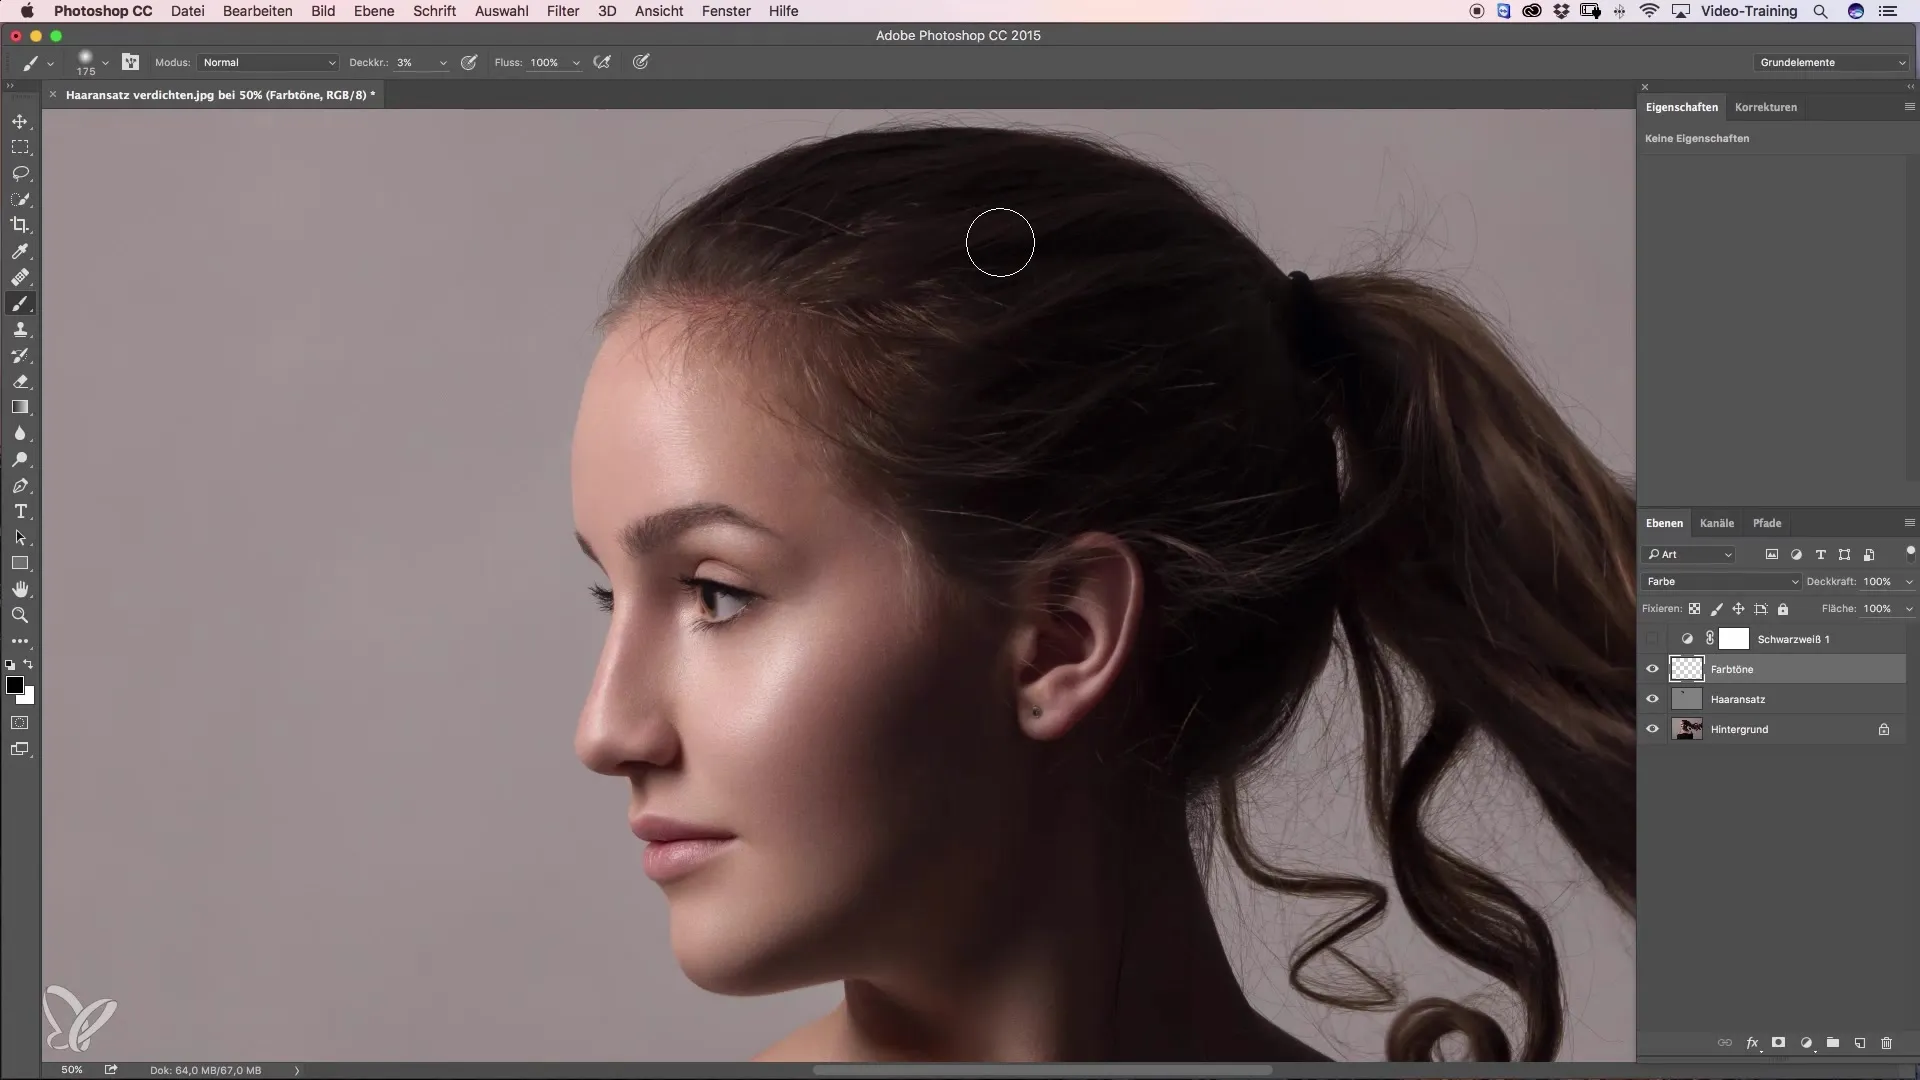
If the hairline has an unnatural color like orange, create a new transparent layer, name it "Tones," and continue working with it. Using the brush tool (ALT key + eyedropper), select the desired hair tone and carefully paint with about 3% opacity. Repeat this as often as necessary until you are satisfied with the result.
Step 9: Before-After comparison
Check your final result by making a before-after comparison. You will find that your hairline now looks significantly fuller and more harmonious. This technique not only enhances your image but also draws attention away from distracting areas.
Summary – Thickening the hairline: How to achieve the perfect beauty retouch
Darkening your hairline is a very effective method to make your hairstyle appear fuller. With the step-by-step guide presented here, you can independently implement this technique and give your images the final touch.
Frequently Asked Questions
What do I need for the technique?You need an image editing program in which you can work with layers, as well as a brush and the appropriate settings.
How important are the brush settings?The brush settings are crucial for achieving a natural result, especially the hardness and opacity.
Can I also work over the facial skin?Yes, you can also go over the skin to create a harmonious transition, but always be cautious.
How often should I apply the technique?You can apply this technique as needed, whether for portraits or fashion photos.
Could I leave spots unnoticed with this technique?Yes, it requires practice to see and address spots in time. Make sure to constantly keep a critical eye on your image.
