If you want to give your eyebrows more volume and a nicer shape, you’ve come to the right place. This effective technique, which combines “Dodge and Burn” and hair painting, allows you to visually densify your eyebrows and give them structure. In this guide, I will show you how to edit your eyebrows step by step.
Main Insights
- The combination of “Dodge and Burn” and hair painting brings a natural fullness to your eyebrows.
- The right brush and opacity settings are crucial for a realistic result.
- Pay attention to the direction of the eyebrow hairs to avoid an unnatural appearance.
Step 1: Create a new layer for editing
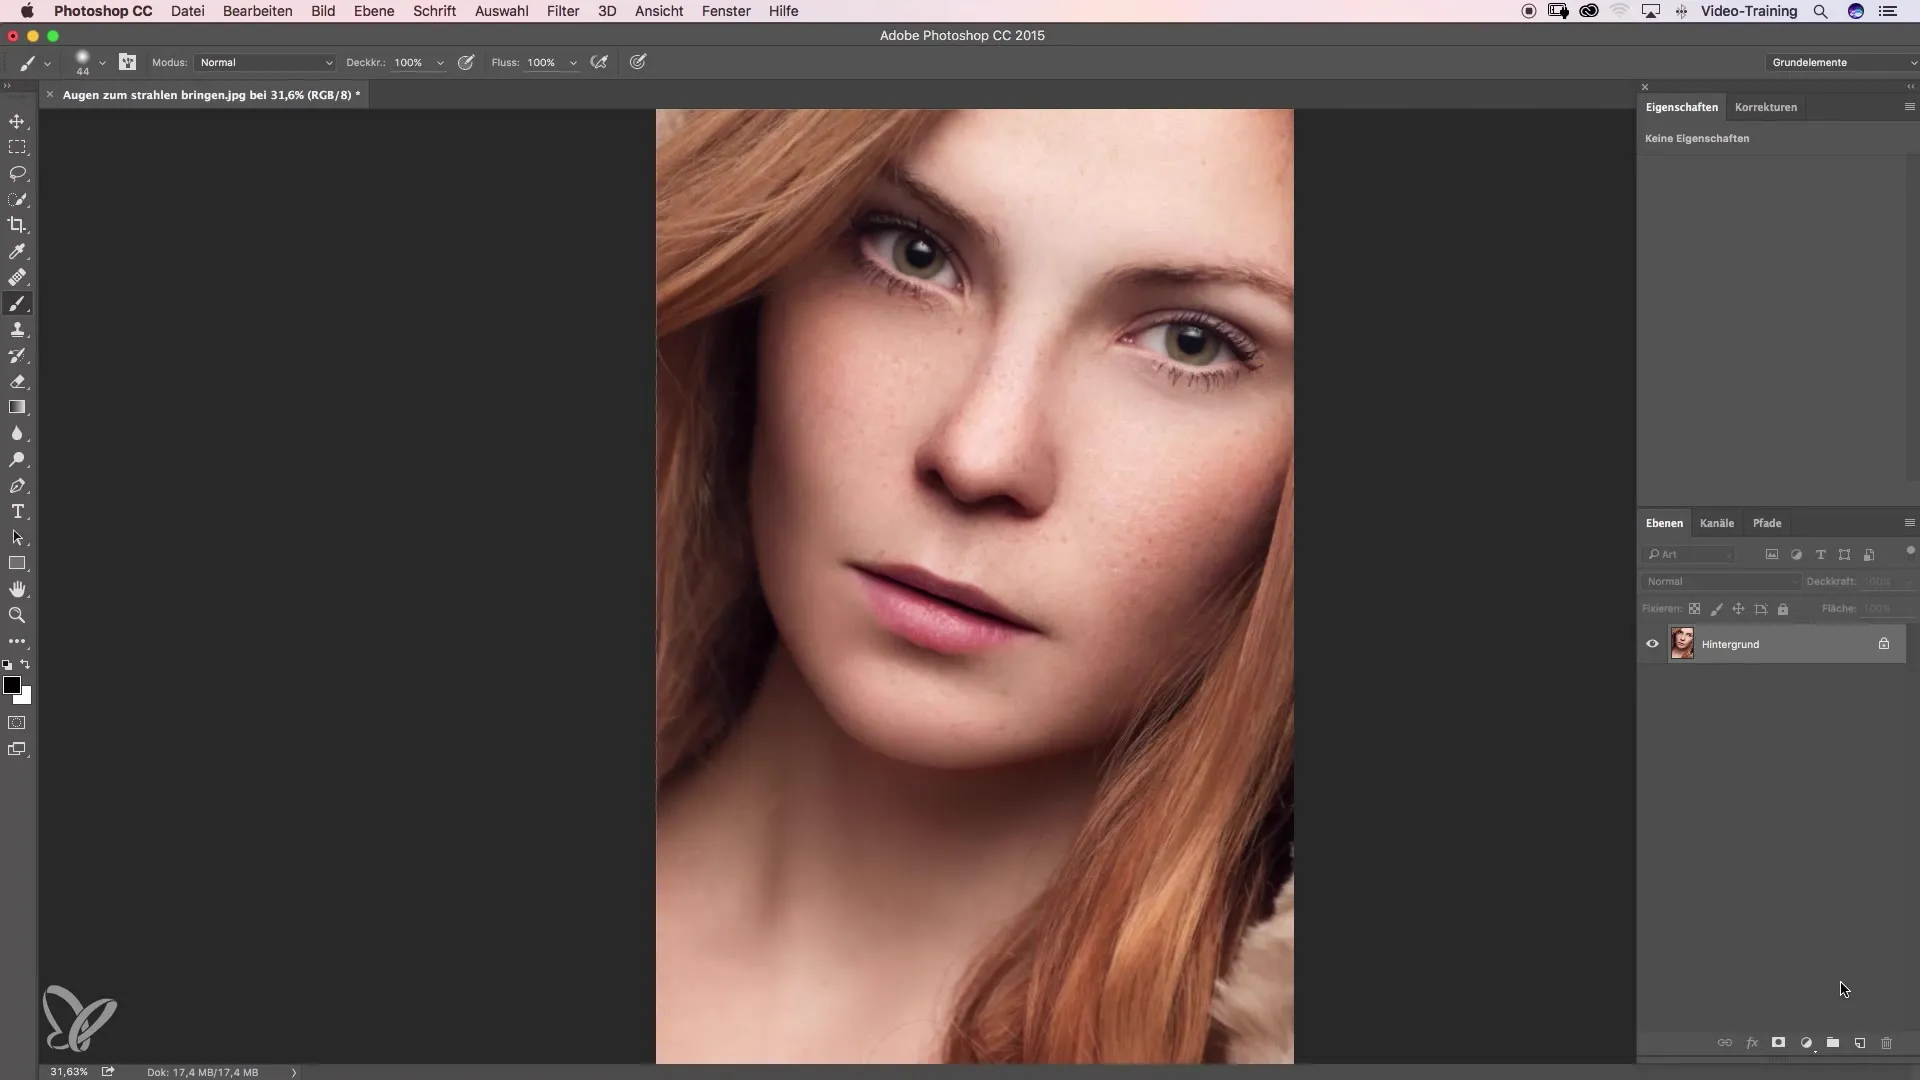
First, you need to create a new “Dodge and Burn” layer. Hold down the Alt key and click on the small layer icon at the bottom of the screen. In the dialog box that opens, name the layer “Eyebrows” and set the layer mode to “Soft Light.” Activate the checkmark to fill the layer with 50% gray and confirm the settings.
Step 2: Fill in gaps in the eyebrows
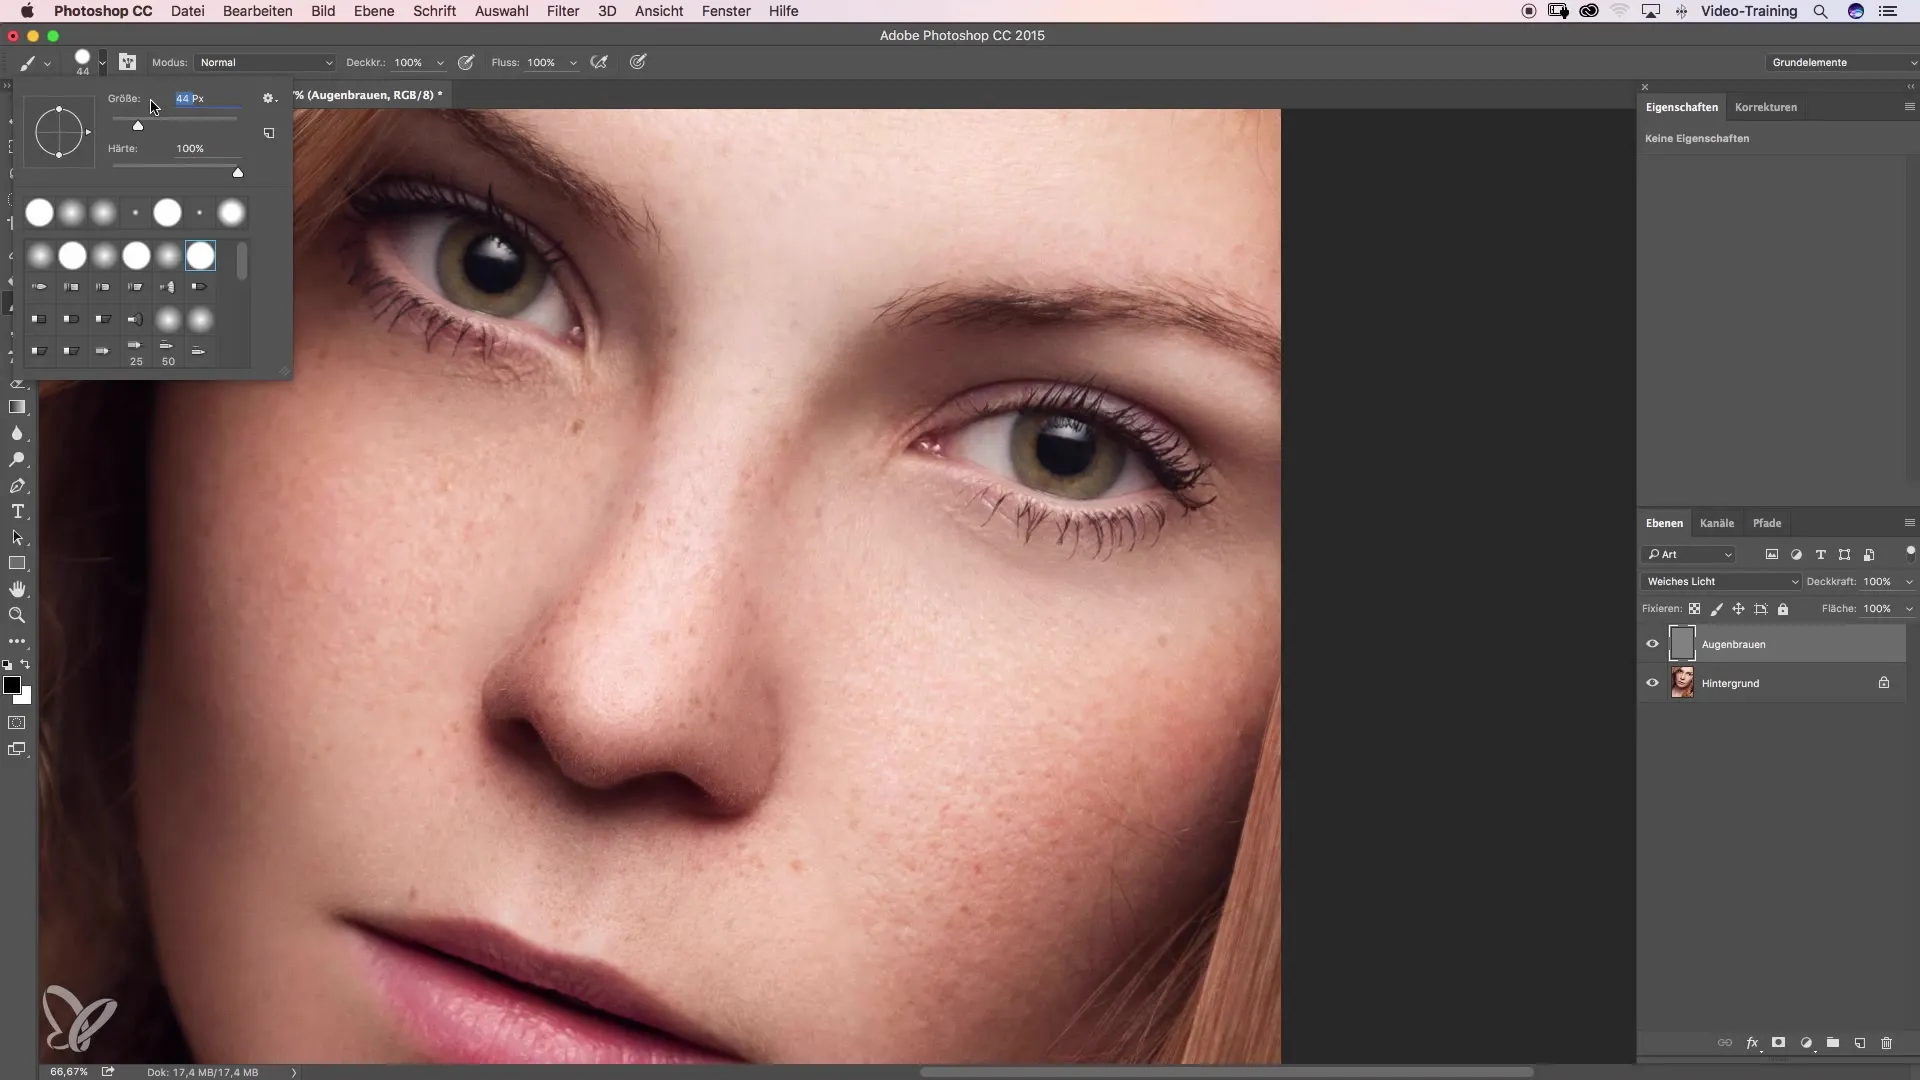
Now you can zoom into your eyebrow and clearly see the small gaps that you want to eliminate. Select the brush tool and set a hard edge with a brush size of about 3 pixels. Initially, set the opacity to 30% so you can work gently. Test the brush by painting the first stroke into the gaps.
Step 3: Adjust brush size and opacity
If the first strokes do not reflect natural eyebrows, you can adjust the brush size and opacity. Go to a 2-pixel brush size and increase the opacity to 40%. Now paint while making sure to set the stroke in the same direction that the natural eyebrow hairs grow.
Step 4: Adjust color intensity
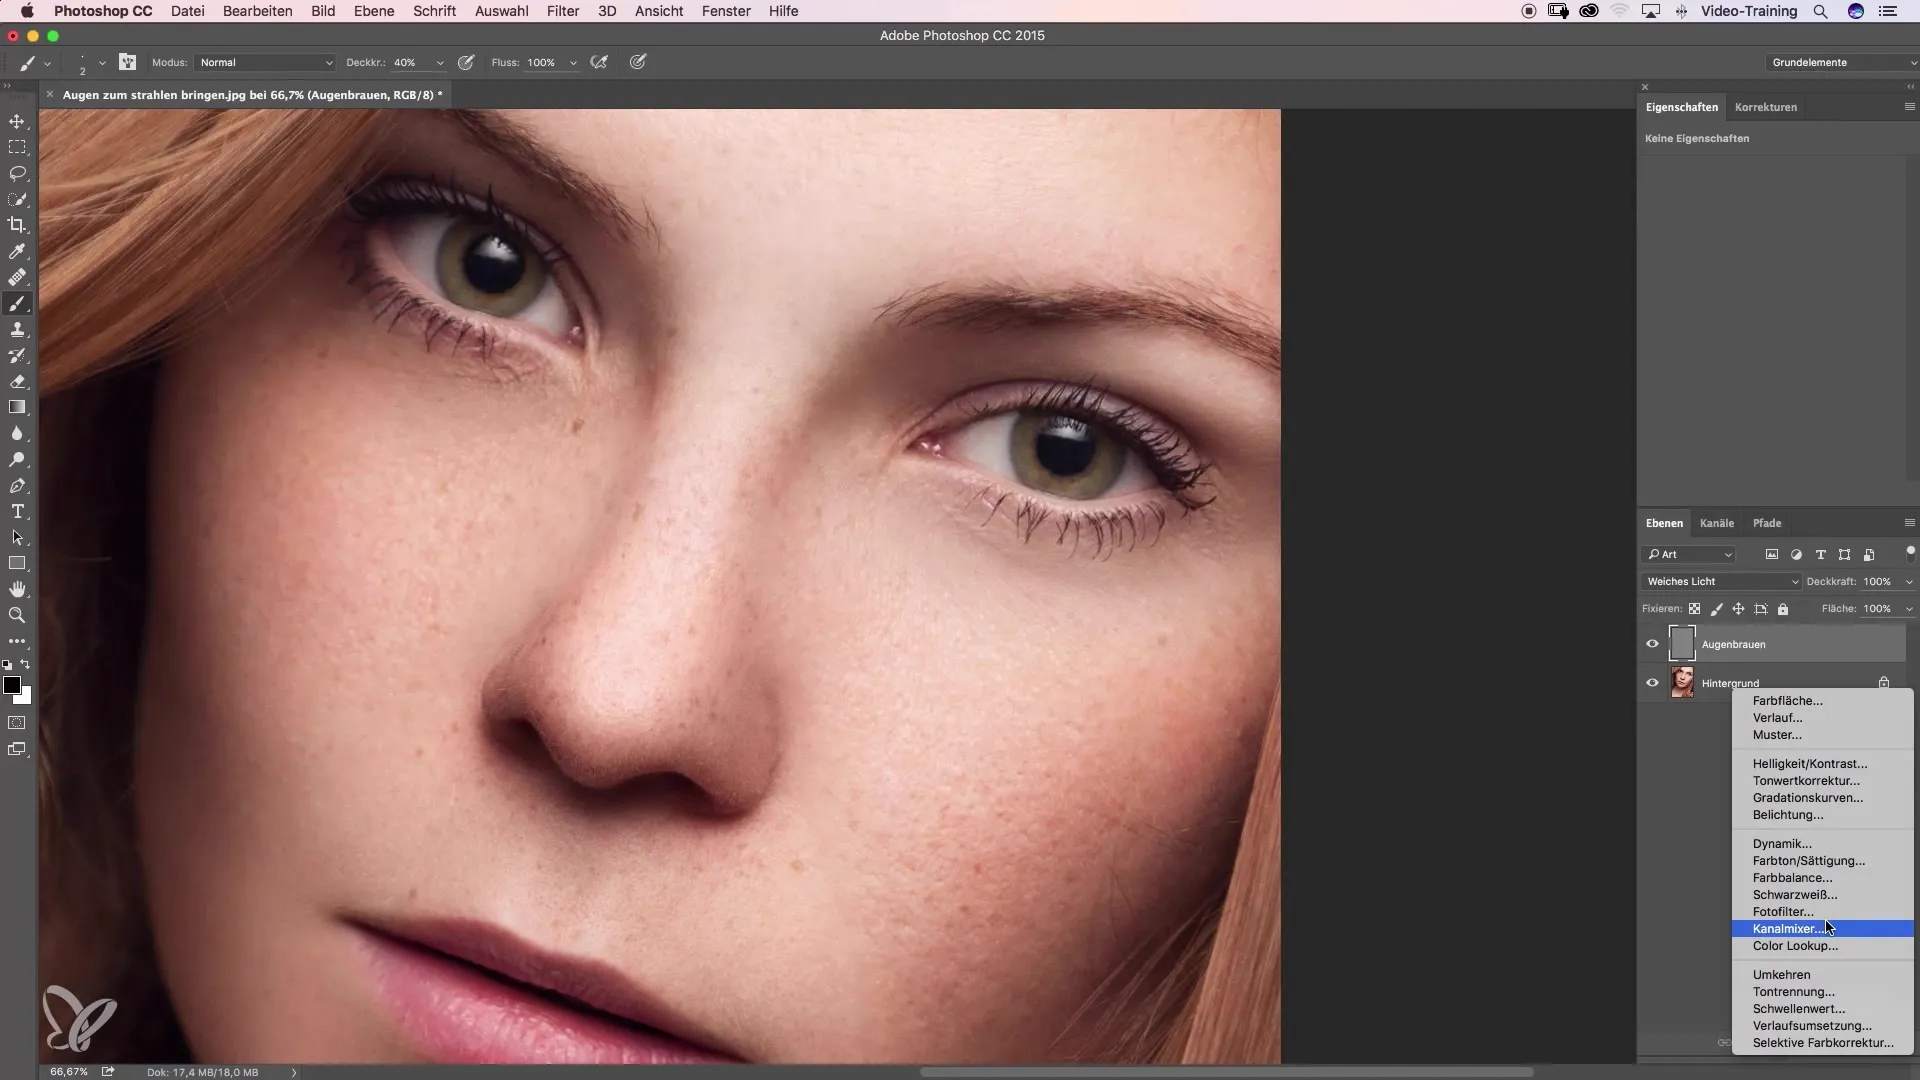
To ensure the eyebrow color is not too dominant, you could add a black-and-white adjustment layer to focus only on brightness. This way, you can immediately see where the gaps are without being distracted by color. Go back to the eyebrow layer and fill in the remaining gaps while keeping an eye on the shape of the eyebrow.
Step 5: Make a before-and-after comparison
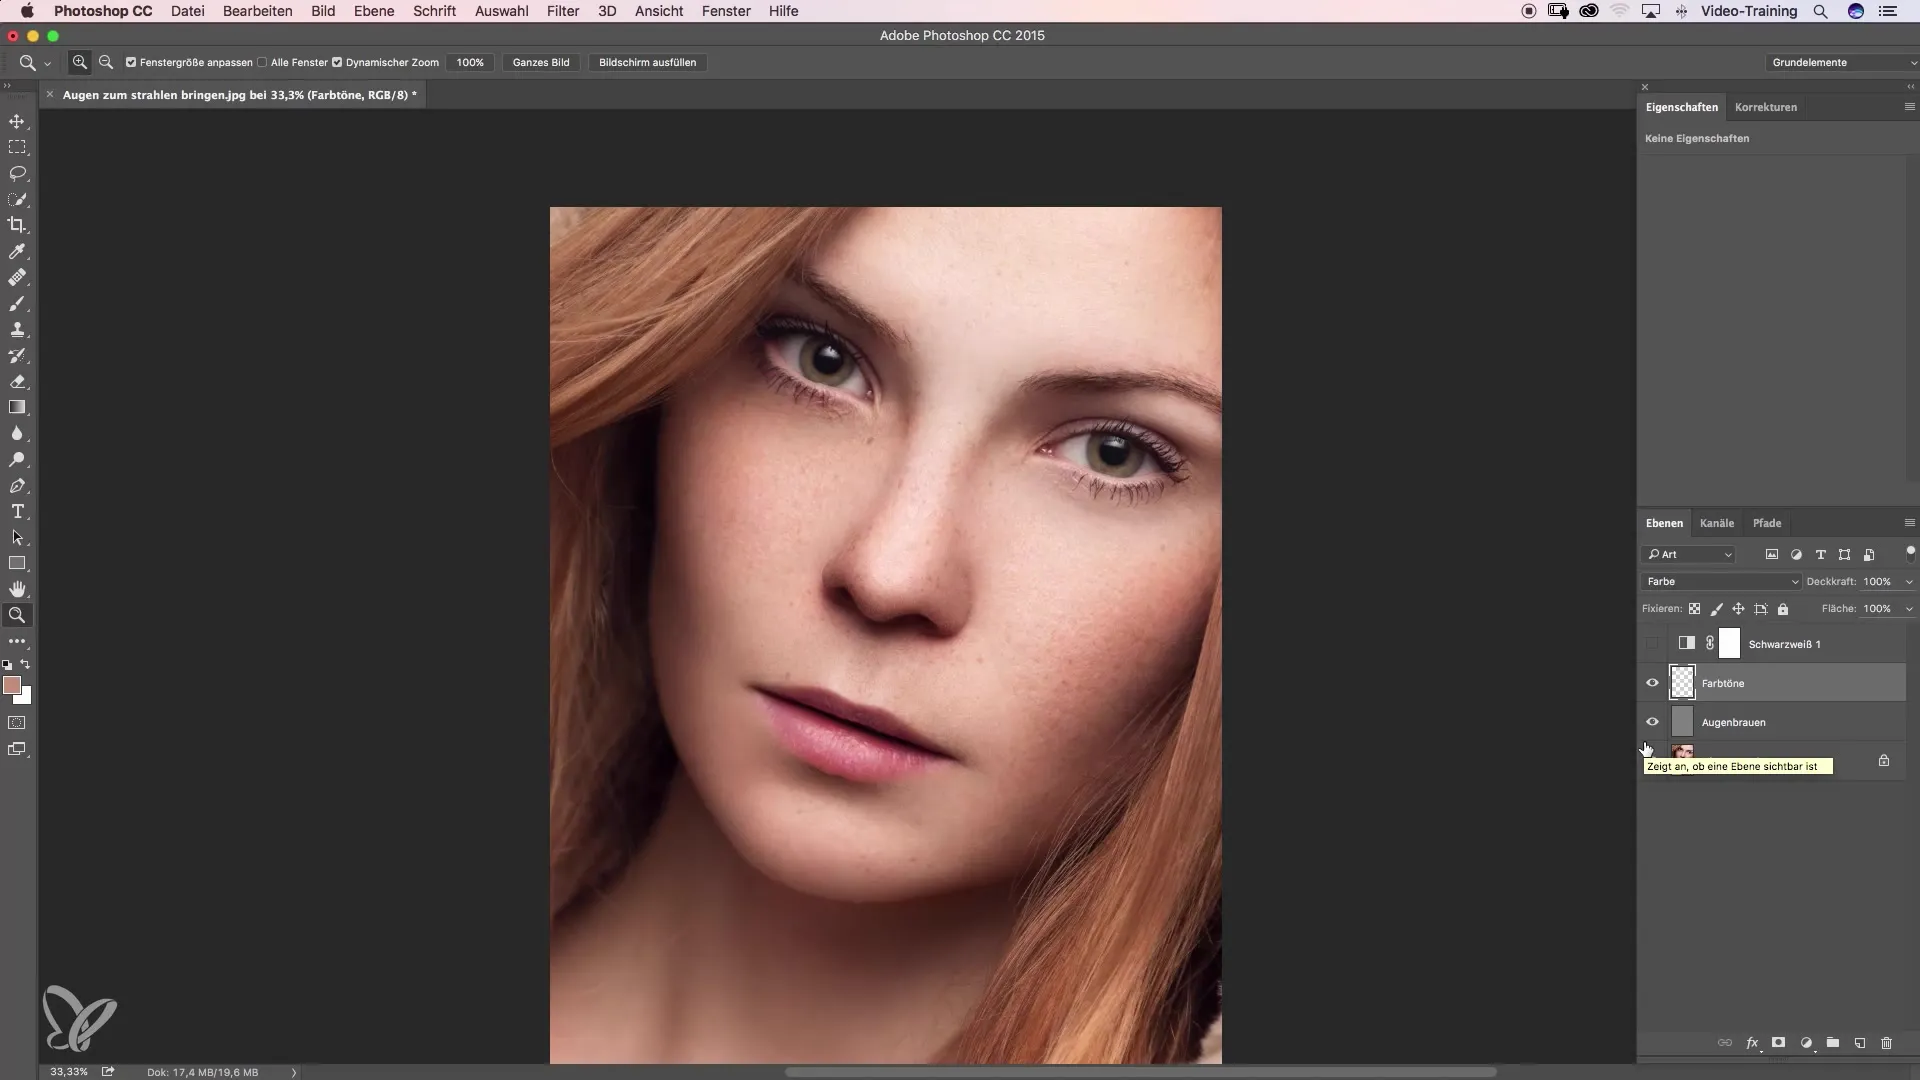
Once you are satisfied with the result, zoom out and compare the before and after images. Look at the differences: the eyebrows should now look more even and fuller.
Step 6: Adding color tones
Since the color may now be too intense, create a new empty layer, set it to “Color” mode, and name it “Tones.” Select the brush tool again and set a soft edge. Take an appropriate eyebrow color tone and gently paint over the eyebrows with about 20% opacity.
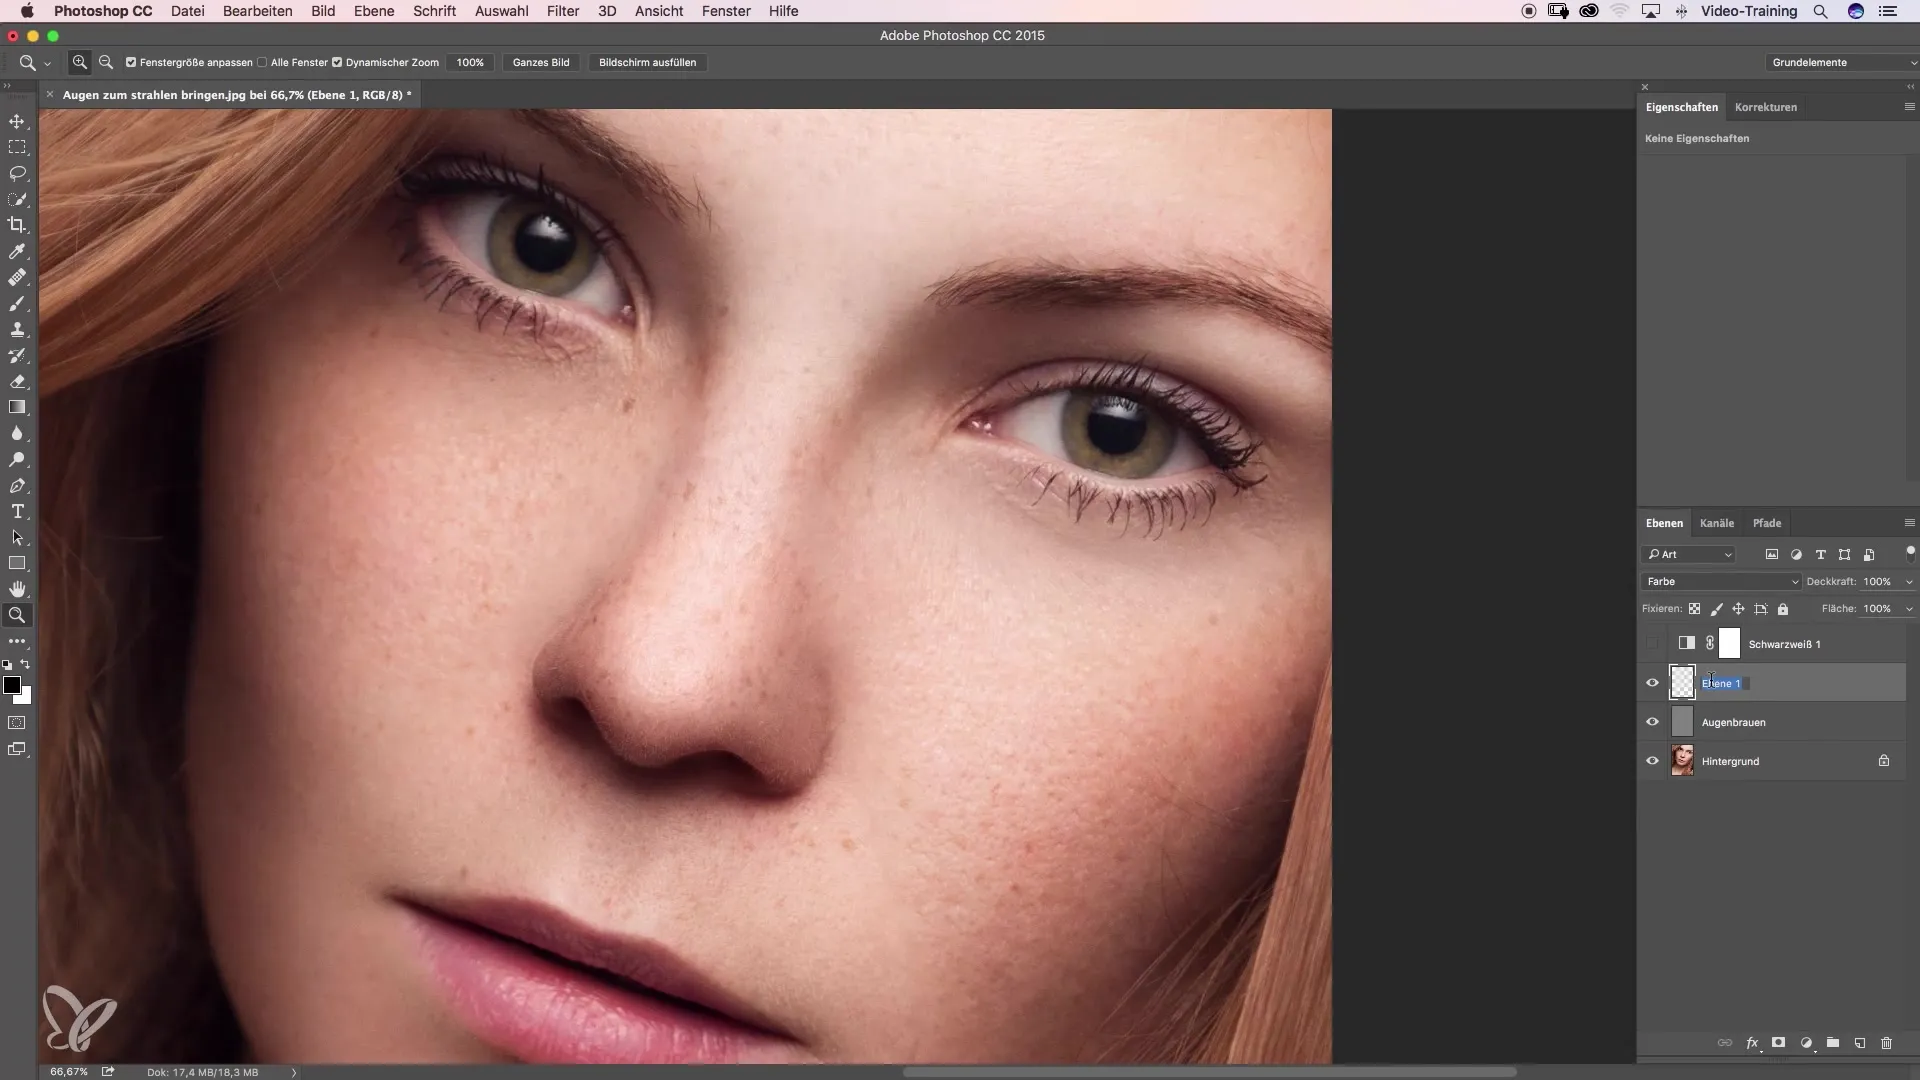
Step 7: Final adjustments
To make the eyebrows look even more natural, you could take some of the skin color around the eyebrows and gently apply this color. Make sure to integrate the gaps and color tones well so that the overall picture remains harmonious. Make some adjustments as needed.
Step 8: Show final before-and-after comparison
After completing the edits, you should show a final before-and-after comparison to demonstrate the overall result. This way, you will realize how much more natural and fuller the eyebrows look now.
Summary – Making eyebrows denser made easy
With this guide, you have learned all the steps to make your eyebrows look denser. The combination of “Dodge and Burn” and proper hair painting makes it easy to achieve a natural result. Proceed carefully, pay attention to details, and experiment with colors and tools.
Frequently Asked Questions
How often can I apply this technique?You can apply this technique as often as you are satisfied, as long as you give your eyebrows enough time to regenerate.
What program do I need for editing?This guide refers to Photoshop or similar image editing software with layer functions.
Are these steps suitable for beginners?Yes, the steps are easy to follow, so even beginners can implement them. Be patient and practice regularly.
