Affinity Designer is a powerful design tool equipped with various “Personas” to help you navigate efficiently between different workflows. These different workspaces are designed for specific tasks and allow you to work more efficiently depending on your needs. In this guide, you will get to know the three main personas – the “Draw Persona,” the “Pixel Persona,” and the “Export Persona” – and how to use them optimally for your projects.
Key insights
- Draw Persona: Optimal for working with vector objects and path tools.
- Pixel Persona: Ideal for modifying pixel objects and using pixel-based tools.
- Export Persona: Used for exporting content into different file formats.
Step-by-Step Guide
1. Getting to Know the Draw Persona
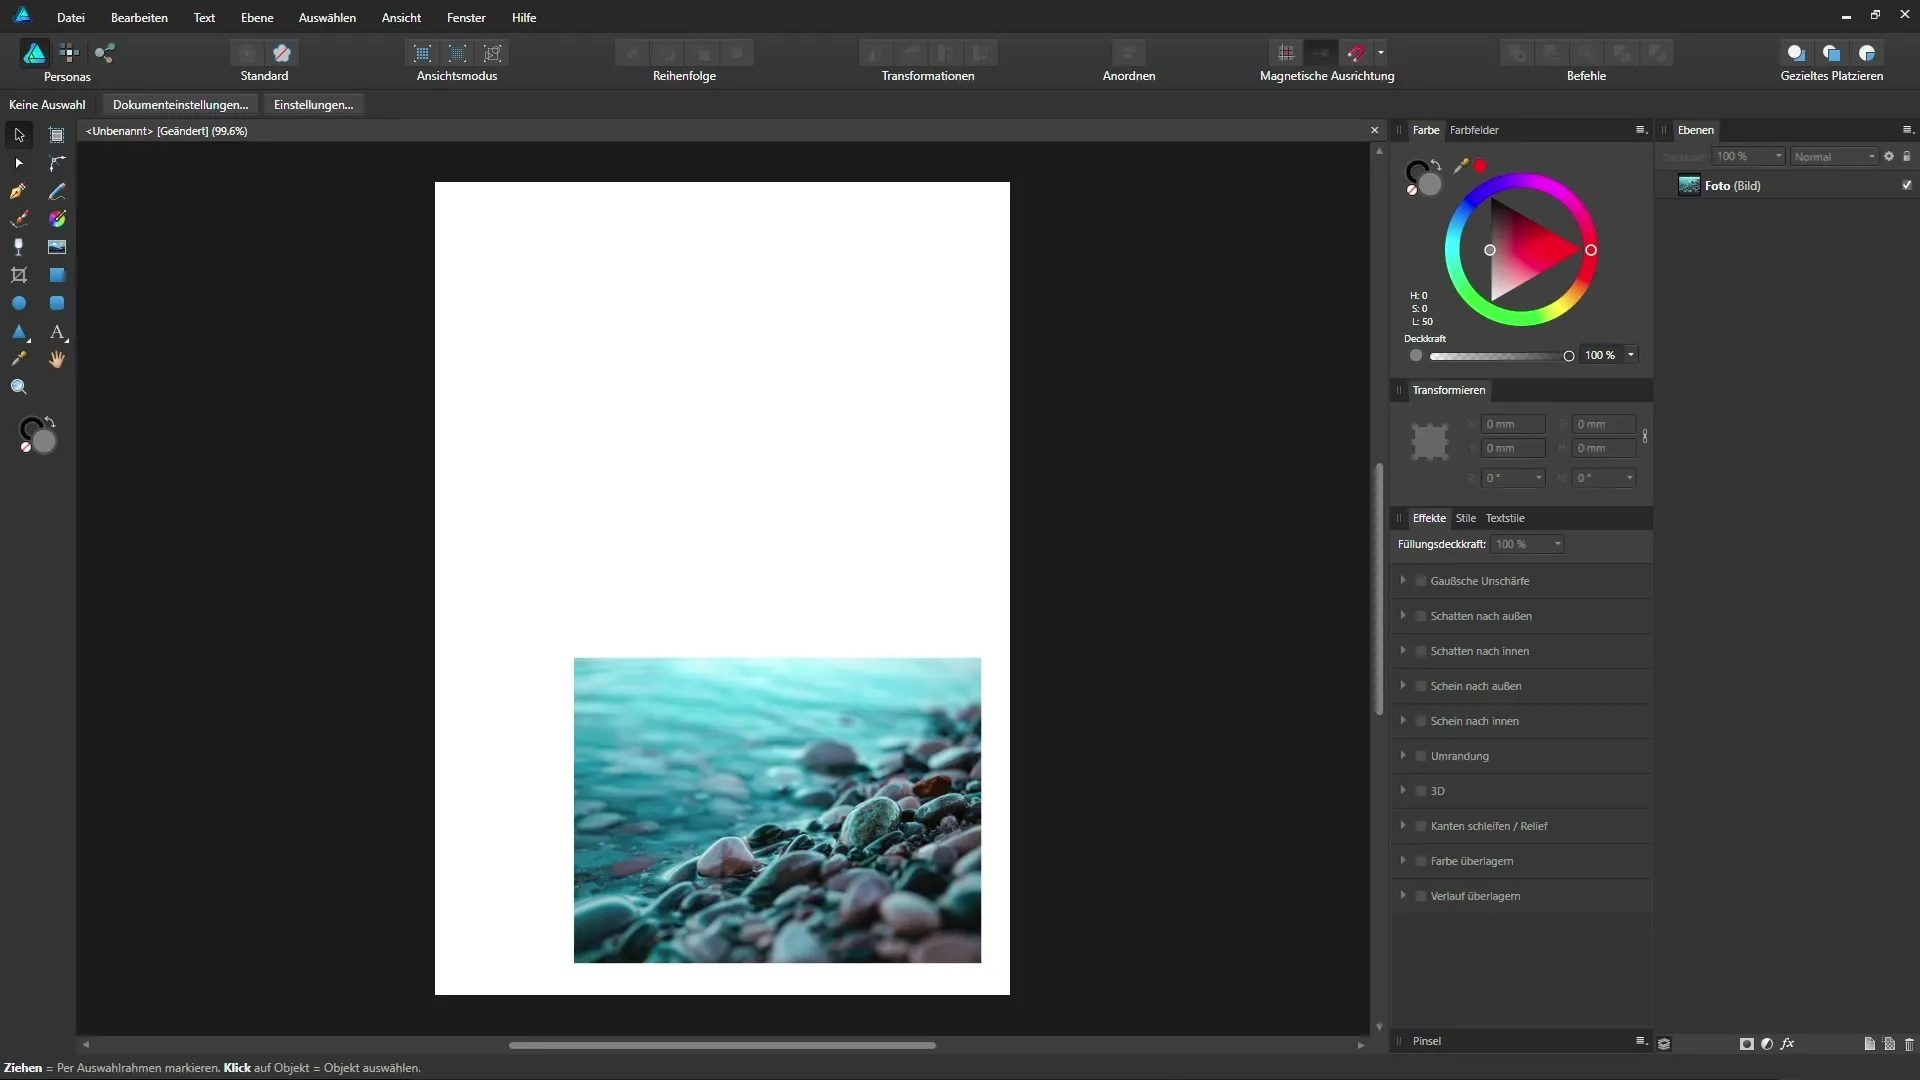
When you open Affinity Designer, you usually start in the Draw Persona. Here, the focus is on vectors and paths. Begin by opening a new document and placing an image. The layers panel shows you how your image is presented as a layer.
Placing an image is not critical yet; I will address it later. For now, it’s important that you see the tools on the left side in the Draw Persona. They are primarily responsible for editing paths and creating vector objects.
2. Switching to the Pixel Persona
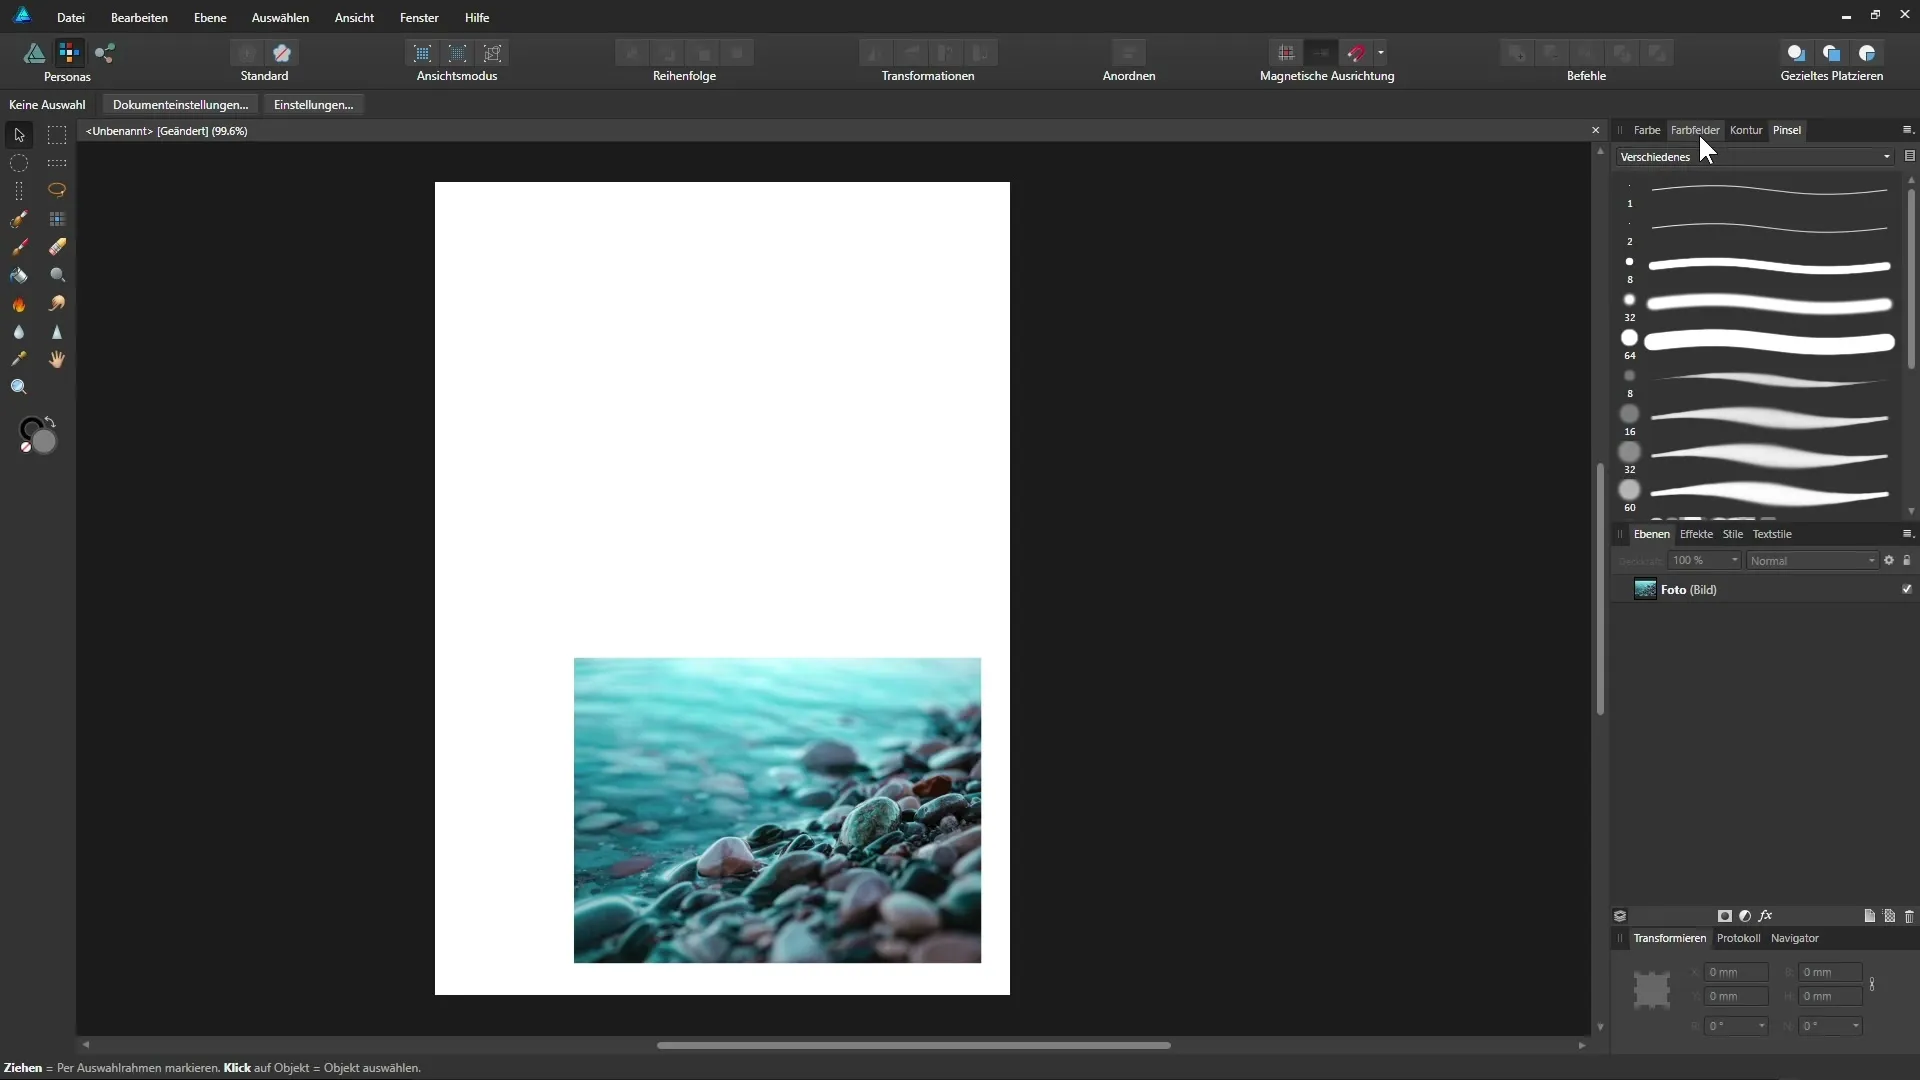
To edit a pixel object, switch to the Pixel Persona. Click on the corresponding icon and watch how the workspace changes. This includes a new toolbar on the left side and a different arrangement of panels on the right side. At first, it may seem chaotic, but I will show you how to tidy it up.
3. Tidying Up the Workspace
To make the workspace look more organized, you can rearrange the panels. Simply drag out the groups of controls by clicking on the two lines and moving them to your desired position. Add the layers panel as a single column on the right side. This will give you a better overview.
On the right side, you can now also drag the color panel and the swatches panel next to the layers panel, so you have quick access to the tools you need.
4. Editing Images in the Pixel Persona
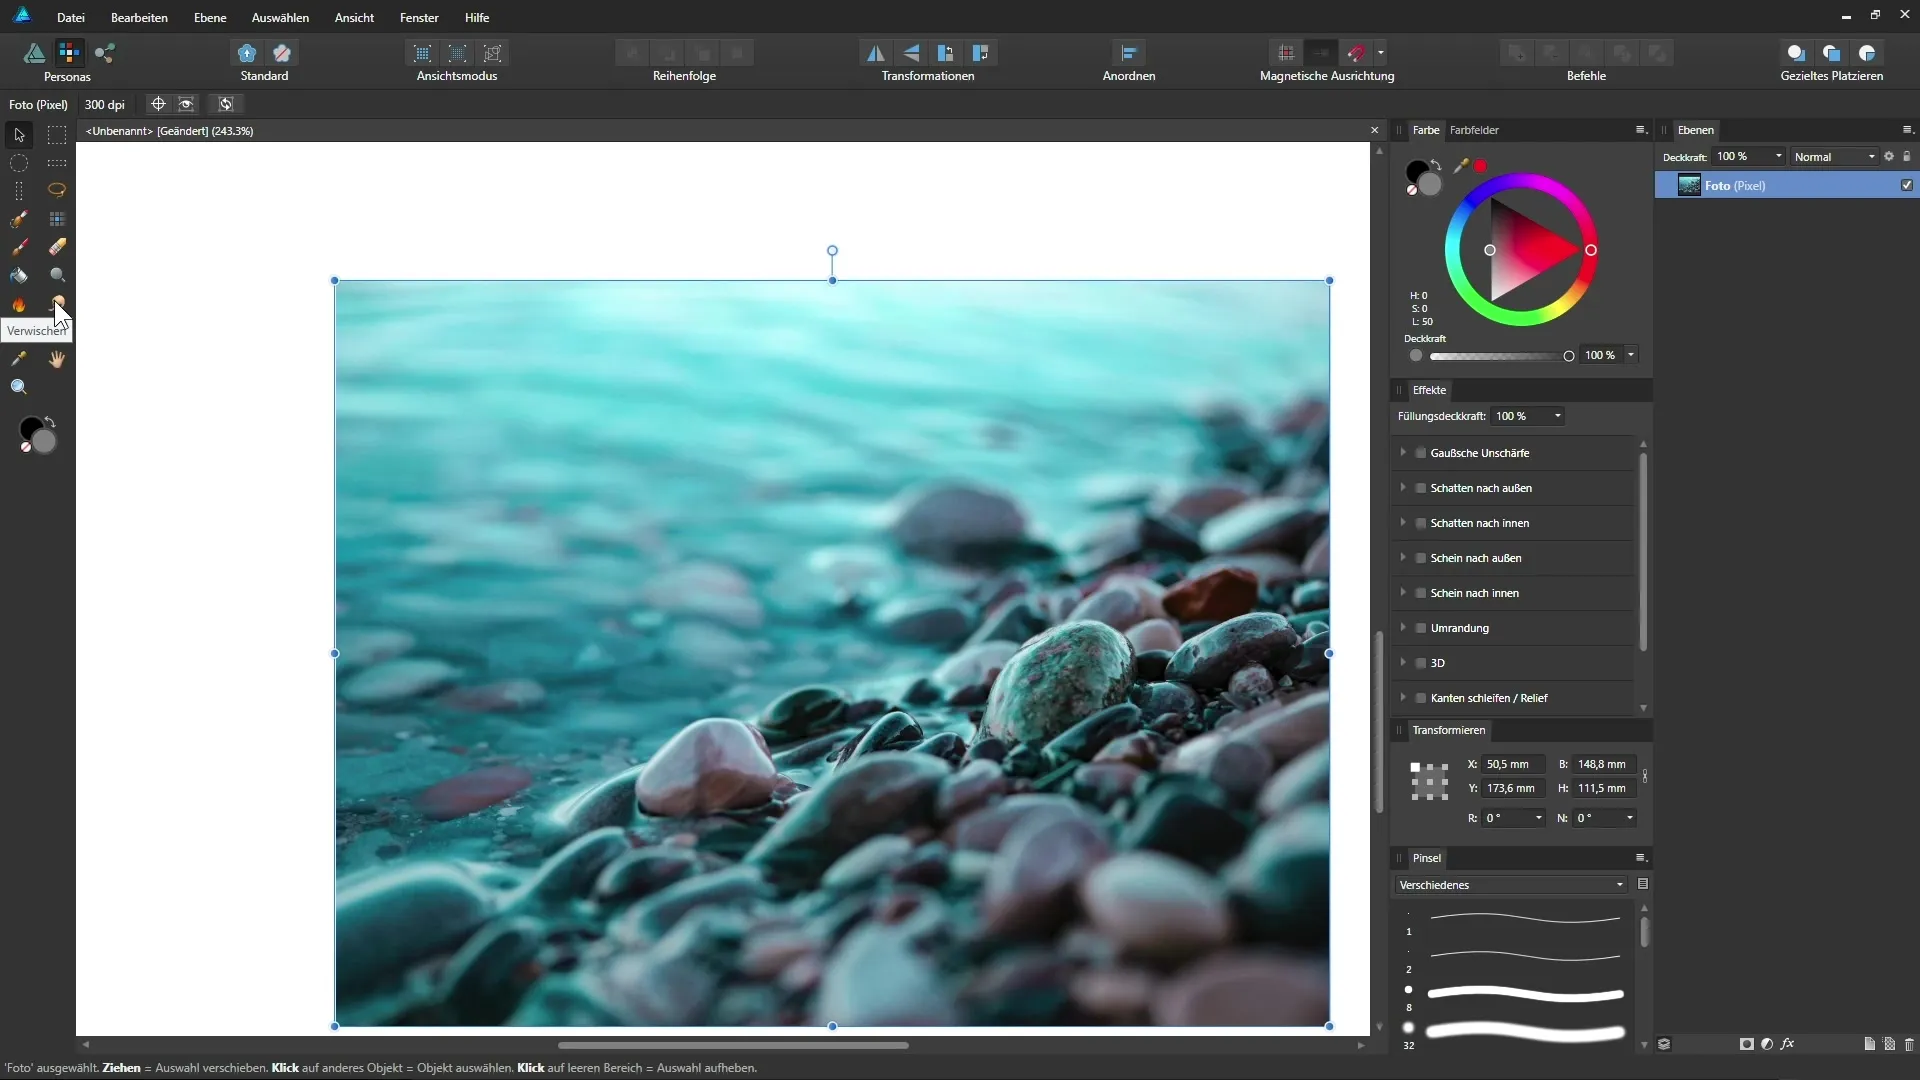
If you want to work with a pixel object, we first need to rasterize that layer. Right-click on the image layer in the layers panel and select “Rasterize.” Now you can use pixel-based tools. Select the blur tool and set the strength to 100%. You can blur pixels in your image to create various effects.
While Affinity Photo is the better tool for this type of image editing, you can also make minor adjustments in Affinity Designer.
5. Working with Pixel-Based Tools
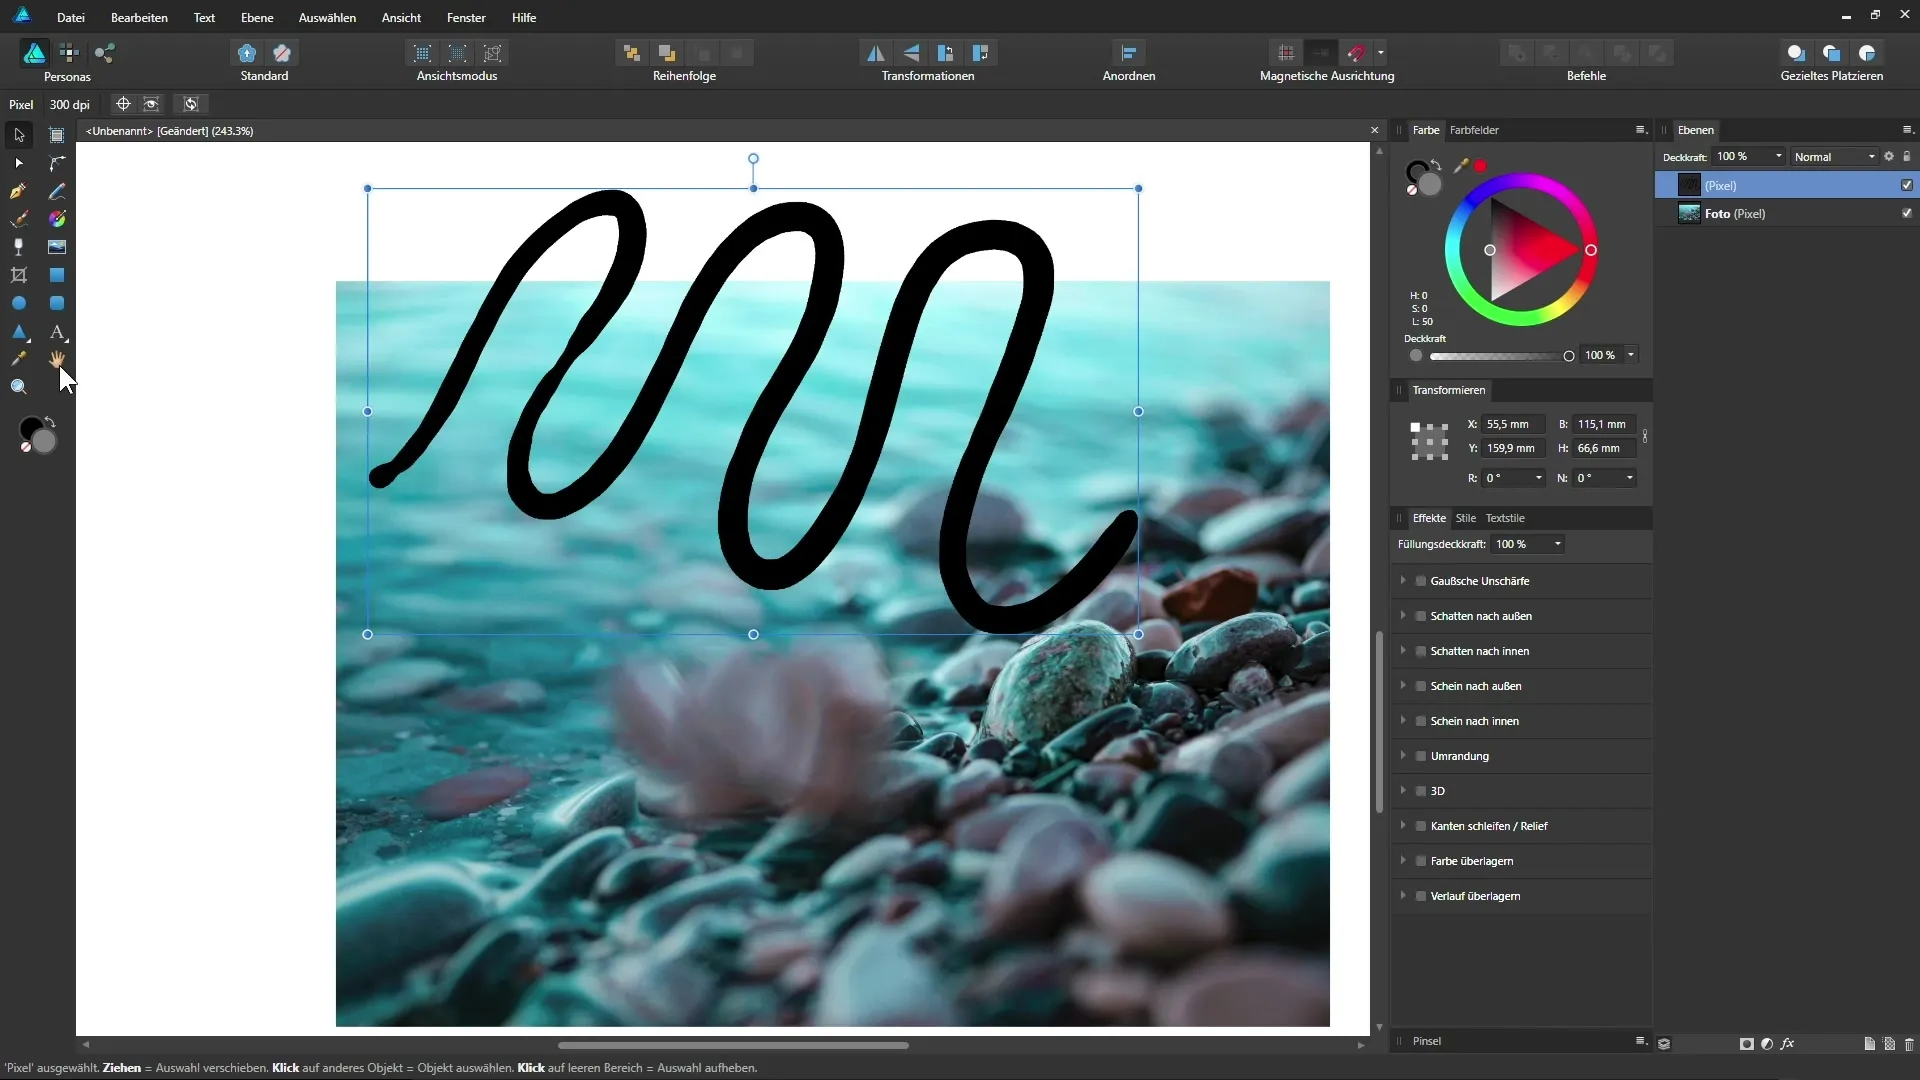
In the toolbar, you will find many typical pixel-based tools such as the brush, fill tool, or special tools for dodging and burning. Create a new blank pixel layer and use the brush tool to place a curved line on it. This is now done on a separate layer, so you can make adjustments at any time.
6. Back to the Draw Persona
When you switch back to the Draw Persona, you will see that the layers panel shows the same layers you have edited, including the pixel layer with your brush stroke. This way, you can take advantage of both personas and switch seamlessly between vector and pixel-based work.
7. Using the Export Persona
In the final step, we will take a look at the Export Persona. Click on the icon to change the workspace, where you will see the minimal set of tools. Here you can use the slice tool to select different areas in the document. With slices, you can prepare specific image regions for export, for example, in common formats like PNG, JPEG, or GIF.
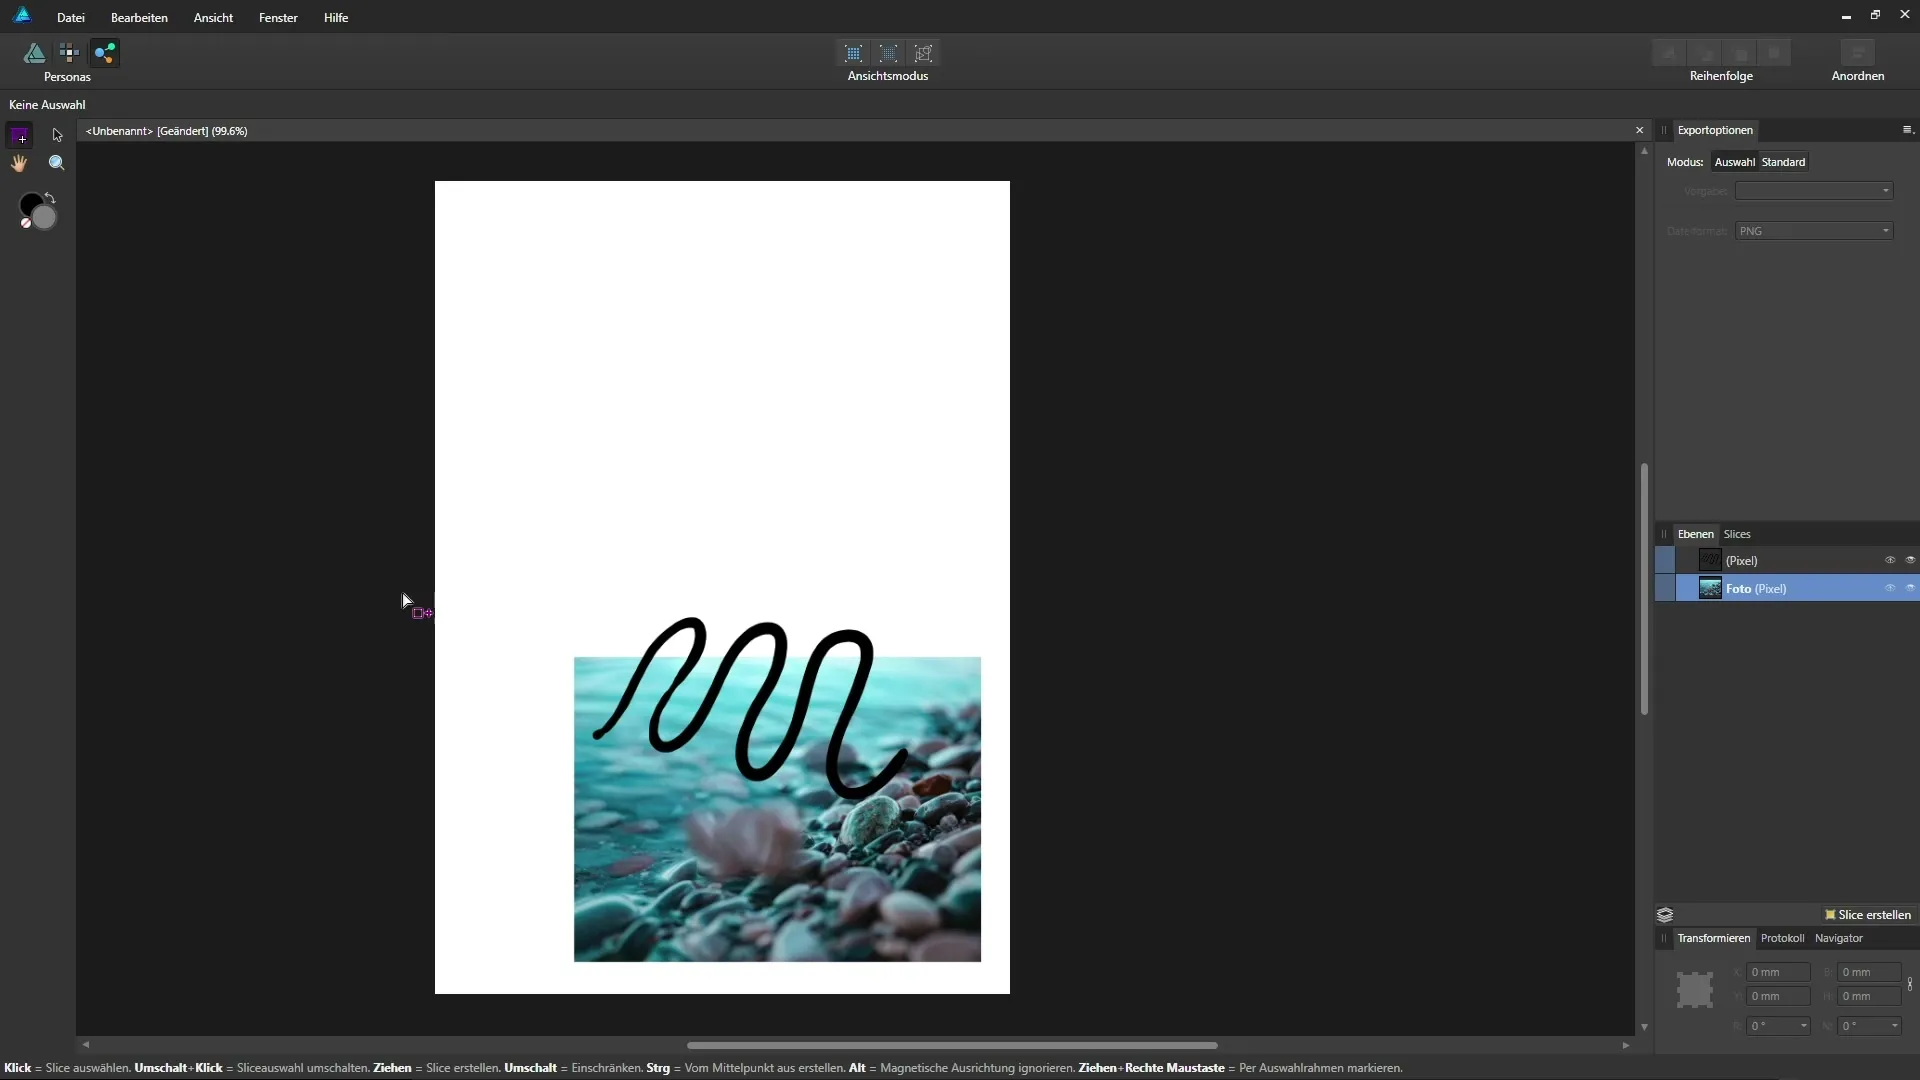
This is useful for exporting separate files directly from your document without having to separate them manually first.
8. Conclusion: The Benefits of the Personas
Equipped with these three personas, you can work effectively in Affinity Designer. Each persona is tailored to specific needs and is designed to keep your workspace organized. By seeing only the tools and functions you truly need, the design process is not only accelerated but also simplified.
Summary – Affinity Designer: Understand the Personas for Your Workflow
Affinity Designer provides a user-friendly environment through the use of different personas designed for specific workflows. Rely on the Draw Persona for vector-based work, the Pixel Persona for image editing, and the Export Persona for efficient file exports. This structure makes your design processes clear and effective.
Frequently Asked Questions
How do you switch between the personas?Simply click on the corresponding icon in the top toolbar.
Why should I use the Pixel Persona?This persona allows you to make pixel-based edits such as blurring or painting directly in your document.
Can I also edit vector objects in the Pixel Persona?No, in the Pixel Persona you focus solely on pixel-based tools and effects.
How can I export my work?Use the Export Persona and the slice tool to save specific parts of your design in various formats.


