Layer masks are essential tools in Affinity Designer that help you hide or highlight specific parts of your graphics without destroying the original objects. This tutorial will guide you through the various ways you can work effectively with vector and pixel masks. The concepts will be clearly explained and illustrated with an example.
Main takeaways
- You can use layer masks to precisely mask parts of your graphics.
- Vector masks use shapes for representation, while pixel masks focus on image editing.
- Masks are non-destructive; original objects remain untouched.
- With Gaussian Blur, you can soften edges.
Step-by-step guide
First, we'll create an object that we will later mask. In this case, we will draw a star with the shape tool. Select the shape tool from the left toolbar and draw the star on the canvas.

Next, we will color our star to create a visual base. Choosing a vibrant red tone gives the object character and helps you see the representations better.
Once the star is created, you will see it occupies its own layer in the layers palette. Now we come to the heart of the tutorial: the masks. There are various ways to hide or display areas of this star. We will start with the vector mask.
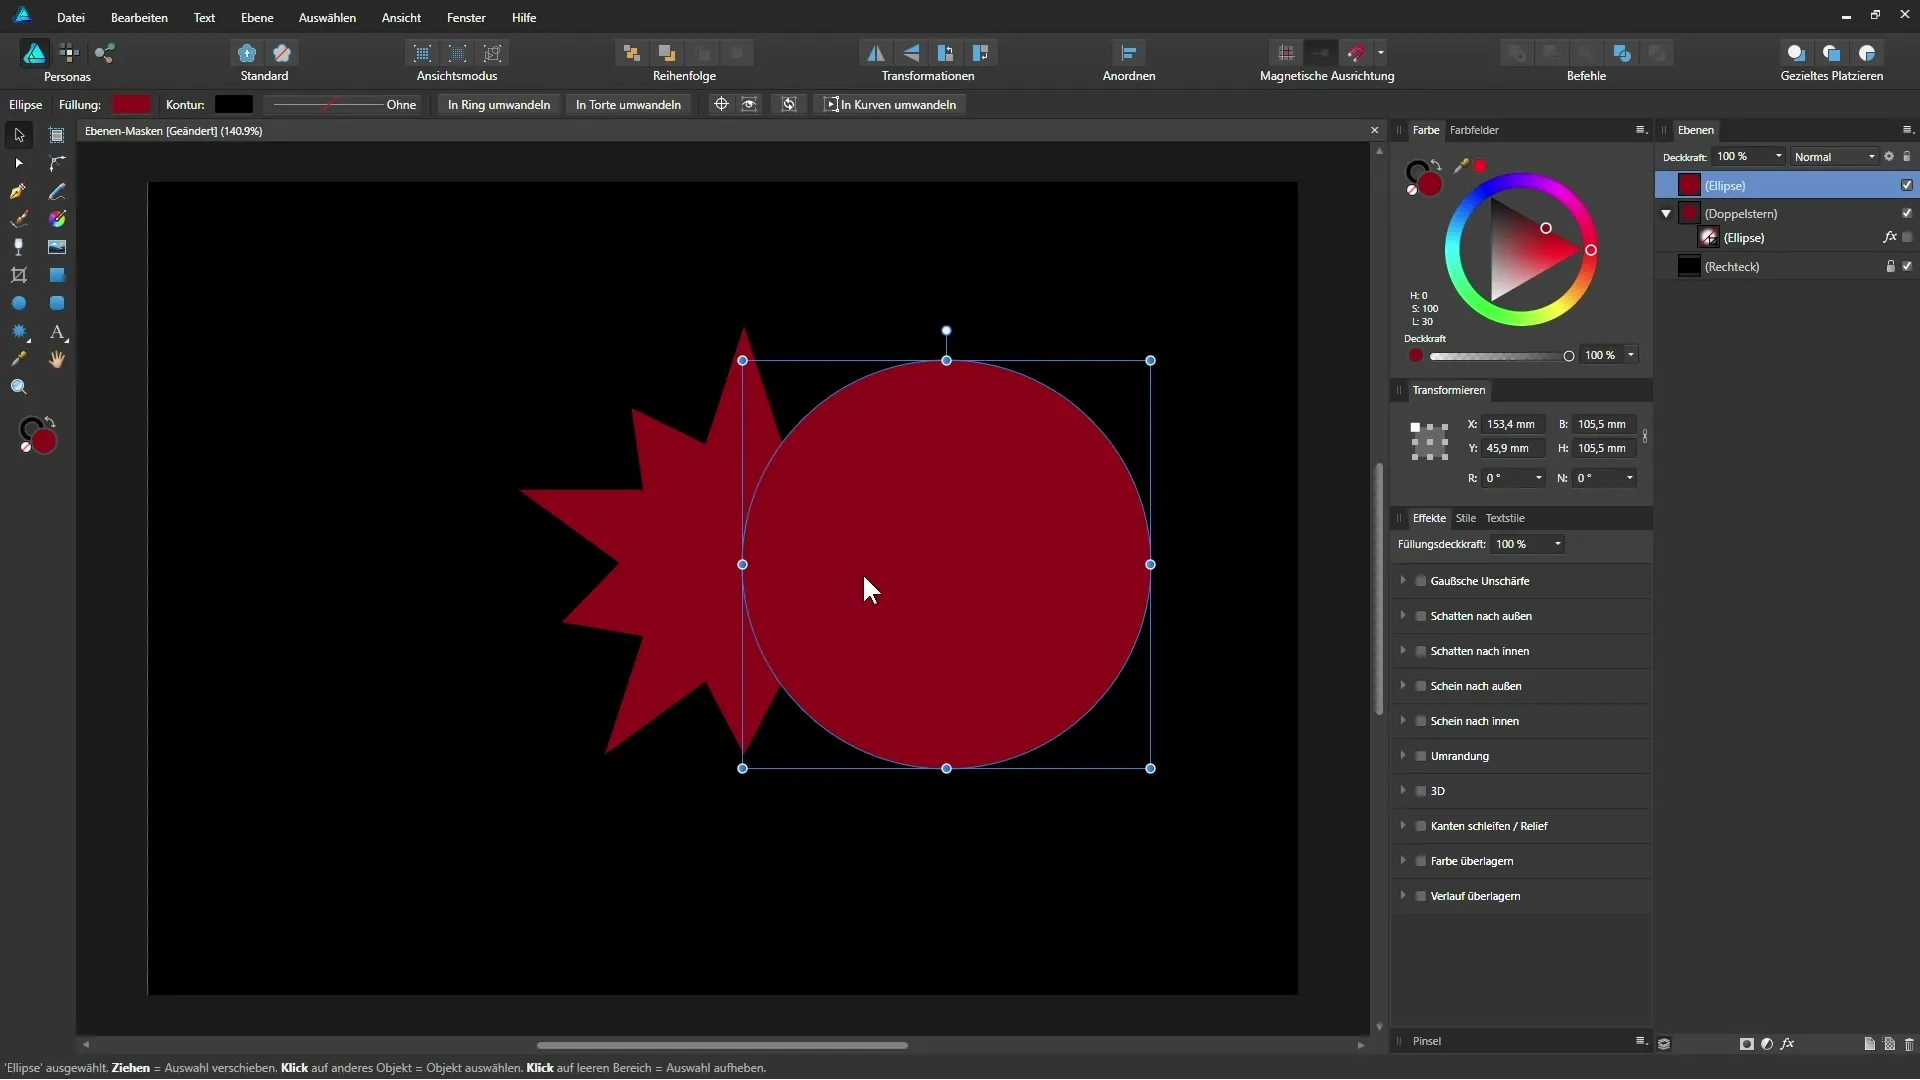
To work with a vector mask, we will create a circle, for example, to determine which part of the star will be displayed. Hold down the Shift key while creating the circle to ensure it is perfectly round.
Place the circle over the area of the star that you want to display. Positioning is crucial, as this part will be visible while everything outside of it will be hidden.
Now we drag our circle layer between the thumbnail and the star layer in the layers palette. Pay attention to the small blue bar between these layers that indicates that the masking is successful.
Now we immediately see the effects: everything inside the circle is visible, while the outer parts of the star are hidden. This allows you to create specific designs by only showing certain parts of your object.
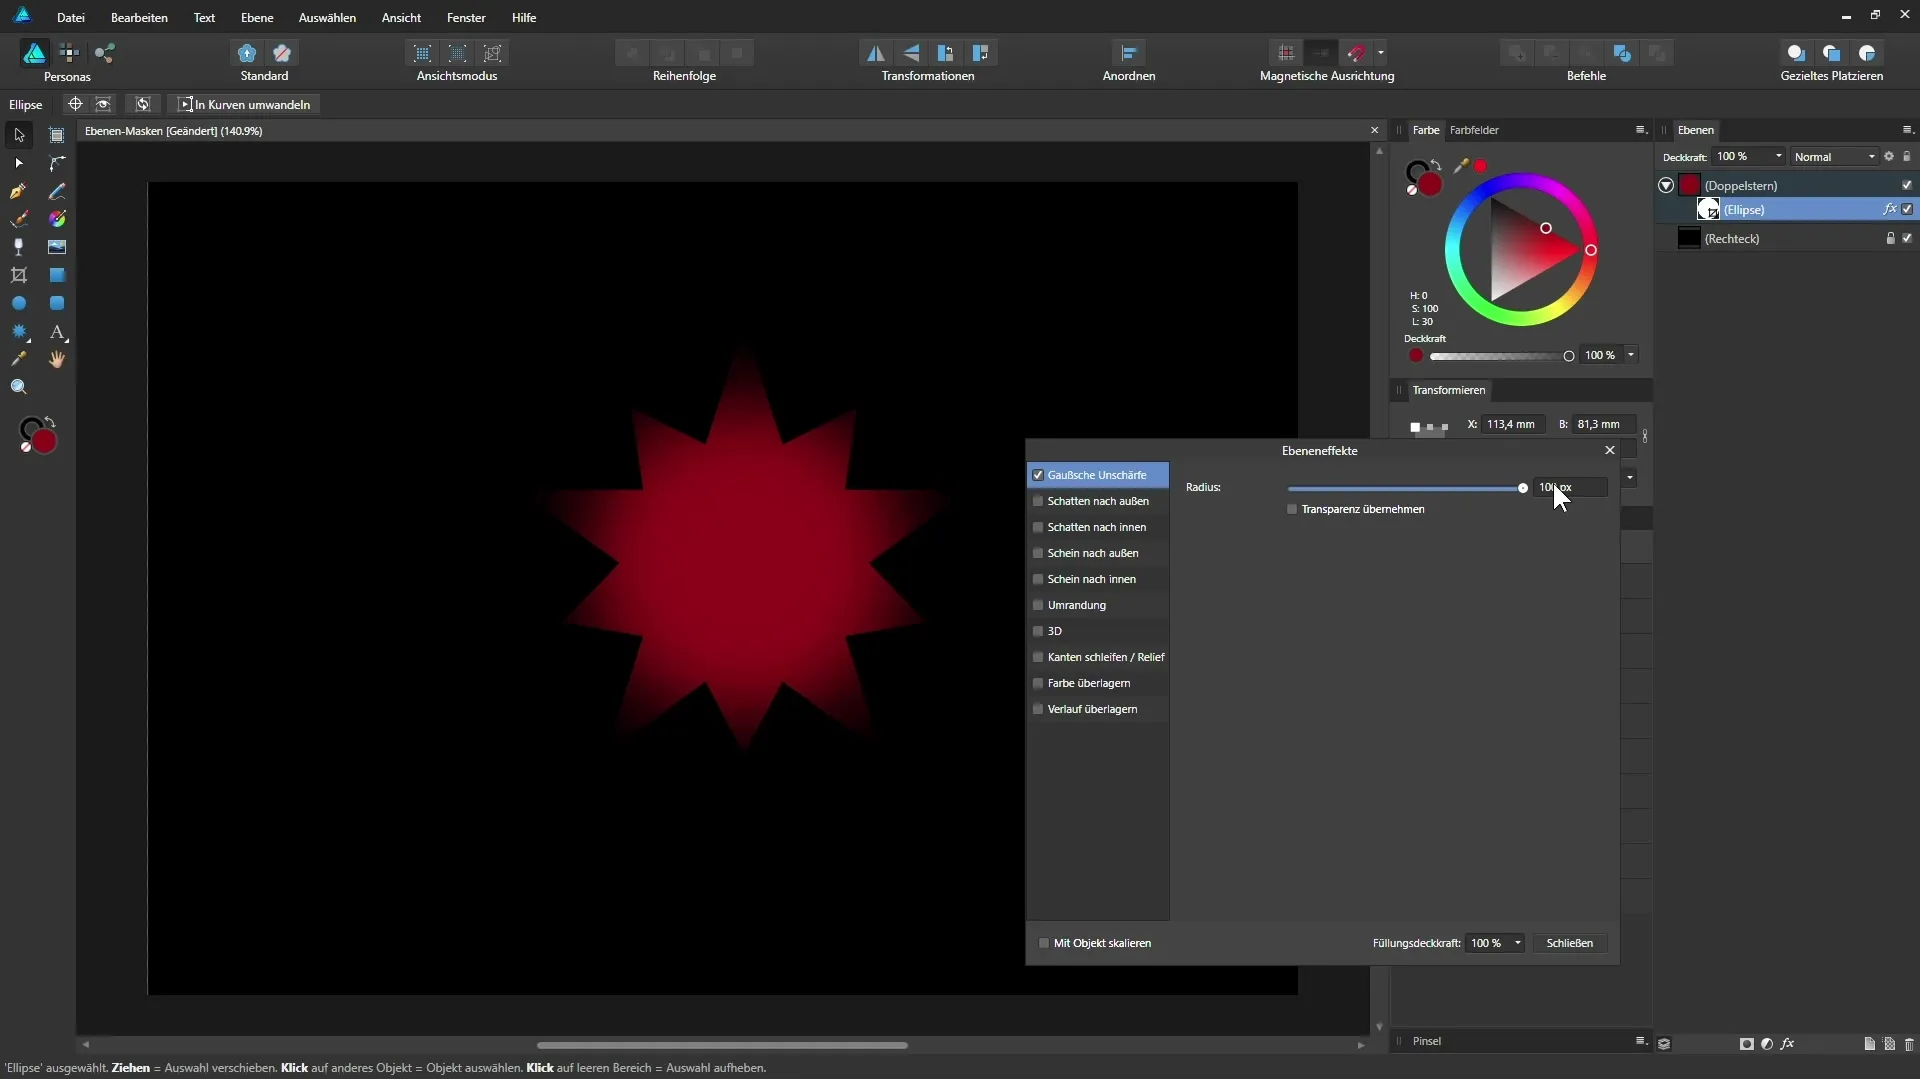
We can now continue to adjust this mask. If you want to soften the hard edge of the masked area, you could apply Gaussian Blur to it. Select the vector mask and go to the effects in the layers panel at the bottom.
With Gaussian Blur, you can adjust the degree of softness, giving your mask a more appealing, smooth transition. This is especially useful for achieving more realistic results.

Another scenario is creating a sublayer or clipping mask. Here we will again use the ellipse tool to draw another circle. This time, however, it will cut out an area of the star instead of just displaying it. Position the new circle in the desired area.

To achieve the effect, change the layer mode of the new circle to "Erase". In this way, a hole is punched into the underlying star, without damaging the original.
We immediately see the effects of the clipping mask: the area of the star that was overlapped by the circle is hidden, while everything else remains intact. This technique is individual and flexible.
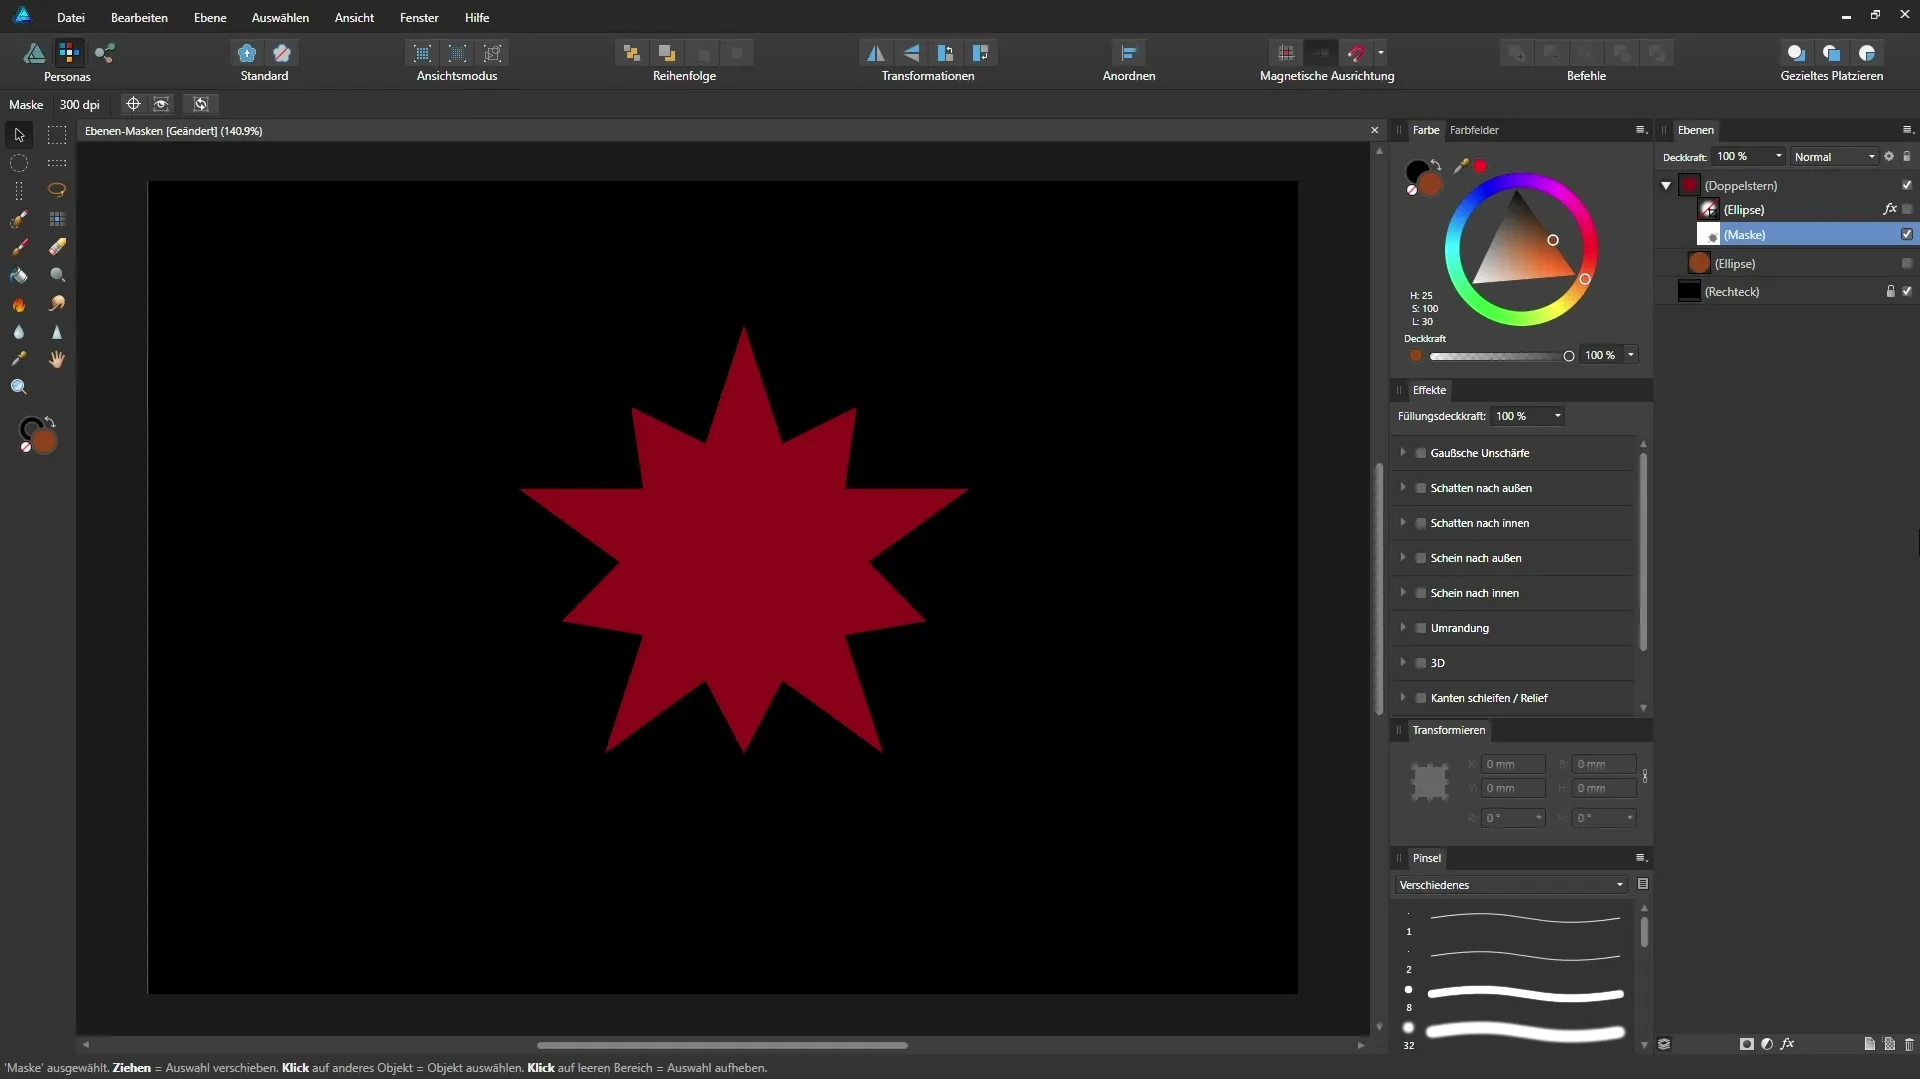
Now we turn to the pixel mask. Switch to the Pixel Persona and create a new masking layer. This is the tool you will use to create pixel-based masks.

Make sure to paint on the new mask using the brush tool in black. On a white mask, everything is visible, while with black you can hide areas. This gives you enormous flexibility and control over the representation.
It is important to note that when working with pixel masks, you are dealing with pixels. This means the more you zoom in or out on the image, the more likely you are to see pixel artifacts. Choose your tools carefully and adjust the masking precisely.
Summary – Mastering Layer Masks in Affinity Designer
In this tutorial, you have learned how to effectively use vector and pixel masks in Affinity Designer to design and optimize your graphics. By using targeted masking techniques and creative methods, you can achieve impressive visual results without damaging your original graphics. Experiment with the Gaussian Blur tool and the different masking options to refine your design further.
Frequently Asked Questions
How do I create a vector mask in Affinity Designer?You can create a vector mask by drawing a new shape over the object and then dragging it in the layers palette between the main image and the layer mask.
What is the difference between a vector mask and a pixel mask?Vector masks use shapes for representation, while pixel masks are based on editing pixels, allowing for more detail.
Can I combine masks in Affinity Designer?Yes, you can combine vector and pixel masks, but you should be aware of the difference in how they operate.
How can I soften the edges of my masks?You can use Gaussian Blur in the element effects to achieve a softer edge.
Are masks destructive?No, masks are non-destructive. The original objects remain unchanged as long as you apply the masking techniques.


