Drawing paths in AffinityDesignergains a creative dimension with the PencilTooland the Vector Brush. With these tools, you can easily create individual designs without having to rely on complex functions. This guide will walk you through the effective use of these tools and show you how to make the most of your freehand drawings.
Key Insights
- The Pencil Tool and the Vector Brush offer similar functionalities but different representations.
- Both tools allow for drawing paths in Affinity Designer.
- With various settings, you can adjust line thickness, stroke types, and stabilization options.
Using the Pencil Tool
1. Tool Selection
Start by selecting the Pencil Tool. You can find it in the tool menu or use the keyboard shortcut N.

Once you have selected the tool, you can start drawing right away.
2. Set Stroke Color and Width
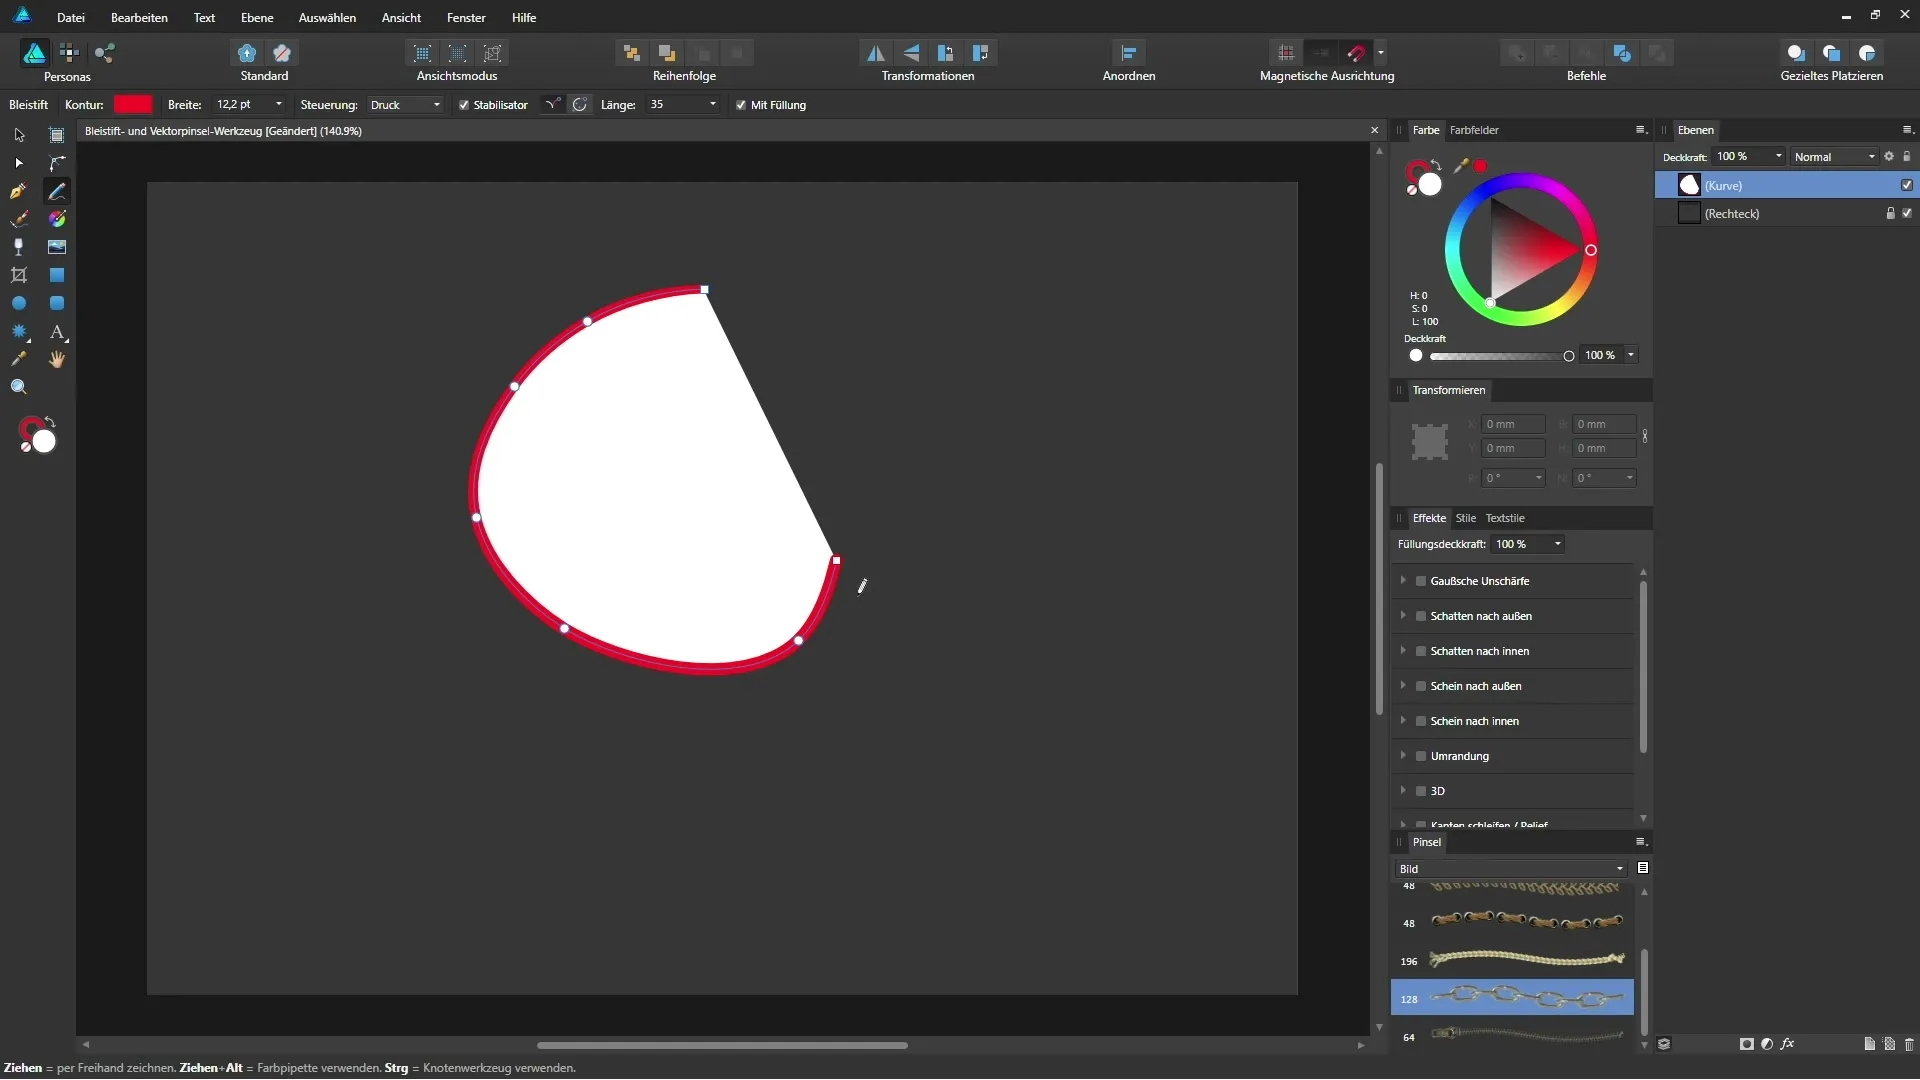
In the context bar at the top, you can select the stroke color. For this step, for example, you might choose white. Additionally, you can set the width of the stroke in points.
The width can also be defined in the preferences of Affinity Designer.
3. Enable Pressure Sensitivity
If you are using a graphics tablet, you have the option to enable pressure sensitivity. Go to the control area and select the pressure option. This allows for a dynamic adjustment of line thickness based on your pressure.
4. Enable Stabilization
If your line appears somewhat irregular, activate the stabilizer. You can set this by enabling the rope mode, which you can adjust its length. A value of 35 provides reasonable stability.
5. Freehand Drawing
Now you can freely draw with your pencil. Initially, you will draw a line that is displayed as a path in the layers palette.
You can adjust the stroke at any time by activating the Move Tool.
6. Adjusting Path Ends
In the context bar, you also have the option to style the ends of the path. You can choose between a round, blunt, or square end.
The round end often looks more aesthetic, while blunt ends appear more precise.
7. Creating Dashed Lines
For dashed lines, you will need a stroke without using pressure sensitivity. Activate this option in the menu bar.
By adjusting the dashed line settings, you can quickly create creative variations.
Using the Vector Brush
1. Switch to Vector Brush
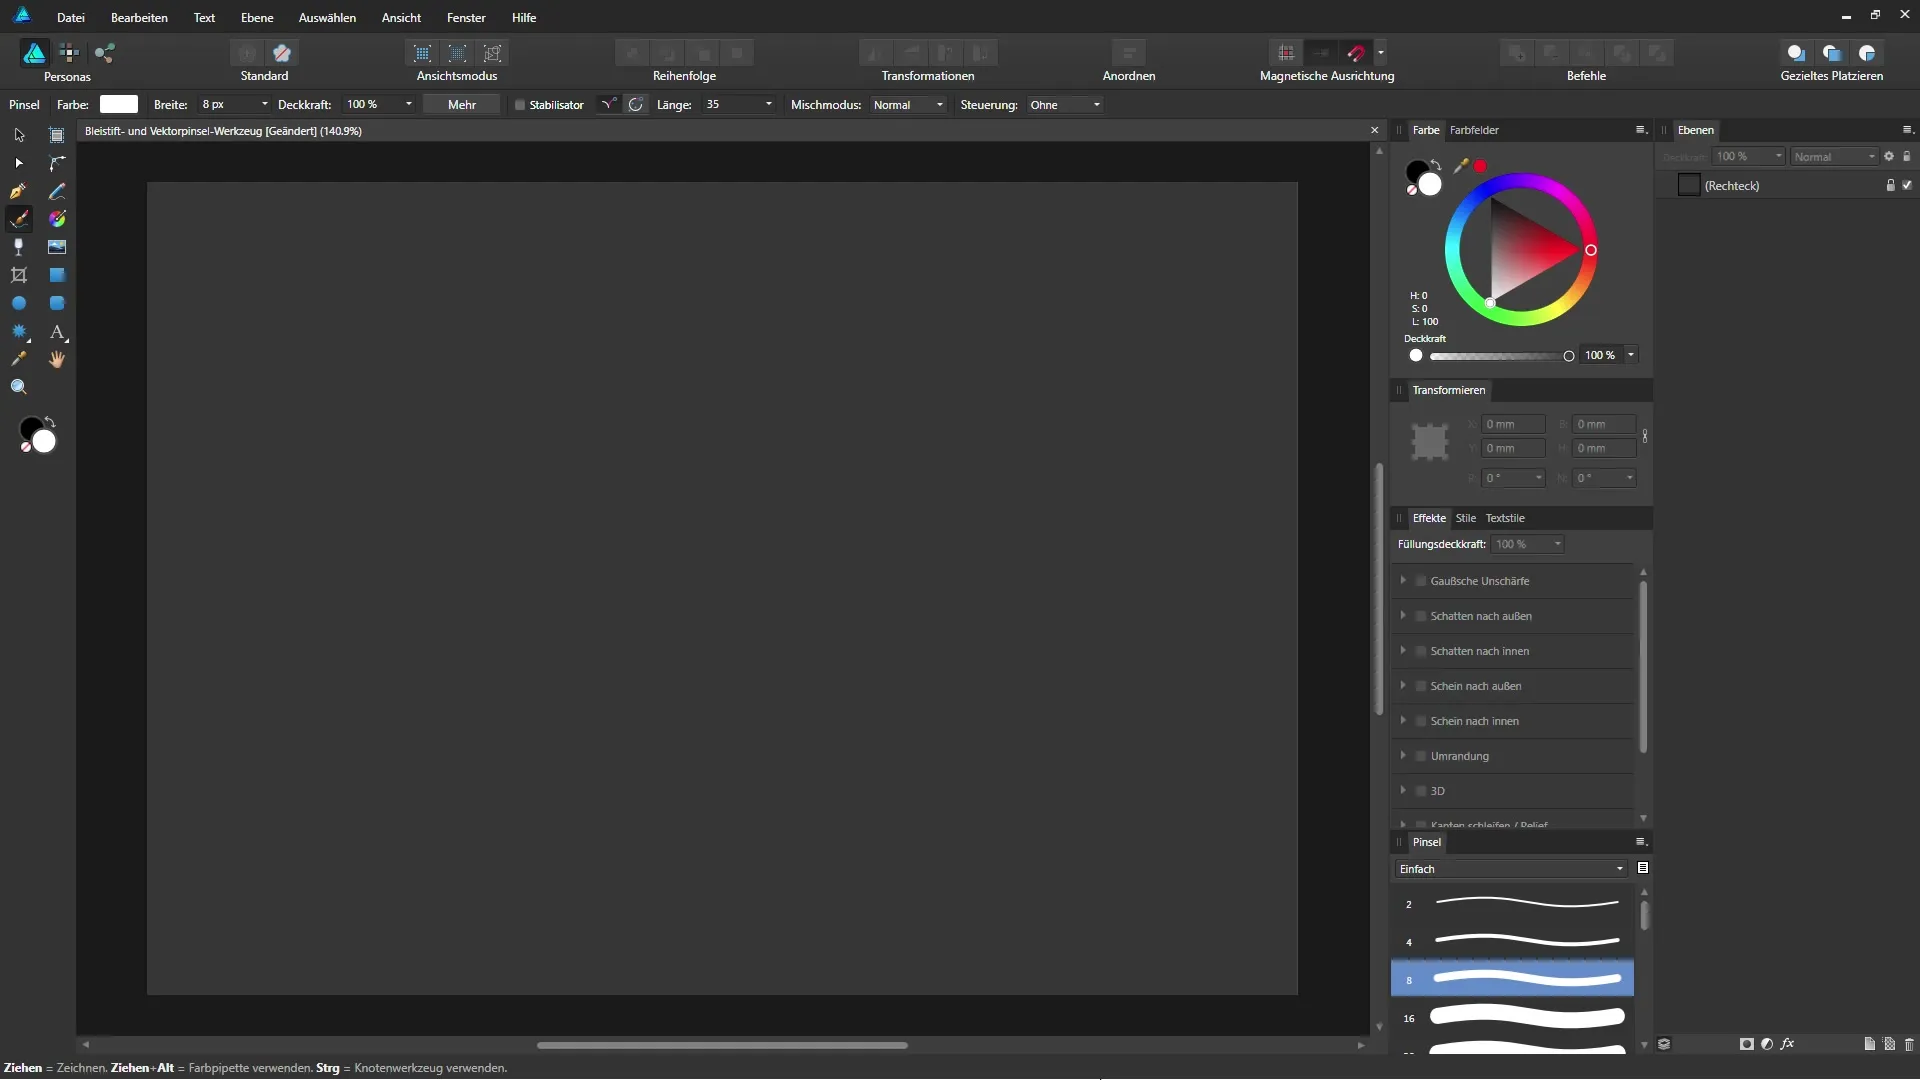
You can select the VectorBrushby clicking on the corresponding icon or by pressing the key B.
This gives you access to the same functionalities as the Pencil Tool, but with different customization options in the menu bar.
2. Adjust Brush and Size
Select a brush from the brush panel. You will find various brushes for different purposes there. The Vector Brush measures width in pixels, which represents a different approach than the Pencil Tool.
3. Drawing with the Vector Brush
Now you can draw in the image. Like with the pencil, anchor points will automatically be set that describe the curve.
You can also adjust the stroke here and style the ends of the path.
4. Combination of Fill and Stroke
If you want to use both a stroke and a fill simultaneously, you can do this with both tools as well. Change the fill color and draw your line. This allows you to quickly create an appealing design.

Summary - Affinity Designer: Pencil Tool and Vector Brush in Detail
With the correct application of the Pencil Tool and the Vector Brush in Affinity Designer, you can utilize creative freedom. Both tools offer you much flexibility and customization options for your creative ideas.
FAQ
How do I select the Pencil Tool?You can find the Pencil Tool in the tool menu or use the keyboard shortcut N.
How can I adjust the thickness of the stroke?In the context bar, you can set the stroke color and the width of the stroke in points.
What does the stabilizer do?The stabilizer helps smooth out shaky lines when you draw with a graphics tablet.
How can I create a dashed line?Select a line without pressure sensitivity and activate the dashed line option in the menu bar.
Where can I find different brushes for the Vector Brush?You can find the brushes in the brush panel at the bottom right or through “View Studio” > “Brushes”.


