Affinity Designer is a powerful graphic design tool that provides a variety of tools to quickly and effectively implement your creative ideas. One of the particularly useful features is the shape tools, which allow you to create standardized vector shapes like rectangles, circles, stars, and more in no time. In this guide, I will go over the different shape tools and show you how to use them optimally to speed up your creative projects.
Main Insights
- Shape tools enable quick creation of vector shapes.
- Each tool offers unique customization options via the context bar.
- By purposefully applying the handles, you can design your shapes as desired.
Step-by-Step Guide
Getting Started with Shape Tools
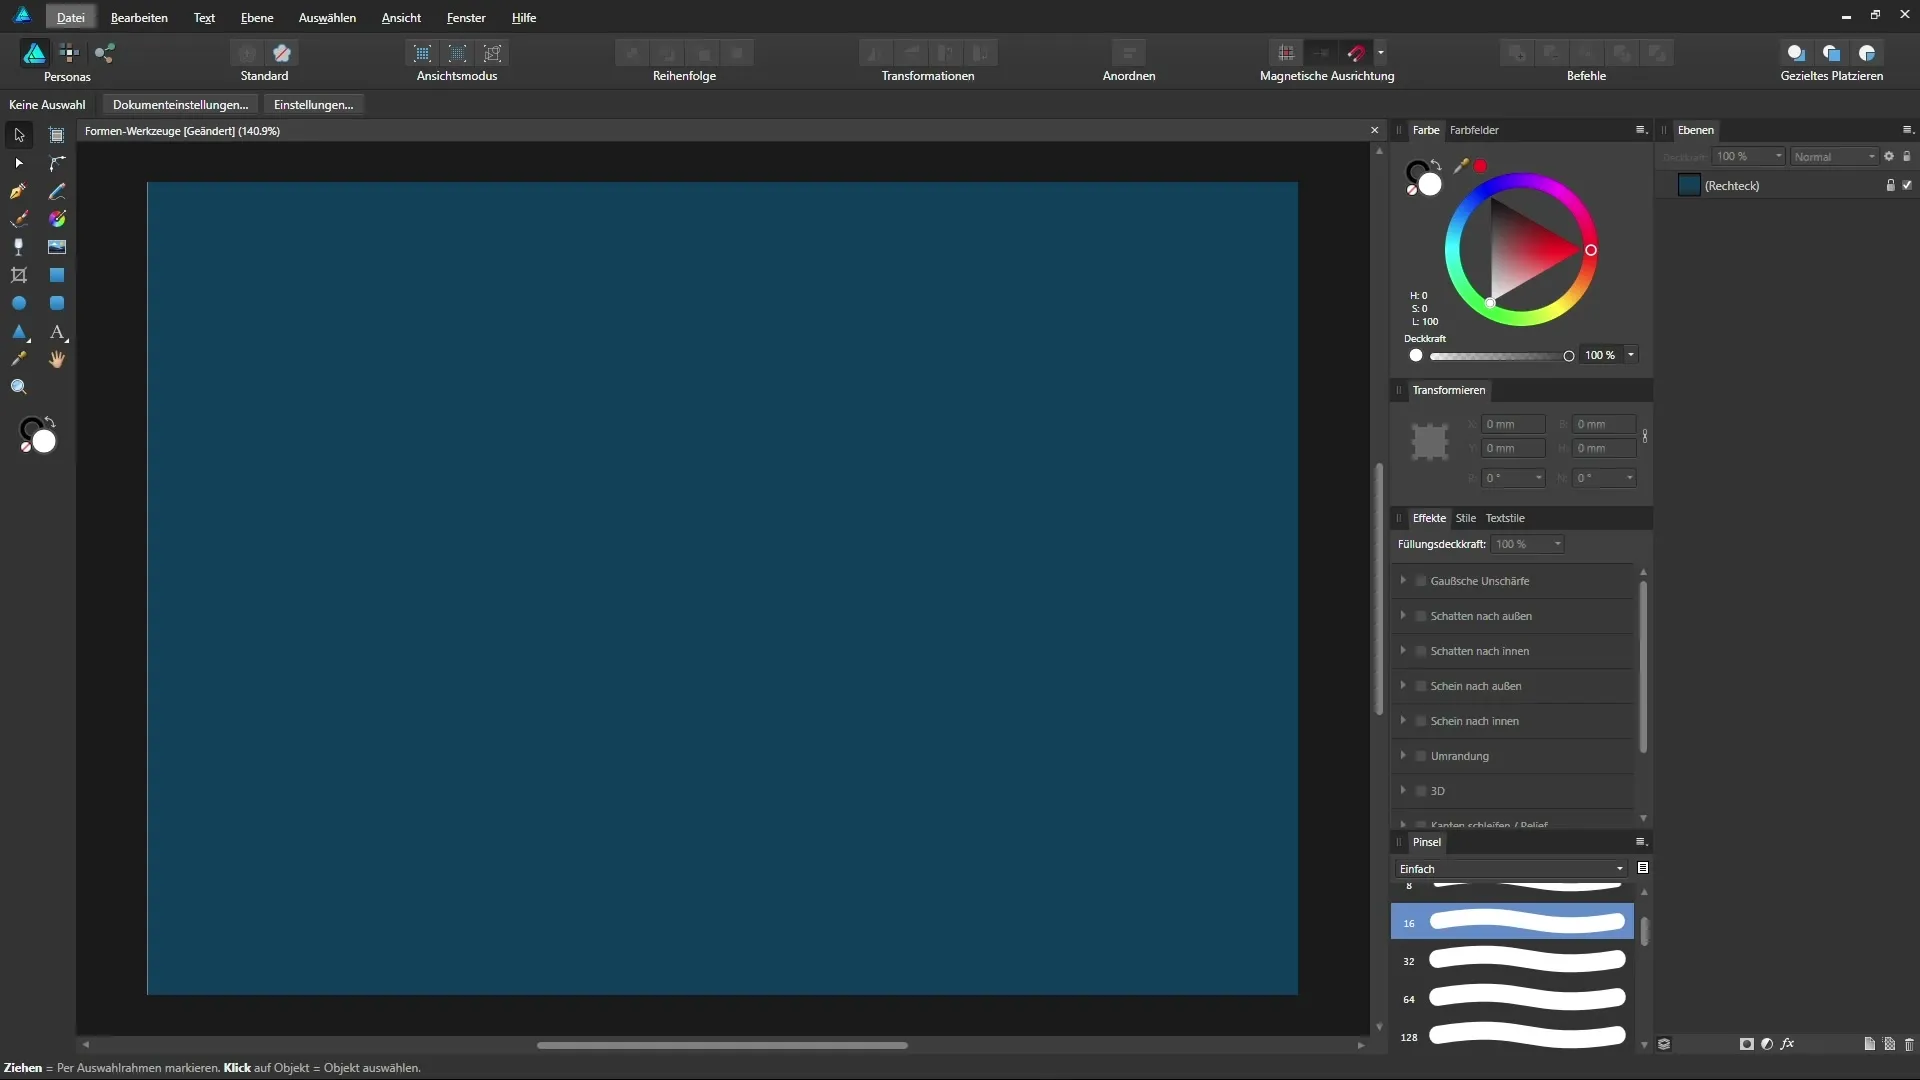
First, you will find the shape tools in the toolbar of Affinity Designer, recognizable by their bluish icons. The default tool is usually the rectangle tool, followed by the ellipse tool and rounded rectangle tool. Alternatively, you can also access the tools using the keyboard shortcut “M”.

Selecting and Creating a Shape
If you want to create a new vector object, click on the corresponding shape tool and hold down the left mouse button. This opens a menu with additional shape tools. For example, if you want to create a triangle, select the triangle tool. Hold down the left mouse button, drag over the workspace, and create your triangle.
Adjusting the Shape via the Context Bar
Each shape tool offers additional settings through the context bar. For instance, if you have created a triangle and want to move the top point, you can either click the slider in the top bar or move the orange point directly in the triangle to adjust the shape.
Rectangle and Adjustments
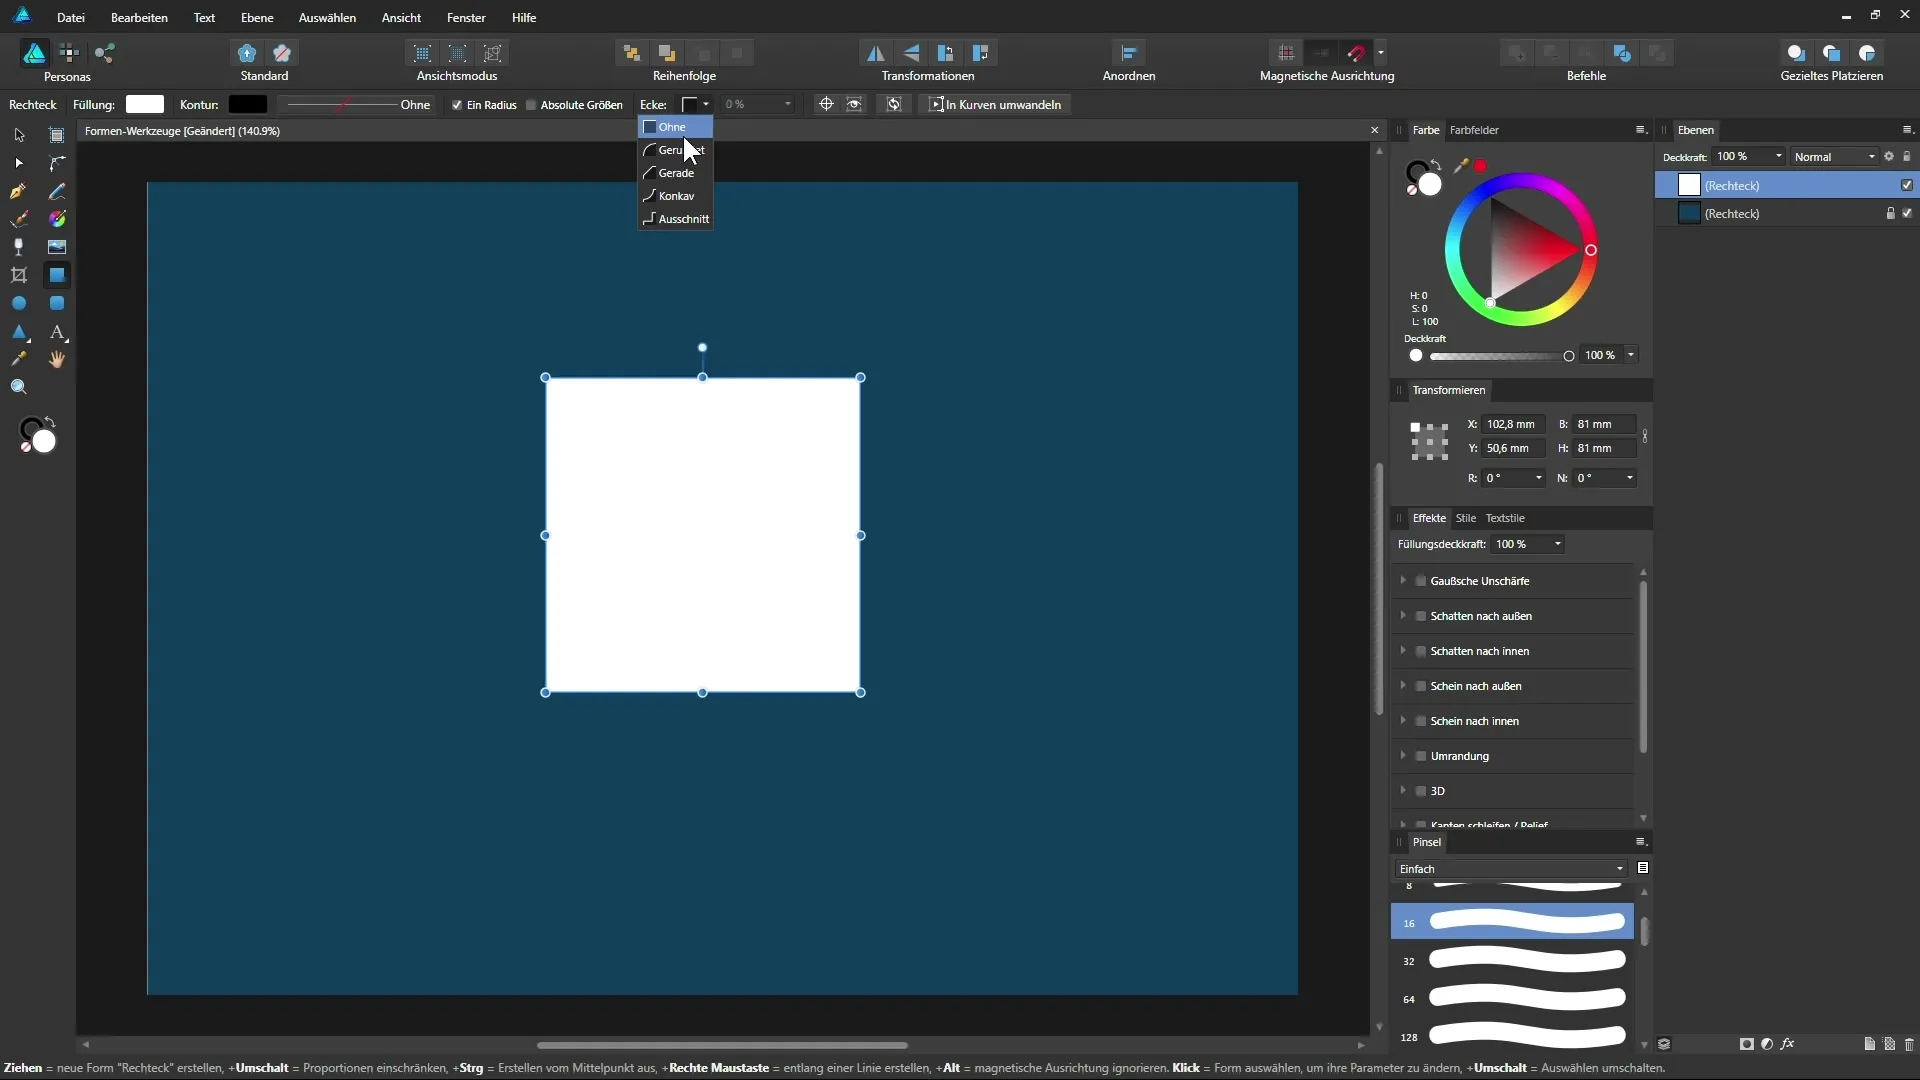
To create a square, select the rectangle tool and drag while holding down the Shift key. In the context bar, you can now set the radius for the corners to create rounded corners. For example, you can round the corner by 25%, resulting in a rounded rectangle. If you want to adjust each corner independently, select the option for separate radii.

Ellipses and Their Functions
With the help of the ellipse tool, you can create an appealing circle by holding down the Shift key again. In the context bar, you can see functions such as “Convert to Pie,” which allows you to quickly create a chart. Handles help you adjust the size and shape of the pie directly on the object.
Creating a Star
To create a star, select the star tool and drag it out on the workspace. Hold down the Shift key to ensure an even design. You can easily adjust the number of points and the shape of the star using the handles as well as the options in the context bar.
Adjusting Speech Bubbles
If you need speech bubbles for your design, you can choose between rectangular and elliptical shapes. Drag the speech bubble out and adjust the arrow direction with the handles. Speech bubbles can be designed intuitively with the orange handles, allowing you to quickly change their appearance.
Professional Shape Design
Each of these shape tools has its specific advantages, enabling efficient design. Editing your shapes even after design remains flexible. For example, if you want to convert the star into curves, click “Convert to Curves.” Afterward, you will be able to further edit your path with the node tool.
Try and Explore
Use the shape tools in Affinity Designer to get creative. There are countless options like heart shapes or gears that help you quickly realize your vision. Experiment and discover what possibilities the shape tools offer you.
Summary - Working with Shapes in Affinity Designer
In this guide, you have learned how to effectively use the shape tools in Affinity Designer. From selection and adjustment to creative application of the various shapes, these tools provide you with enormous flexibility and efficiency in designing.
Frequently Asked Questions
How can I create a rounded rectangle?Select the rectangle tool, draw a rectangle, and adjust the corner radius in the context bar.
Can I change the shape after creating it?Yes, by clicking on the shape, you can make adjustments anytime using the handles or the context bar.
What are speech bubbles and how do I create them?Speech bubbles are special shapes for dialogues. Select a speech bubble tool and drag the shape out. Use the handles for adjustment.
Can I convert the shapes into curves?Yes, using the option “Convert to Curves,” you can turn your shapes into full paths and further edit them.
How many different shape tools are there?There are a variety of shape tools, including rectangles, ellipses, stars, and special speech bubble shapes.


