With Artboardsin AffinityDesigner, you have the ability to efficiently organize multiple workspaces within a document. This feature makes it easier for you to work on different designs without needing to create separate files. Below, you will learn how to set up, customize, and make the most out of Artboards.
Main insights
- Artboards allow you to create multiple documents within a main document.
- You can rename Artboards, change their background color, and adjust specific settings.
- The object separation between Artboards is important for appealing design.
- Each Artboard can be described and exported individually, e.g., as a PDF.
Step-by-Step Guide
The journey into the world of Artboards begins with the right selection of the tool in Affinity Designer.
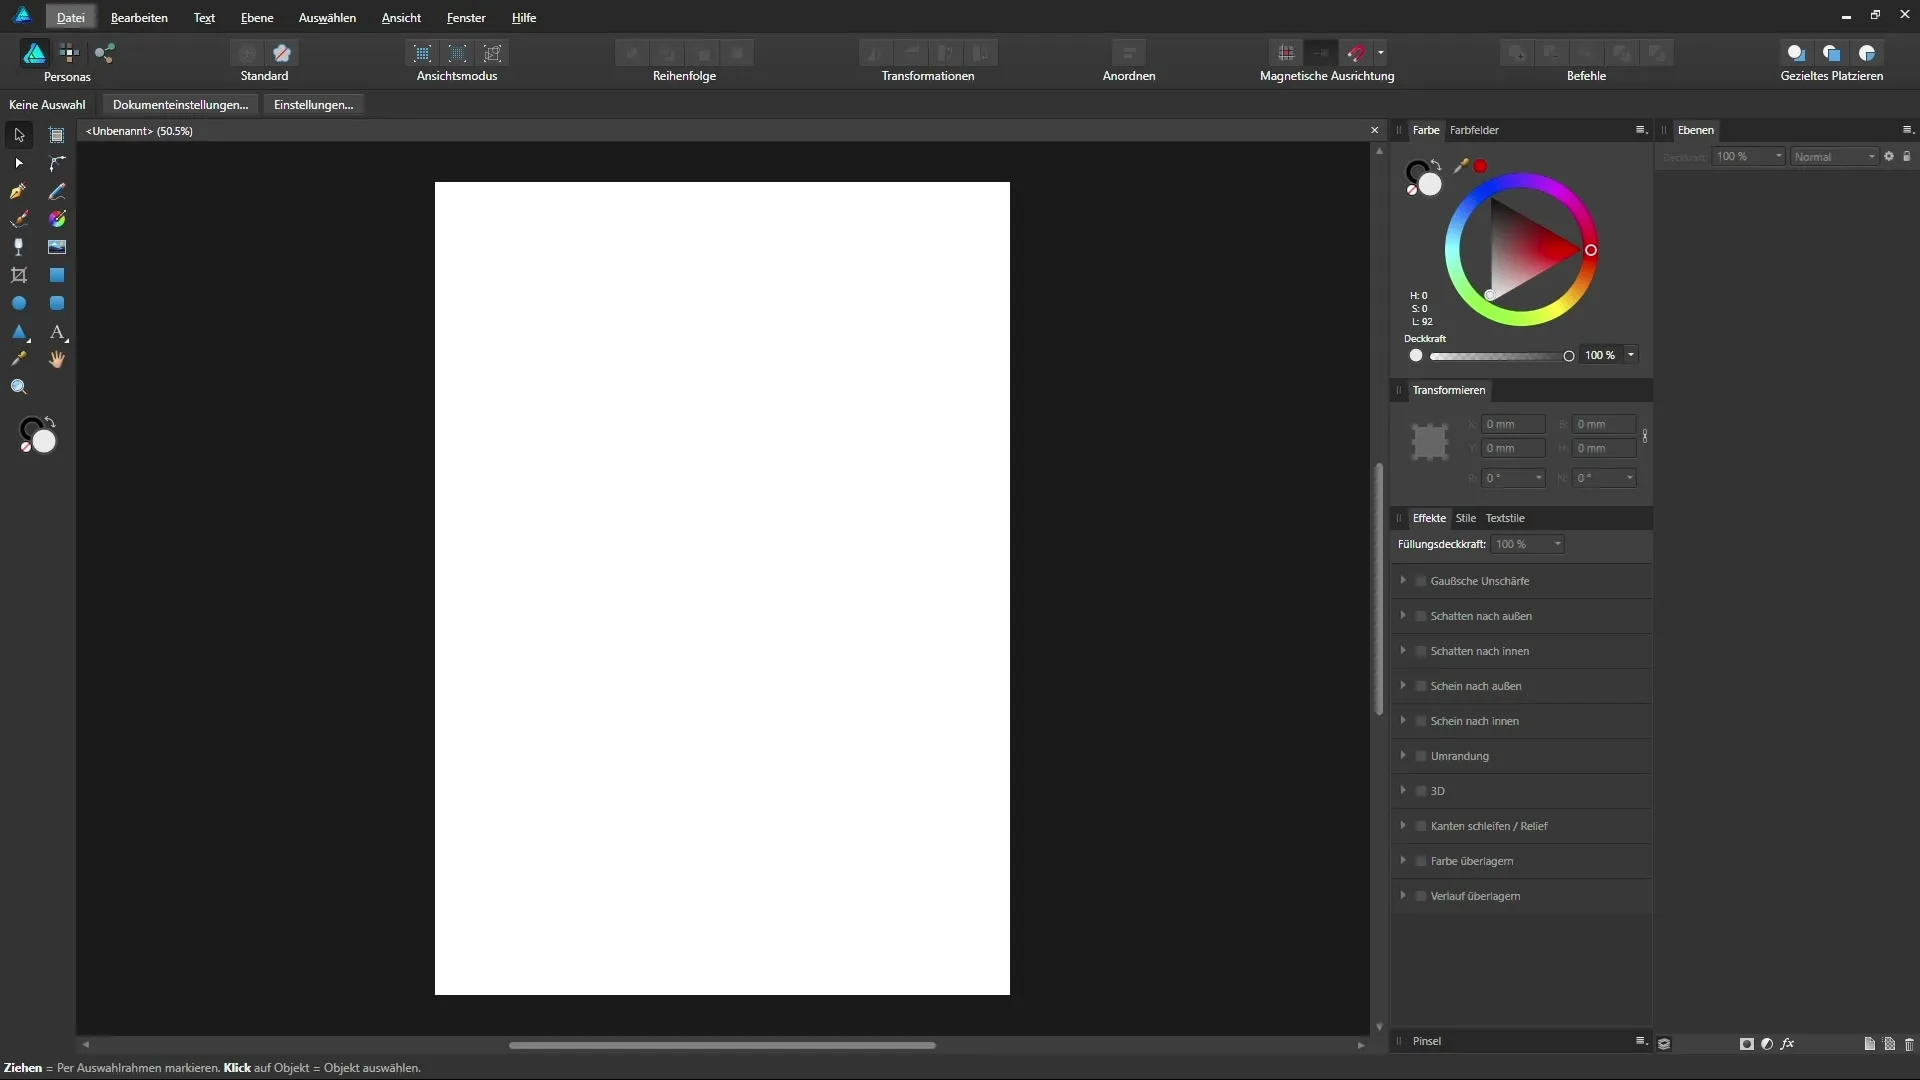
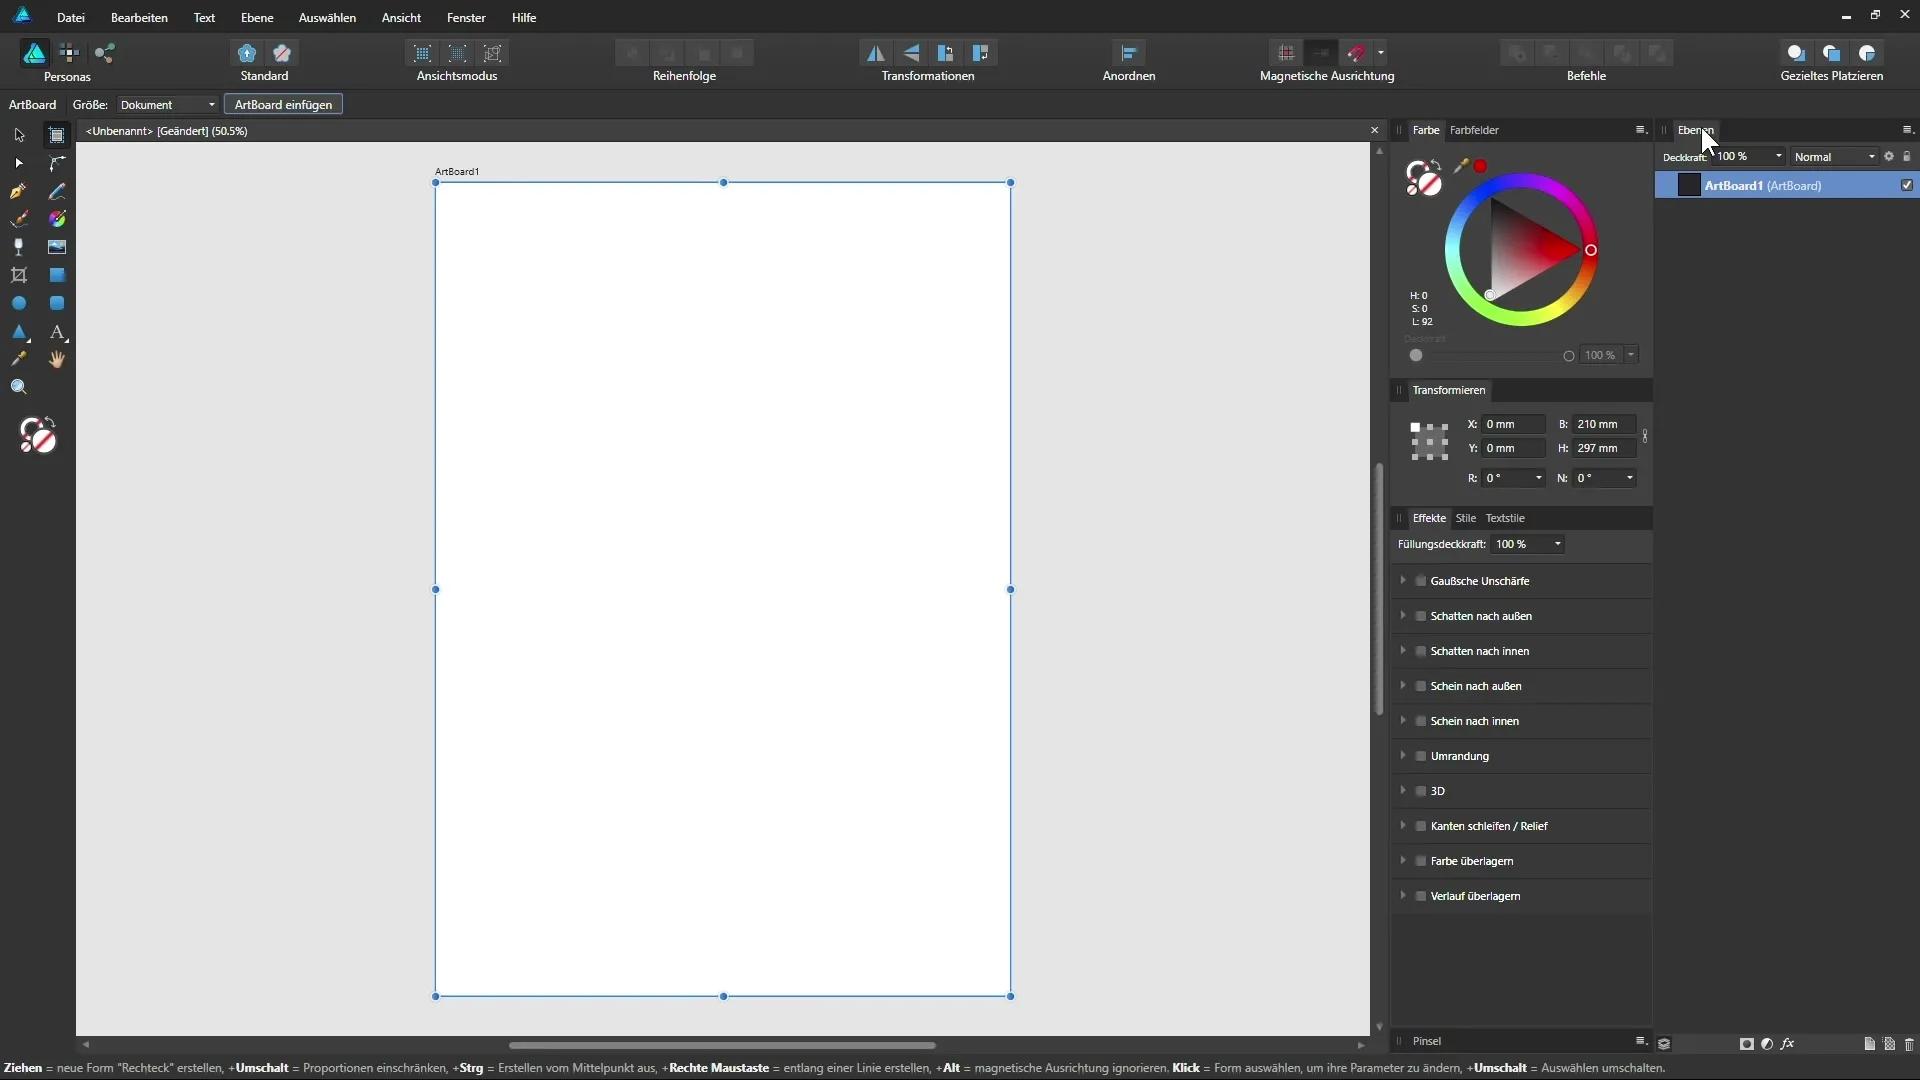
To convert your standard A4 document into an Artboard, first select the Artboard tool from the toolbar. The context bar will appear and display options for the size of the Artboard. Choose "Document" as the size so that your Artboard has the same dimensions as your current document. Now click on “Insert Artboard” and pay attention to the area as well as the layers palette to track your progress.

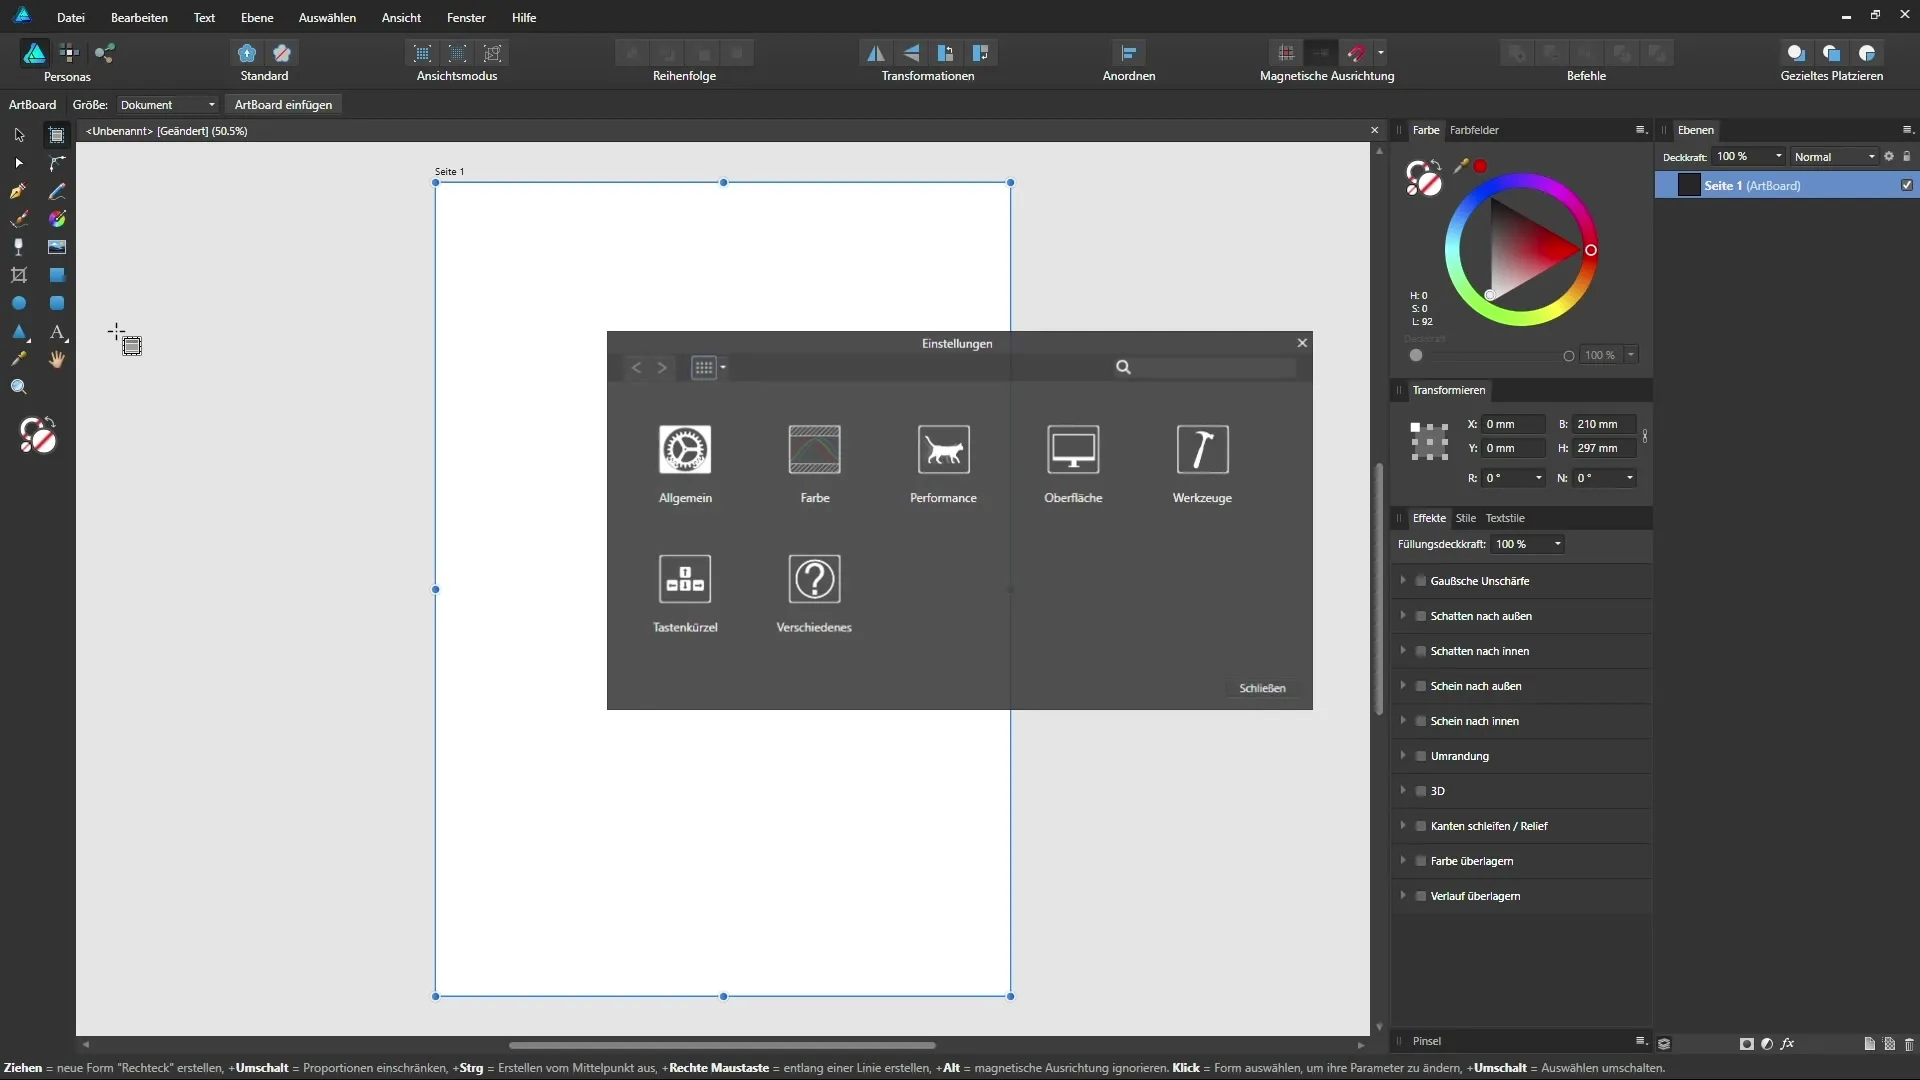
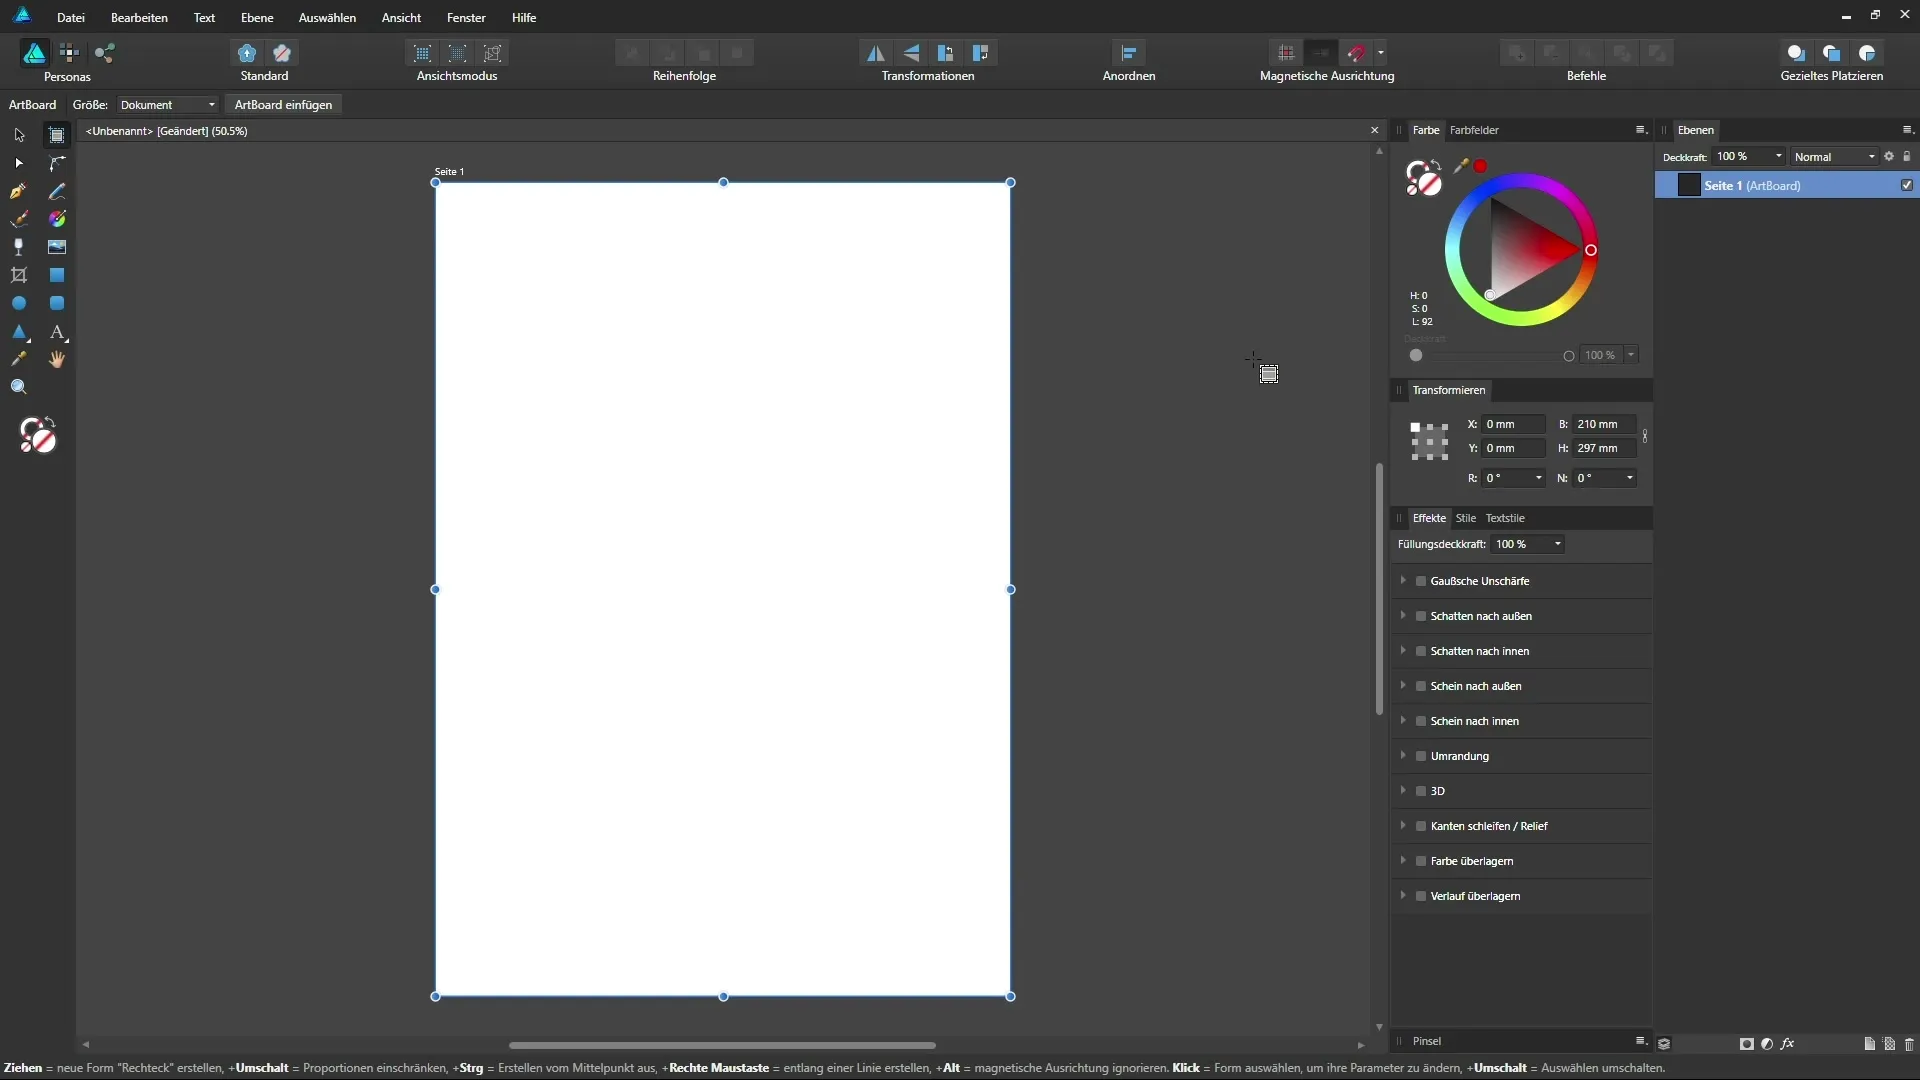
The newly created Artboard is now labeled "Artboard 1" at the top left. You can rename it with a double-click; for example, to "Page 1". The background displays light gray. To darken the background, go to the settings and change the grayscale of your Artboard. This gives you a more pleasant working environment.
Now that you have successfully created your first Artboard, you can create multiple Artboards to better organize your designs. For example, you might create two pages for a business card. To create another Artboard with the same dimensions, select the Artboard tool again and click on “Insert Artboard.” Don't forget to rename the new Artboard as well.
The Artboards now behave like independent documents. If you work on Page 1 and, for example, draw a circle, it won’t affect Page 2 as long as you place it within the boundaries of the Artboard. But be careful: If you move the circle beyond the boundaries, it will be visible on the other Artboard because you have moved it there.
If you want to create many different Artboards, you can name them significantly easier, such as “Page 3”, “Page 4” and so on. Later, you can export the entire document as a PDF and choose whether to include all pages or only a specific one.
For different design projects, it may also be necessary to use different dimensions for your Artboards. Delete the Artboard you no longer need by selecting it in the layers palette and clicking “Remove.”
You can also freely create a new Artboard by simply clicking and dragging on the workspace. It may be helpful to use the “Transform” panel to define exact dimensions. Click on the Artboard to adjust its size and enter the desired dimensions – for example, 100 x 100 mm.

The customizable settings for each Artboard are another advantage. To do this, go to “File” and select “Document Settings.” Here, for example, you can add margins and further refine the layout.

When working with Artboards, it is crucial to keep an eye on the unit of measurement. Use millimeters for graphic formats and perhaps pixels for digital designs. You can adjust the unit of measurement at any time through the “Document Settings.”

An important feature in Affinity Designer is the ability to move objects from one Artboard to another by converting the Artboard into an object. To do this, select the Artboard and click on “Layer” > “Convert Artboard to Object.” You can now place the object freely within your design.
To design your project accurately, you can also show margins. To do this, go to “View” and enable “Show Rulers.” This way you can easily read the position of elements within the Artboards and ensure that everything is exactly in the right place.
Finally, you can export the document. Click on “File” > “Export” and select the PDF format. Here you can determine which Artboards and content should be included in the export. This is particularly useful when it comes to looking professional and appropriately presenting all content.
Summary – Setting Up and Using Artboards in Affinity Designer
Working with Artboards in Affinity Designer opens up numerous creative possibilities and the flexibility to manage multiple designs within a single file. You have learned the tools and techniques to effectively and individually design your Artboards.
FAQ
What are Artboards in Affinity Designer?Artboards are workspaces in a document that allow you to create multiple designs within a single file.
How do I create an Artboard?Select the Artboard tool, adjust the size, and click on “Insert Artboard.”
Can I change the background color of an Artboard?Yes, you can adjust the grayscale of the Artboard background in the settings.
How do I export my Artboards as PDF?Go to “File” > “Export” and select the desired Artboards for export.
Can I select Artboards when creating a new document?Yes, when creating a new document, you can enable the option to “Create Artboard.”


