The Brush Tool in Affinity Designer is a powerful tool for creating creative expressions on pixel layers. You can work with different brushes and techniques to bring your projects to life. In this tutorial, you will learn how to use the Brush Tool effectively and what features are available to you.
Key Takeaways
- The Brush Tool is ideal for pixel editing.
- Pressure sensitivity allows for varying stroke widths.
- Opacity and flow differ in application.
- Use preset brushes from the brush panel.
Step-by-Step Guide
Select the Brush Tool
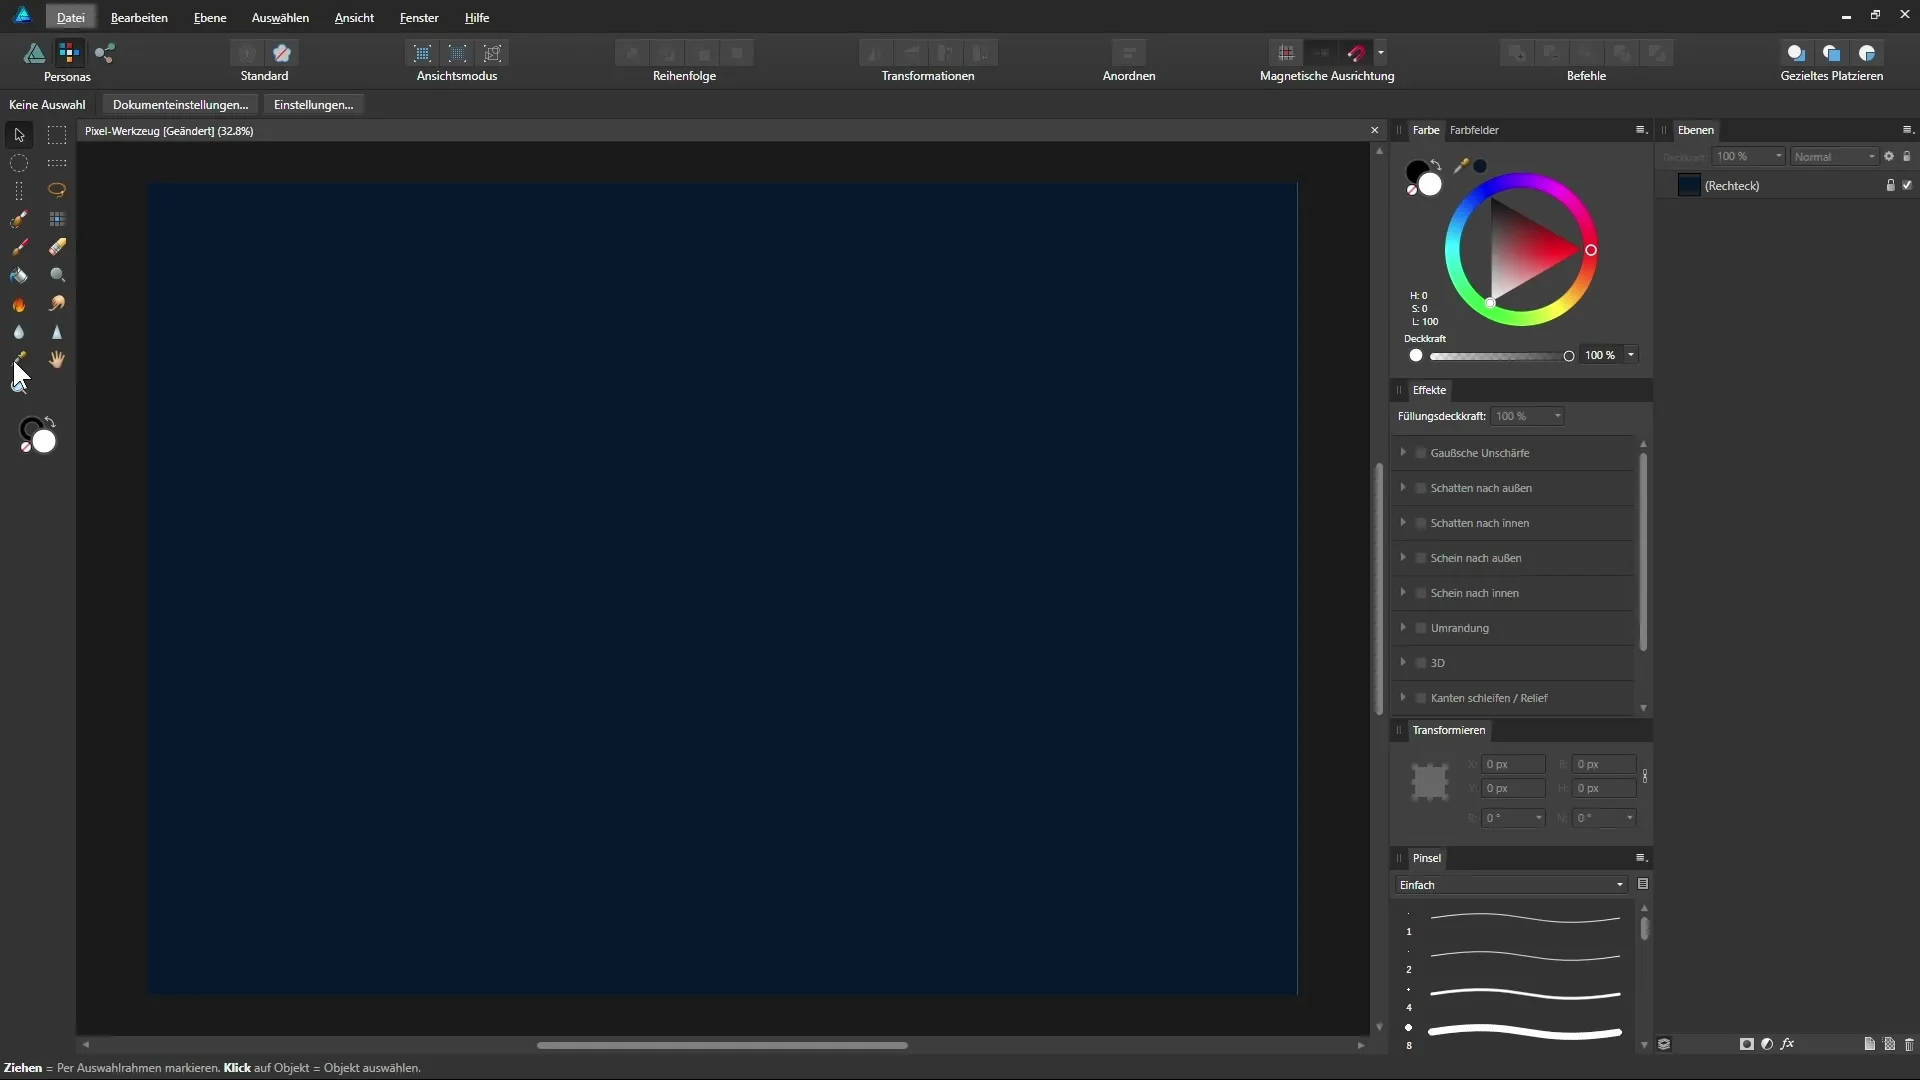
In the first step, select the Brush Tool from the pixel persona toolbar. You can either click on it or use the keyboard shortcut B for quicker access. With this tool, you can now start your creative process.

Create a New Pixel Layer
To start painting, create a new blank pixel layer. To do this, click on the corresponding icon in the layers palette. This creates an ideal space to experiment with your brush strokes without restrictions.
Select Color and Pressure Sensitivity
You should first select a color you want to use – in this example, we chose white. Enable pressure sensitivity so that the width of your brush strokes can vary depending on how hard you press with the stylus on your graphics tablet. This feature is crucial for creating dynamic brush strokes that give your artwork more depth.
Adjust Brush Width
Use the context bar at the top to adjust the width of your brush. You can either enter this numerically or use the slider to set the brush width to your liking. Another option is to hold down both the left and right mouse buttons along with the ALT key while moving the mouse. This allows you to control the brush width directly.
Make Brush Harder or Softer
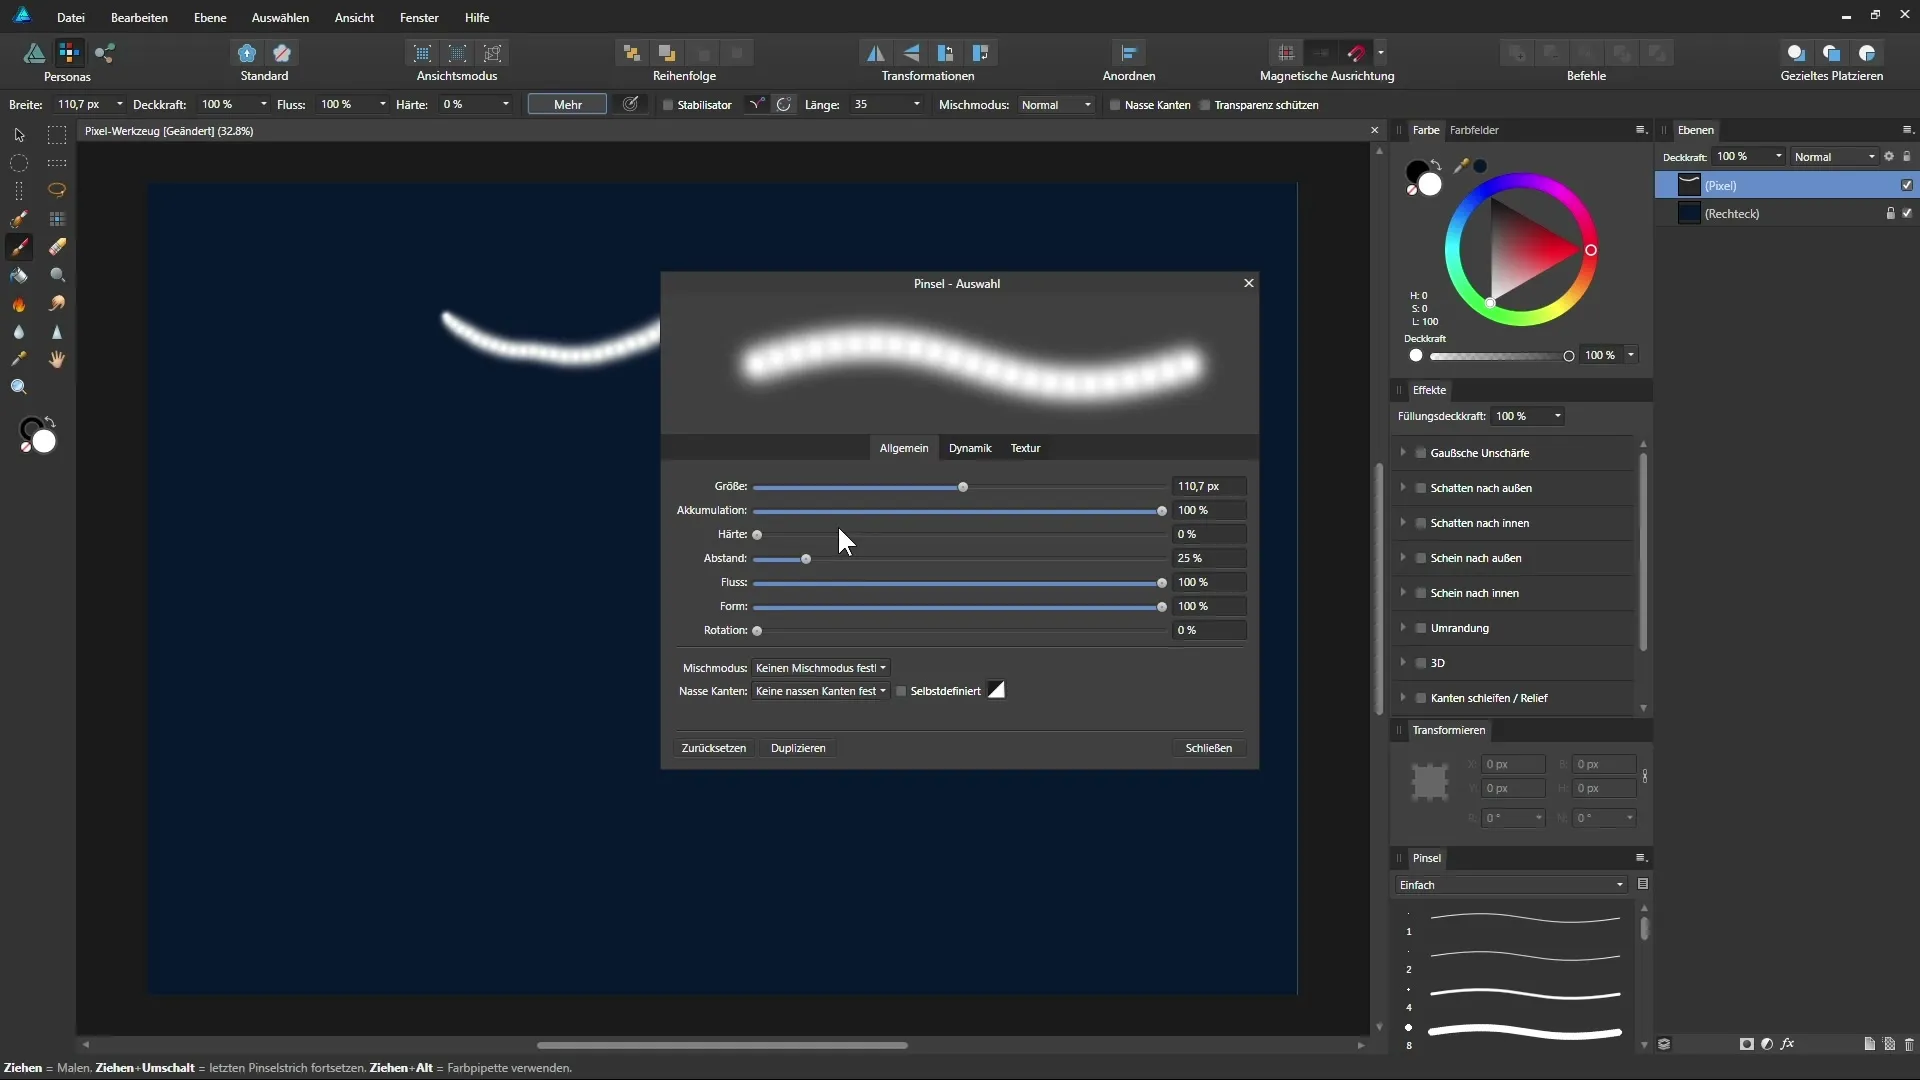
The hardness of your brush can also be adjusted. Move the mouse up or down in the context bar to increase or decrease the hardness. A brush with 100% hardness will create sharp edges, while a hardness of 0% will create a soft, blurred effect. Experiment here to find the desired look.
Adjust Stroke Spacing
If you want your brush stroke to look smoother, you can adjust the spacing between the dots. The default value is usually set at 25%. If you reduce this value, you will achieve a continuous line that looks appealing. Set the spacing to, for example, 1% to draw a seamless line.

Understand Opacity and Flow
An important distinction in using the Brush Tool is between opacity and flow. Reduce the opacity to create a transparent brush stroke that gets darker with each stroke. Be aware that the strokes accumulate, but the transparency remains the same. Flow, on the other hand, allows you to apply color in layers. A lower flow means that the color is applied slowly, giving you better control.
Activate Stabilizer
To make your strokes smoother, you can activate the stabilizer. Set the length to about 35 to reduce small irregularities while drawing. This feature ensures that your strokes are more even and that there are fewer small jitters.
Simulate Wet Edges
If you want to work with the effect of wet paint, reduce the hardness of the brush and activate the “wet edges” function. This gives your brush strokes a creative, watercolor-like look that can be very appealing for certain art styles.
Use the Brush Panel
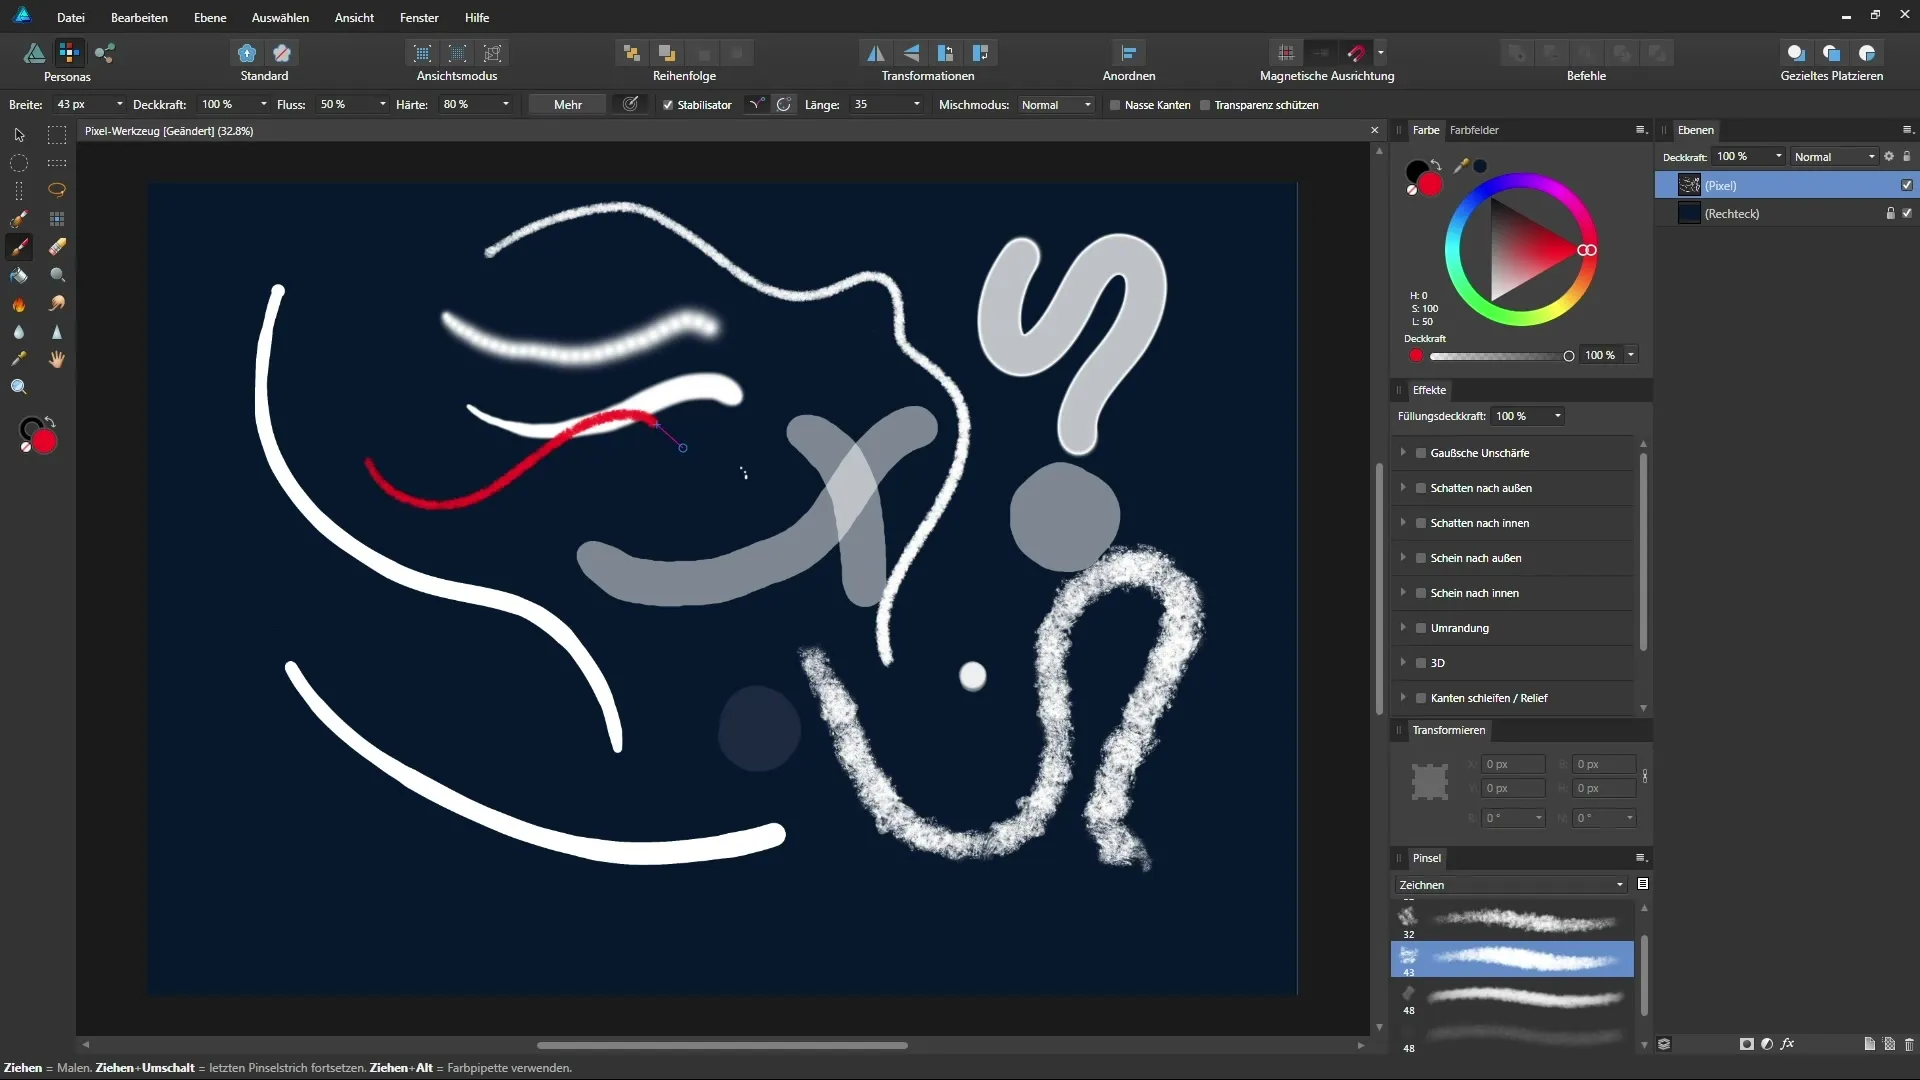
The Brush Panel is a great resource for accessing preset brushes. You can find it under View > Studio > Brushes. Here you can browse through various categories and select the right brush for your project. Use texture or effect brushes to incorporate interesting elements into your designs.
Experiment with Different Brush Styles
With the brushes available in Affinity Designer, you can achieve diverse effects. Experiment with various brush types – whether angled lines, textures, or patterns – and find out which style best suits your project.

Summary – Using the Brush Tool Correctly in Affinity Designer
In this tutorial, you learned how to make optimal use of the Brush Tool in Affinity Designer. You now understand the features of pressure sensitivity, the difference between opacity and flow, as well as how to handle the Brush Panel. Implement your newly acquired knowledge in your projects and let your creativity flow.
Frequently Asked Questions
How do I select the Brush Tool?You can select the Brush Tool in the toolbar or with the keyboard shortcut B.
What can I do with pressure sensitivity?Pressure sensitivity allows you to vary the width of your brush strokes depending on the pressure applied to the graphics tablet.
What is the difference between opacity and flow?Opacity determines the transparency of a brush stroke, while flow dictates how quickly the color is applied.
How do I activate the stabilizer?The stabilizer can be activated by selecting it in the options of the Brush Tool.
Where can I find the Brush Panel?You can find the Brush Panel under View > Studio > Brushes.


