When it comes to changing the color scheme of images or vector-based objects, the adjustment layers “Recolor” and “Lens Filter” in Affinity Designer offer effective options. With these two features, you can creatively experiment with color effects and add a personal touch to your designs. In this tutorial, I will show you how to efficiently use these functions to create optical effects and elevate your projects to the next level.
Key Insights
- The adjustment layer “Recolor” allows for a global color change, while the “Lens Filter” layers apply individual color filters.
- You can apply adjustment layers flexibly and make changes at any time without destroying the original images.
Step-by-Step Guide
Add Recolor Layer
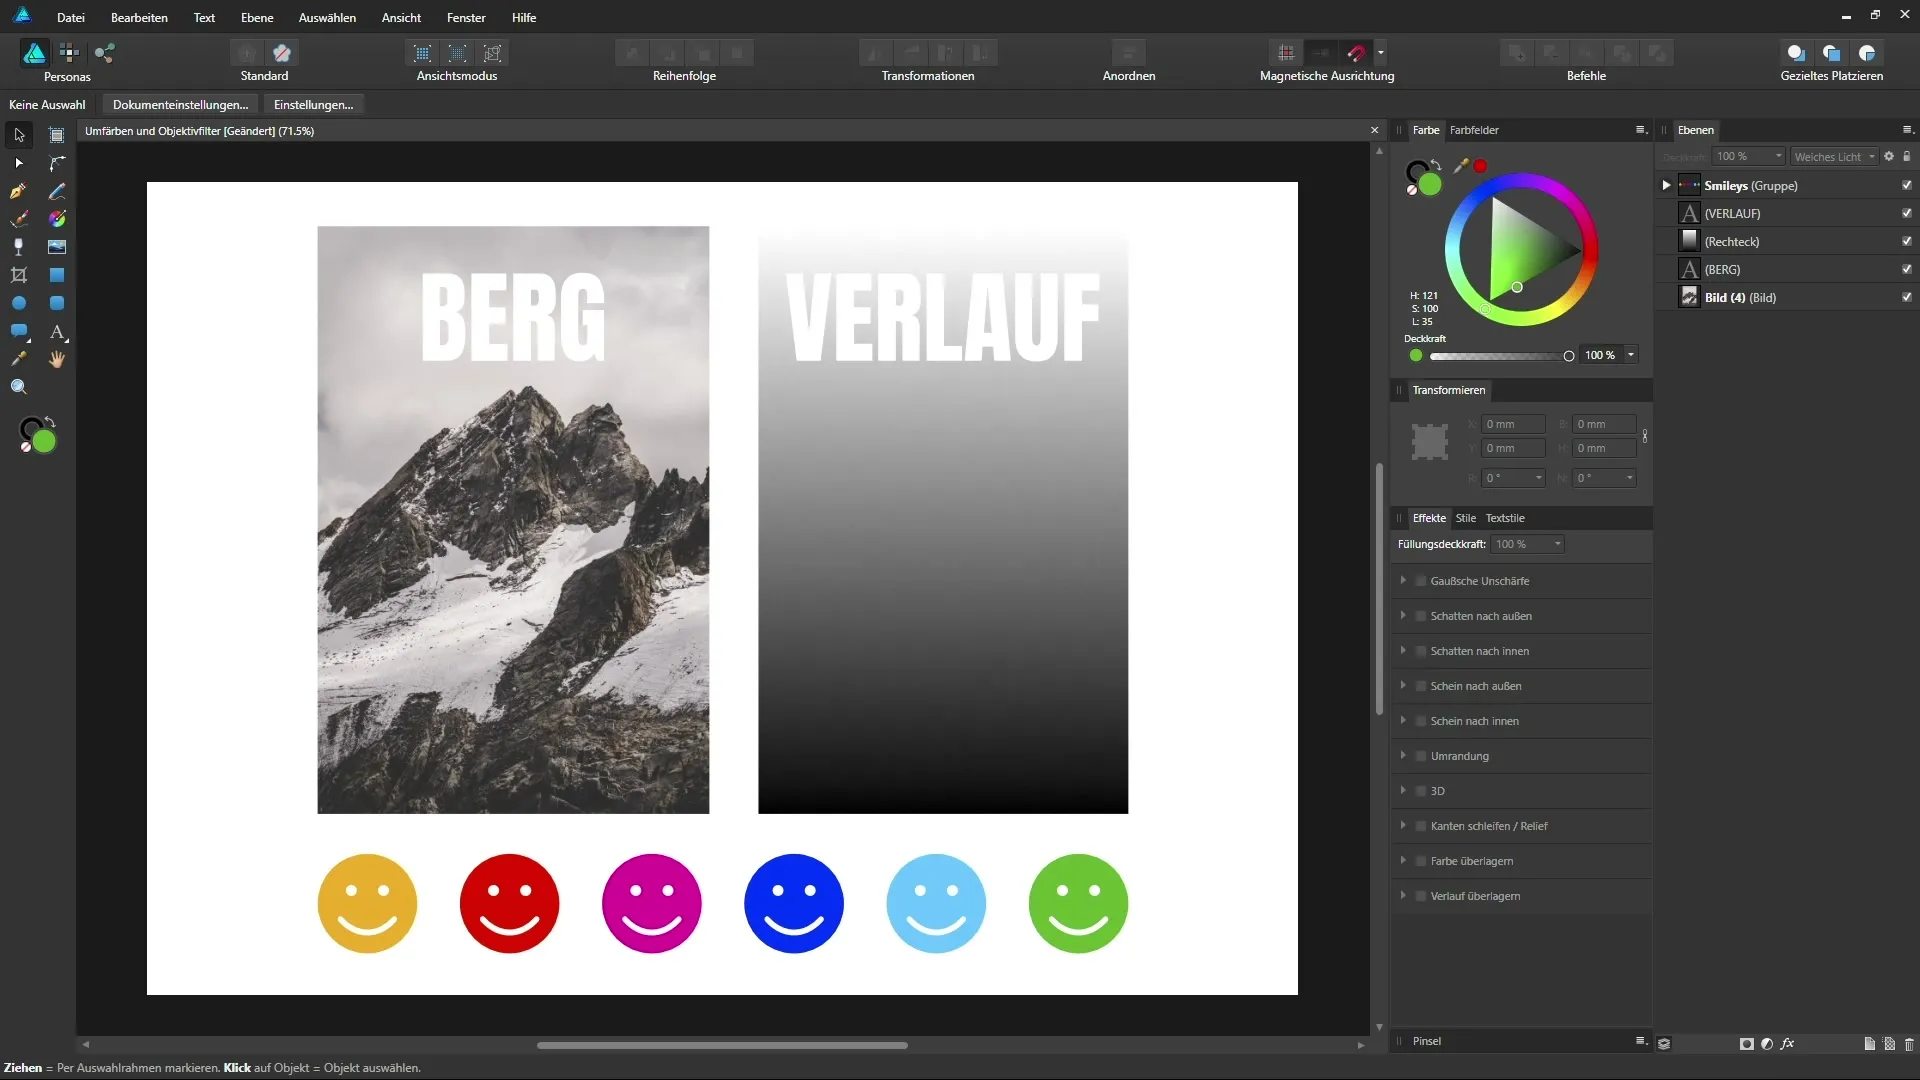
To start with the adjustment layer “Recolor,” go to the adjustment layers menu and select the “Recolor” option. This layer sits above all other layers in the layers palette, meaning it influences all the underlying layers. Watch what happens as soon as you activate the function.
Adjust Hue
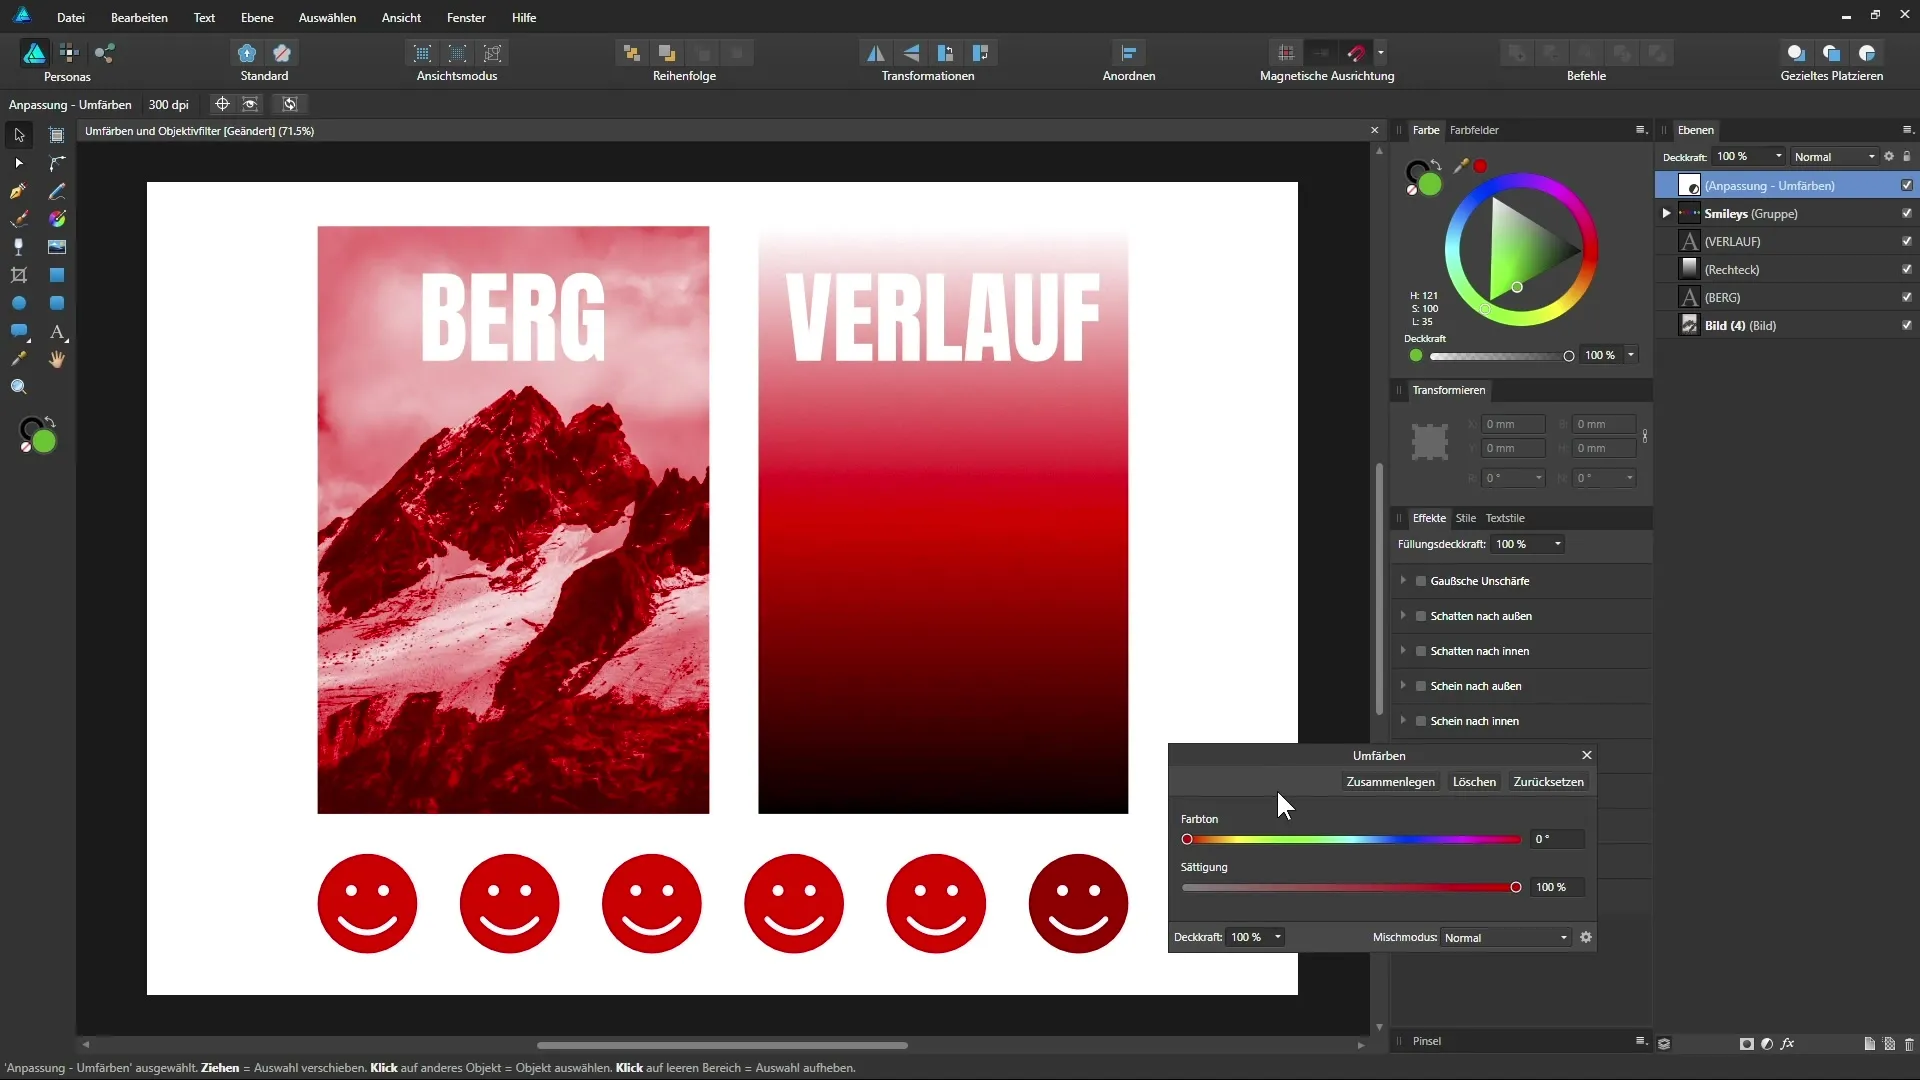
With the hue slider, you can now select a new color. For example, if you want to create a bluish hue, you can set the slider accordingly. You see the changes in real time, giving you immediate feedback on your adjustments.
Regulate Saturation
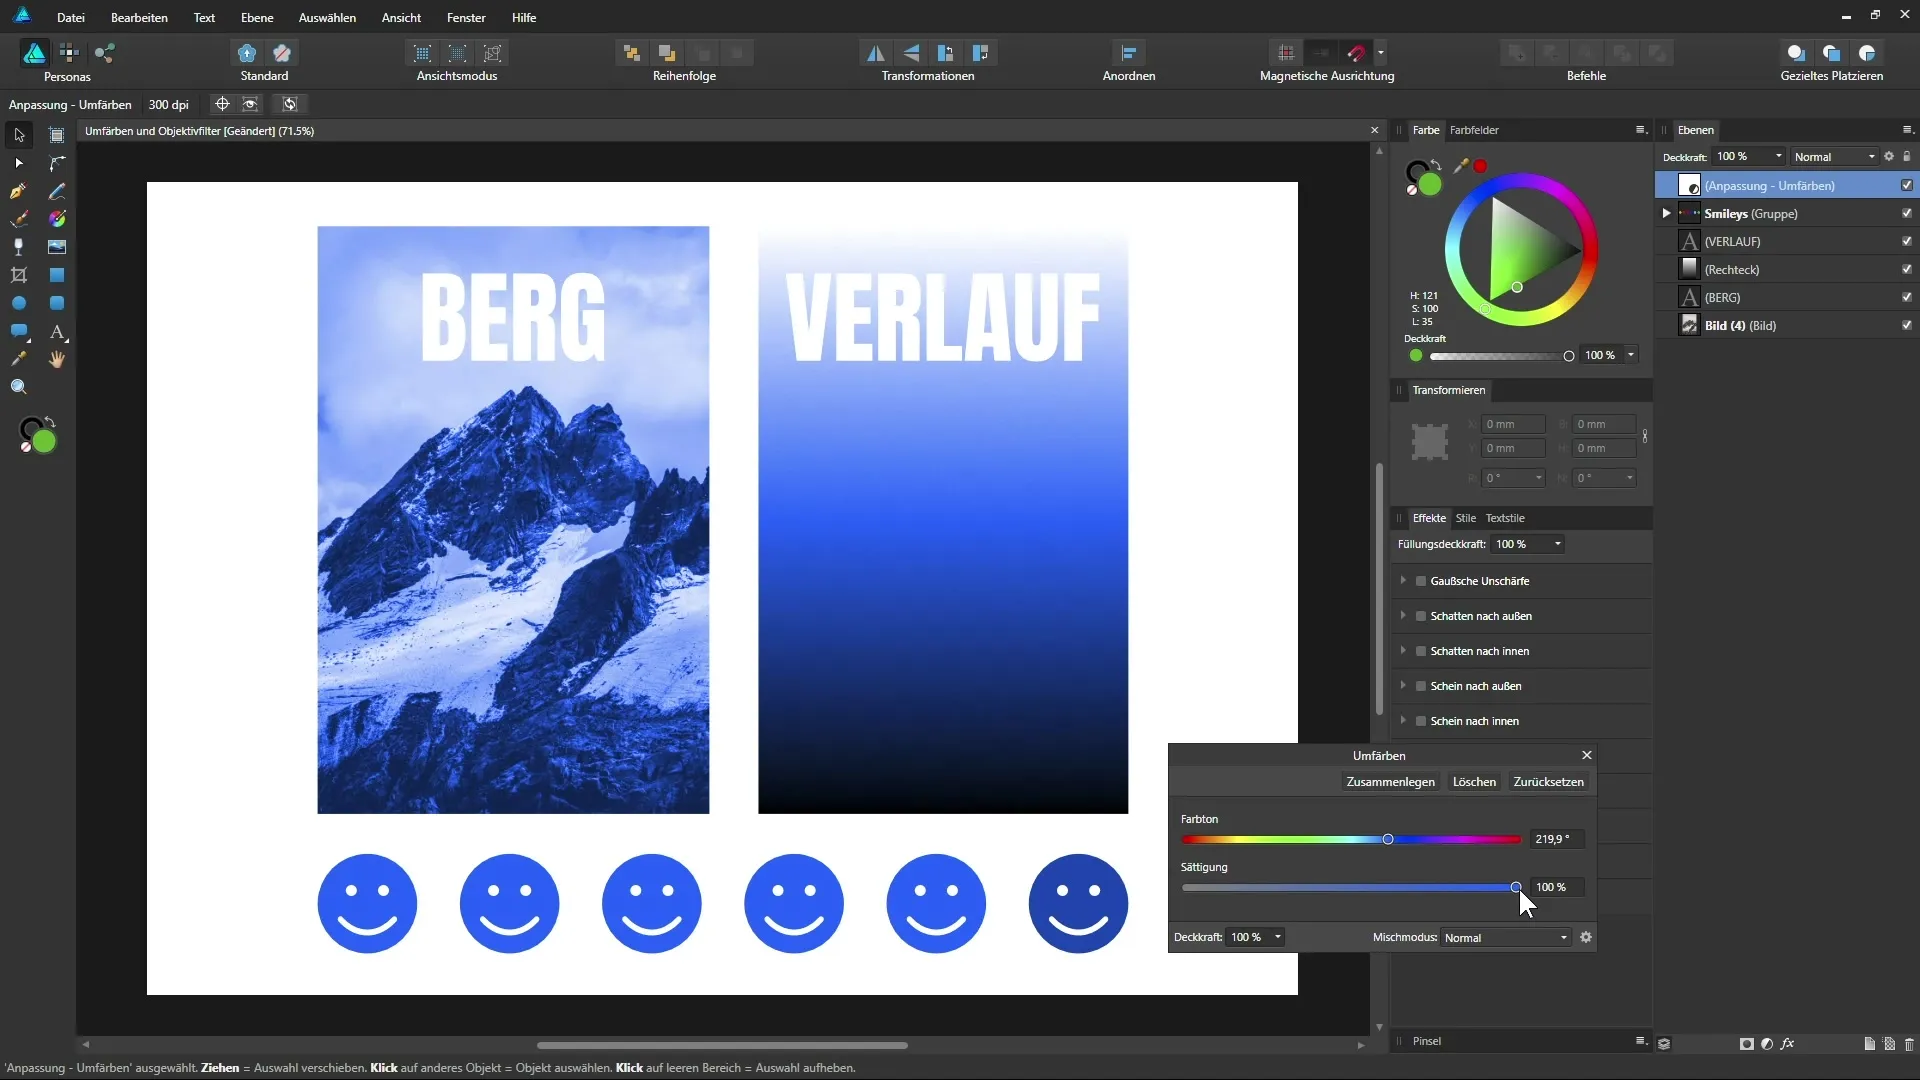
If the colors seem too intense, you can easily adjust the saturation. Move the anchor point of the saturation slider to the left until you are satisfied with the result. This process gives you the freedom to try different color variations that better fit your design.
Apply Adjustment to a Specific Image
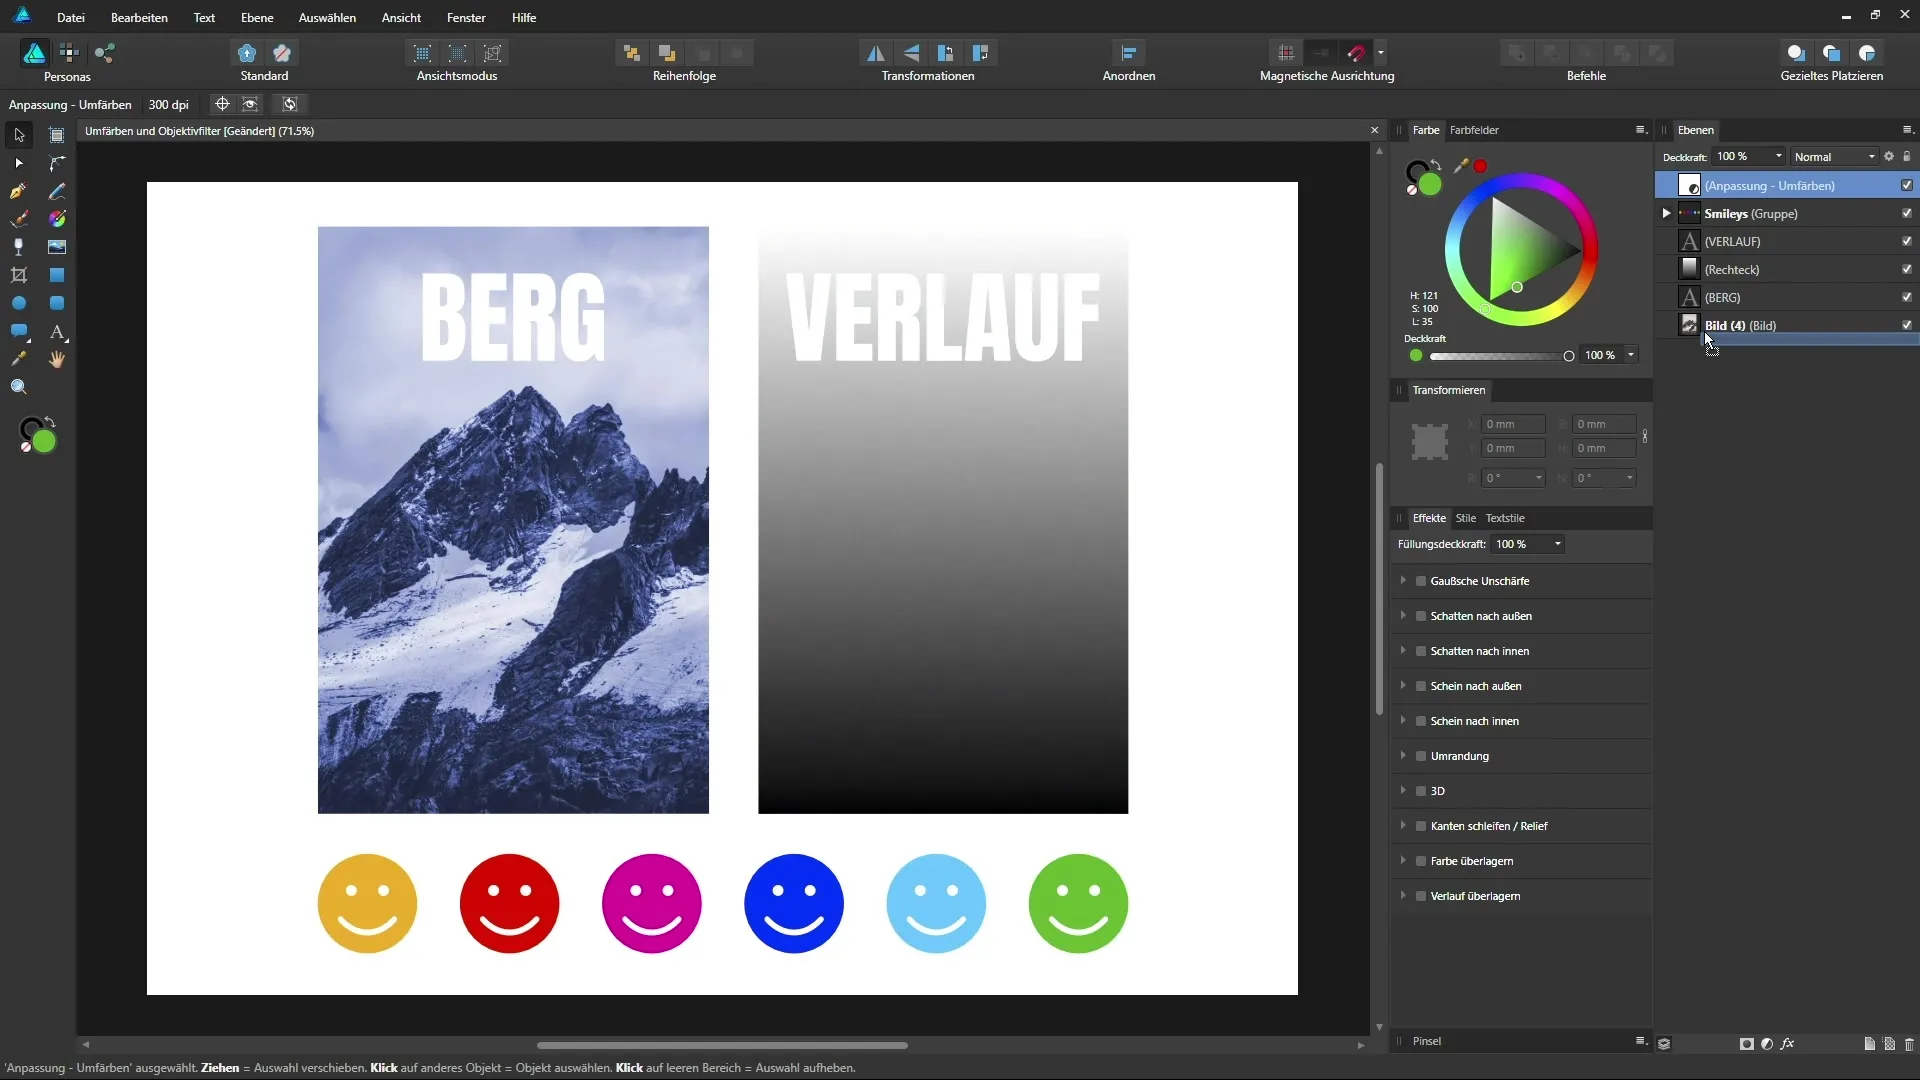
If you only want to recolor a specific image, drag the adjustment layer “Recolor” into the layer of the specific image. This makes the adjustment layer a sublayer or clipping mask, affecting only that image. This gives you precise control over the application of these effects.
Undo Changes
A major advantage of using adjustment layers is their non-destructiveness. You can access the options of the adjustment layer at any time and adjust the changes made, modify the color or saturation, or reset them completely. This gives you the flexibility you need for your creative work.
Add Lens Filter
Now let's move on to the adjustment layer “Lens Filter.” This allows you to place a color filter over the entire document, similar to a filter in front of the camera lens, to affect the image. Choose a color, such as a warm orange, and adjust the optical density to regulate the intensity of the filter.
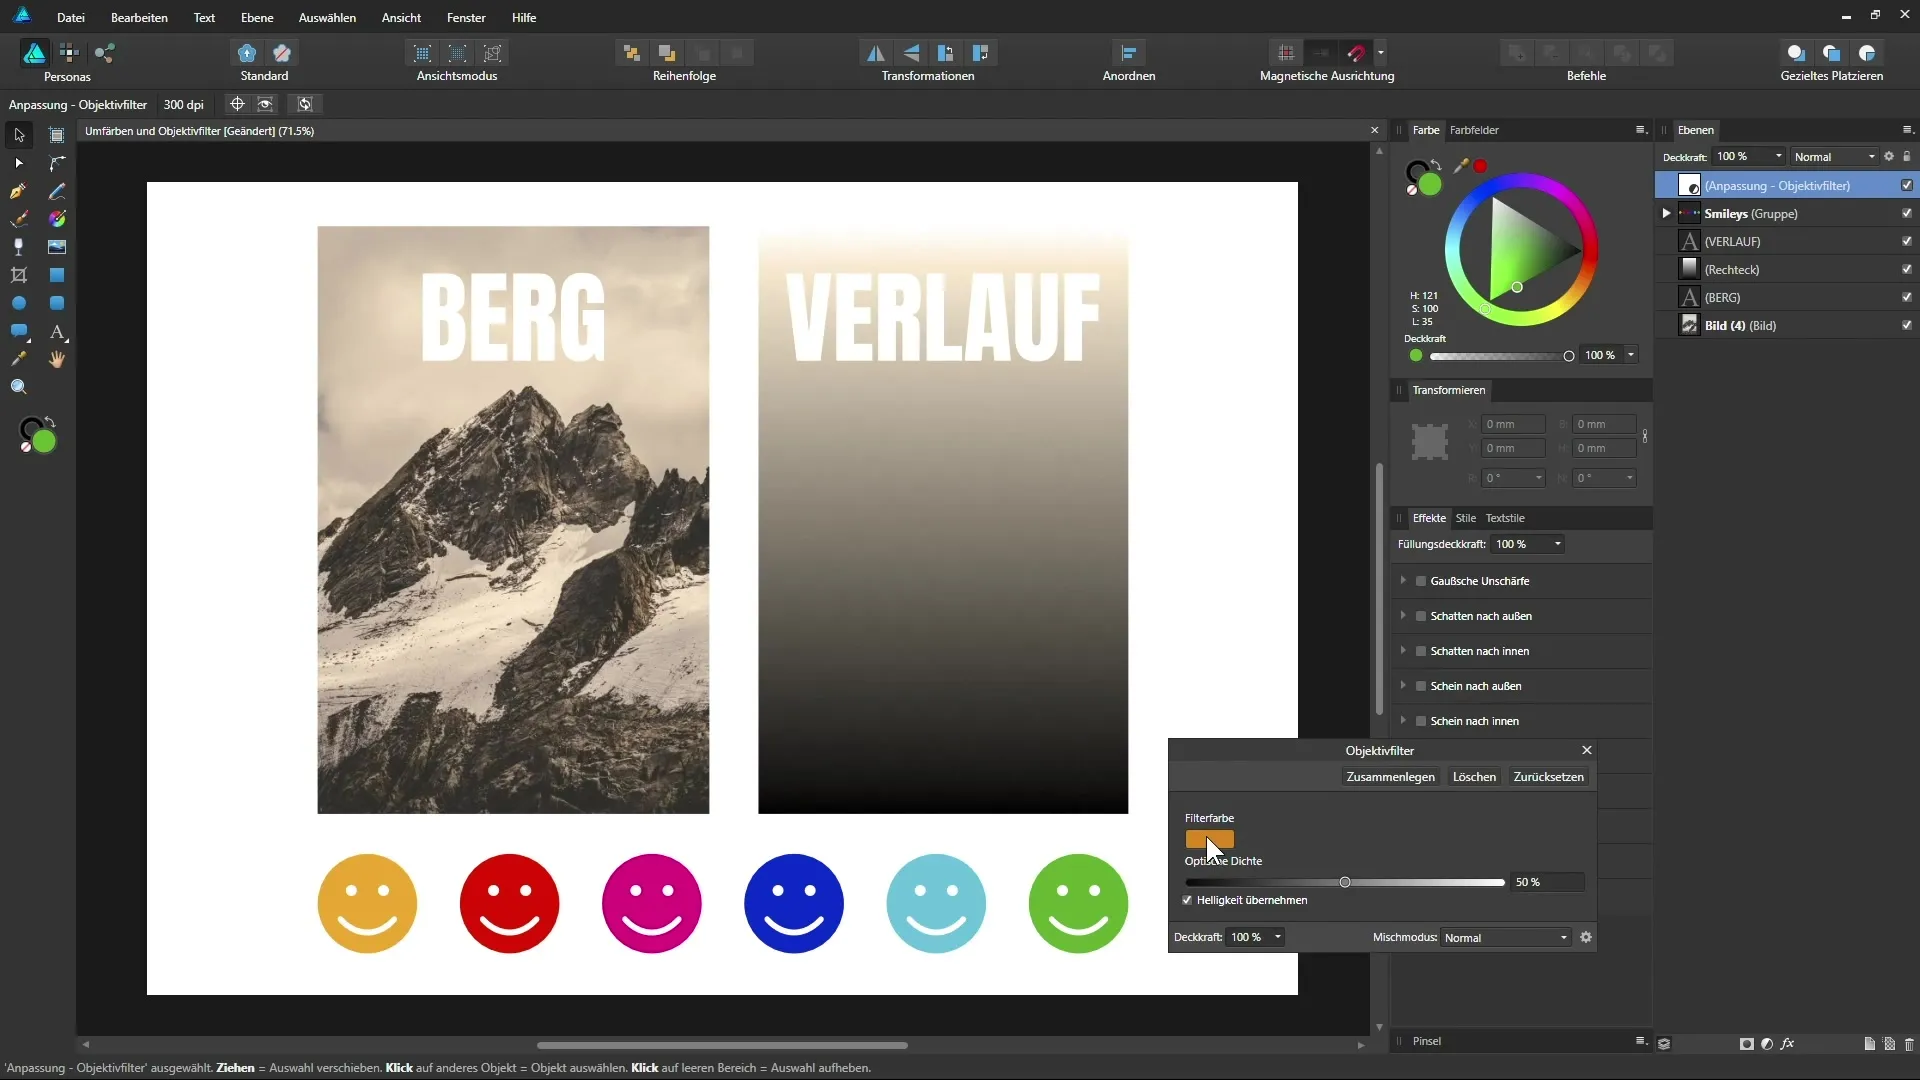
Understand Brightness Setting
The “Apply Brightness” option has a significant impact on the representation. When deactivated, the image becomes darker, depending on the intensity of the filter. Alternatively, you can activate this option to ensure that the original brightness of the image is maintained, which generally looks more favorable.
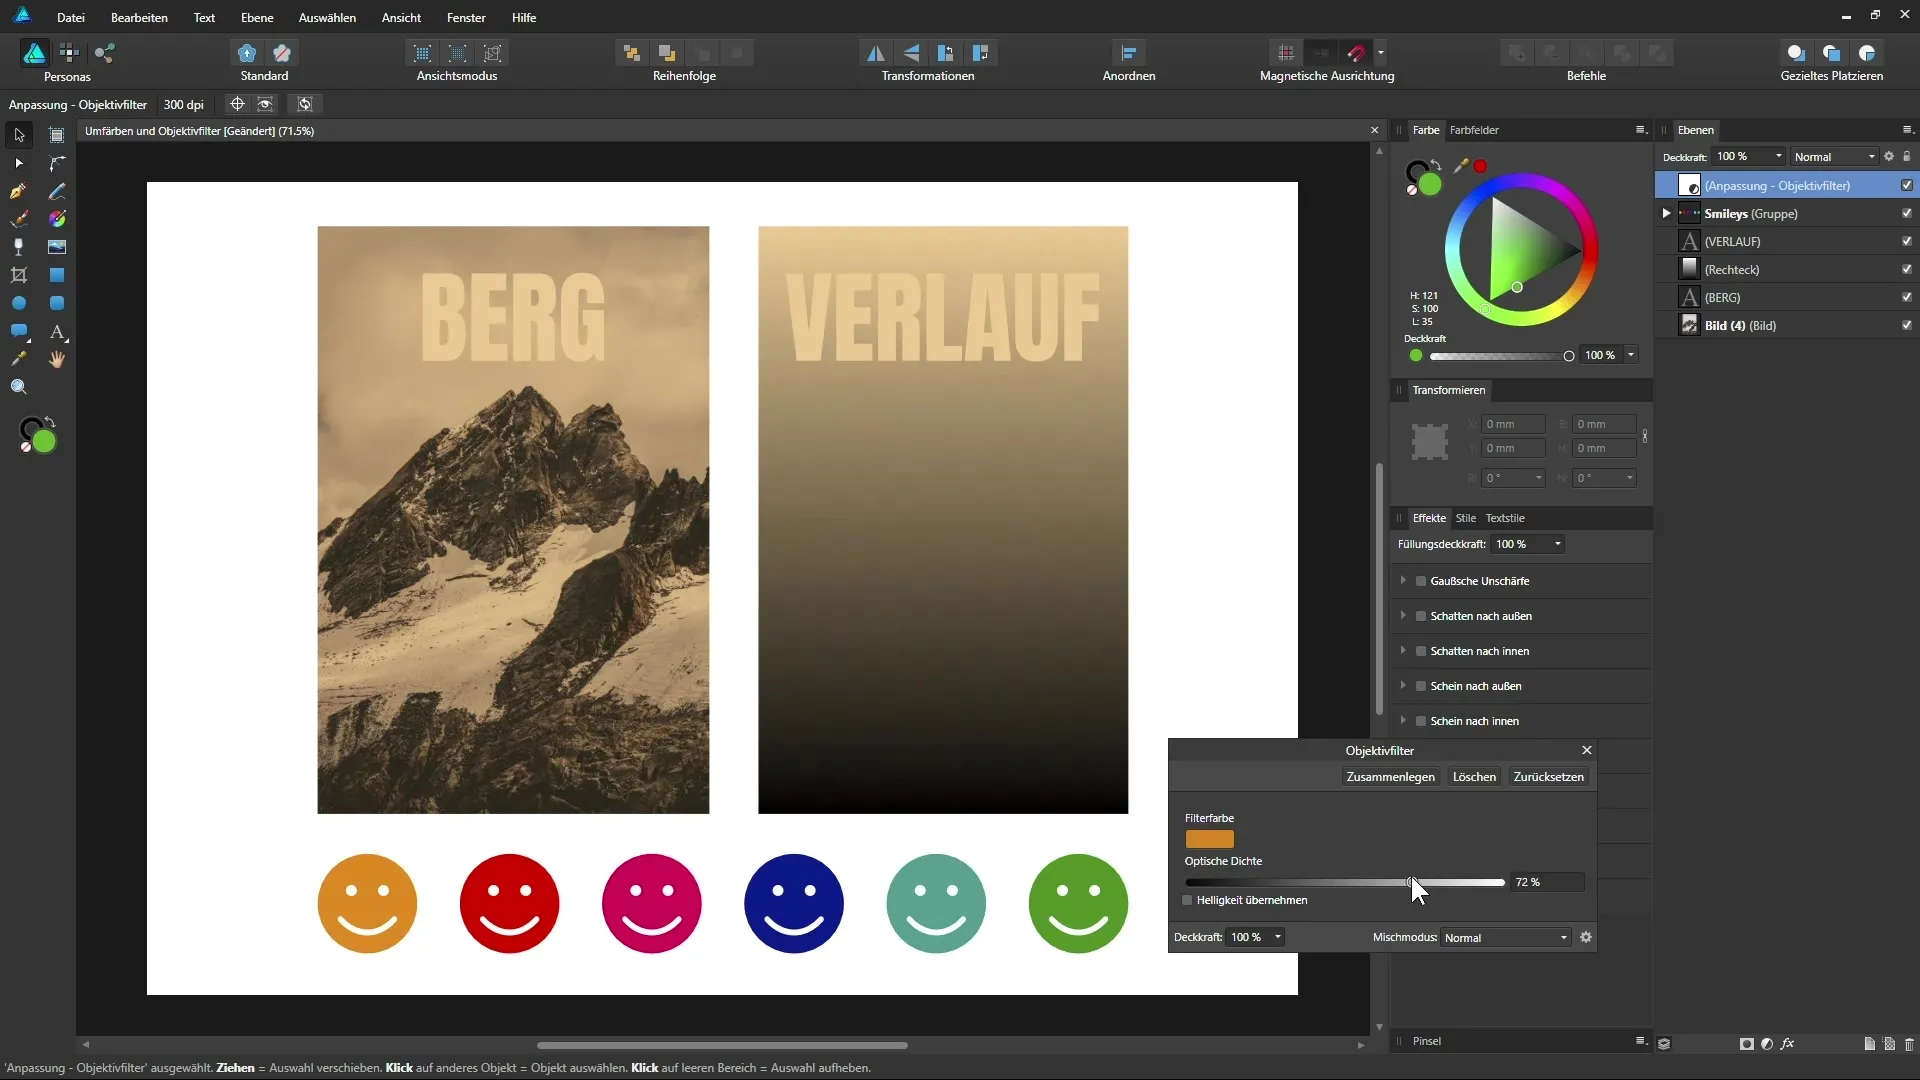
Experiment with Different Color Filters
Experiment with different color filters by clicking on the area. You can select various hues and adjust the saturation to achieve the perfect look for your project. The color filter can thus have a cooler or warmer effect on your images.
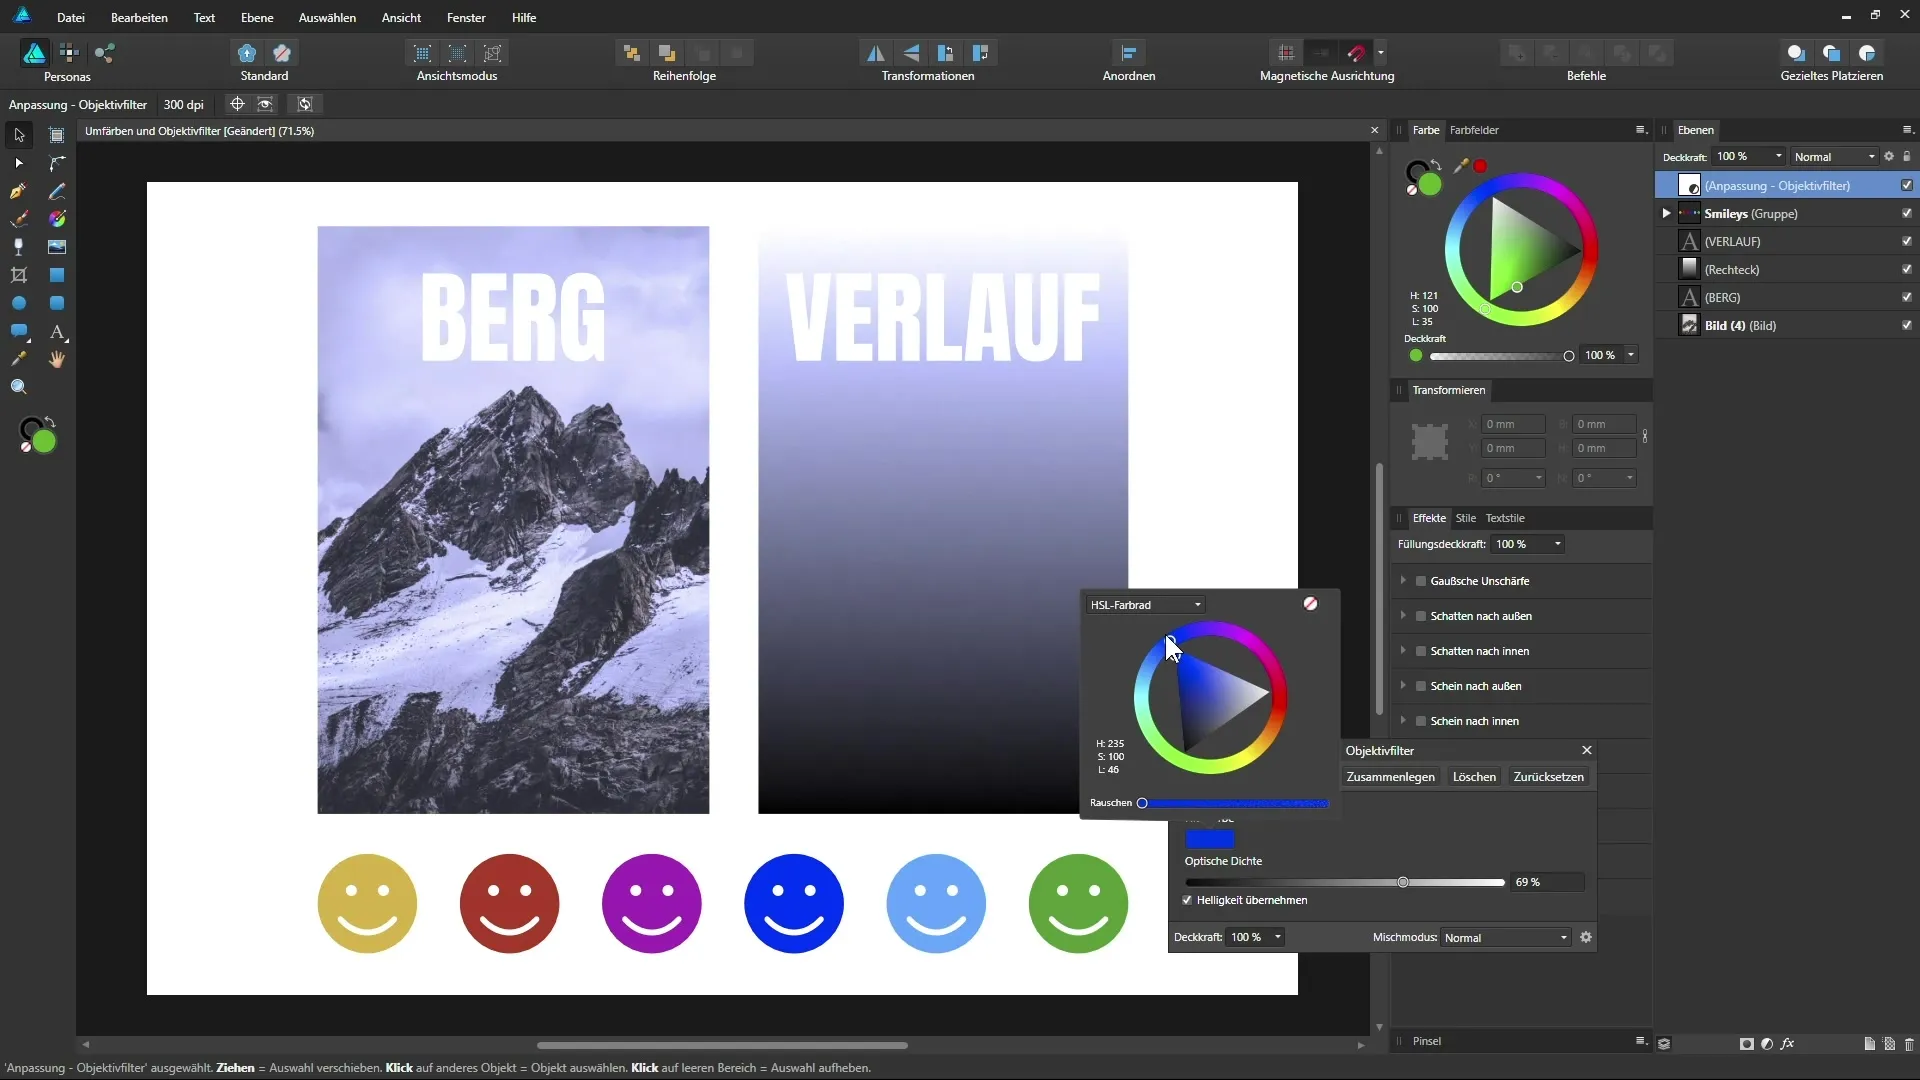
Finalizing the Color Design
Working with adjustment layers in Affinity Designer opens up numerous creative possibilities. You can play with gradient settings and color adjustments to achieve the best visual result for your project. Let your creativity run free and find the color compositions that make your design look appealing.
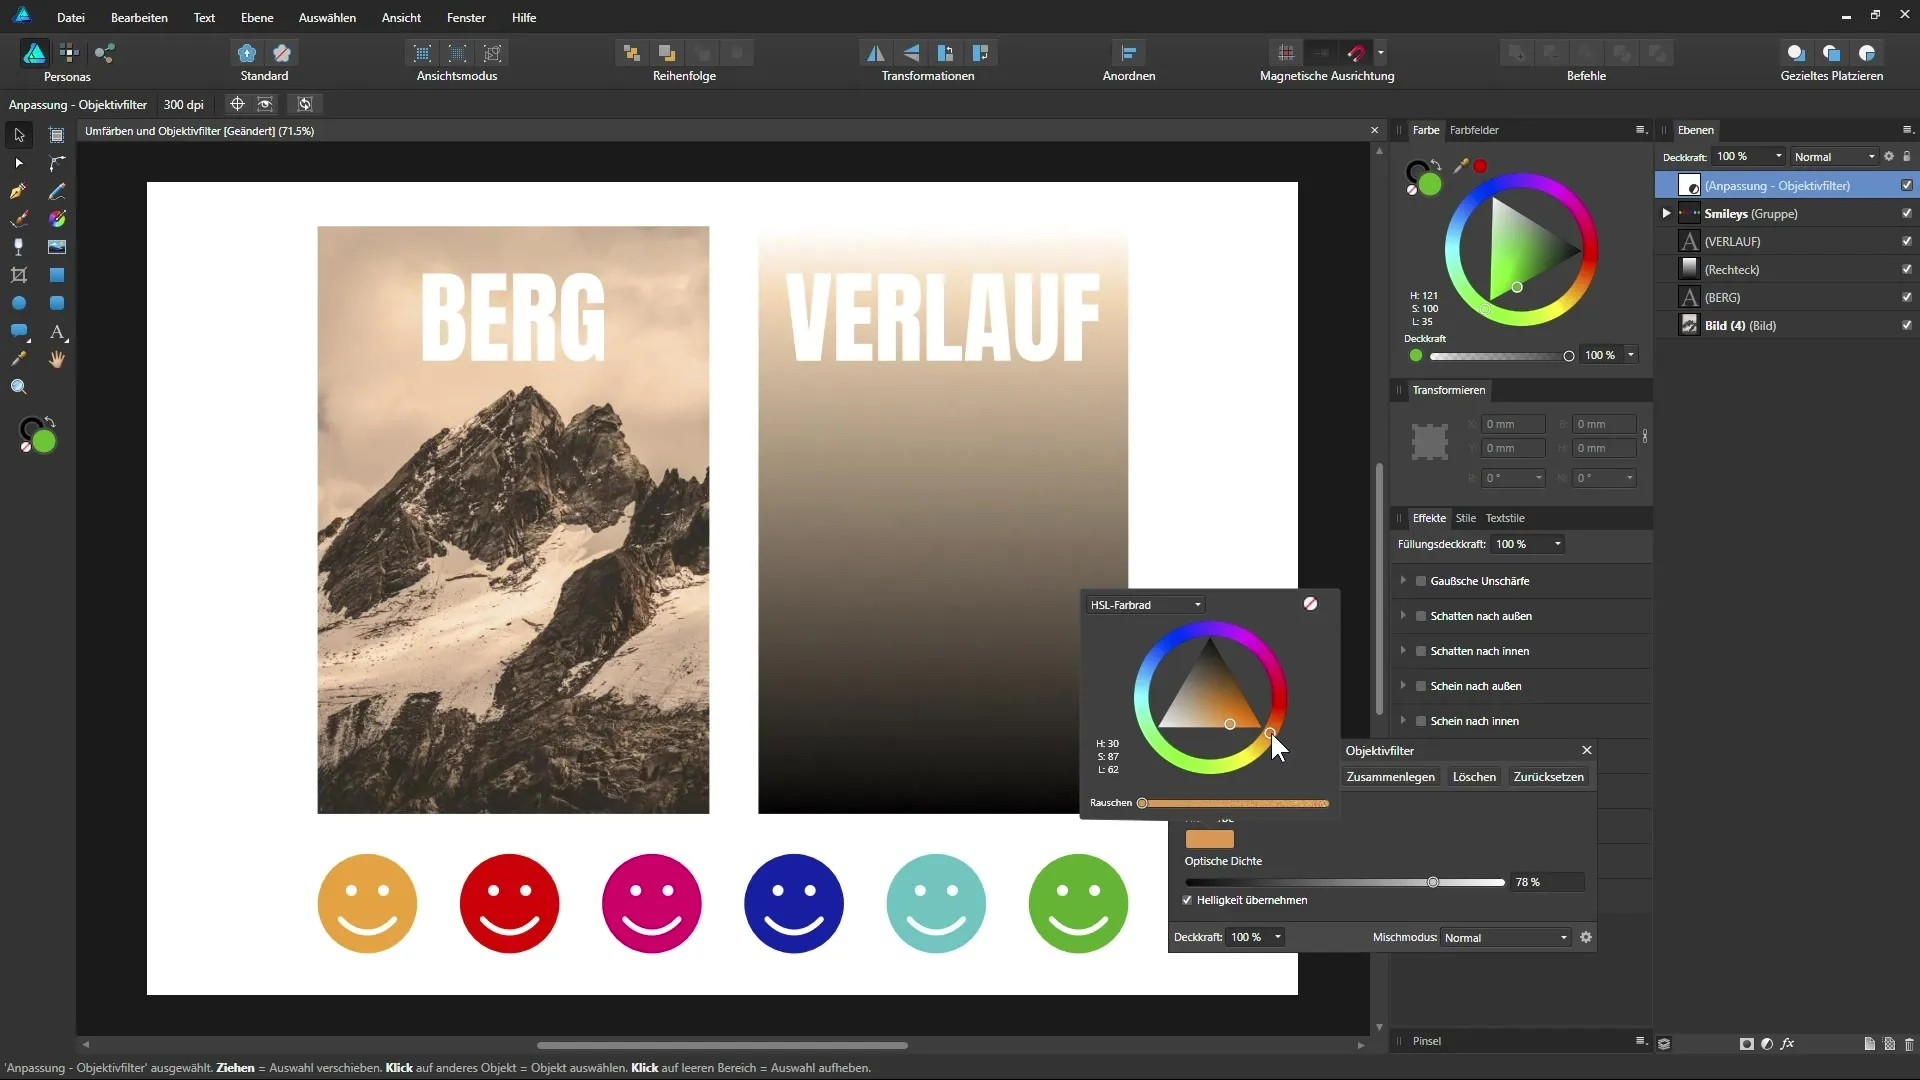
Summary – Recolor and Lens Filters in Affinity Designer
In this guide, you have learned how to effectively use the adjustment layers “Recolor” and “Lens Filter” in Affinity Designer. Both features provide you the ability to creatively change colors and create interesting visual effects that highlight your design.
Frequently Asked Questions
What is the adjustment layer “Recolor”?The adjustment layer “Recolor” allows you to replace the colors in a document with a new color while keeping the luminance intact.
Can I adjust brightness with the Lens Filter layer?Yes, brightness can be controlled through the “Apply Brightness” option, which allows you to maintain the brightness of the original image.
How can I undo or delete adjustment layers?You can click on the adjustment layer at any time and change the settings or remove them completely to restore the original images.
What effect does saturation have on the color result?By adjusting the saturation, you can control the intensity of the colors, resulting in a more harmonious color effect.
What is the advantage of non-destructive work?Non-destructive work allows you to make changes at any time without affecting the original files.


