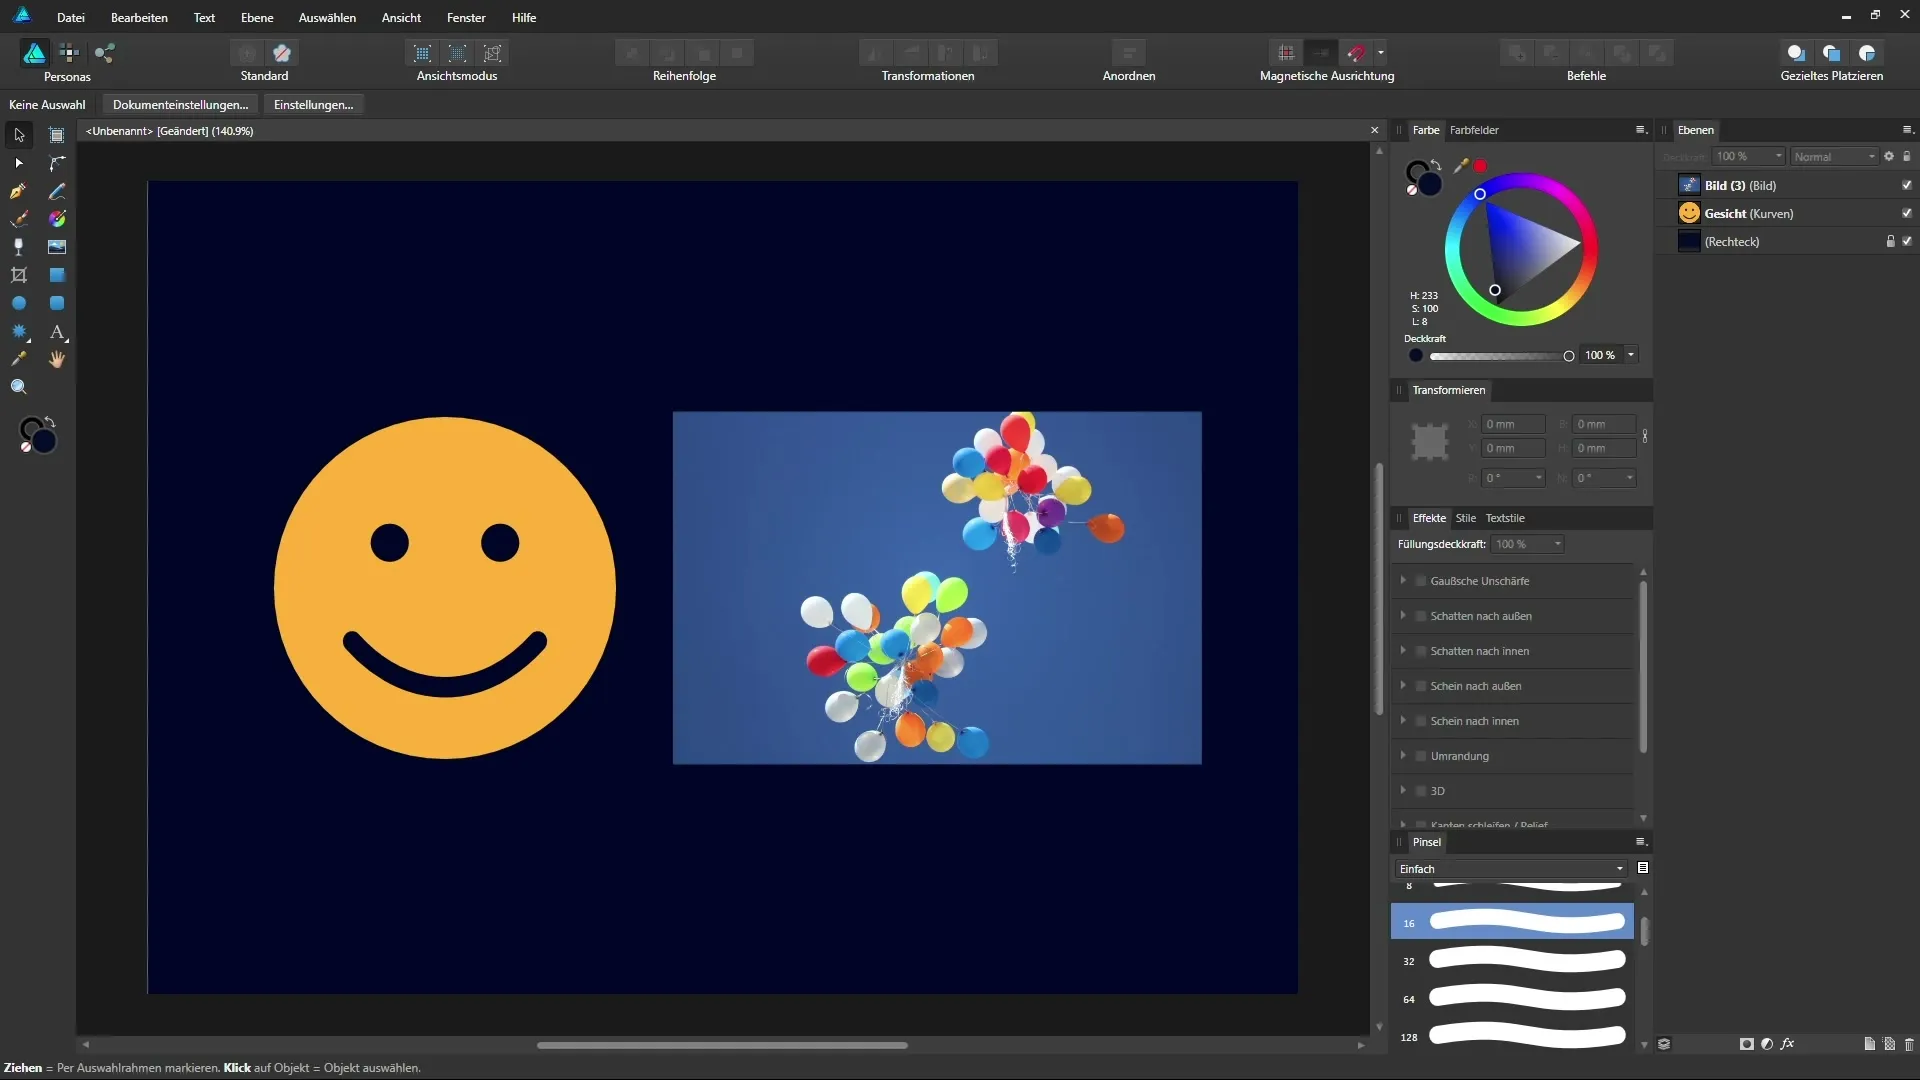
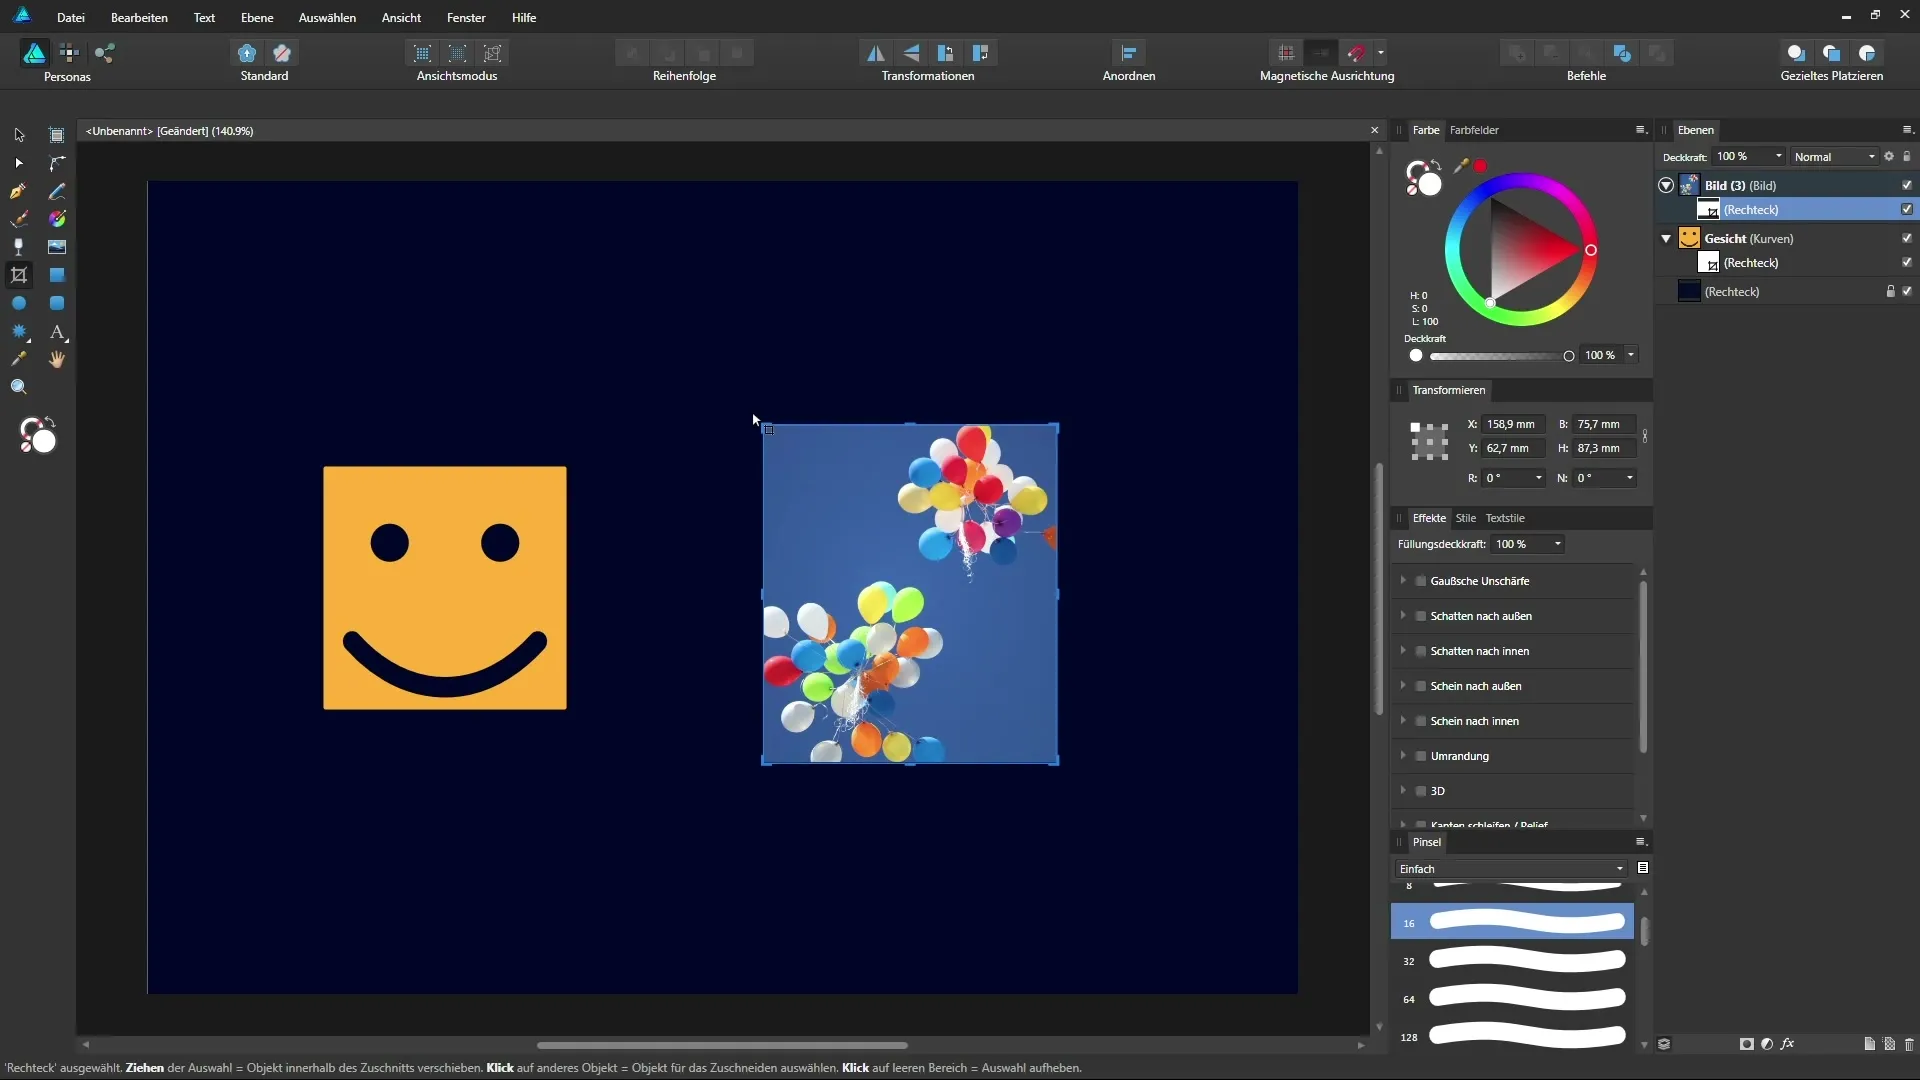
The Vector Crop tool in Affinity Designer offers you a simple method to crop images and vector objects both quickly and precisely. In this guide, you will receive all the necessary information to use the tool efficiently and give your creative projects the desired polish.
Main takeaways
- The vector crop tool allows for a non-destructive cropping of images and vector objects.
- You can crop both proportionally and non-proportionally by using the Shift key.
- The crop can be adjusted or removed at any time without altering the original material.
Introduction to the Vector Crop Tool
Creating an appealing design often involves cropping images or vector shapes. In Affinity Designer, you can use the vector crop tool for this purpose. Below, I will explain step by step how you can effectively integrate this tool into your workflow.

Step 1: Select Tool and Prepare Object
To start with the vector crop tool, open your sample file that contains the desired image or vector object. Make sure the object you want to crop is visible in your layers palette. The vector crop tool is located in the toolbar and is marked by a specific icon.
Step 2: Create Crop Frame
Click on the vector crop tool and drag a frame around the area you wish to crop. This crop frame gives you the freedom to focus on the desired part of the image. Make sure the frame is positioned correctly so you can accurately define the area you want.
Step 3: Make Proportional Crop
If you want to make a proportional crop, hold down the Shift key while adjusting the frame. This helps you maintain the image's proportions while cropping. This is especially important if you want to ensure the image does not appear distorted.
Step 4: Adjust Non-Proportional Crop
If you desire a non-proportional adjustment, you can pull the crop frame without holding the Shift key. This allows you to focus on specific details of a vector object or image, opening up creative possibilities.
Step 5: Adjust Crop from Center
If you prefer to make the crop from the center, additionally hold the Control key (Ctrl). This gives you more control and flexibility when setting your crop frame.
Step 6: Non-destructive Crop
The greatest advantage of the vector crop tool is that the cropping is non-destructive. This means the original image remains untouched. Any changes you make can be undone or adjusted at any time without actual pixels being removed.
Step 7: Adjusting Crops
If you want to change the crop later, you can simply click on the corresponding crop and readjust it with the vector crop tool. This flexibility is ideal if your design evolves during the working process.

Step 8: Remove Crop
If you want to completely undo the crop, you can do so easily. Just click on the crop and select the option to remove it. This will restore the original image without losing any values.
Conclusion on Using the Vector Crop Tool
The vector crop tool in Affinity Designer is a powerful tool that allows you to efficiently crop images and vector objects. The ability to work both proportionally and non-proportionally gives you diverse options to refine and adjust your designs.
Summary – Vector Crop Tool in Affinity Designer
In this guide, you learned how the vector crop tool in Affinity Designer works. You can precisely crop images and vectors without altering the original material. Use this tool to achieve creative effects in your designs.
Frequently Asked Questions
What is the vector crop tool in Affinity Designer?The vector crop tool allows you to crop images and vector objects non-destructively.
How can I make a proportional crop?Hold down the Shift key while pulling the crop frame.
Can I adjust the crop at any time?Yes, you can adjust or remove the crop at any time without altering the original image.
What happens to the invisible parts after cropping?The parts are not deleted but remain in the background and can be retrieved at any time.
Can I work with masks while using the vector crop tool?Yes, the vector crop tool can be used in combination with masks to create even more creative possibilities.


