Affinity Designer offers a wide range of tools to create impressive pixel-based graphics. The pixel tool allows you to work pixel by pixel with precision, creating detailed artworks. This tutorial will guide you through the necessary steps to effectively use the pixel tool and prepare your document for working with pixel-based graphics.
Key insights
- The pixel tool enables precise work in the pixel persona.
- A grid helps with the accurate placement of pixels.
- Brush adjustments allow for individual design options.
Step-by-step guide
First, you should ensure that you are in the pixel persona. This gives you access to the specific tools for pixel editing. Check the toolbar on the left side for this.
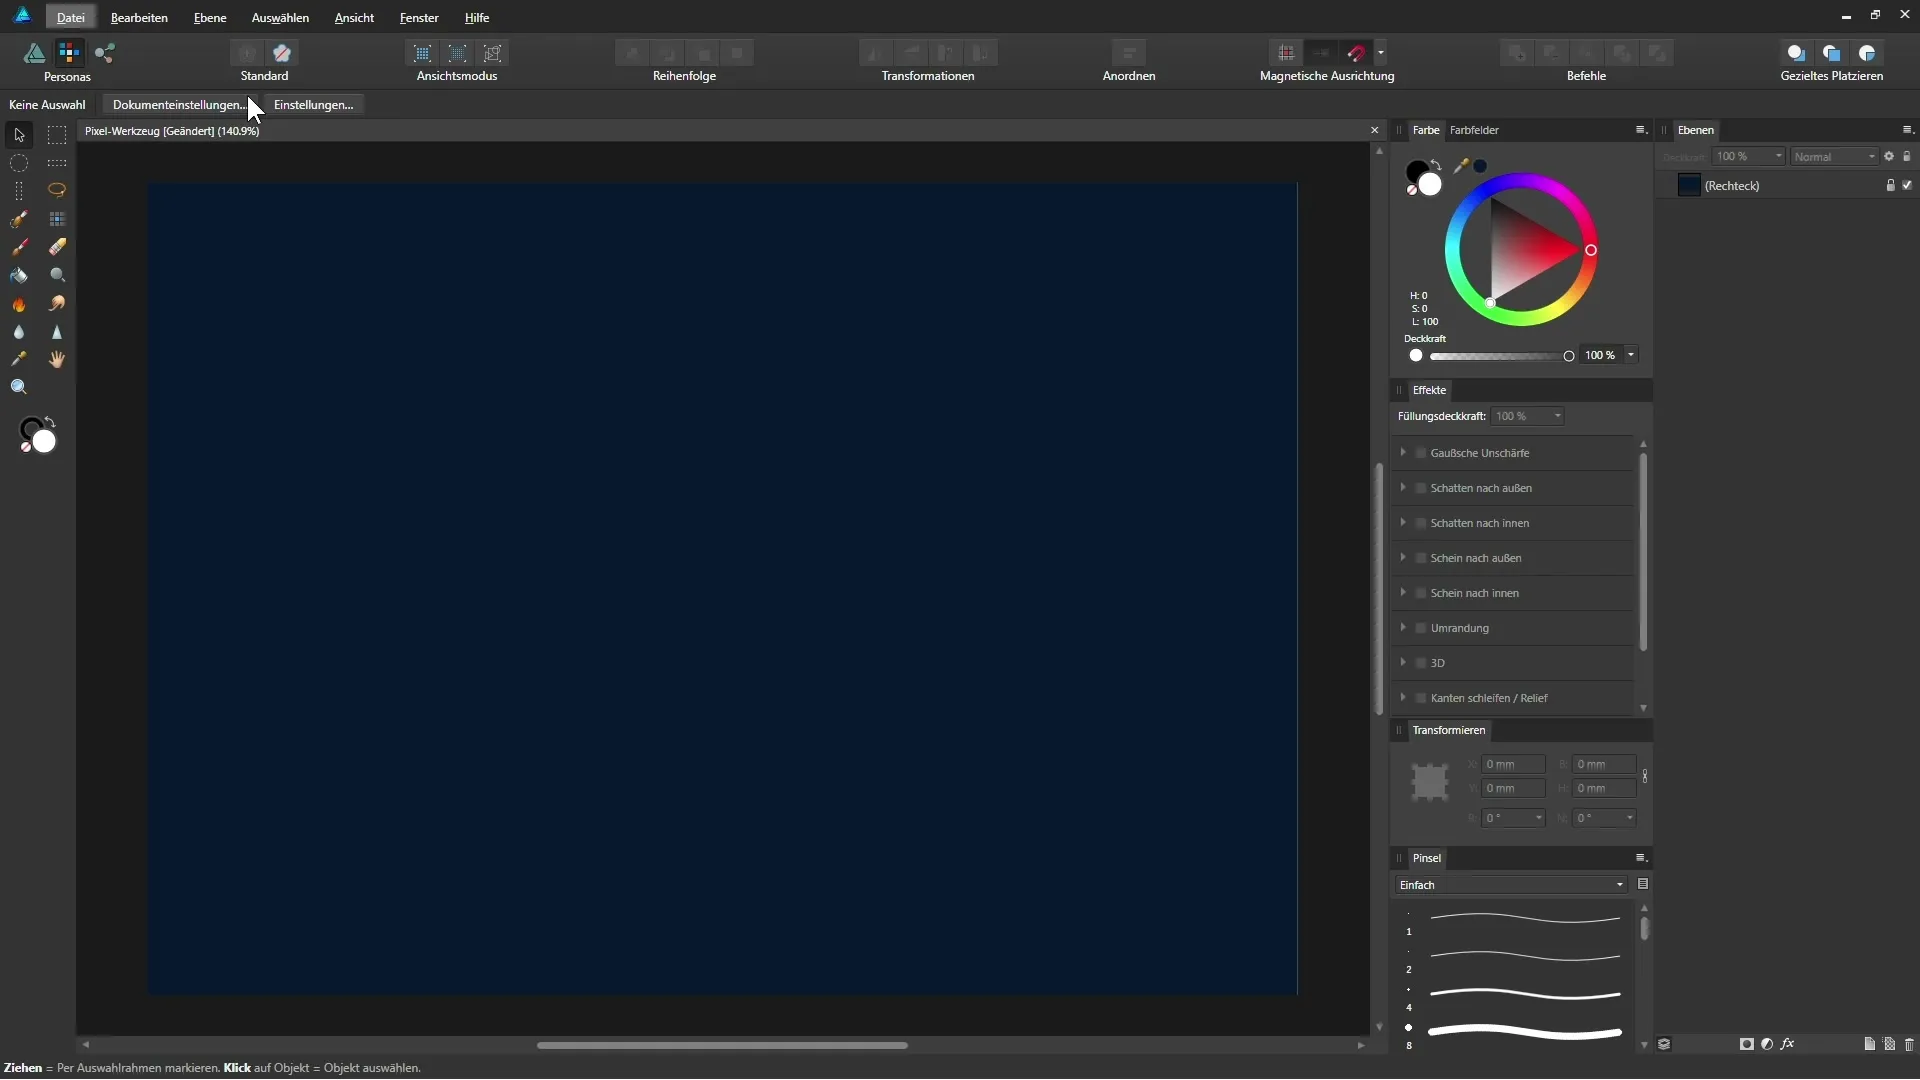
Now that you are in the pixel persona, let's add a new pixel layer. To do this, click on the layers palette and select the option to add a new pixel layer at the bottom. This layer should be named "Pixel." You can now work with the pixel tool that you find behind the brush icon. Alternatively, you can also use the shortcut "B" for quick access.
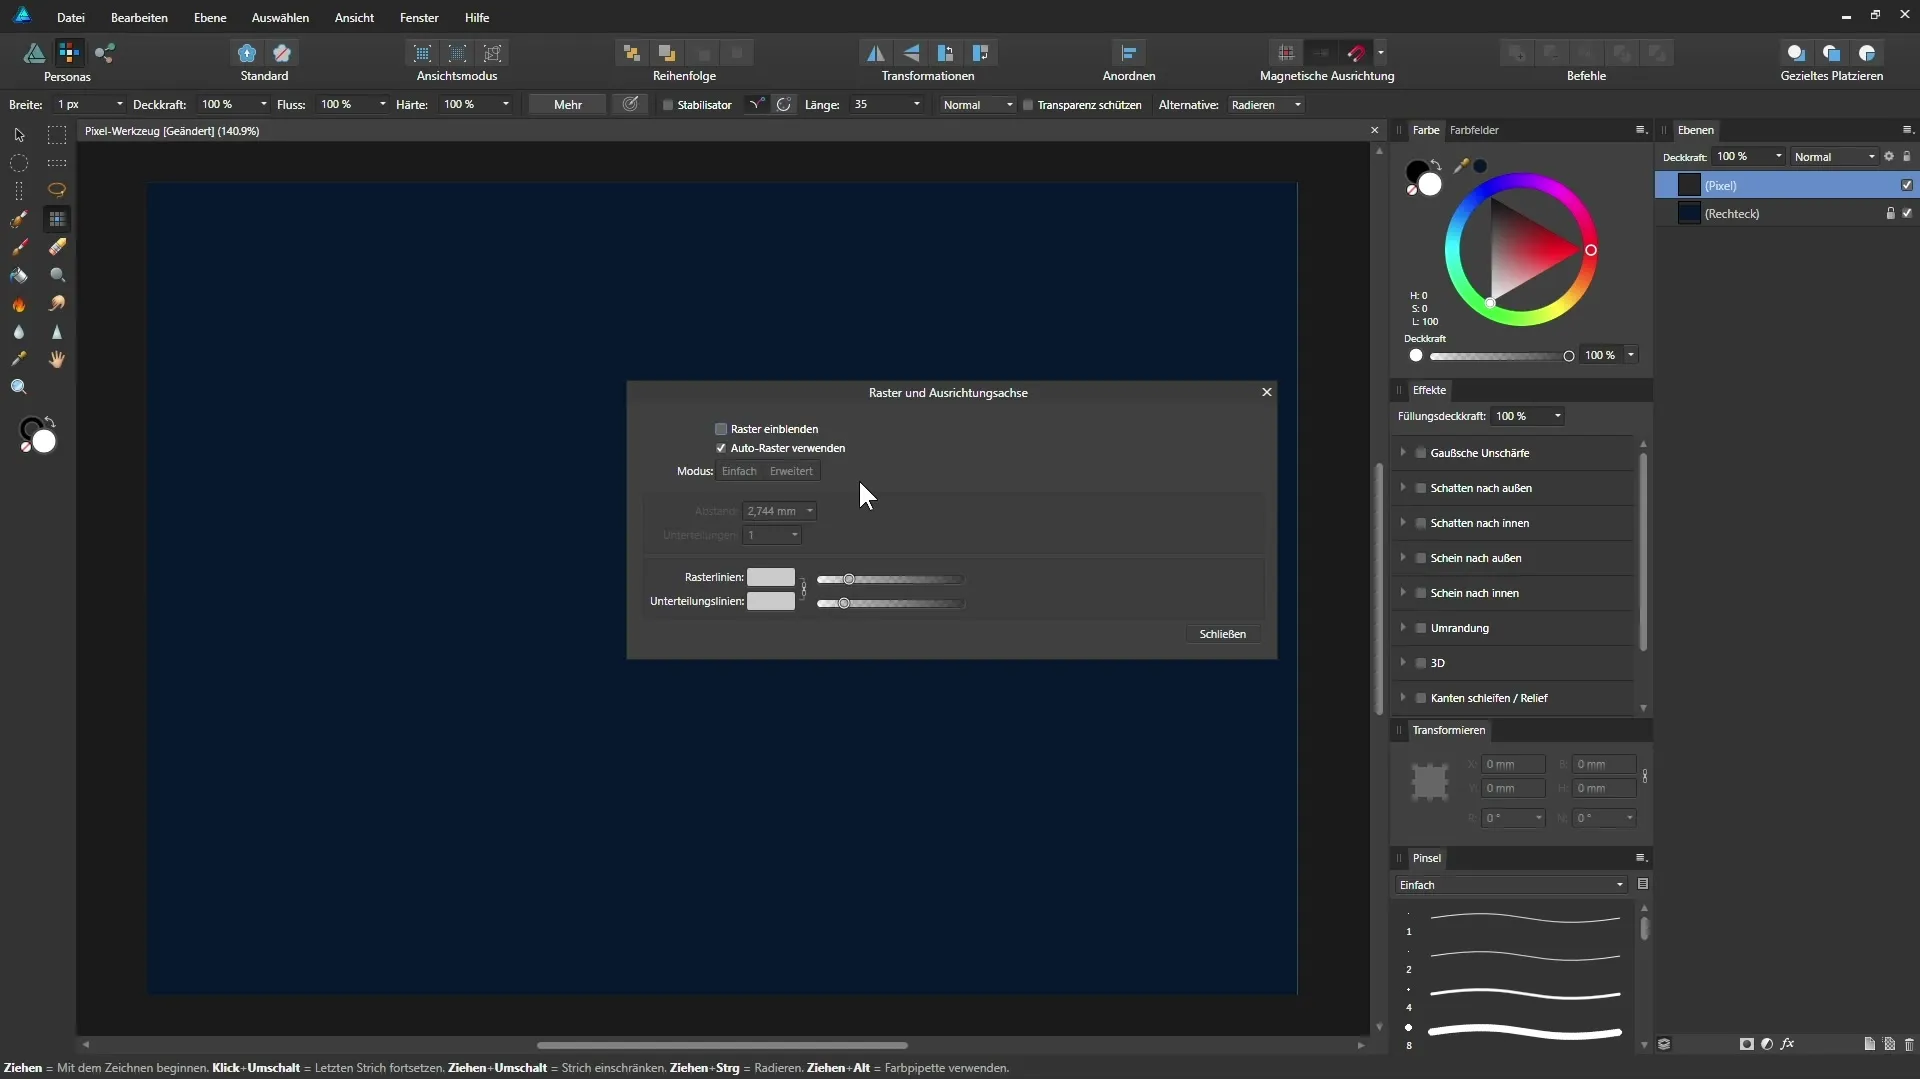
To work even more precisely, it is advisable to turn on a pixel grid. For this, go to the "View" menu and select "Configure Grid and Axes." Here, settings for the grid can be adjusted. Currently, an auto grid is set, which does not provide the best results, so you should disable this option.
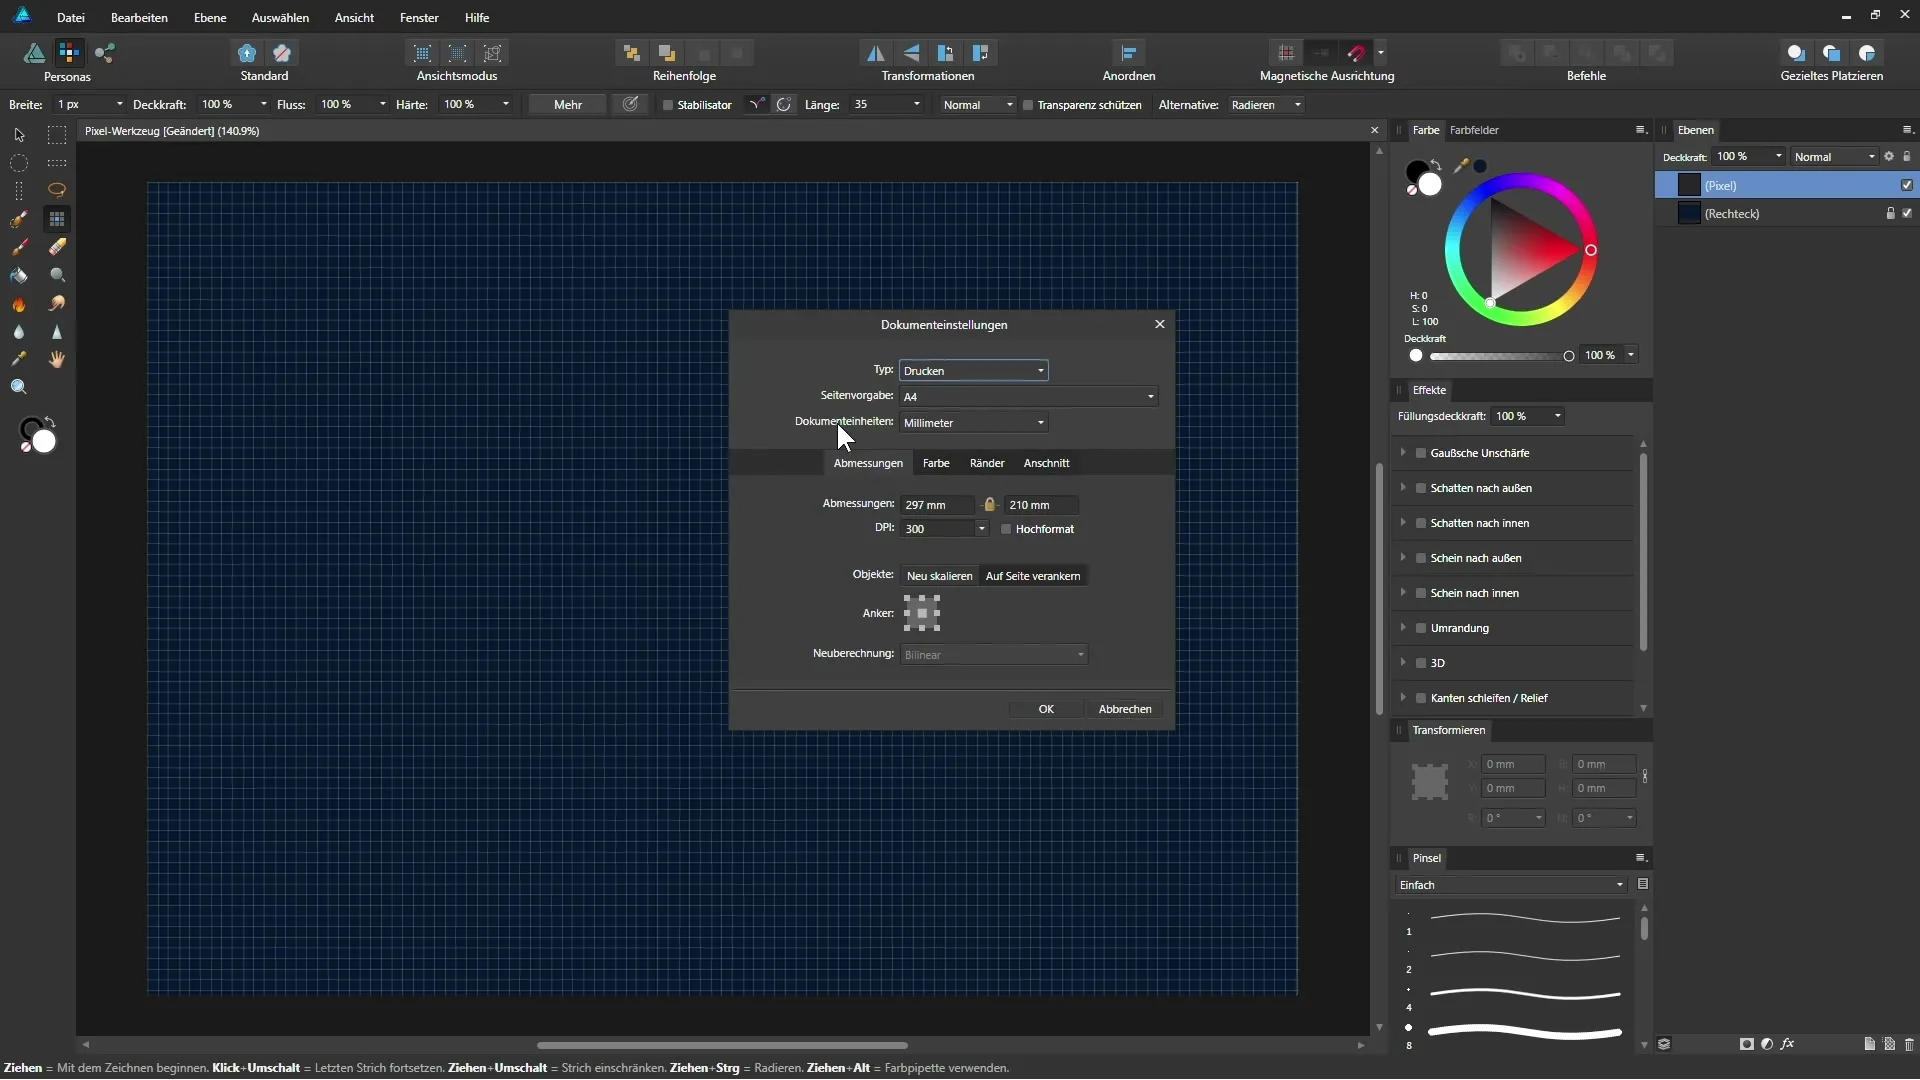
Now we need to ensure that your document units are set correctly. They are often set to millimeters by default, but for our purposes, we should switch to pixels. Go to "File" > "Document Settings" and change the unit to pixels. Confirm with "OK."
Before you can adjust the grid, repeat your previous step to configure the grid settings. Set the spacing to one pixel and the subdivision to one as well. With these settings, you have successfully created a pixel grid that will help you with precise editing.
If you cannot see the grid due to too much zoom at the moment, use the zoom tool to zoom in on your image until you can see the grid. With the pixel tool activated, you will see a preview of the next pixel you want to place. I recommend setting the color to white so that you can clearly see where you are working.
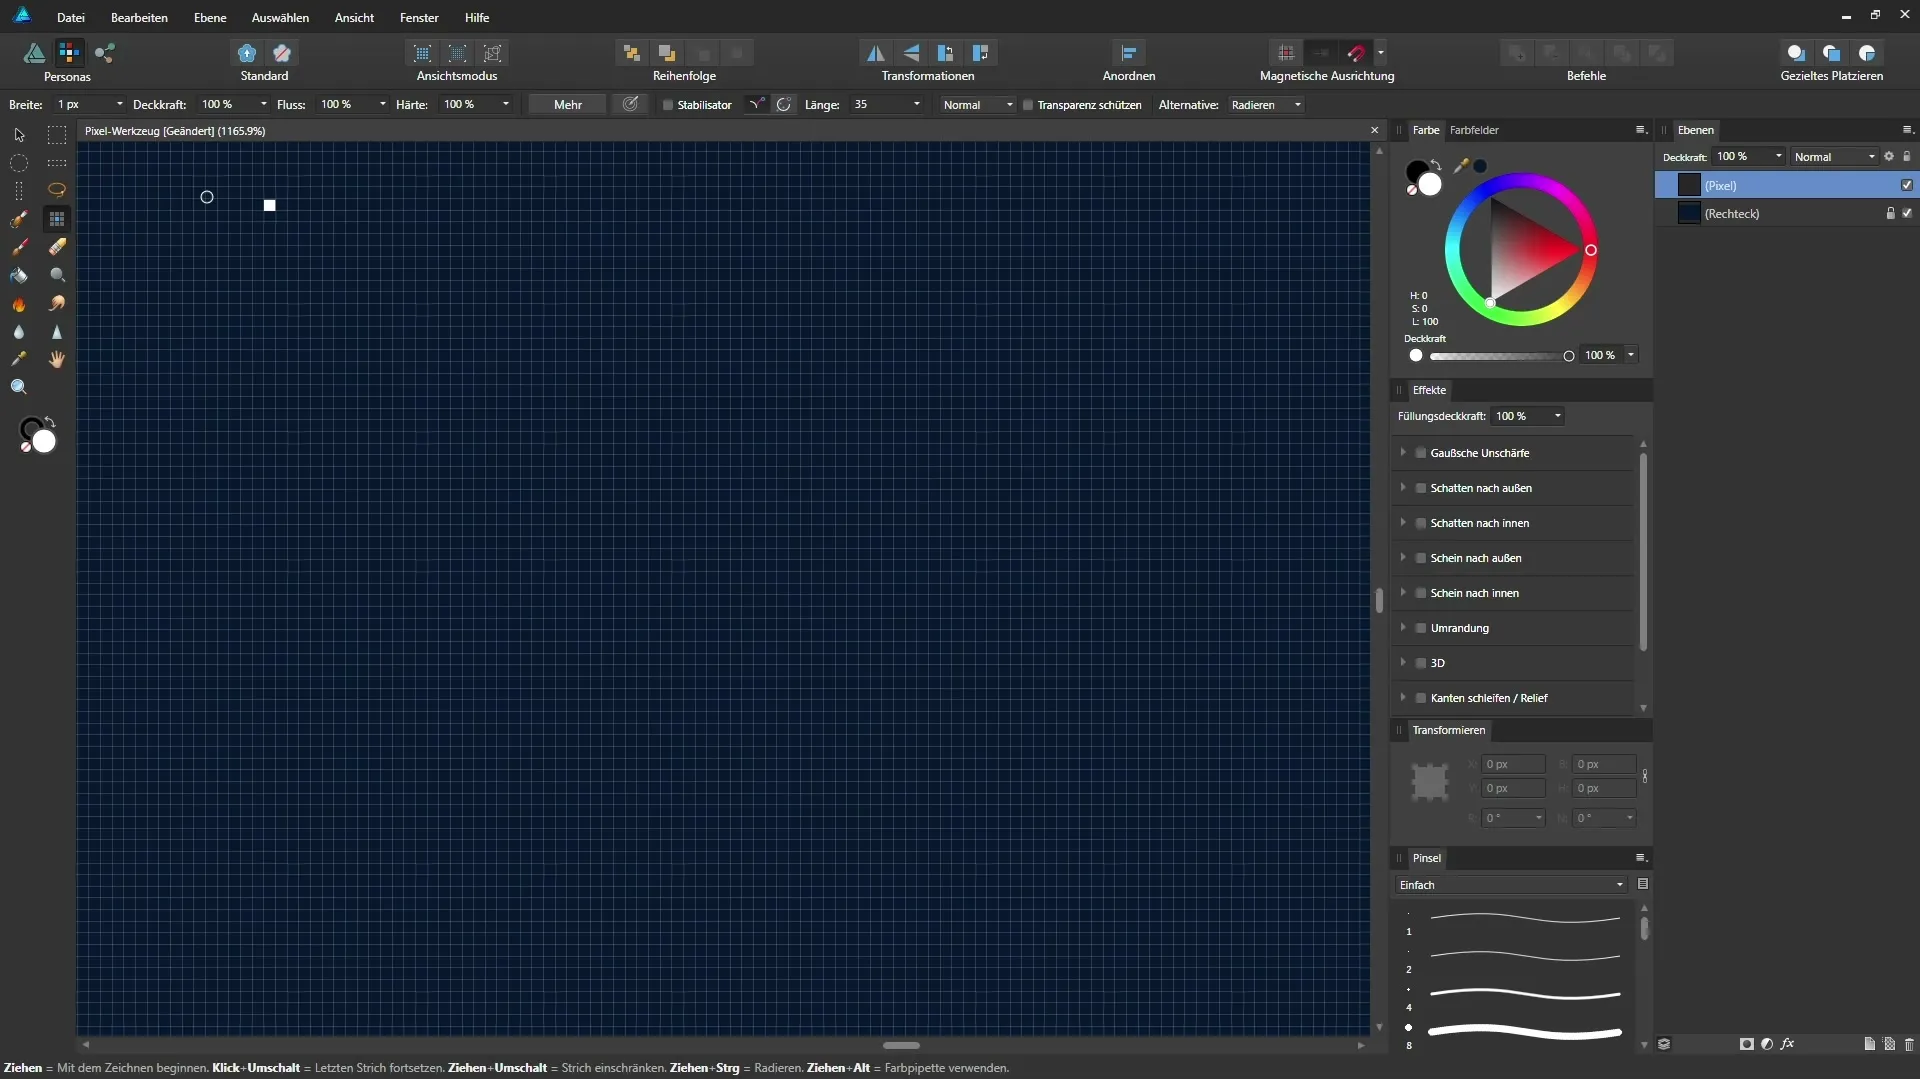
With the pixel tool, you can now place individual pixels. Note that no anti-aliasing is applied, meaning the pixel edges remain sharp and exact. Try placing a pixel in the grid. You can also leave small spaces of one pixel to achieve the desired effect.
An important element of the pixel tool is the ability to switch between the pixel tool and the brush. If you work with the brush and set it to a width of one pixel, you will notice that there is no sharp transition here - the image will acquire a softer, TFT-like structure. This effect is often undesirable when creating pixel graphics, as you may prefer to maintain the grainy look.
Now you can get creative with the pixel tool. Draw simple shapes or figures, such as a pixelated smiley. It’s important to work pixel by pixel carefully to achieve an appealing result.
If you want to modify the current brush, go to the "More" option and adjust the various settings. The slider for the brightness variance is particularly interesting, which you can pull to 100%. You can also enable pressure sensitivity when using a graphics tablet. This changes the intensity of your brush stroke depending on the pressure you apply.
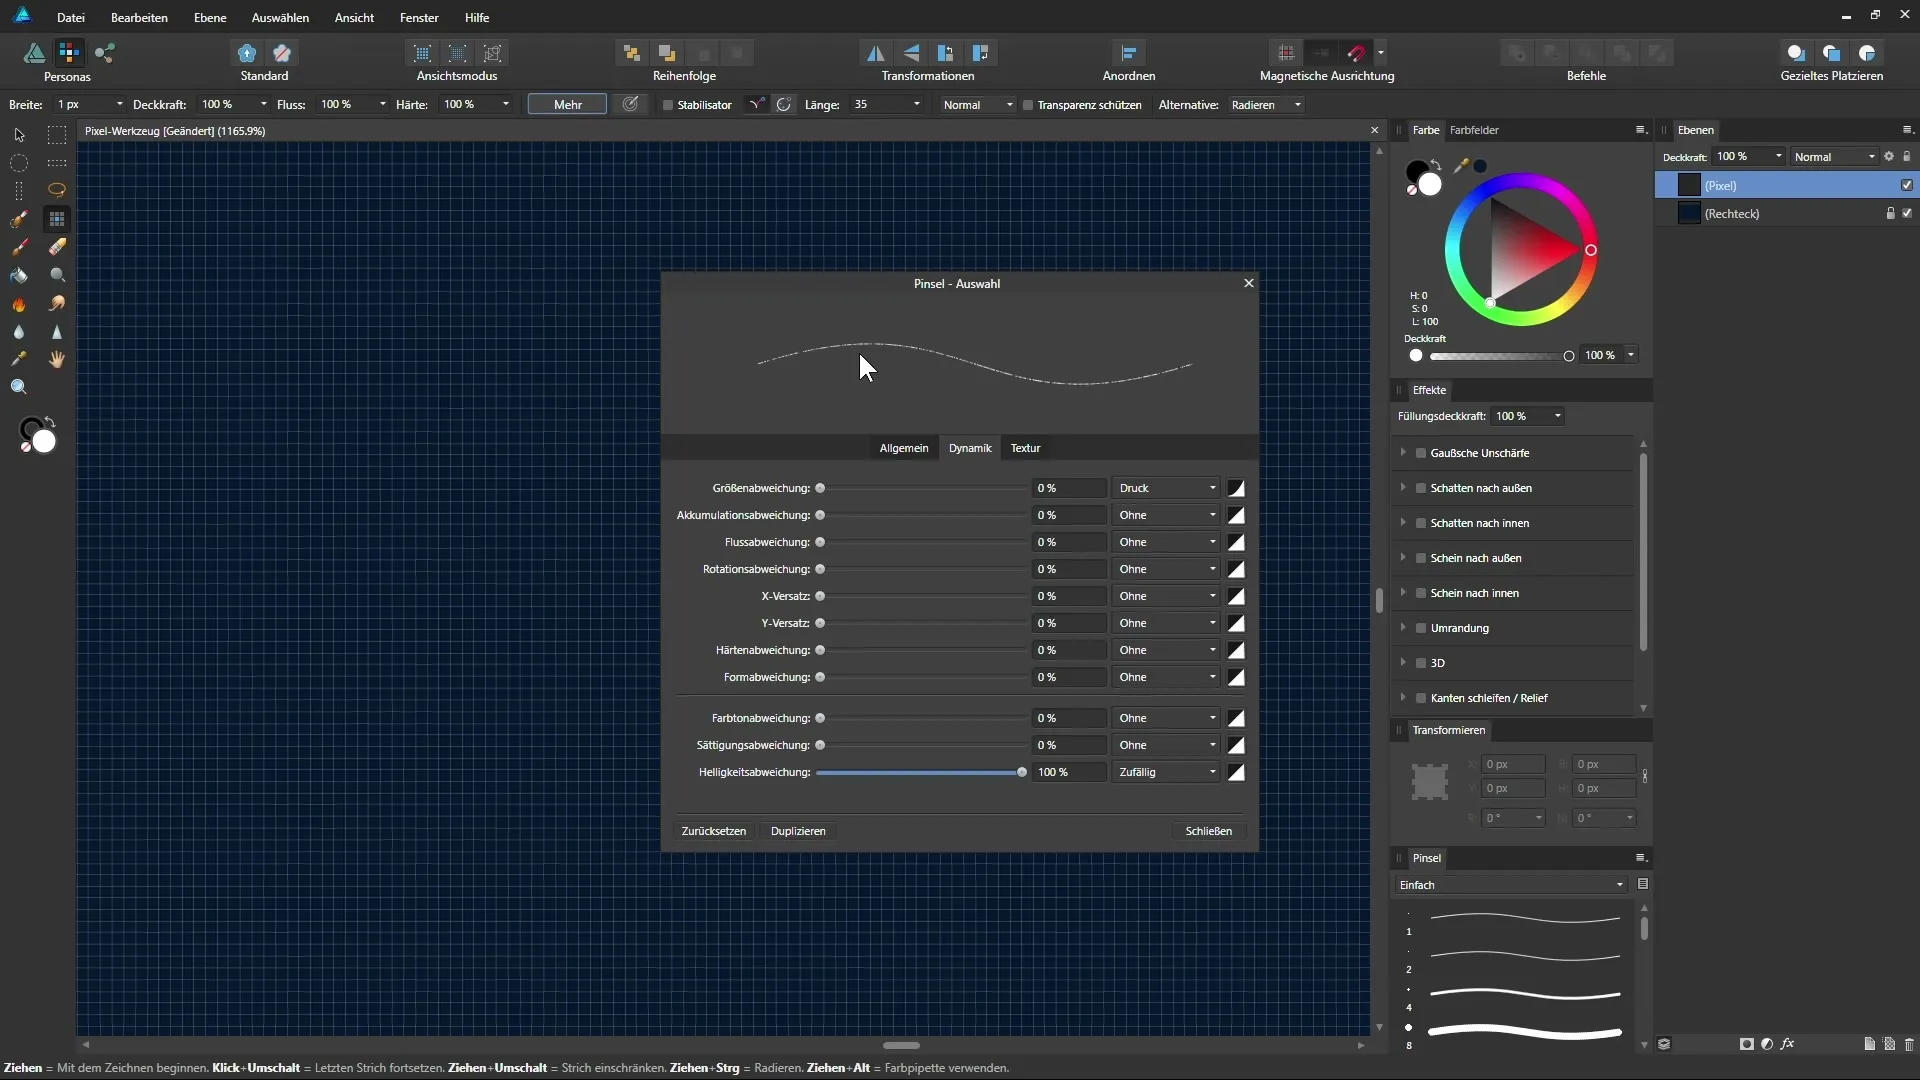
By adjusting the brush characteristics, you can create dynamic effects, making your image appear more vibrant. Experiment with these settings to achieve various effects, such as hue and saturation deviations.
Once you are satisfied with your pixel-based graphic, you can switch back to the "Draw Persona." Here, you can continue to work with your Affinity Designer document and edit your created pixel layer.
Summary - Creating Pixel-Based Graphics with Affinity Designer
In this guide, you have learned how to create pixel-based graphics using Affinity Designer's pixel tool. From adding a pixel layer to adjusting your brush, you now have an overview of the features available to you.
Frequently Asked Questions
What is the pixel persona in Affinity Designer?The pixel persona is the mode in which tools for editing pixel-based graphics are available.
How do we activate the pixel tool?The pixel tool can be activated via the icon in the toolbar or with the shortcut "B".
Can I adjust the grid?Yes, you can configure the grid in the view settings to enable precise work.
What is anti-aliasing?Anti-aliasing is a technique for smoothing edges that is often not used when working with pixel graphics.
What can I create with the pixel tool?With the pixel tool, you can create various pixel-based graphics such as characters, smileys, or retro graphics.


