With Affinity Designer, you work on complex designs where simple and quick navigation through your document is crucial. In this tutorial, you will learn how to navigate efficiently through your project, zoom in, and focus on specific areas. Trainer Marco Kolditz provides you with valuable tips and tricks to make the most of the user interface.
Main takeaways
- The tools for zooming and viewing are essential for navigation.
- Keyboard shortcuts allow you to quickly adjust the zoom level.
- The navigator and multiple view windows increase flexibility while working.
- Setting up viewpoints can help you quickly switch between different areas of the document.
Step-by-step guide
To navigate effectively through your document in Affinity Designer, follow these steps:
1. The basics: Using zoom and view tools
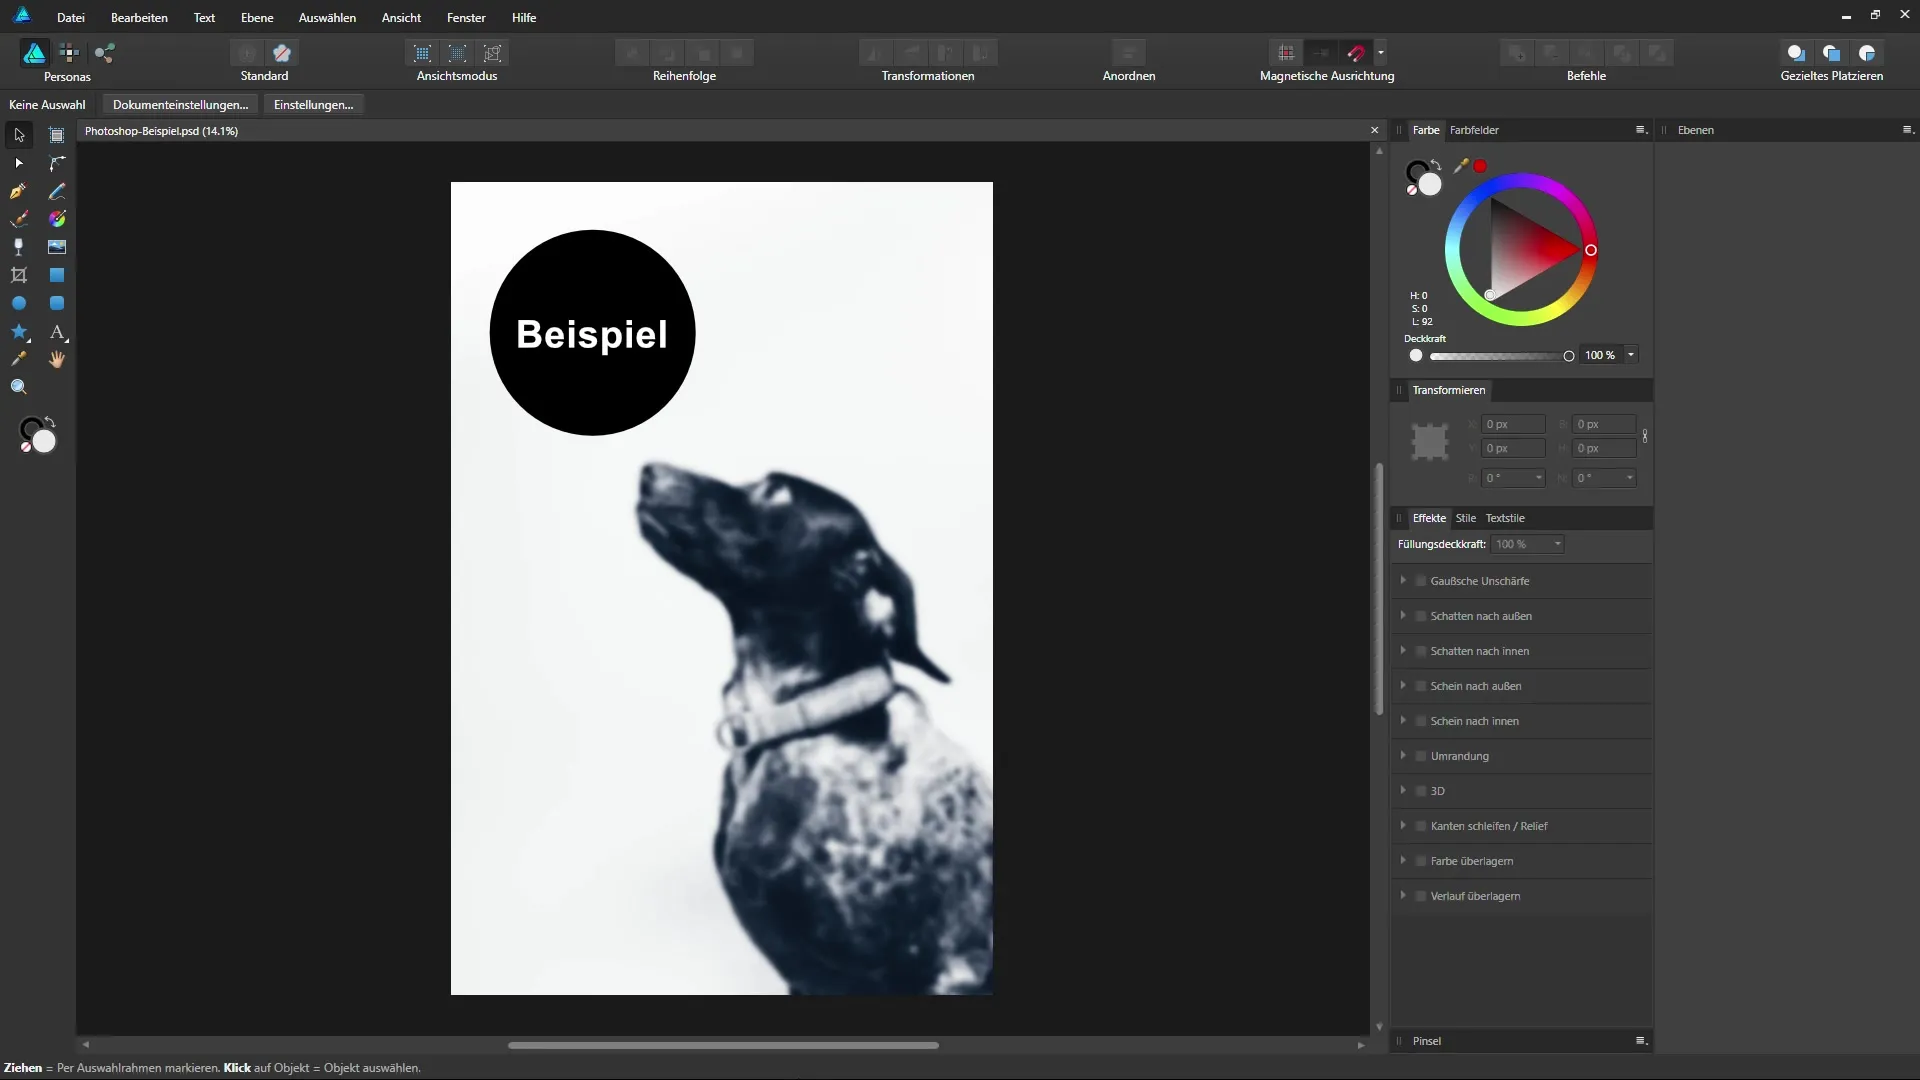
To navigate through an image in Affinity Designer, you need the right tools. The toolbar provides you with the zoom tool and the view tool. With these tools, you can easily zoom in and out of specific areas of your document. To get a basic idea, open a sample file.
2. Zoom with the mouse wheel
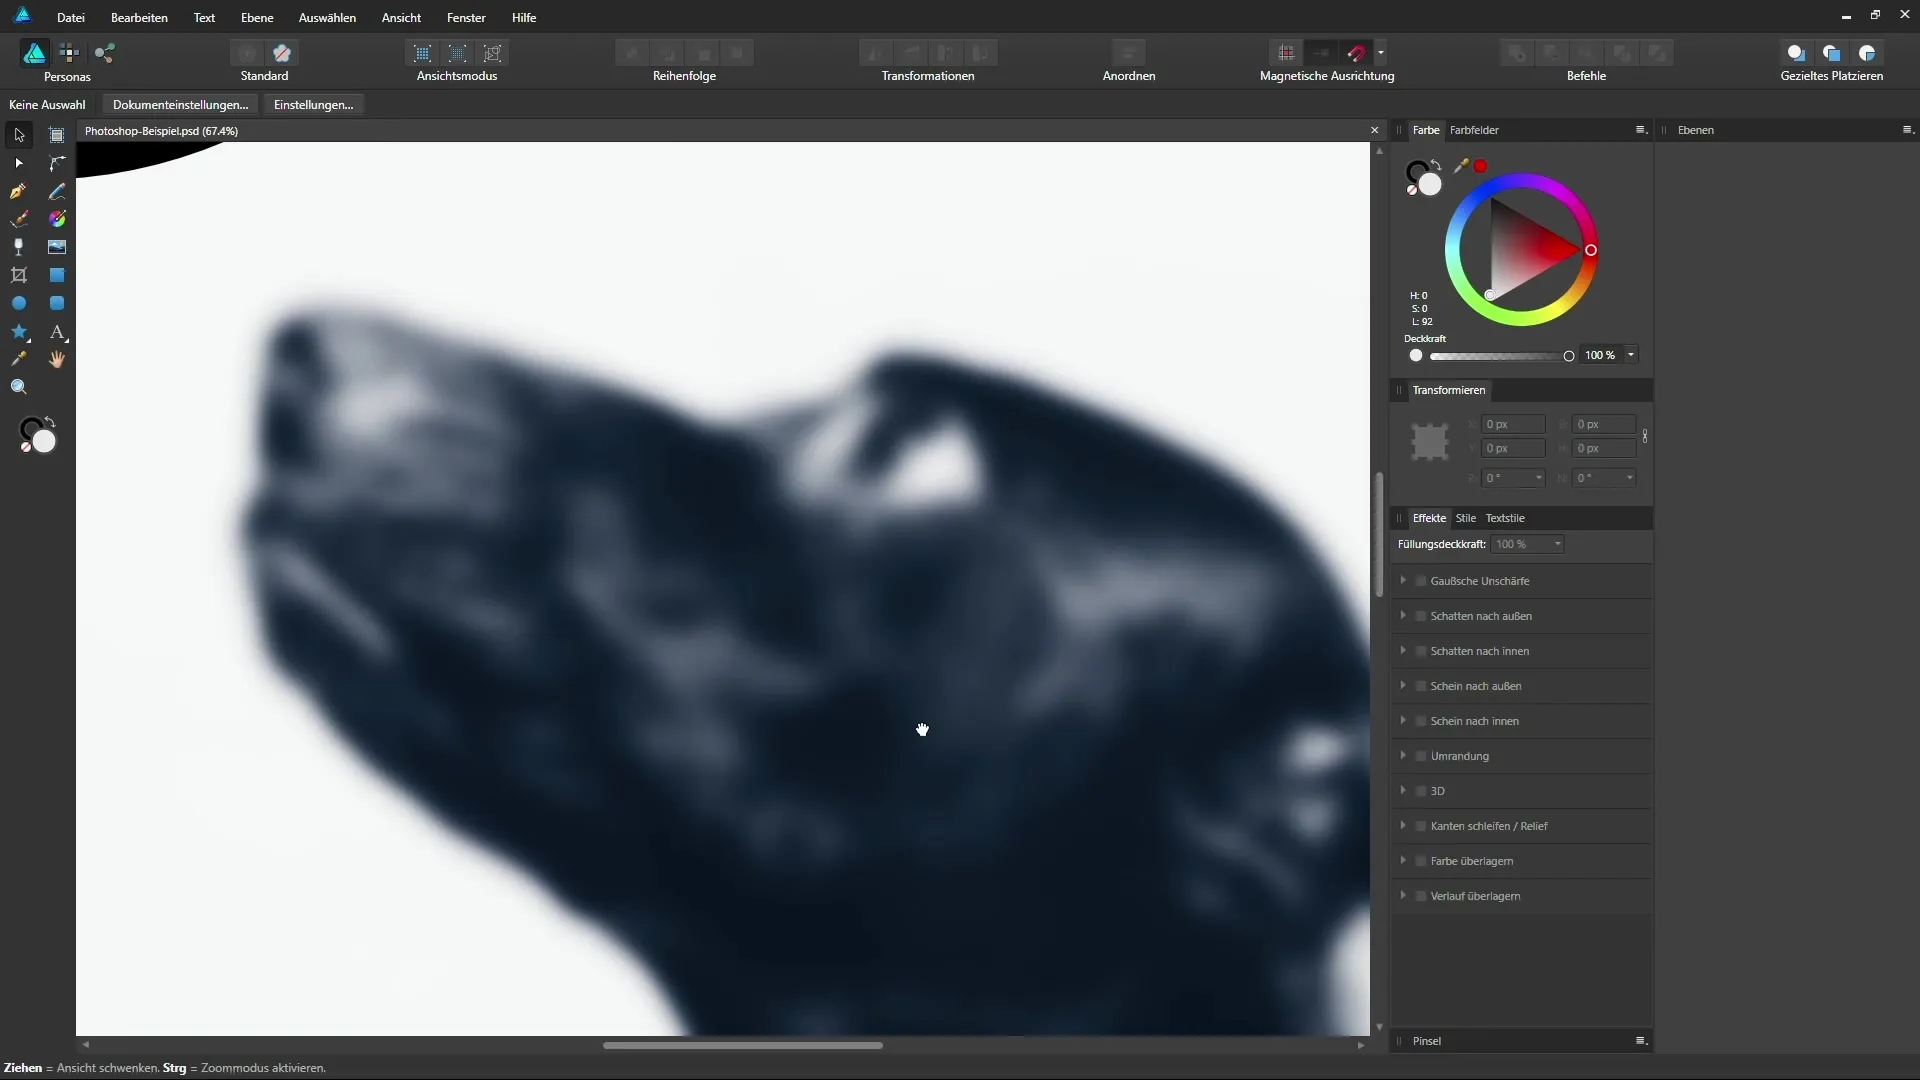
A handy trick is to use the mouse wheel to quickly zoom in or out of your document. Move the mouse to the area you want to look at closely and scroll the mouse wheel. Scrolling forward zooms in; scrolling backward zooms out. This provides you with a quick way to work without additional clicks.
3. Quickly return to full view
If you want to see the entire document at once, simply double-click on the view tool or press Ctrl + 0. This will automatically adjust the image to fit in your visible area, and you can quickly get an overview again.
4. Zoom levels via keyboard shortcuts
There are numerous useful keyboard shortcuts to directly set the zoom levels:
- Ctrl + 1 for 100%
- Ctrl + 2 for 200%
- Ctrl + 3 for 400%
- Ctrl + 4 for 800%
This combinations are particularly helpful for quickly switching between common views.
5. Changing views with the view tool
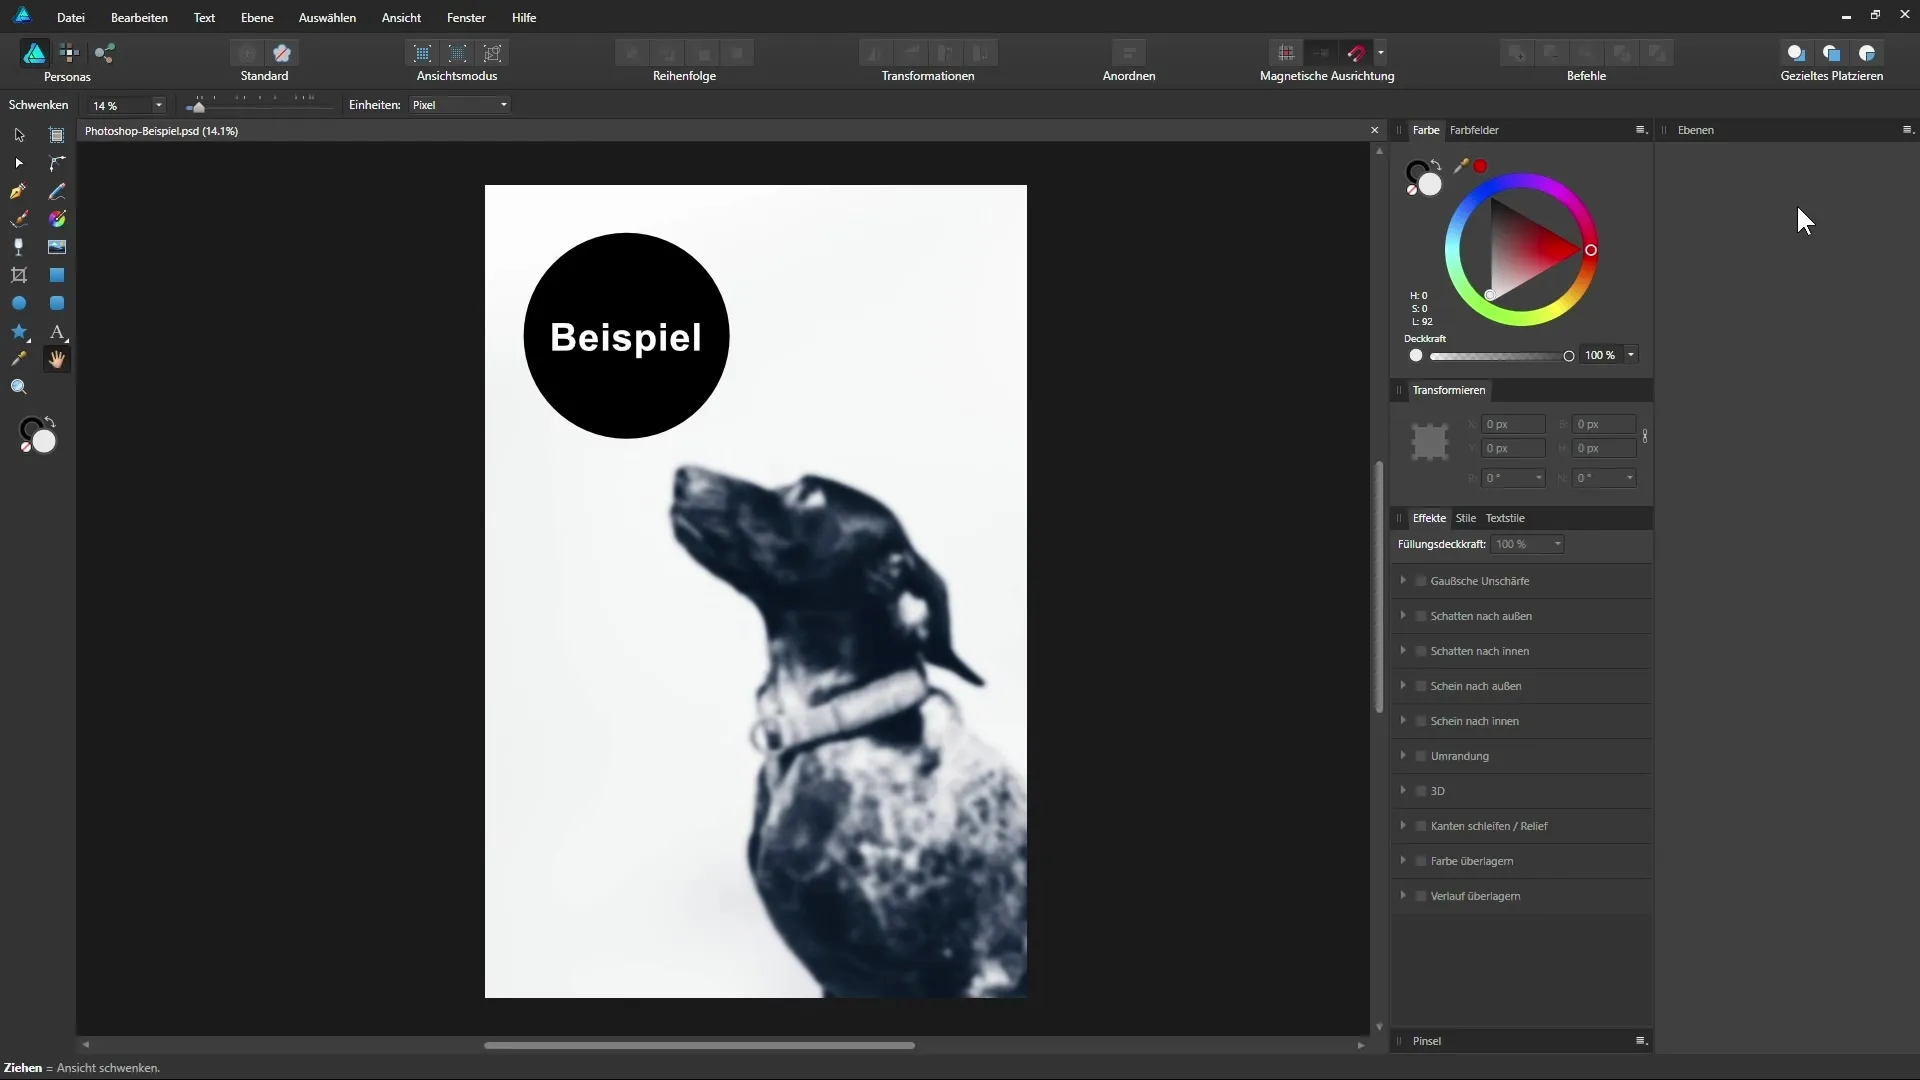
You can change the view of your image without moving layers. Click and drag with the view tool to move the visible area of your document. This is especially useful when you want to work on a specific point.
6. Temporary switch to the view tool
No matter which tool you are currently using, hold down the spacebar to temporarily switch to the view tool. This allows you to easily adjust the visible area without changing your current selection.
7. Zoom manipulation via the context toolbar
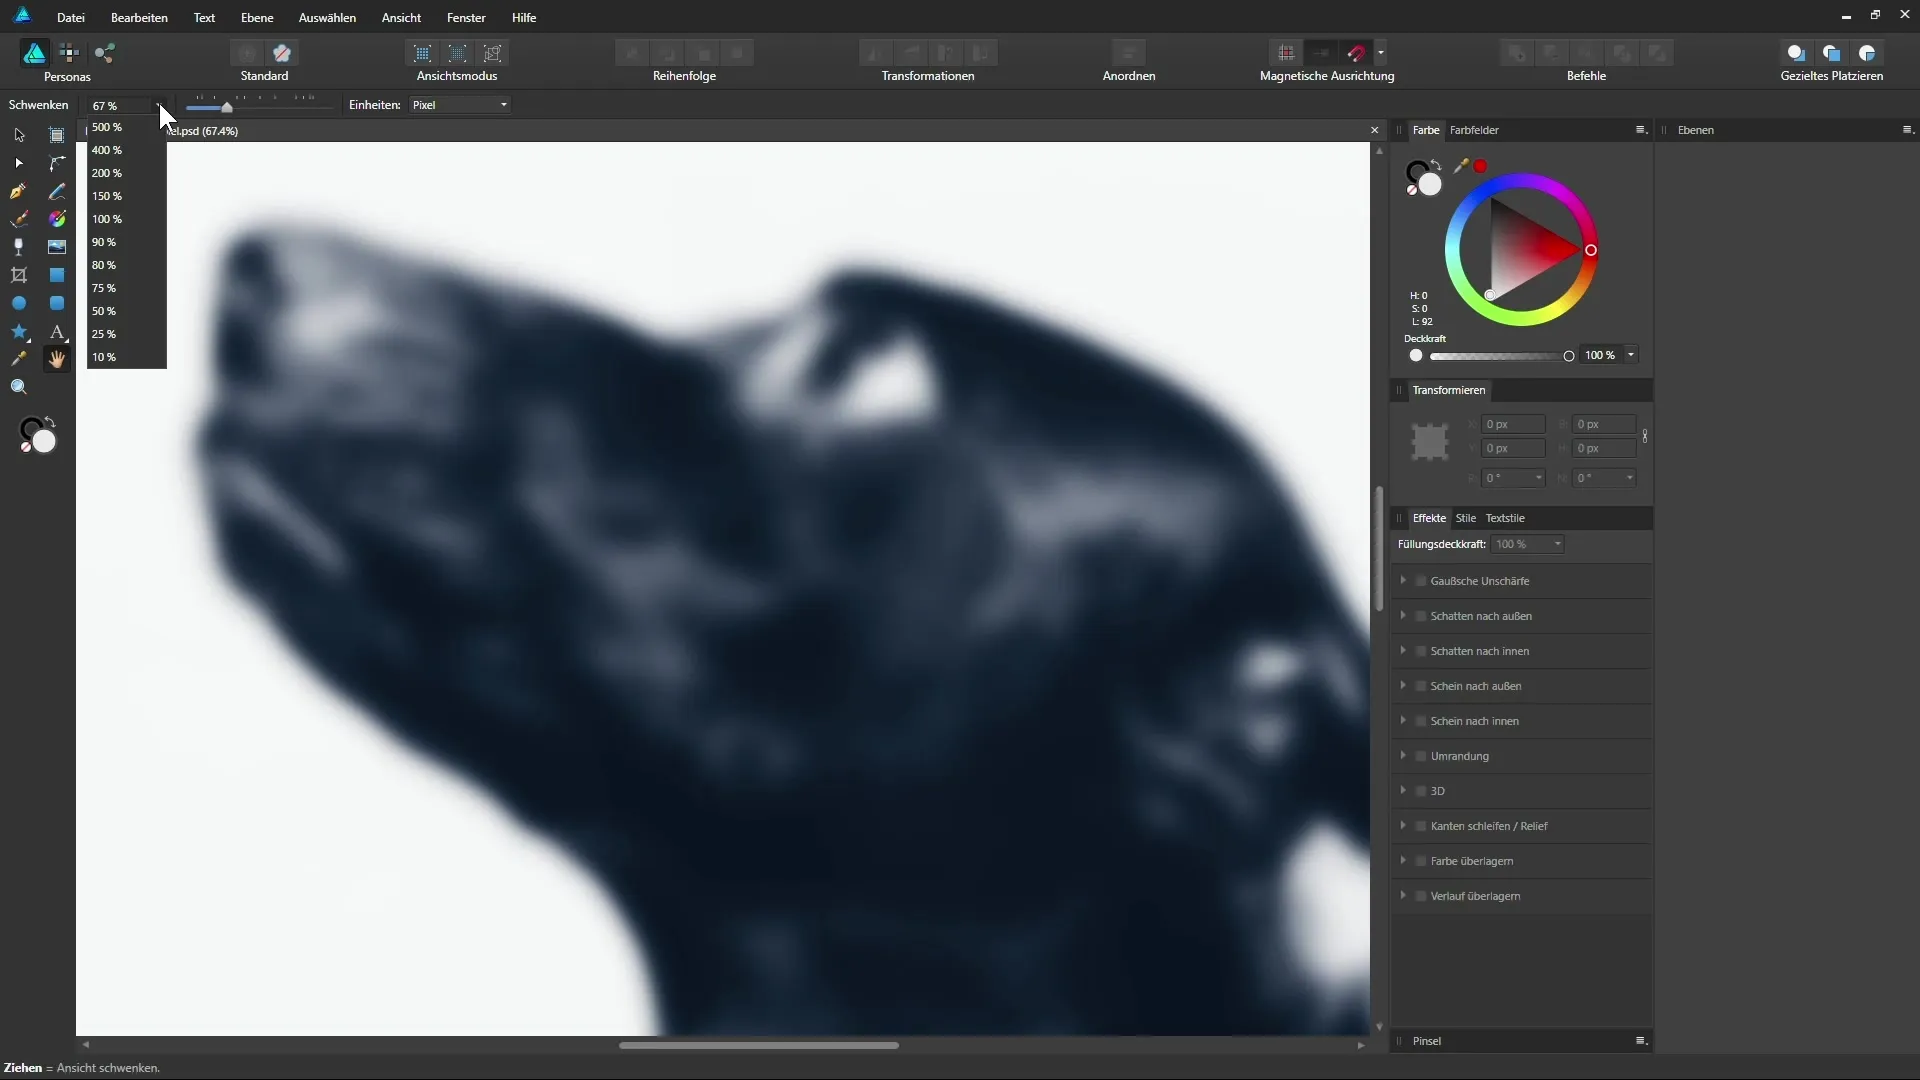
In the context toolbar, you can manually adjust the zoom level by clicking on the corresponding dropdown menu or entering a numerical value. For example, you can enter 70% or use the slider to adjust the zoom.
8. Using the navigator
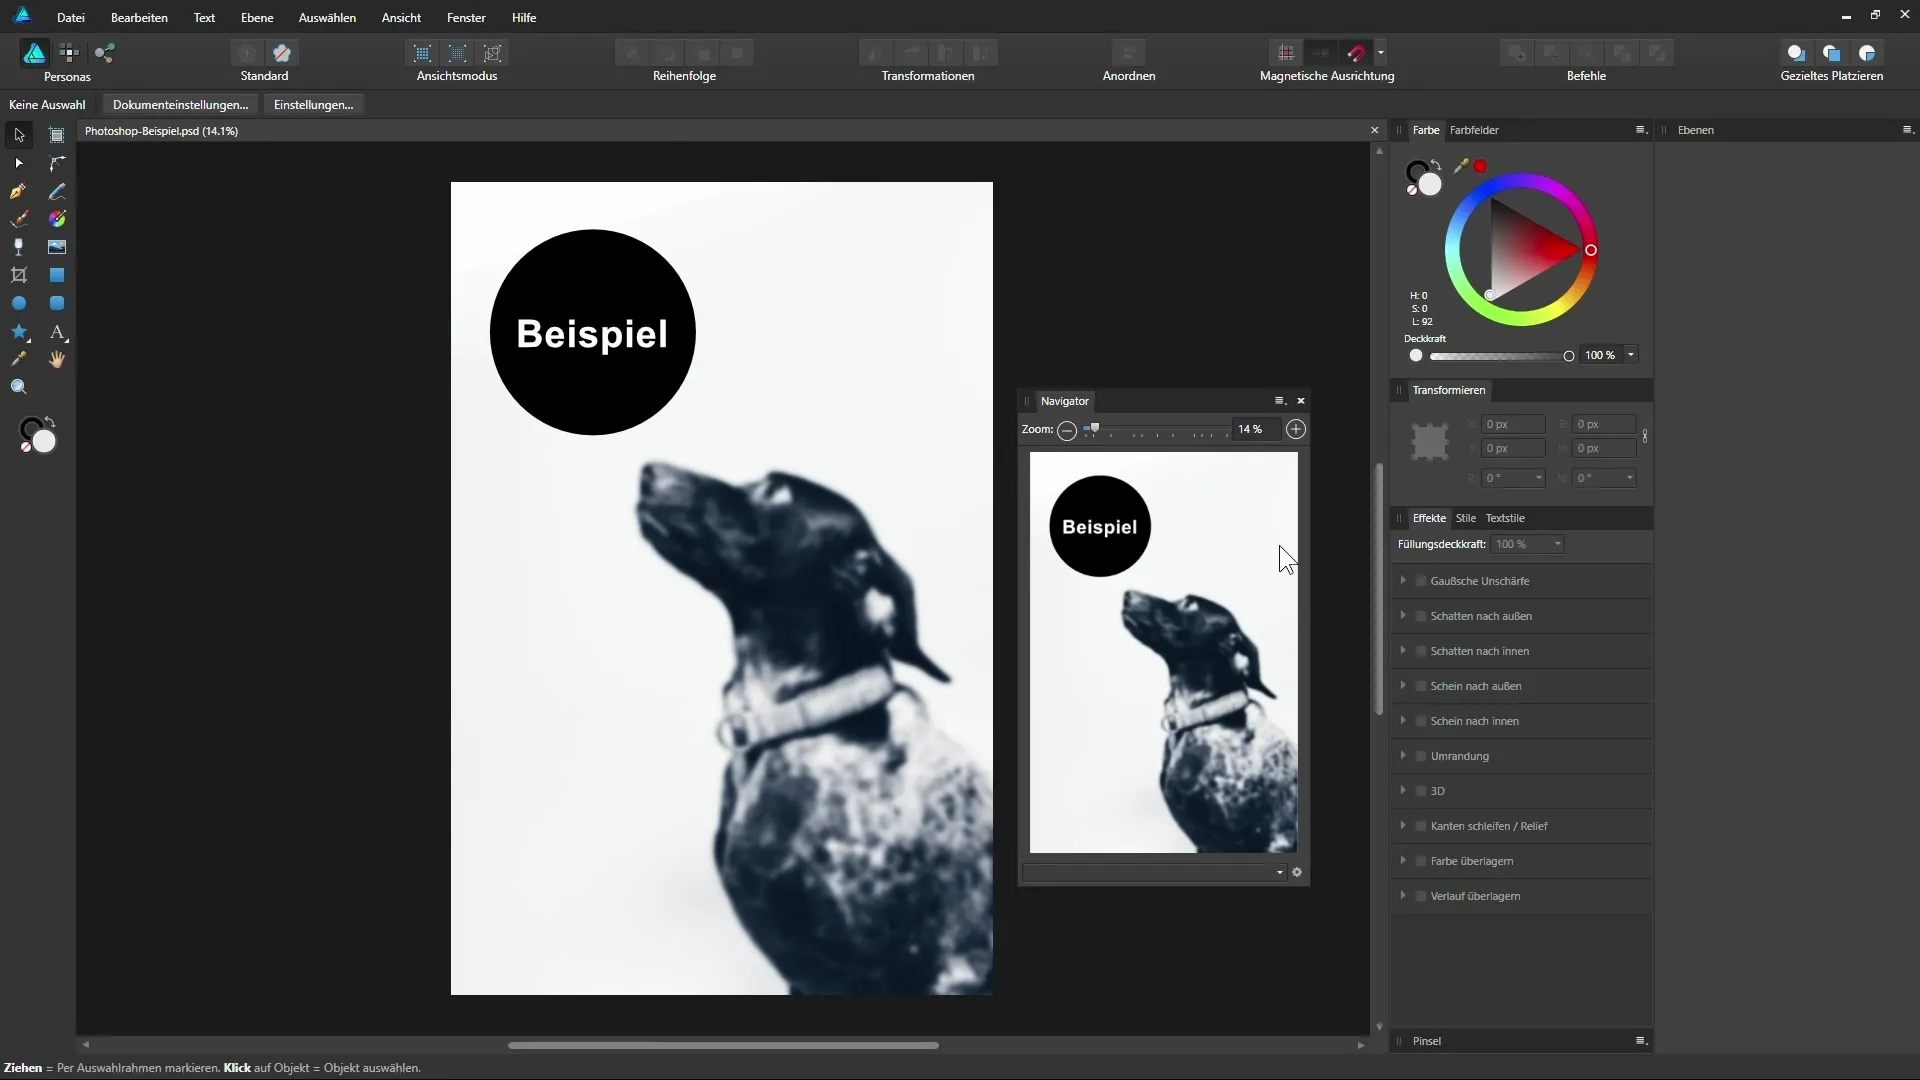
Another handy tool is the navigator. You open this via the menu item “View” > “Studio” > “Navigator”. Here you can keep an overview of the entire image and also select areas directly by dragging the right mouse button.
9. Saving viewpoints
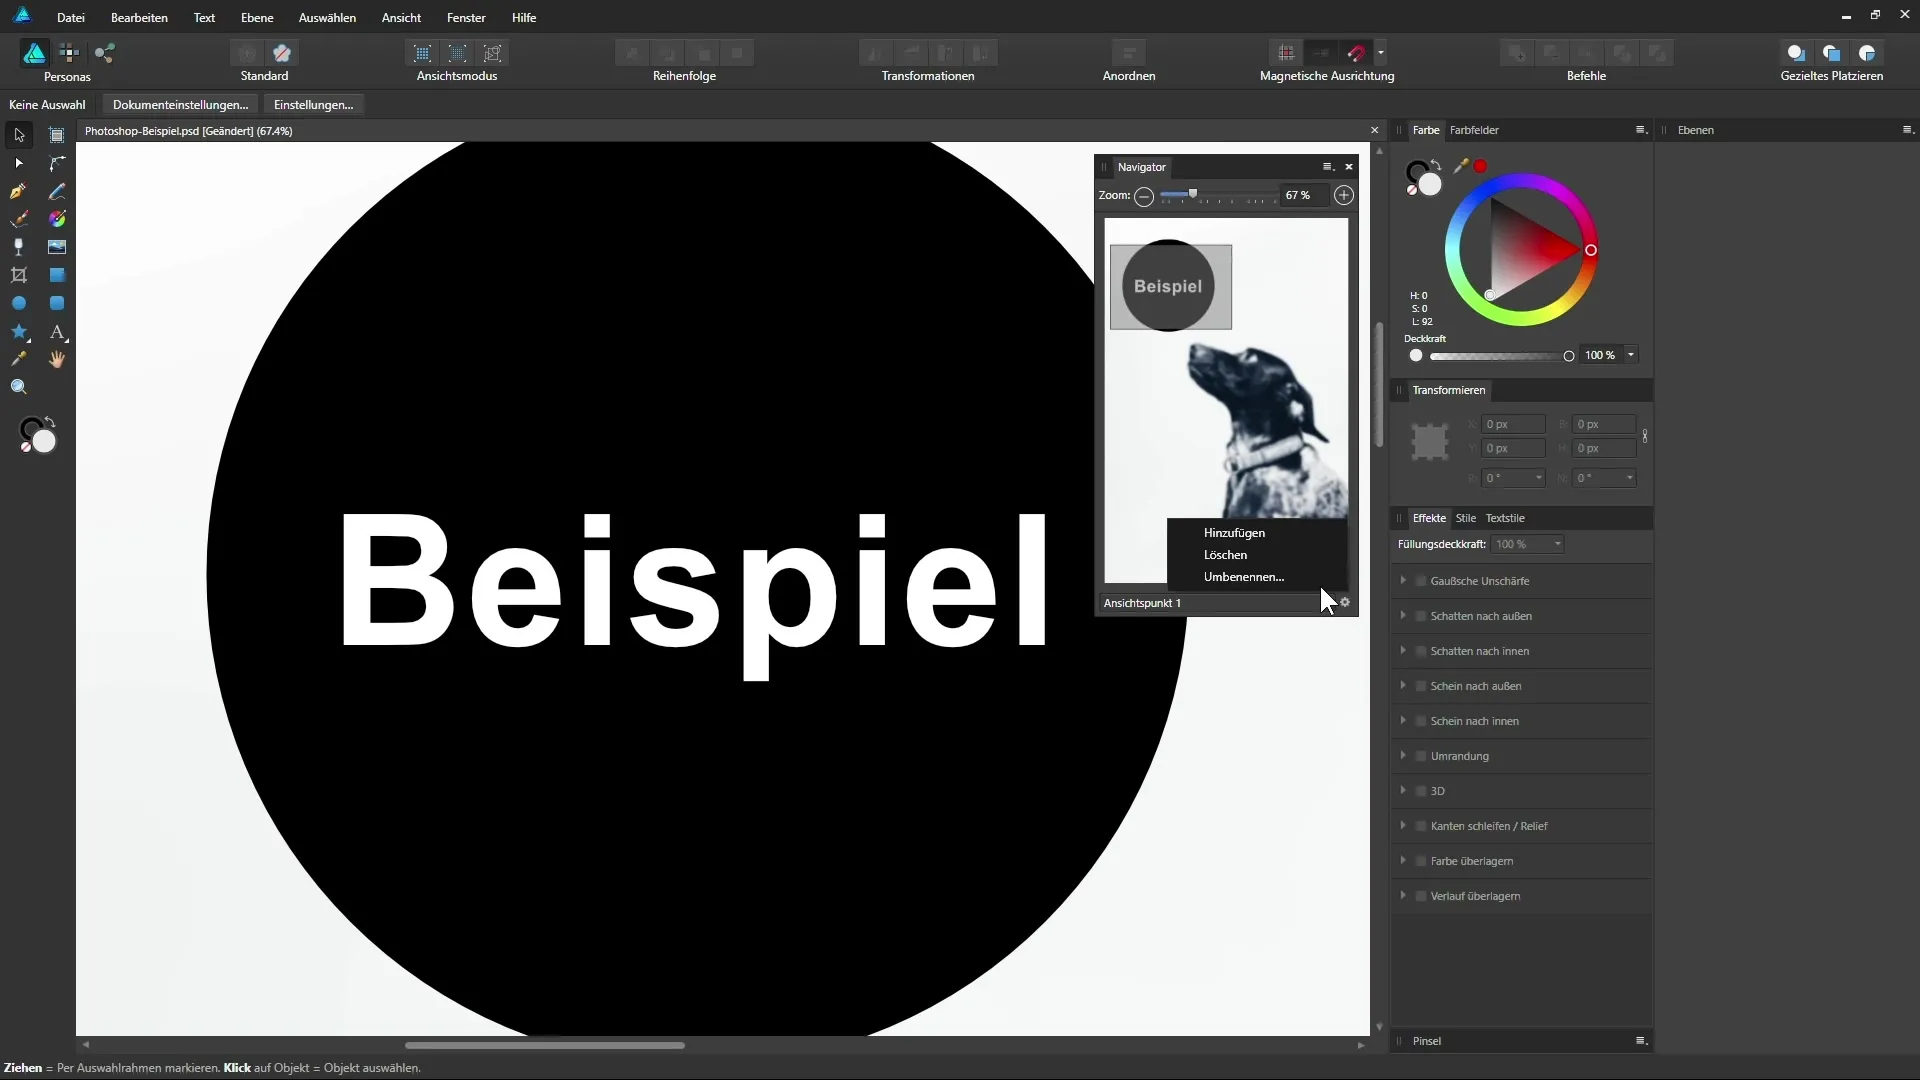
The navigator also allows you to save specific viewpoints. Click on the gear icon in the navigator and select “Add” to save a view area that you can quickly recall later.
10. Working with multiple view windows
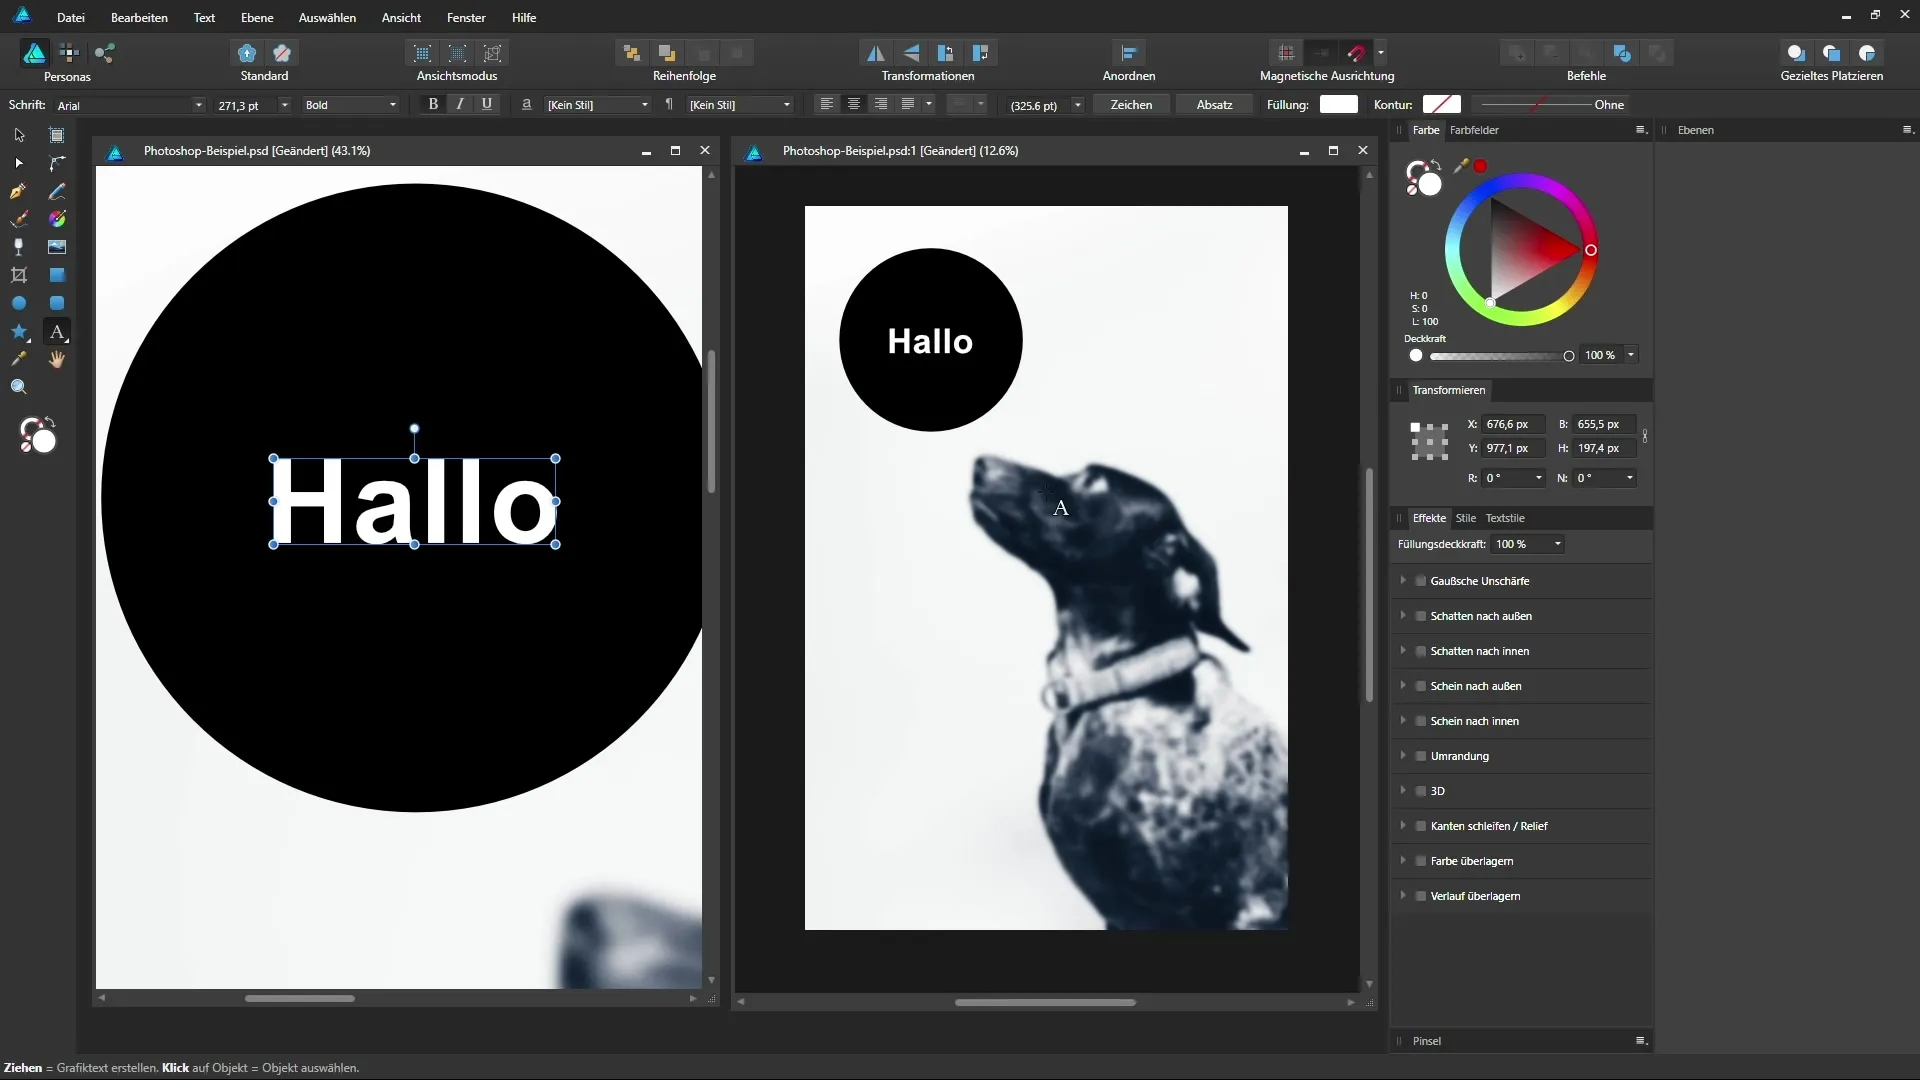
When you open the “View” menu and click on “New View,” you can create different views of your document. This allows you to work on multiple areas at the same time and is particularly useful when working with two monitors.
11. Synchronizing views
Any changes you make in one view will also be reflected in the other view since it is the same document. This way, you can maintain an overview while working and always have access to the big picture.
Summary – Affinity Designer – Effective Document Navigation
This guide shows you how to efficiently navigate through your document in Affinity Designer using simple tools and tricks. From zooming with the mouse wheel to utilizing the navigator and the ability to use multiple views – the techniques presented will help you optimize your workflows and execute design projects more quickly and accurately.
Frequently Asked Questions
How can I quickly zoom in Affinity Designer?You can quickly zoom with the mouse wheel or use keyboard shortcuts like Ctrl + 1 for 100%.
Can I save specific views?Yes, you can save viewpoints in the navigator for quick access between different areas.
How do I use the navigator effectively?The navigator provides an overview of your entire image and allows you to easily select and navigate areas.
Can I work with multiple monitors?Yes, you can open different views of your document in different windows on multiple monitors.
How do I switch between views?Click on the tabs of the view windows to navigate between the different views.


