Affinity Designer is a powerful tool that is particularly well-suited for designing documents. Whether you want to create a flyer, a business card, or a poster, knowledge of the proper setup of a document is crucial. In this guide, I will show you how to efficiently set up a new document in Affinity Designer.
Key insights
- You can easily adjust the document size and unit.
- Select the appropriate color format depending on the purpose.
- Page margins can be set individually.
- Transparent backgrounds are possible and can be activated or deactivated as needed.
- It is possible to change the document size later.
Step-by-step guide
To create a new document in Affinity Designer, you first need to open the “File” menu and select “New.” A dialog box will open, offering important setting options.
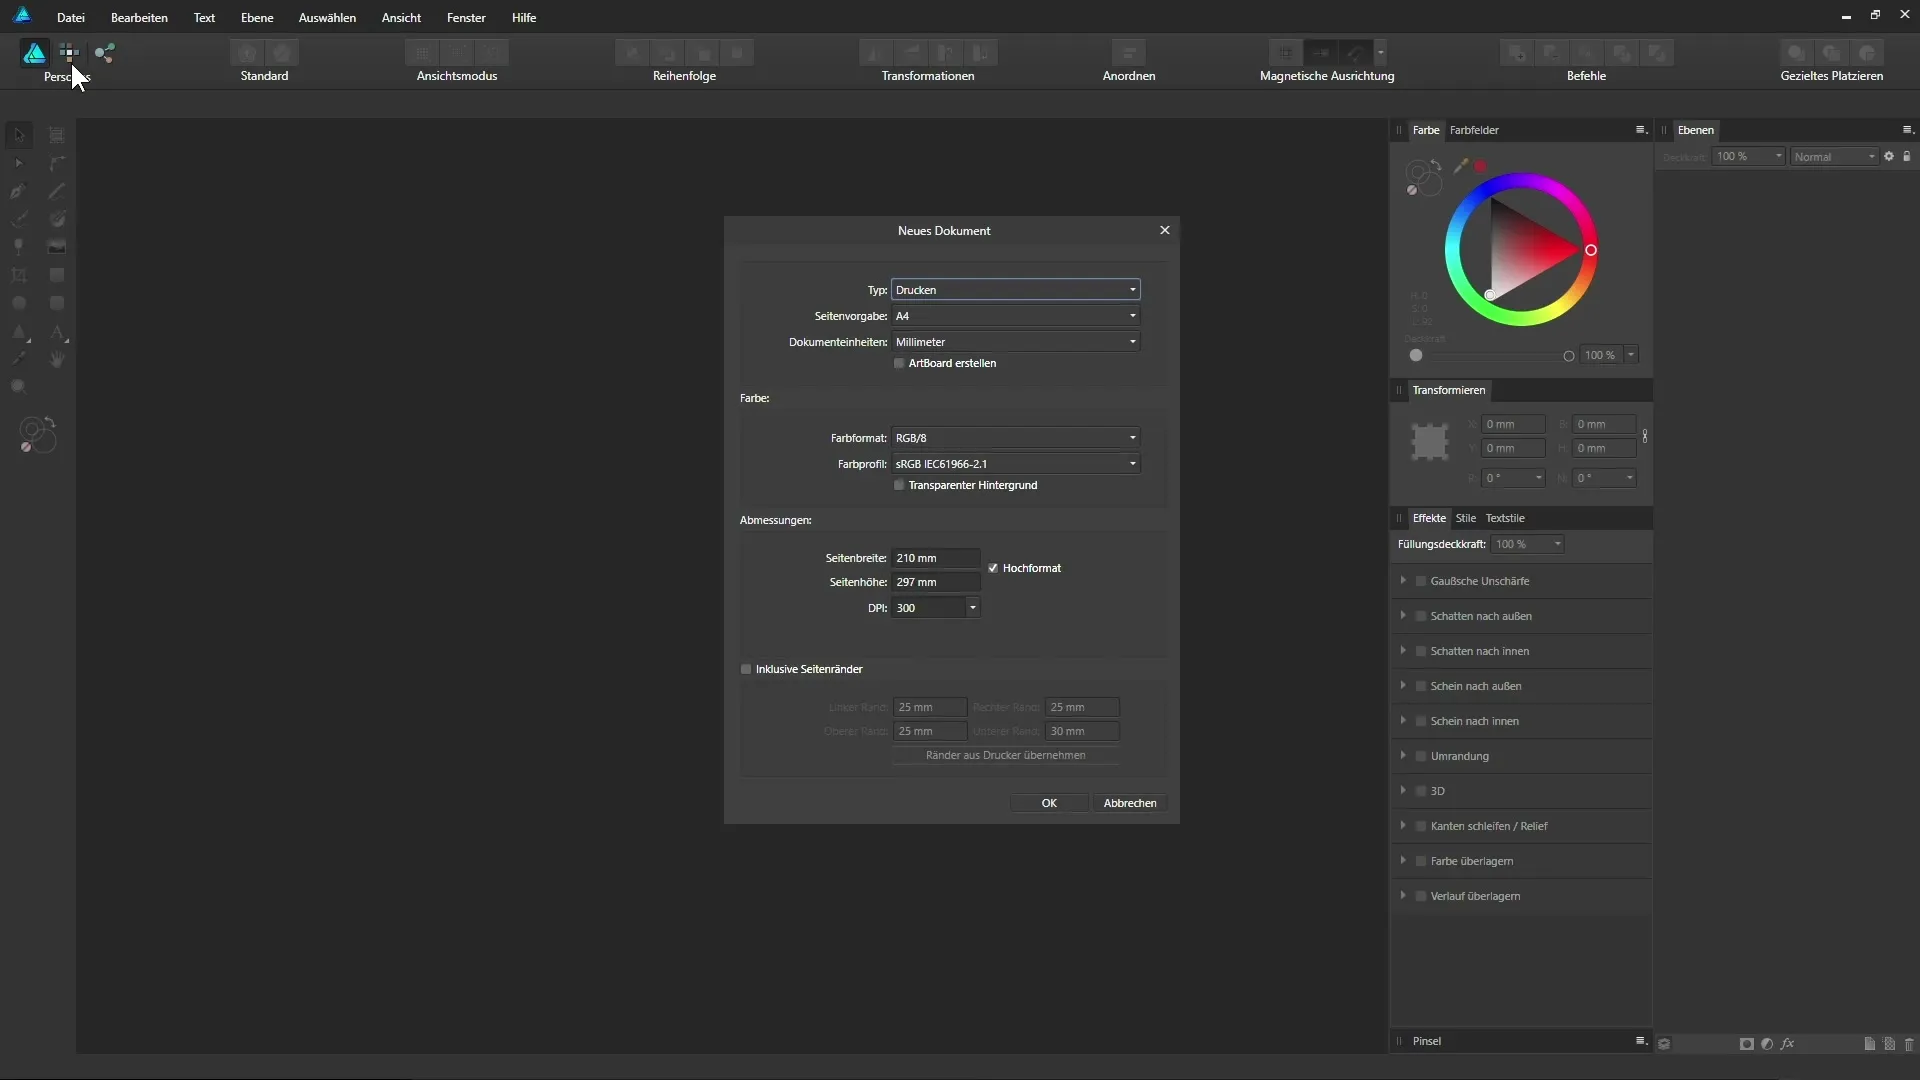
In the next step, select the “Preferences” from the “Type” menu. Here you can choose between the options “Print,” “Web,” or “Devices.” If you select “Print,” you will receive various page templates, including the well-known A4 format.
After you have selected the format, the document units are also predefined. You can use millimeters or other units of measurement such as pixels, inches, or centimeters. Additionally, you can adjust the color depth and the color profile. By default, RGB with 8-bit color depth and sRGB color profile is selected. However, for professional printed products, the CMYK color format is recommended.
Select the CMYK color profile if you want to print. Euro Scale Coated V2 is a good choice. However, to switch the color profiles, you may need to install other profiles separately.
If you want to work with a transparent area, you can activate this in the dialog box. Deactivating this option means that you will be working with a white background. You can adjust this setting later as well.
Now you set the dimensions of your new document. If you have chosen the A4 format, you are in portrait mode with a page width of 210 mm and a page height of 297 mm. If you want to use landscape format, simply uncheck the box, and the dimensions will swap.
Additionally, you can adjust the resolution, which is usually set to 300 dpi for high-quality printing. In the case of digital representation, a value of 72 dpi is often sufficient, especially when it comes to the internet.
Before you finalize the document, you have the option to set page margins. This option can help you have a better orientation when placing texts and objects.
Once you click “OK,” your document will be created. The page margins will appear as blue lines, helping you plan your design in the white area (A4 format).
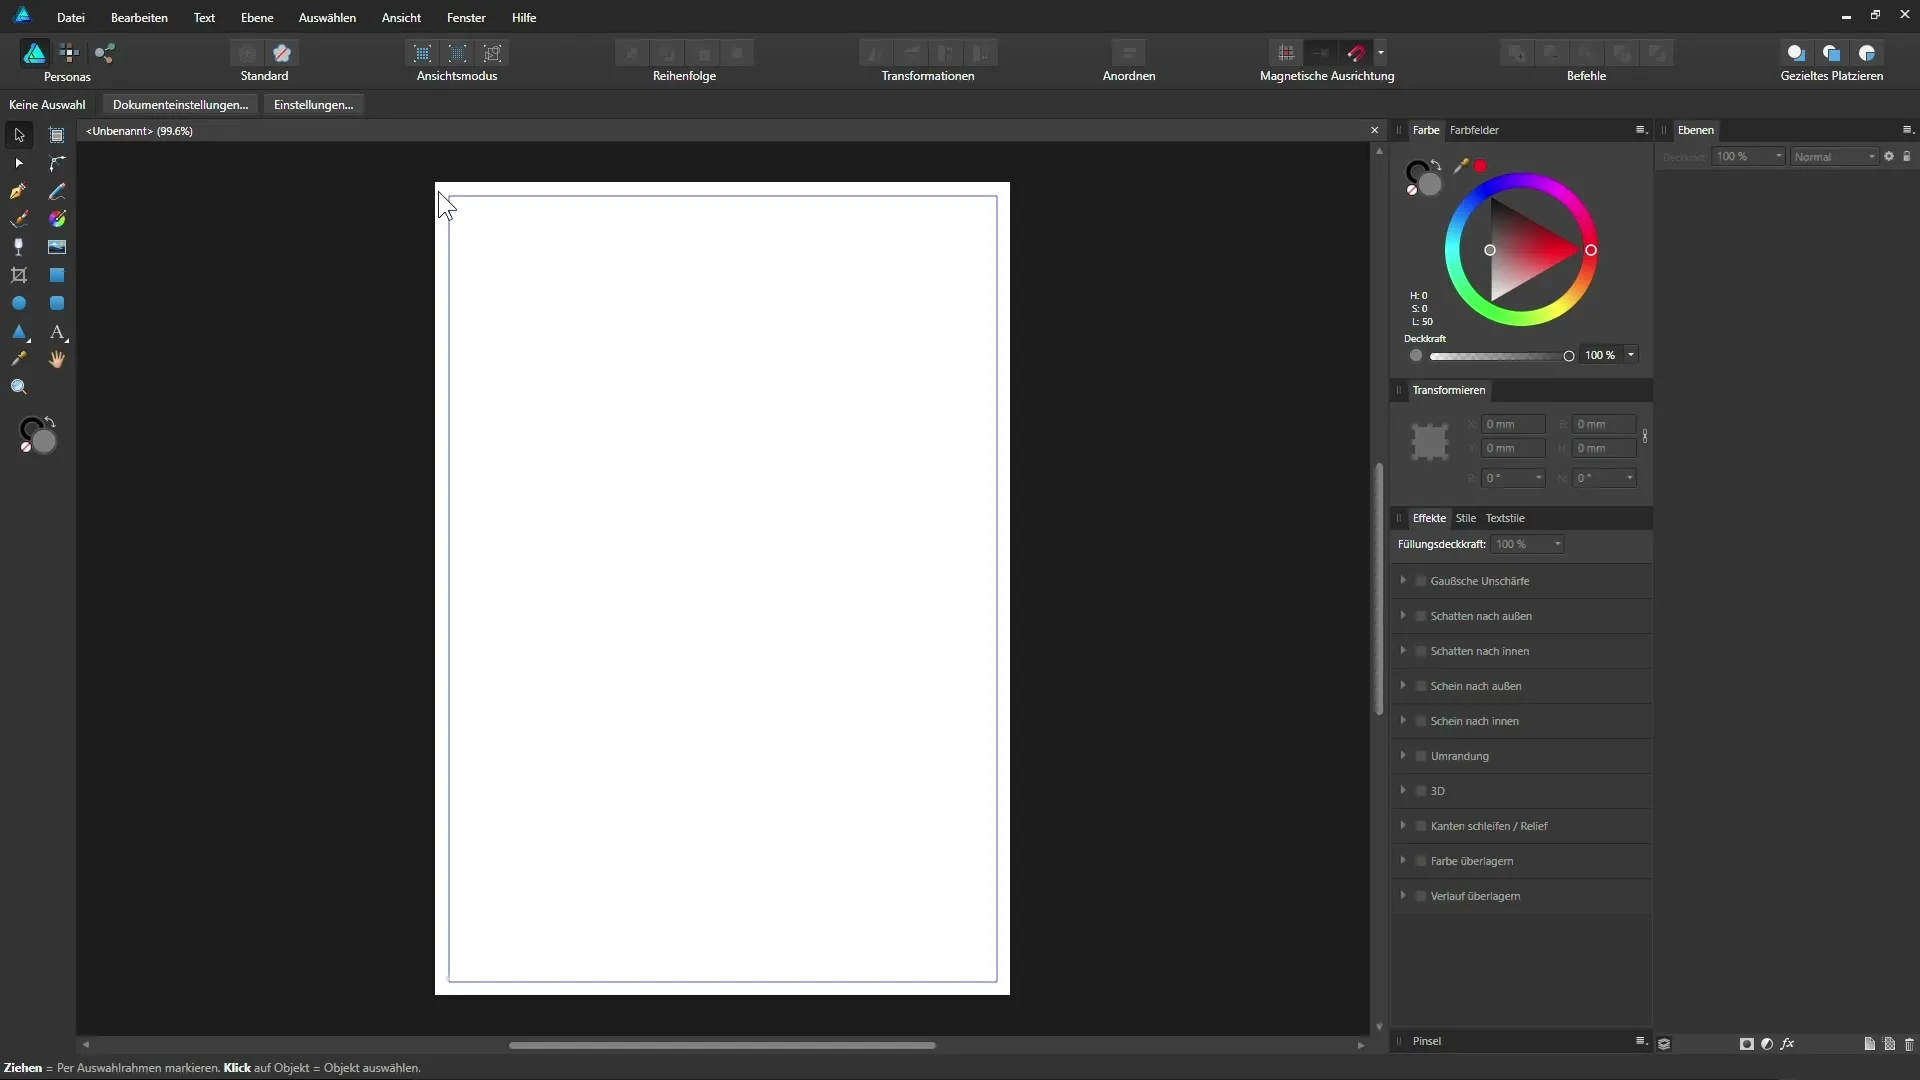
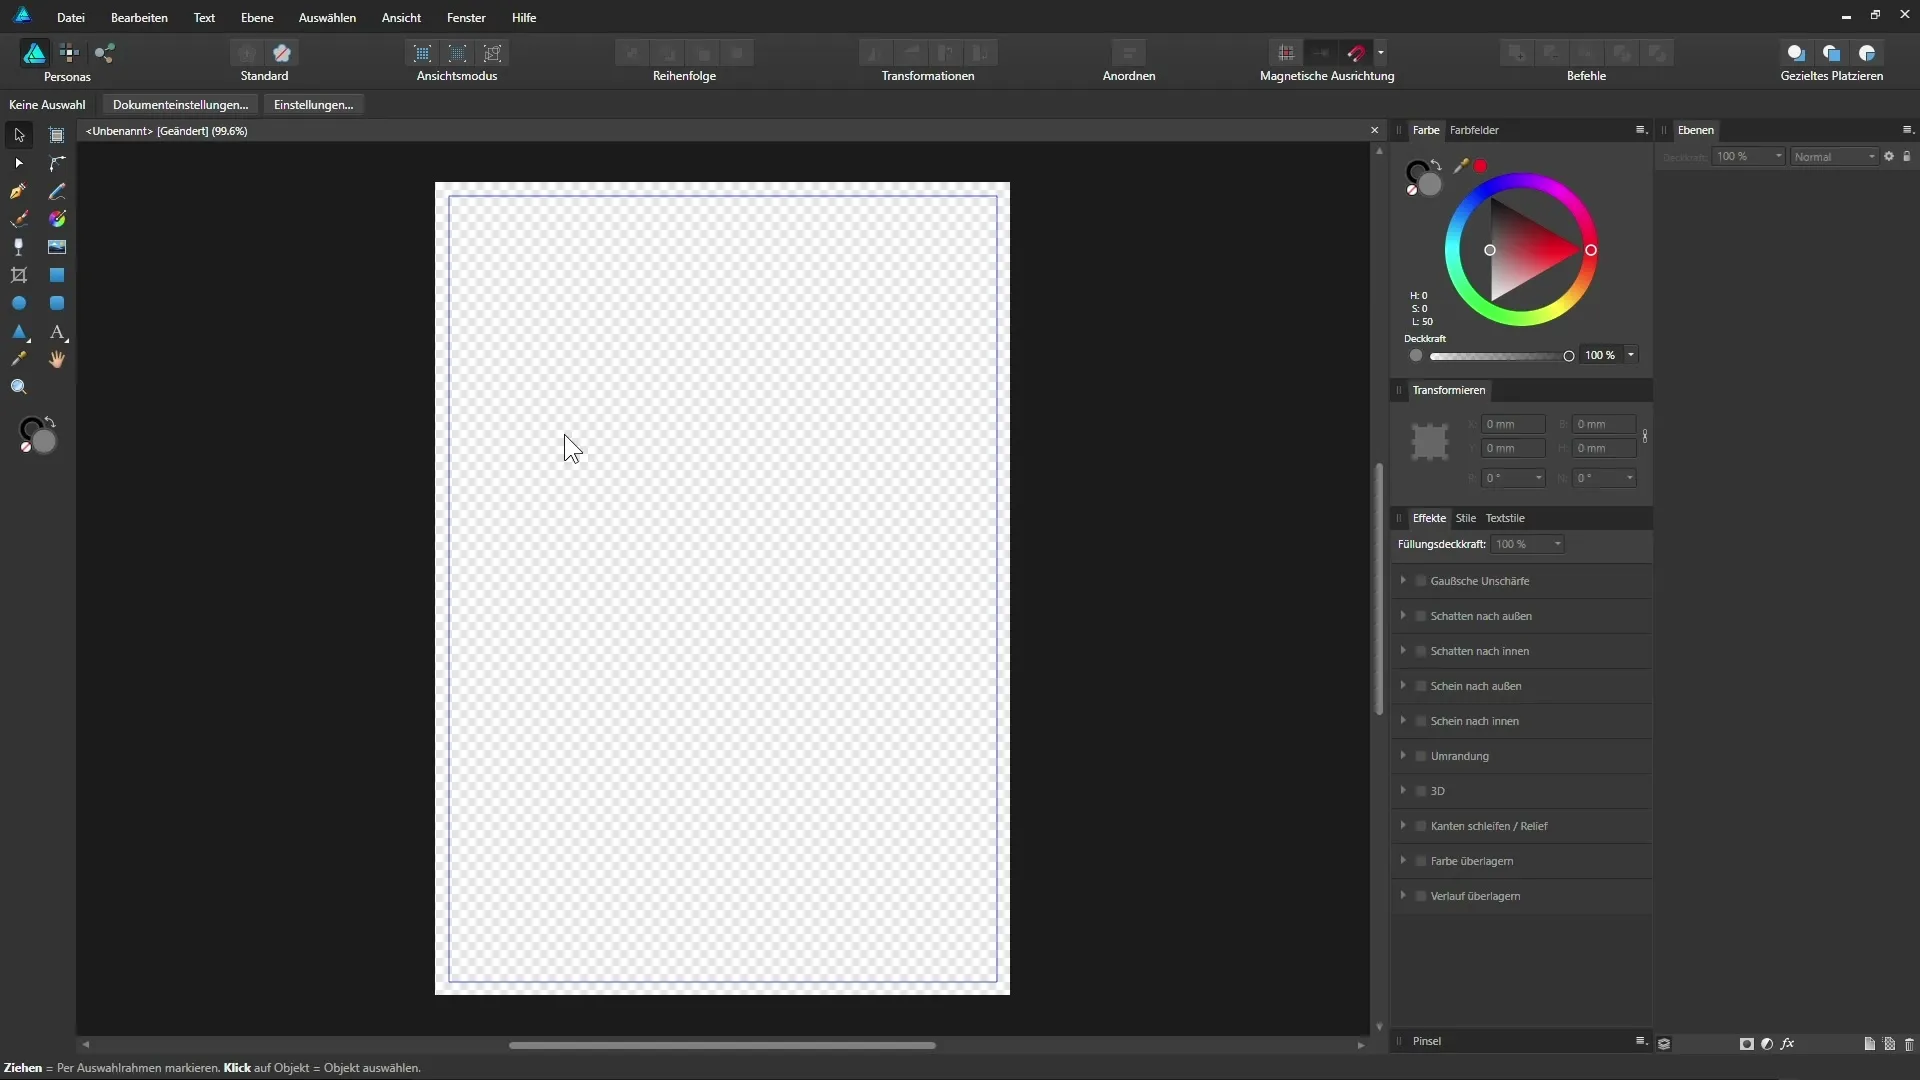
To change the background from white to transparent, go back to the document settings and activate transparency.
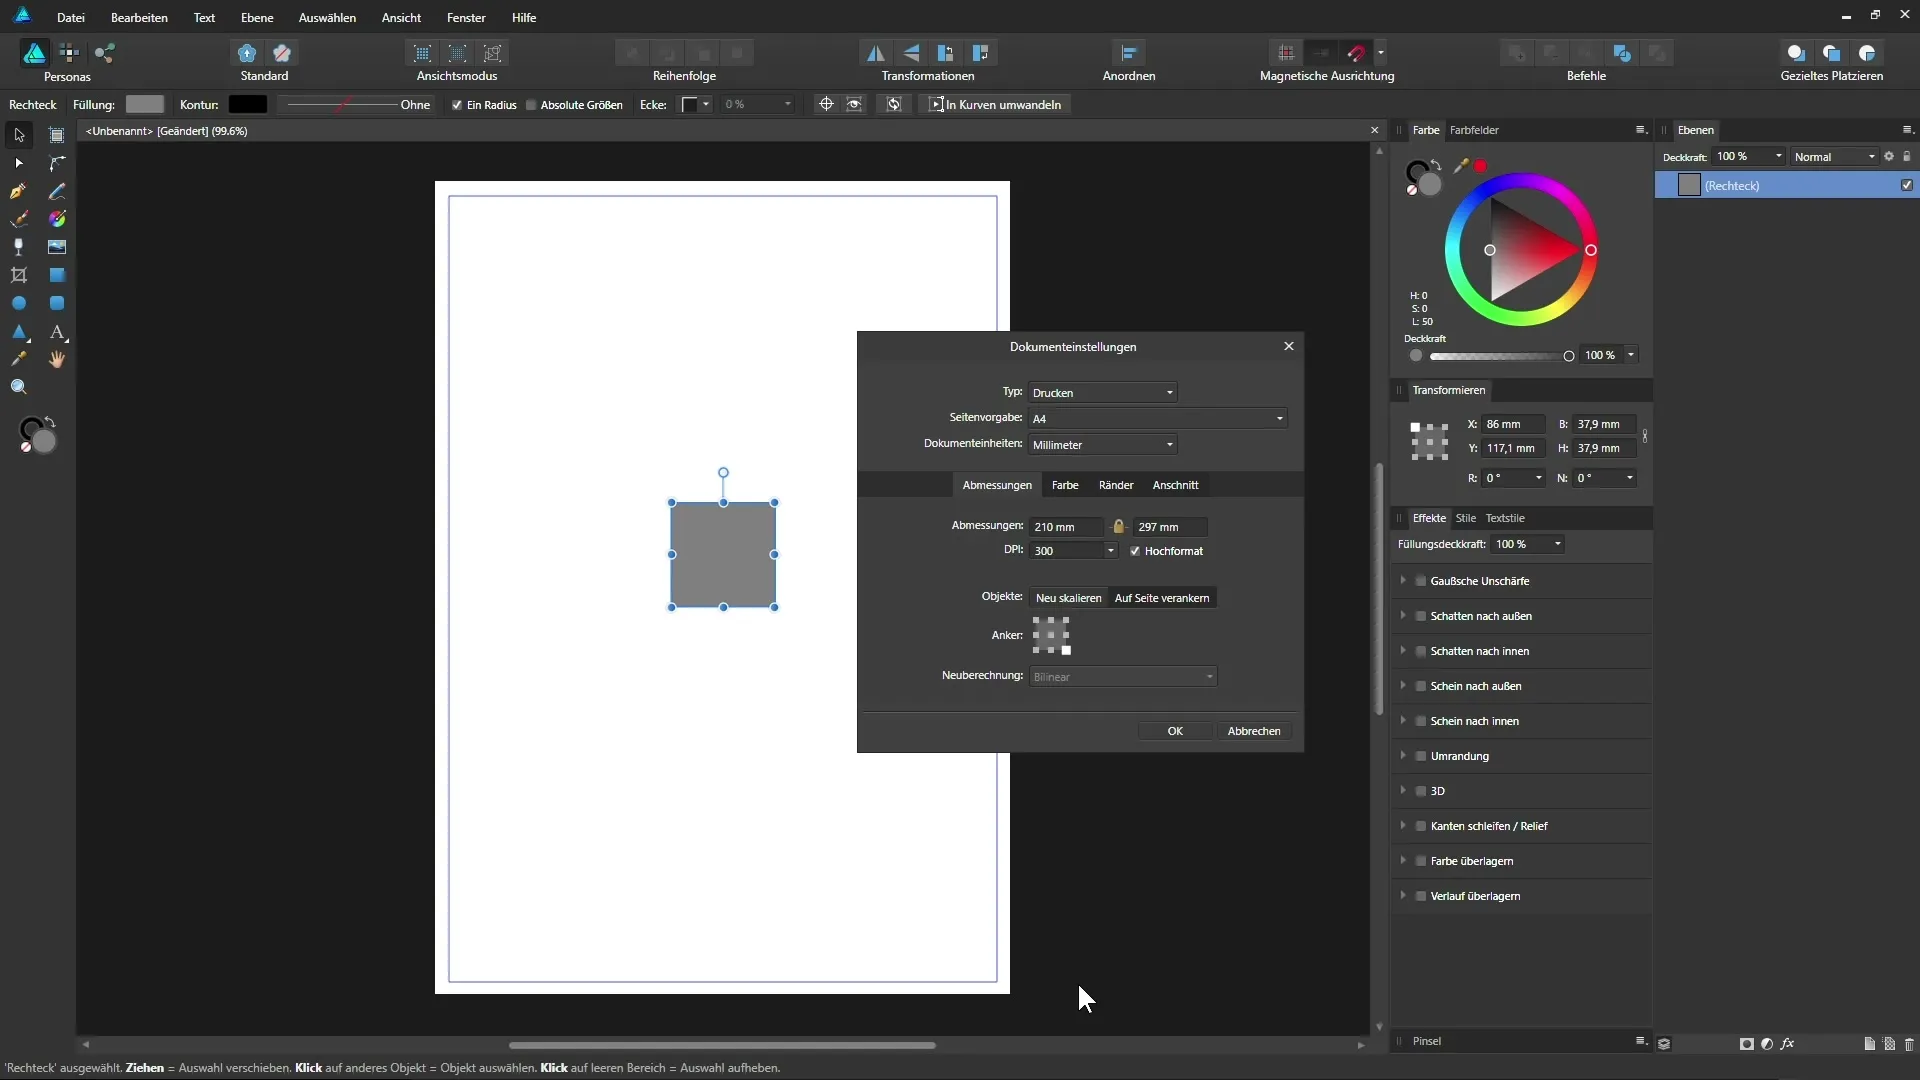
If you later want to adjust the dimensions of your document, go back to “File” and select document settings.
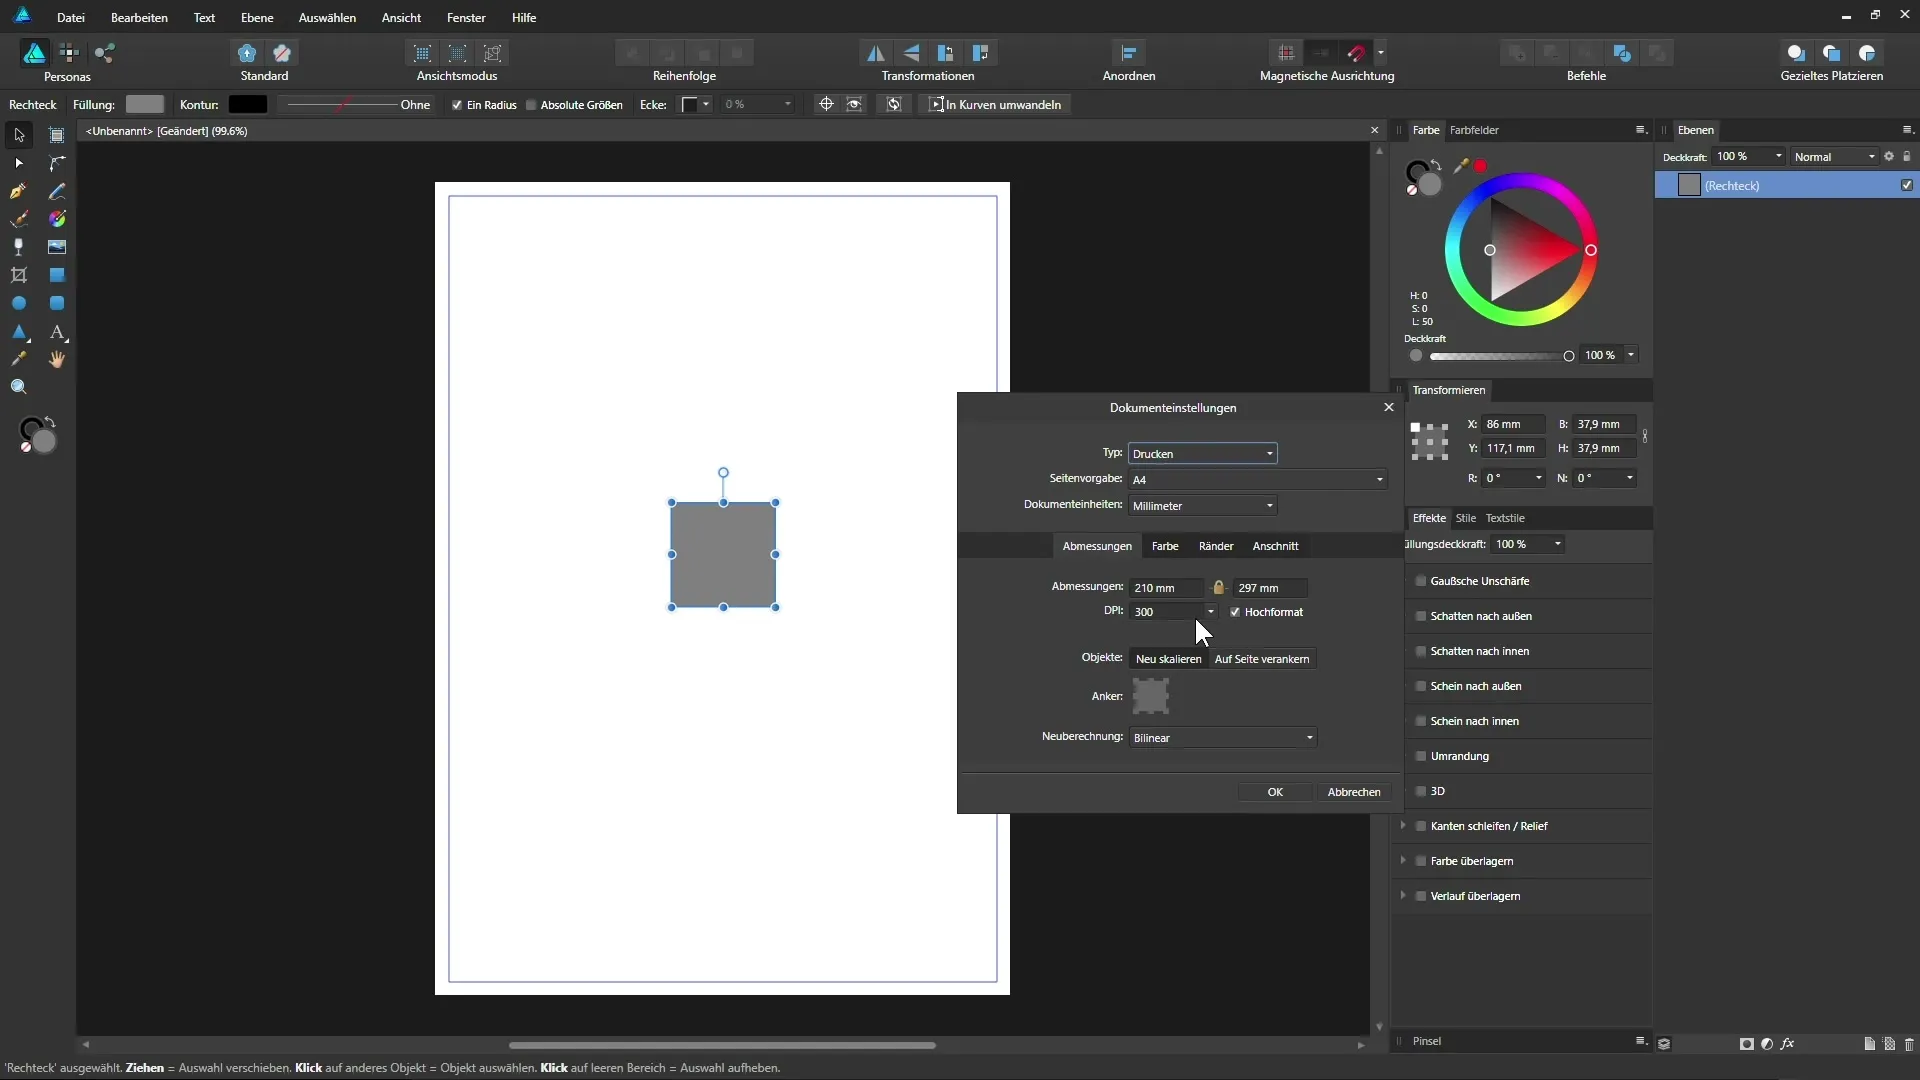
Here you can easily change the measurements. Make sure to activate the lock icon to maintain the proportions.
The document can also be enlarged without scaling the objects within it. You can decide from which point the document should be enlarged. Thus, you have easy control over the size of your document.
Thus, you have now learned all the necessary steps to effectively set up a new document in Affinity Designer. Knowing the proper size, color profiles, and page margins will help you design optimally.
Summary – Affinity Designer – Document Setup Step by Step
You have now learned the basics of setting up a new document in Affinity Designer. Whether you use it for print or digital media, the described procedure is applicable for every project. Be sure to consider the correct dimensions, color profiles, and optional settings to achieve the best possible results.
Frequently Asked Questions
What is Affinity Designer?Affinity Designer is a graphic design program that is ideal for creating vector graphics.
How do I change the document size?The size of the document can be adjusted at any time via the “File” menu and “Document Settings.”
Can I make the background transparent?Yes, you can activate or deactivate a transparent background.
What resolution is suitable for printing?A resolution of 300 dpi is recommended for printing, while 72 dpi is sufficient for digital media.
What color profiles are available?By default, RGB and sRGB, as well as CMYK color profiles are available for use in printing.


