How can you give an image the impression of a painterly style? With the Blur-Tool, which is integrated into the Pixel Persona of AffinityDesigner, you can manipulate the pixels of an image to make them appear "smudged" and thus artistic. This tutorial will show you how to effectively use this tool to give your images a unique touch.
Key Insights The Blur Tool allows you to move pixels in a specific direction, achieving a painterlyeffect. It requires practice to find the right technique and optimal settings.
Step-by-Step Guide
To make the most of the Blur Tool, follow this step-by-step guide:
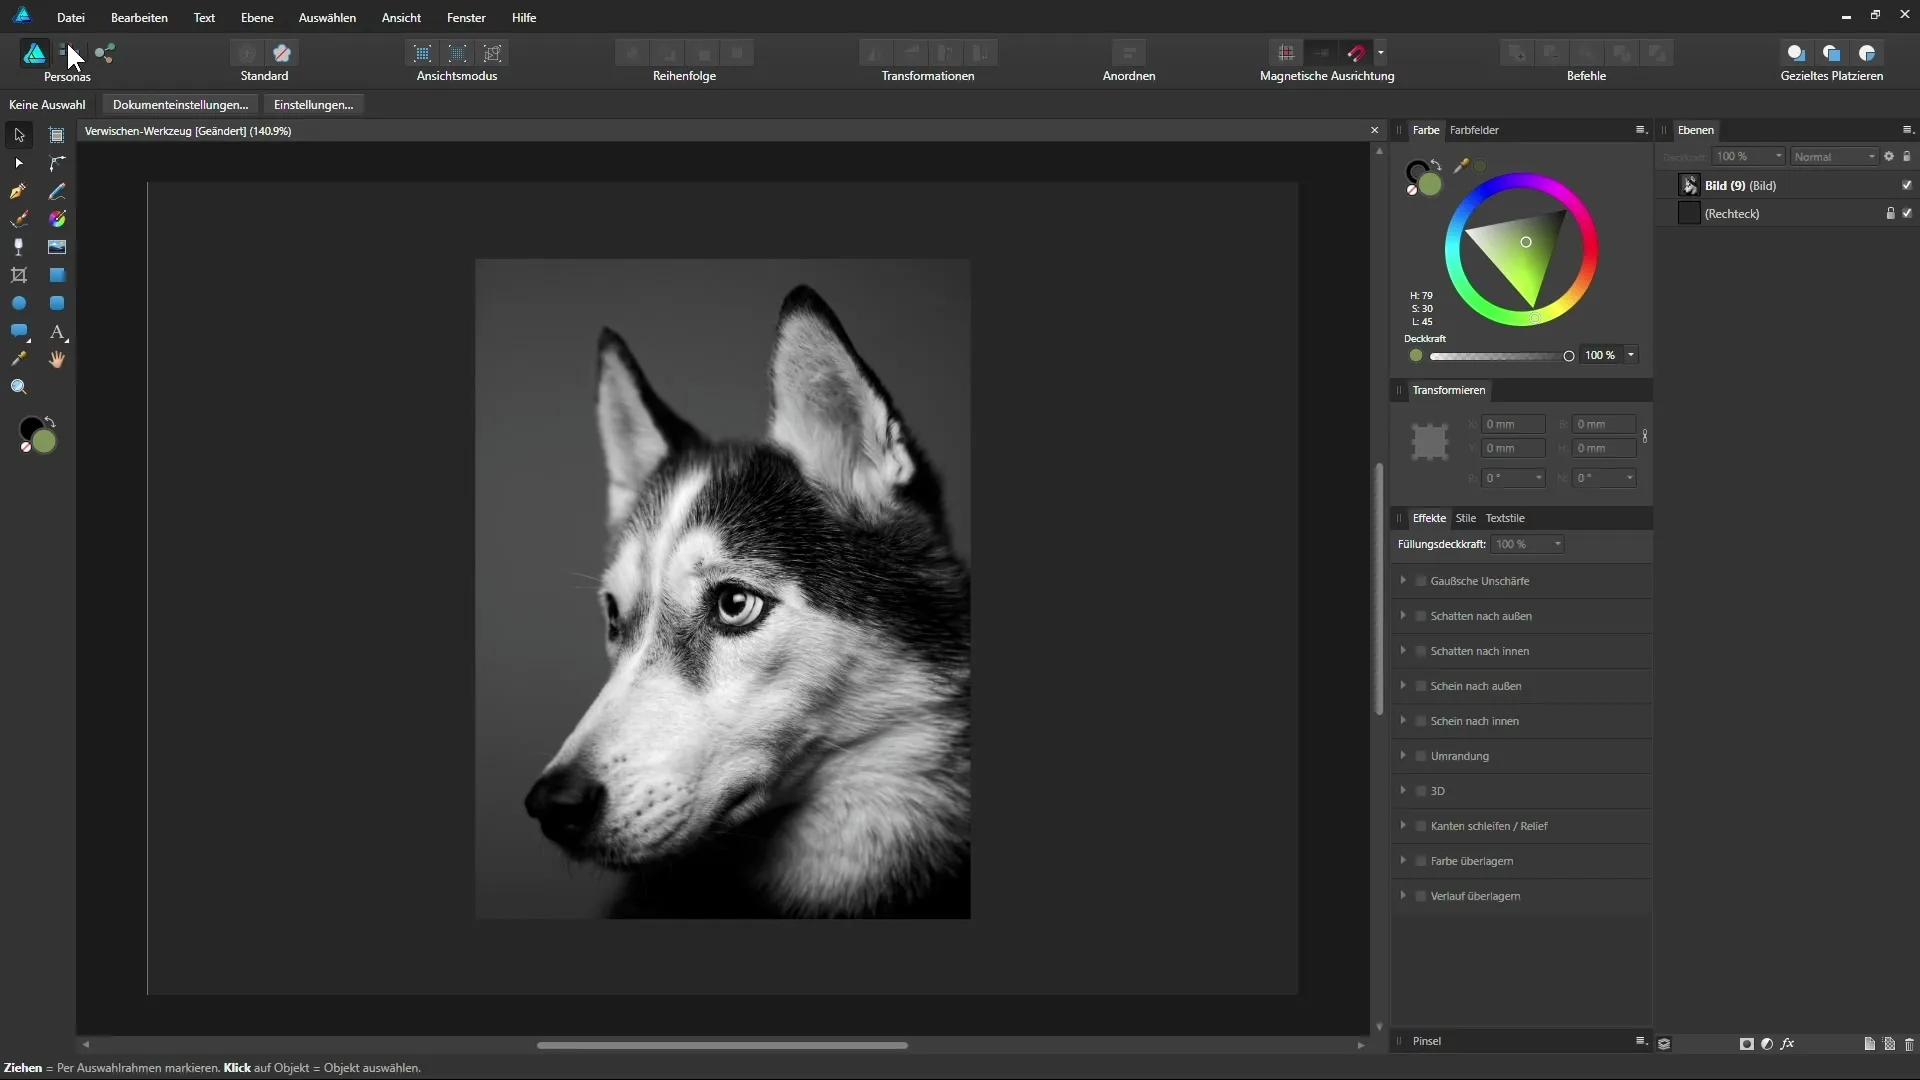
First, you need an image that you want to edit. Open your image in Affinity Designer. Once the image is loaded into your document, go to the Layers palette and prepare it. To avoid editing the original, duplicate the image layer by selecting the layer and pressing the "Ctrl" and "J" keys at the same time. Then hide the original layer.
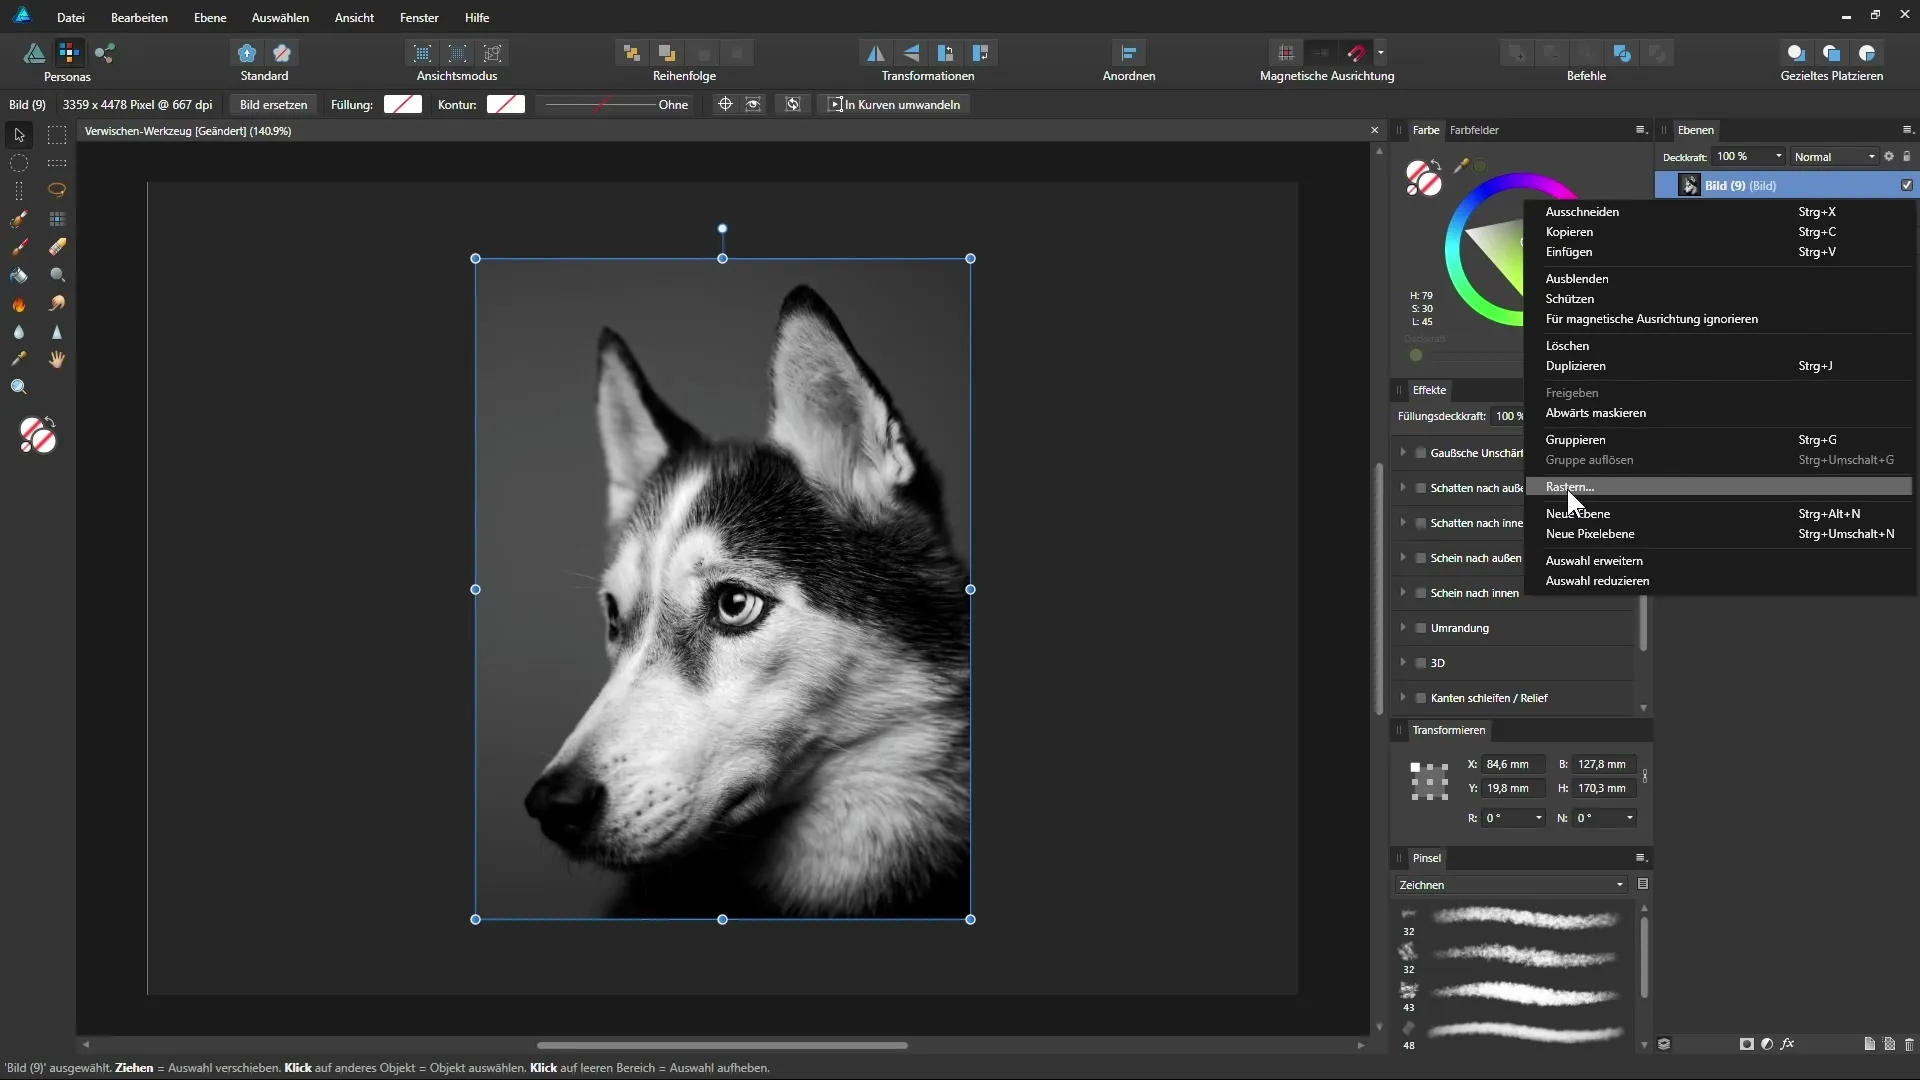
Before you can work with the Blur Tool, the layer must be converted into a pixel layer. To do this, right-click on the layer and select "Rasterize". This way, the image is converted into a pixel layer that can be edited with the Blur Tool.
You should now be able to see the pixels in your image. With the spacebar held down, you can navigate through the image. Zoom in to examine the details better, focusing, for instance, on the area around the eye.
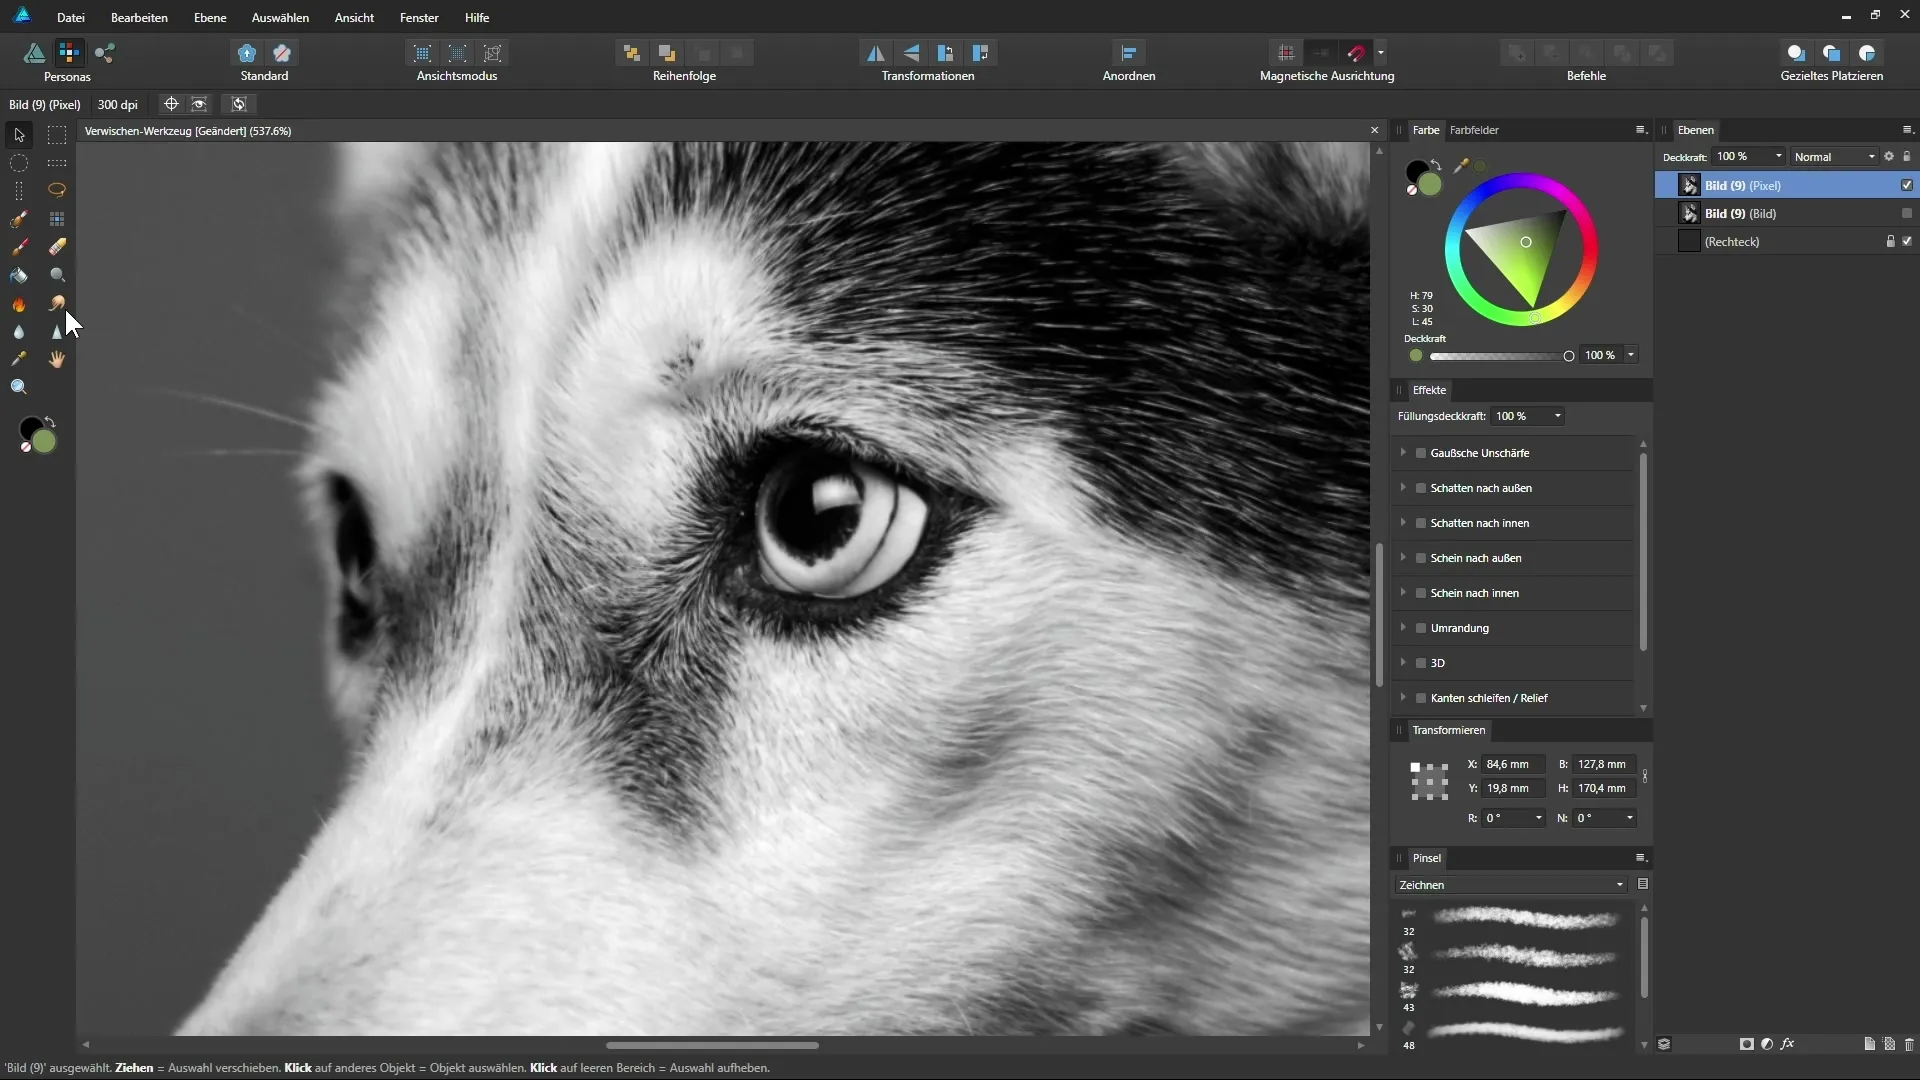
The Blur Tool can be found behind a specific icon. When you select it, the context bar becomes visible, allowing you to make various settings. Here you can adjust the brush tip width, flow, or strength of the blur.
If you are working with a graphics tablet, you can enable pressure sensitivity. Experiment with the settings, as variations in flow and strength significantly affect the final result. In this example, a flow of 20% and a strength of 50% were set.
To use the Blur Tool, imagine it as a brush that you move across the image to pull pixels in a specific direction. Swipe along the natural patterns of the image to achieve a harmonious effect. You should pay attention to match your movements to the texture, for example, in the fur area.
Target specific areas you wish to edit. Do not blur randomly, but follow the structures in the image. Keep starting again and swipe in different directions to shape the image according to your vision.
If you want to reduce the brush tip size, you can quickly adjust this in the tool options. The strength of the effect can also be easily varied to achieve a subtle or pronounced look. A higher flow leads to more intense effects.
Note that blurring in this way is a destructive edit. Therefore, it is beneficial that you had previously created a copy of the original layer in case you are dissatisfied with your changes. If you wish to start again, you can delete the edited layer and work again from the original copy.
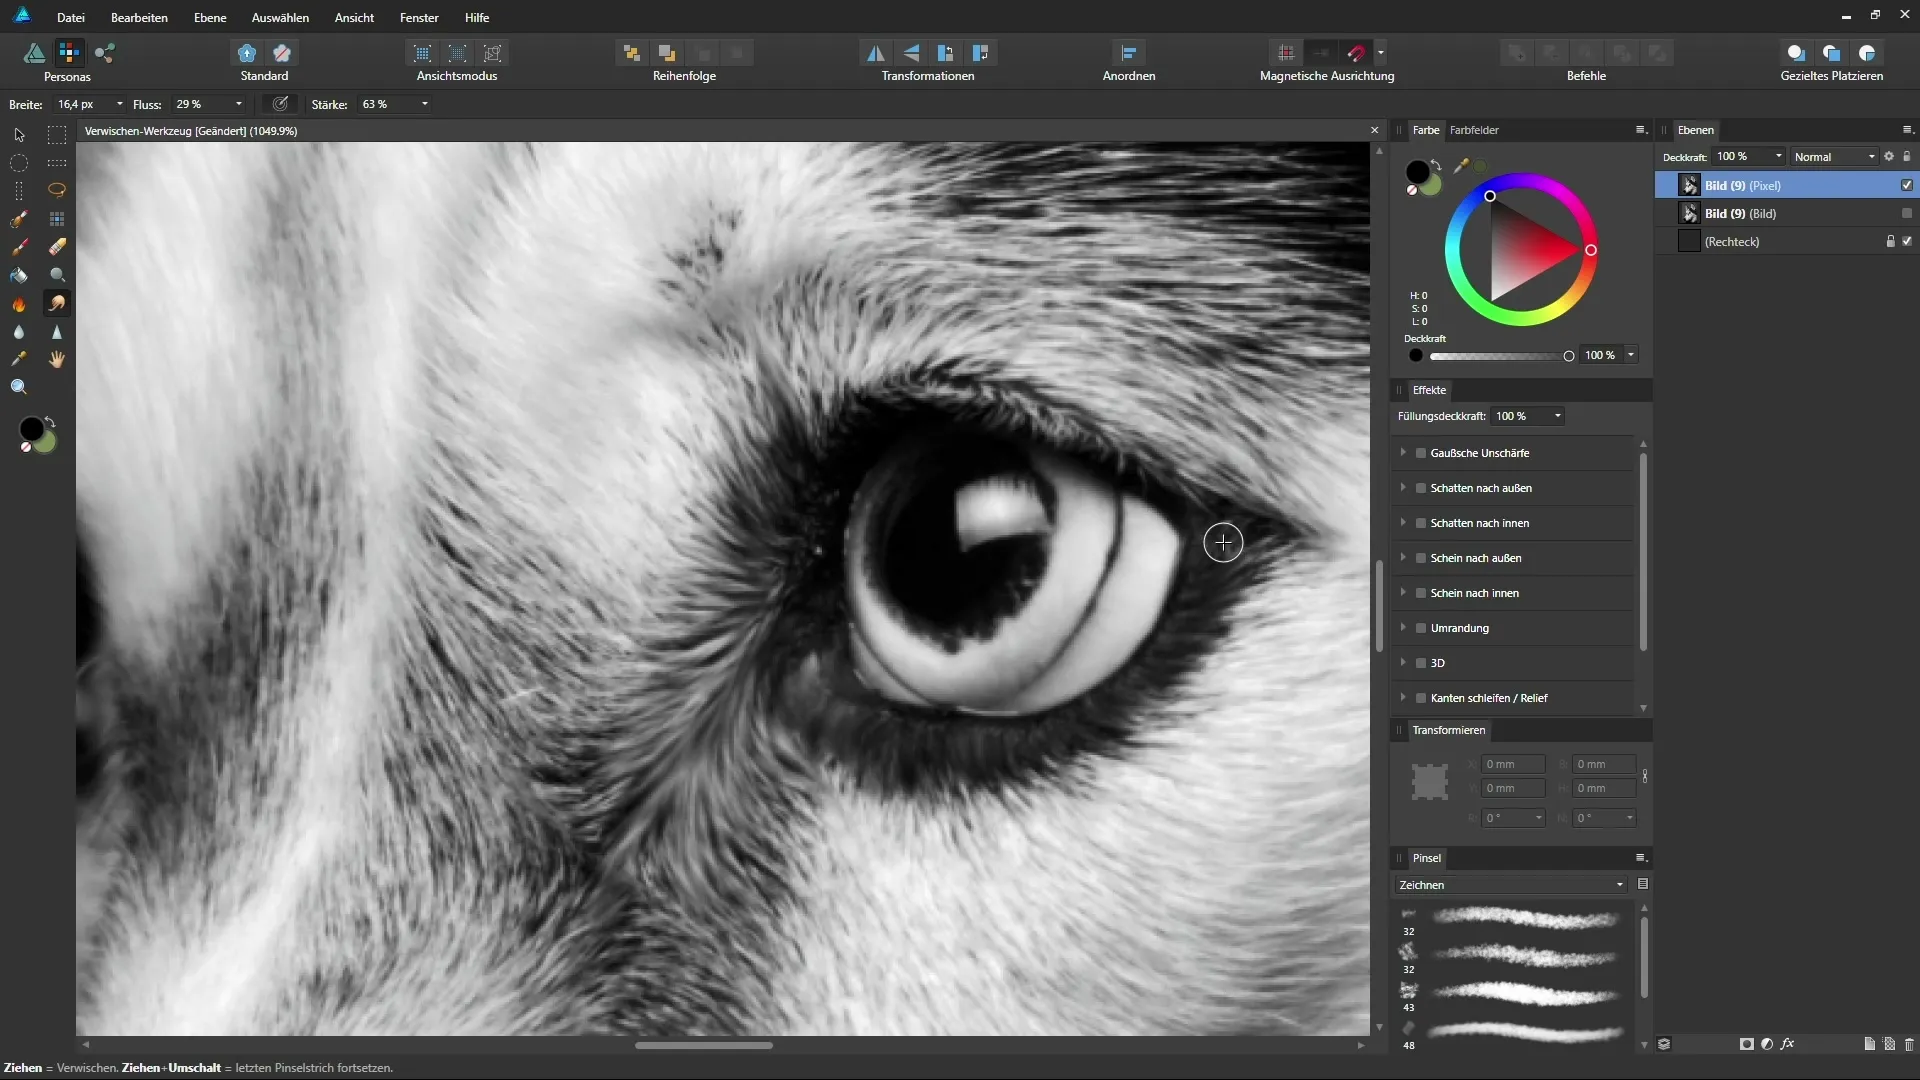
With some experience, blurring becomes relatively quick. Remember that larger images will take more time to edit the details. However, the result looks very professional and gives the image the desired painterly effect.
To make a final assessment, hide the edited layer and reveal the original again. Compare the two versions to see the difference. Pay particular attention to details that you achieved with the Blur Tool.
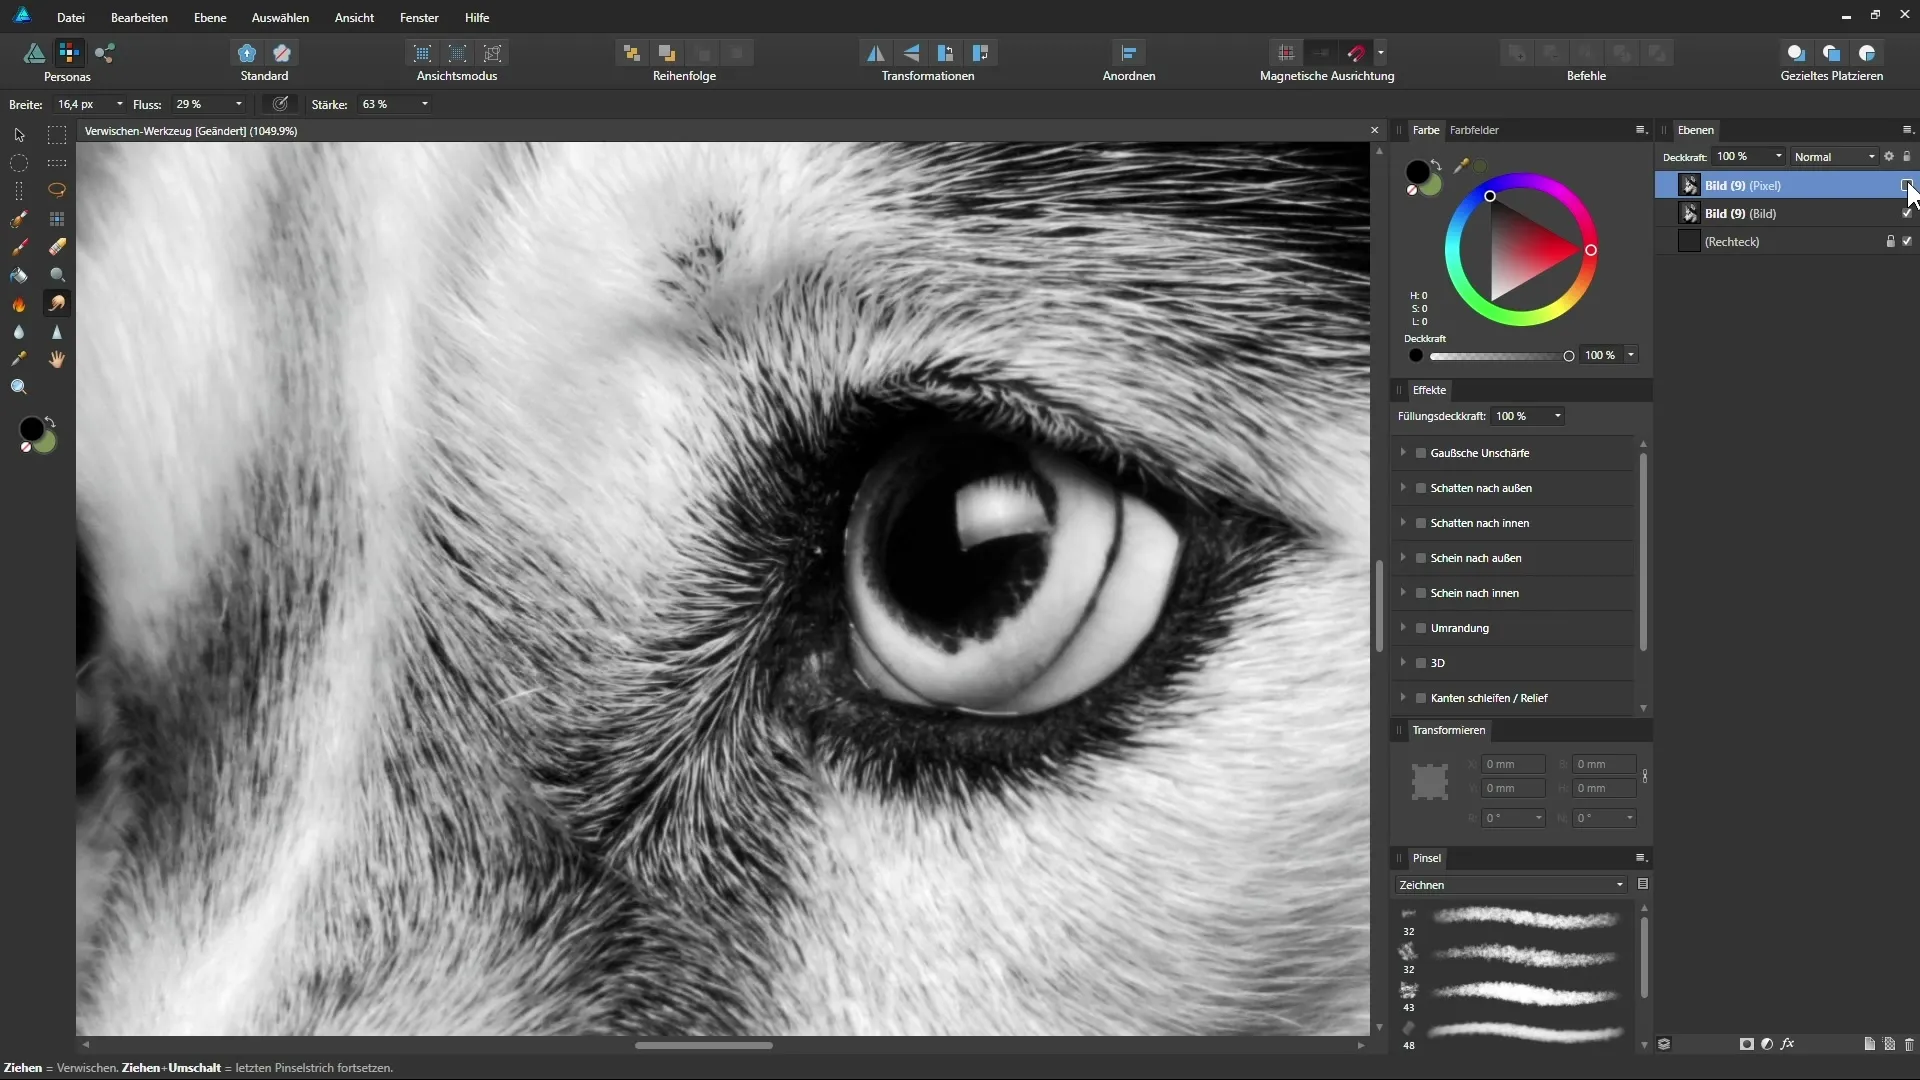
Summary – Affinity Designer: Principles of the Blur Tool
You have now learned the basics of the Blur Tool in Affinity Designer. With the right techniques and settings, you can give your images a unique, artistic look.
FAQ
How can I find the Blur Tool in Affinity Designer?The Blur Tool is hidden in the tool menu under the brush icon.
Is the Blur Tool destructive?Yes, it permanently changes the pixels, so it is advisable to create a copy of the layer.
Can I undo the effect?Yes, if you create a copy of the layer, you can always revert to the original.
Do I have to work with a graphics tablet?No, it is also possible with a mouse, but a graphics tablet can enhance control over pressure sensitivity.
How long does it take to learn to use the tool?It depends on your practice and the level of detail in the image; with time, you will become more confident and quicker.


