Affinity Designer offers a variety of options to efficiently create and customize graphics. The efficient use of shapes, contours, and gradients is essential for creating professional designs. In this guide, you will learn the basic concepts and techniques that will help you optimize your designs.
Key insights
- Shapes, contours, and gradients are fundamental elements in Affinity Designer.
- The transparency of shapes and the thickness of contours influence the visualization of your designs.
- With gradients, you can achieve dynamic and engaging effects.
- You can adjust contours to achieve various graphic styles.
Step-by-Step Guide
Select shape without contour
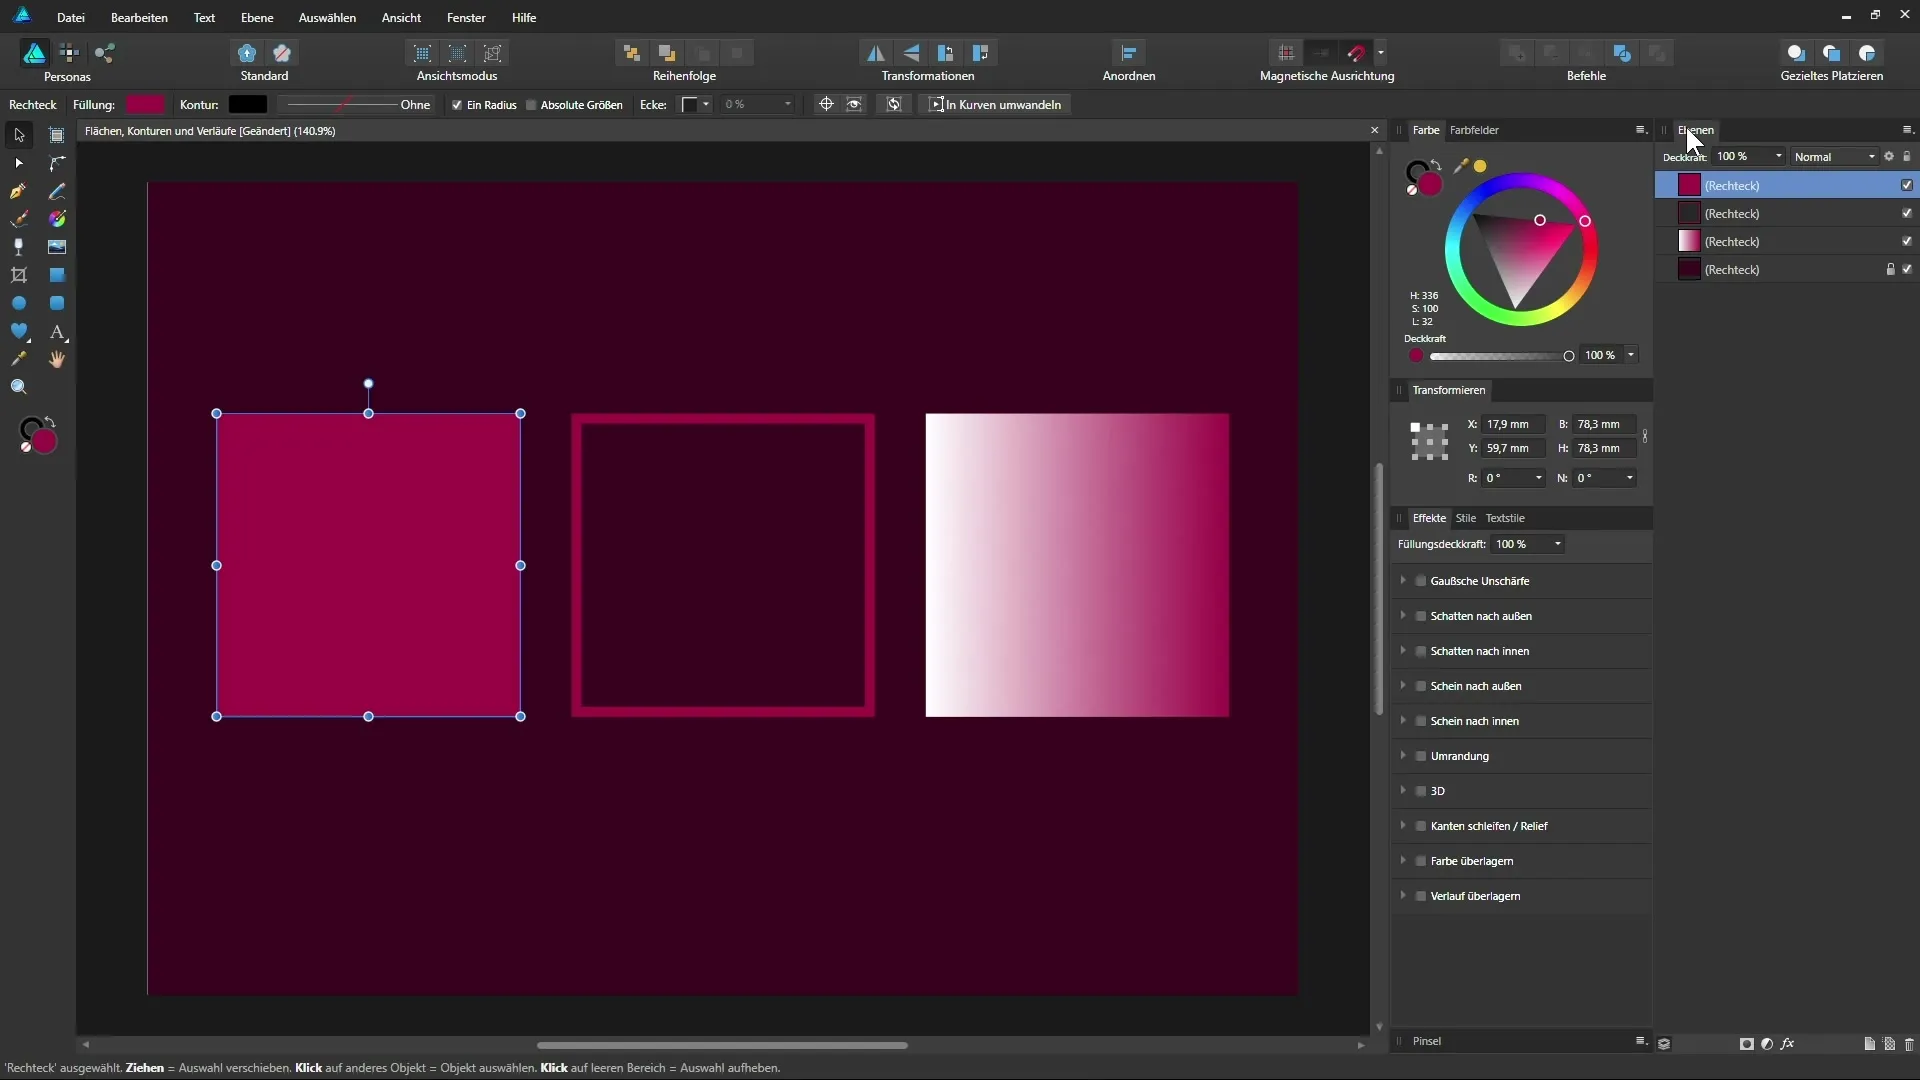
Start by selecting one of the squares in the document. Click on the left square to select it. In the layers panel, this square will then be highlighted in blue. In the context bar, you can now see the fill color that has been assigned. Here you ensure that the selected shape has no contour, which means that the contour currently has no thickness and is not displayed.

Change fill color
To change the fill color of the selected square, go to the "Fill" section in the context bar. There, you can choose a different color by double-clicking on the color circle. Alternatively, you can also use the color panel to select a different color. For example, if you want to choose the color orange, you also have the option to set the transparency of that color.
Difference between color opacity and layer opacity
It is important to understand the difference between the opacity of the color and the opacity of the layer. Changing the opacity of the color only affects the visibility of the color itself, while changing the opacity of the layer affects the entire layer. In the layers panel, you can set the opacity of the entire layer and observe how the background shows through.
Select contour without shape
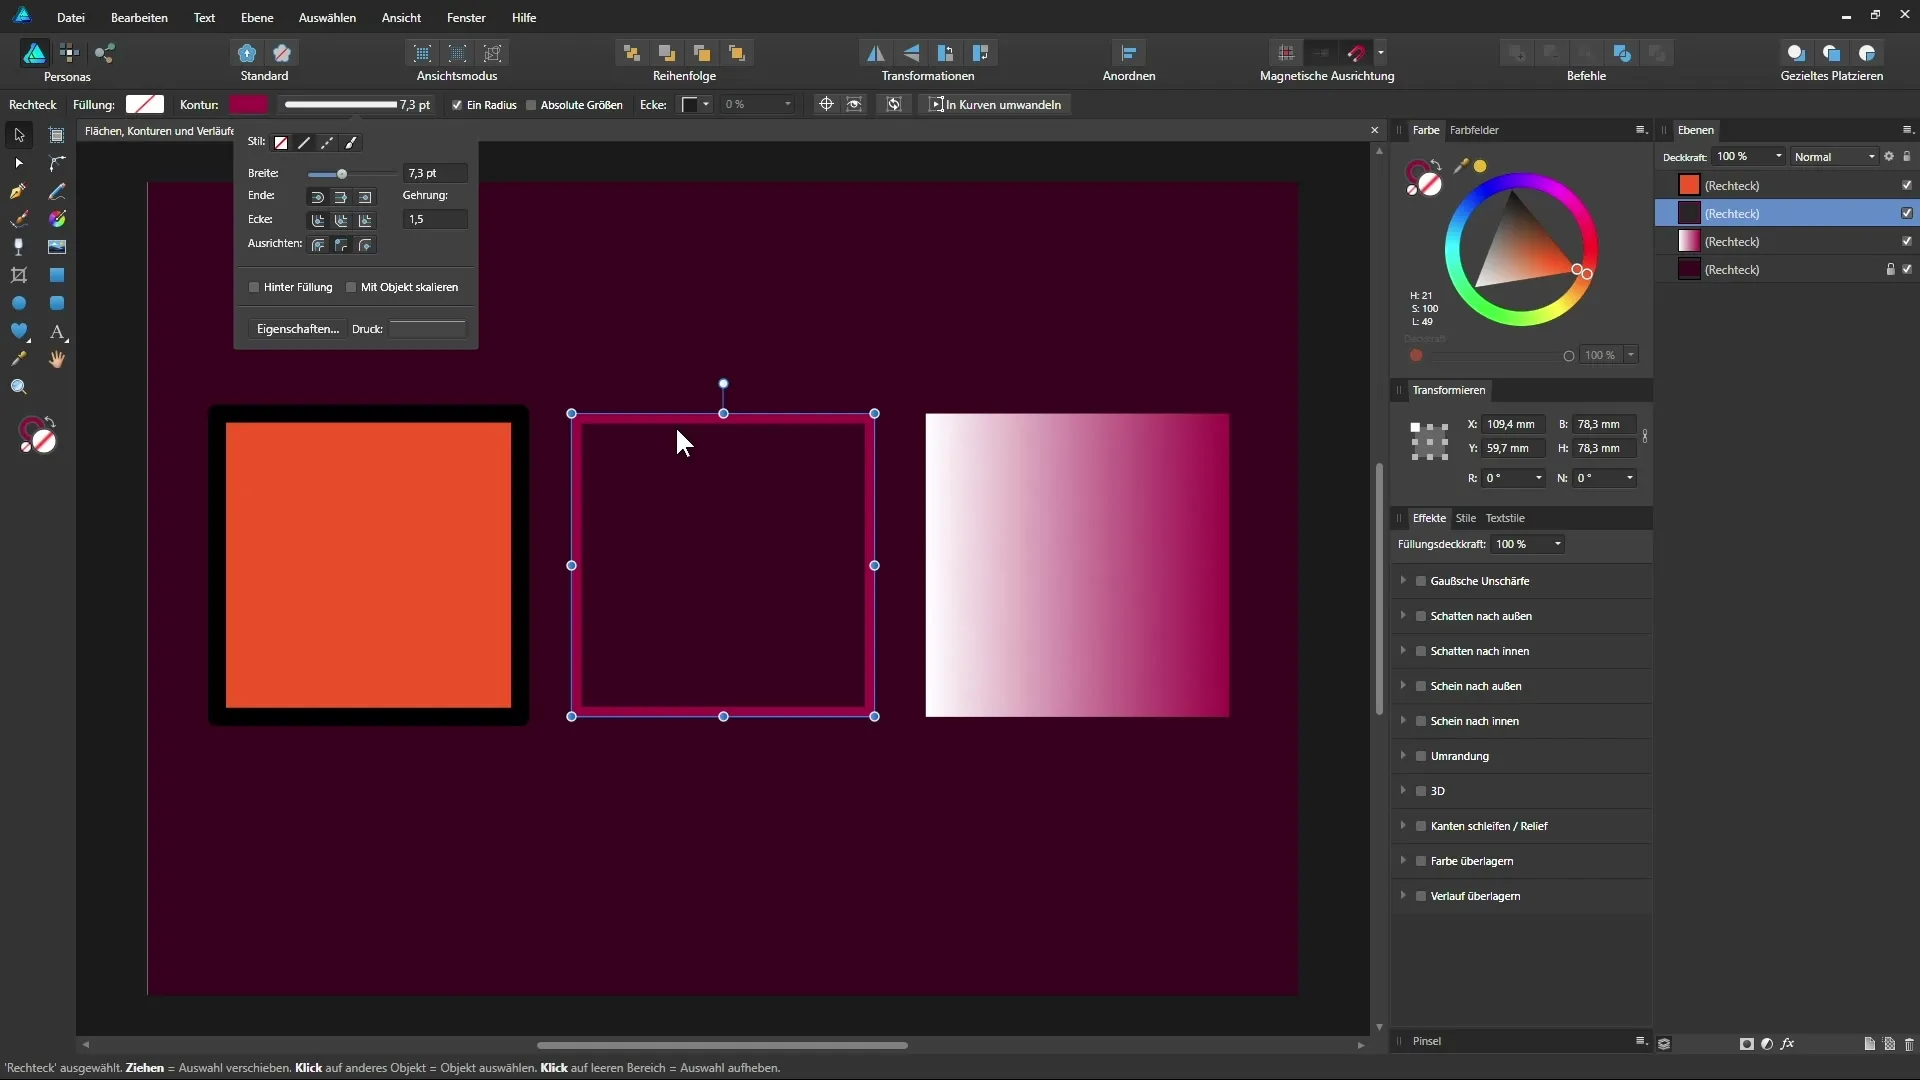
Now let's turn to the contour. Click on the middle square to select it. Make sure you do not click in the middle of the square, as there is no shape present there. Instead, you need to click on the individual path. In the context bar, you can see that no fill is defined here, meaning that this square only has a contour.
Change contour color and adjust thickness
To change the contour color, click on the contour color in the context bar and choose a new color. In addition to changing the color, you can also adjust the width of the contour. In this area, you can click on the slider and move it accordingly to the right or left to change the thickness of the contour. Changing the contour thickness is very dynamic here.

Set contour alignment
In addition to the thickness of the contour, you can also set the alignment. Here there are options to place the contour inside, outside, or centered around the path. This significantly affects the visual representation of the contour on your object. For example, if you set the width to 20 points and the alignment to outside, the contour will be wider outside the path.
Adjust contour color and opacity
Similar to the fill color, you can adjust the opacity of the contour. To do this, click on the contour and adjust the opacity using the slider. Setting the opacity to 0% will make the contour invisible, while you can make it fully visible with 100%.
Add fill with gradient
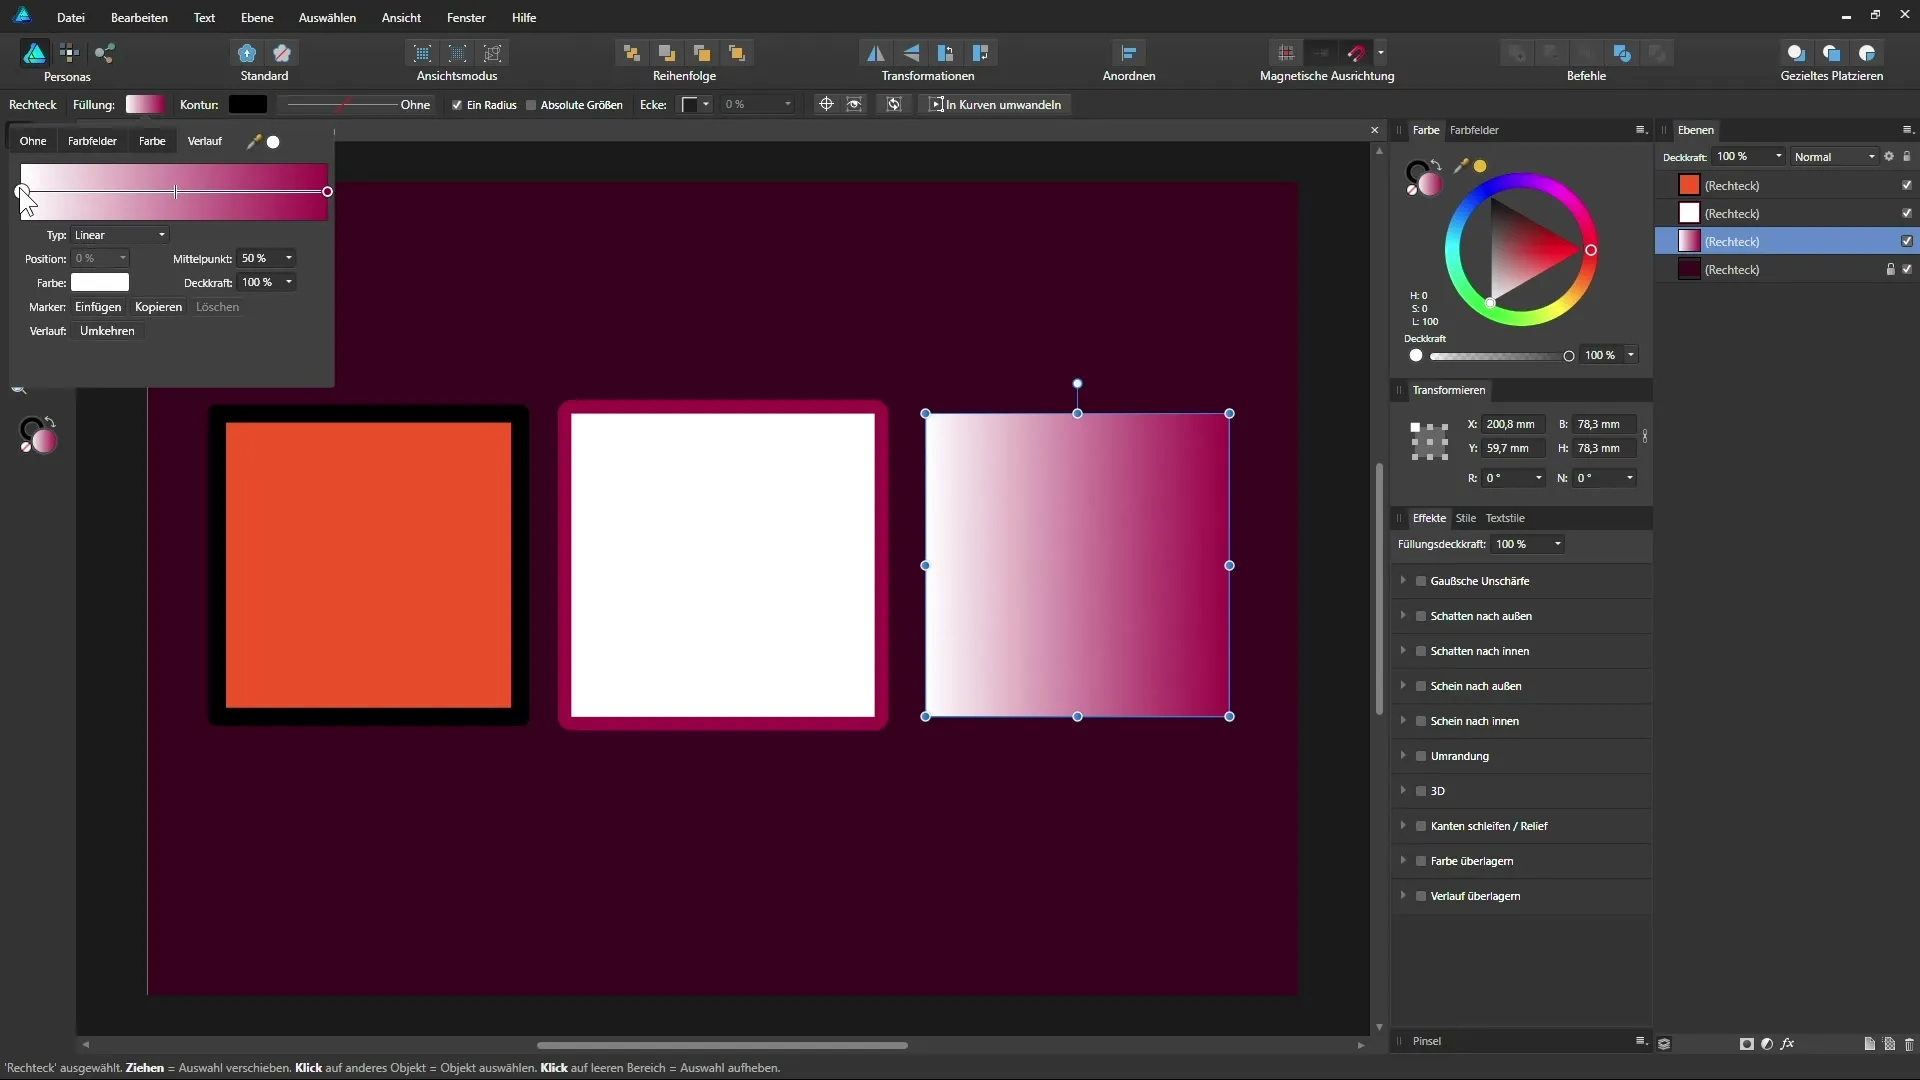
Now we come to the gradients. Select the right square and make sure that the fill is currently set as a gradient. Click on the gradient and an editing field will be displayed where you can set and adjust different color points. The color points in your gradient can be moved to achieve different gradient representations.

Change gradient type
In this editing field, you can also change the type of the gradient. Whether linear or radial, each variant has a different impact on your graphic and its appearance. For the radial gradient, the gradient is displayed from a central point, creating a completely different visual effect.
Adjust individual gradient points
By clicking on a color point, you can directly change the color. Drag and drop also allows you to change the position of the color midpoints to make fine adjustments. This type of adjustment helps you find the optimal color representation for your design.
Apply gradient to contours
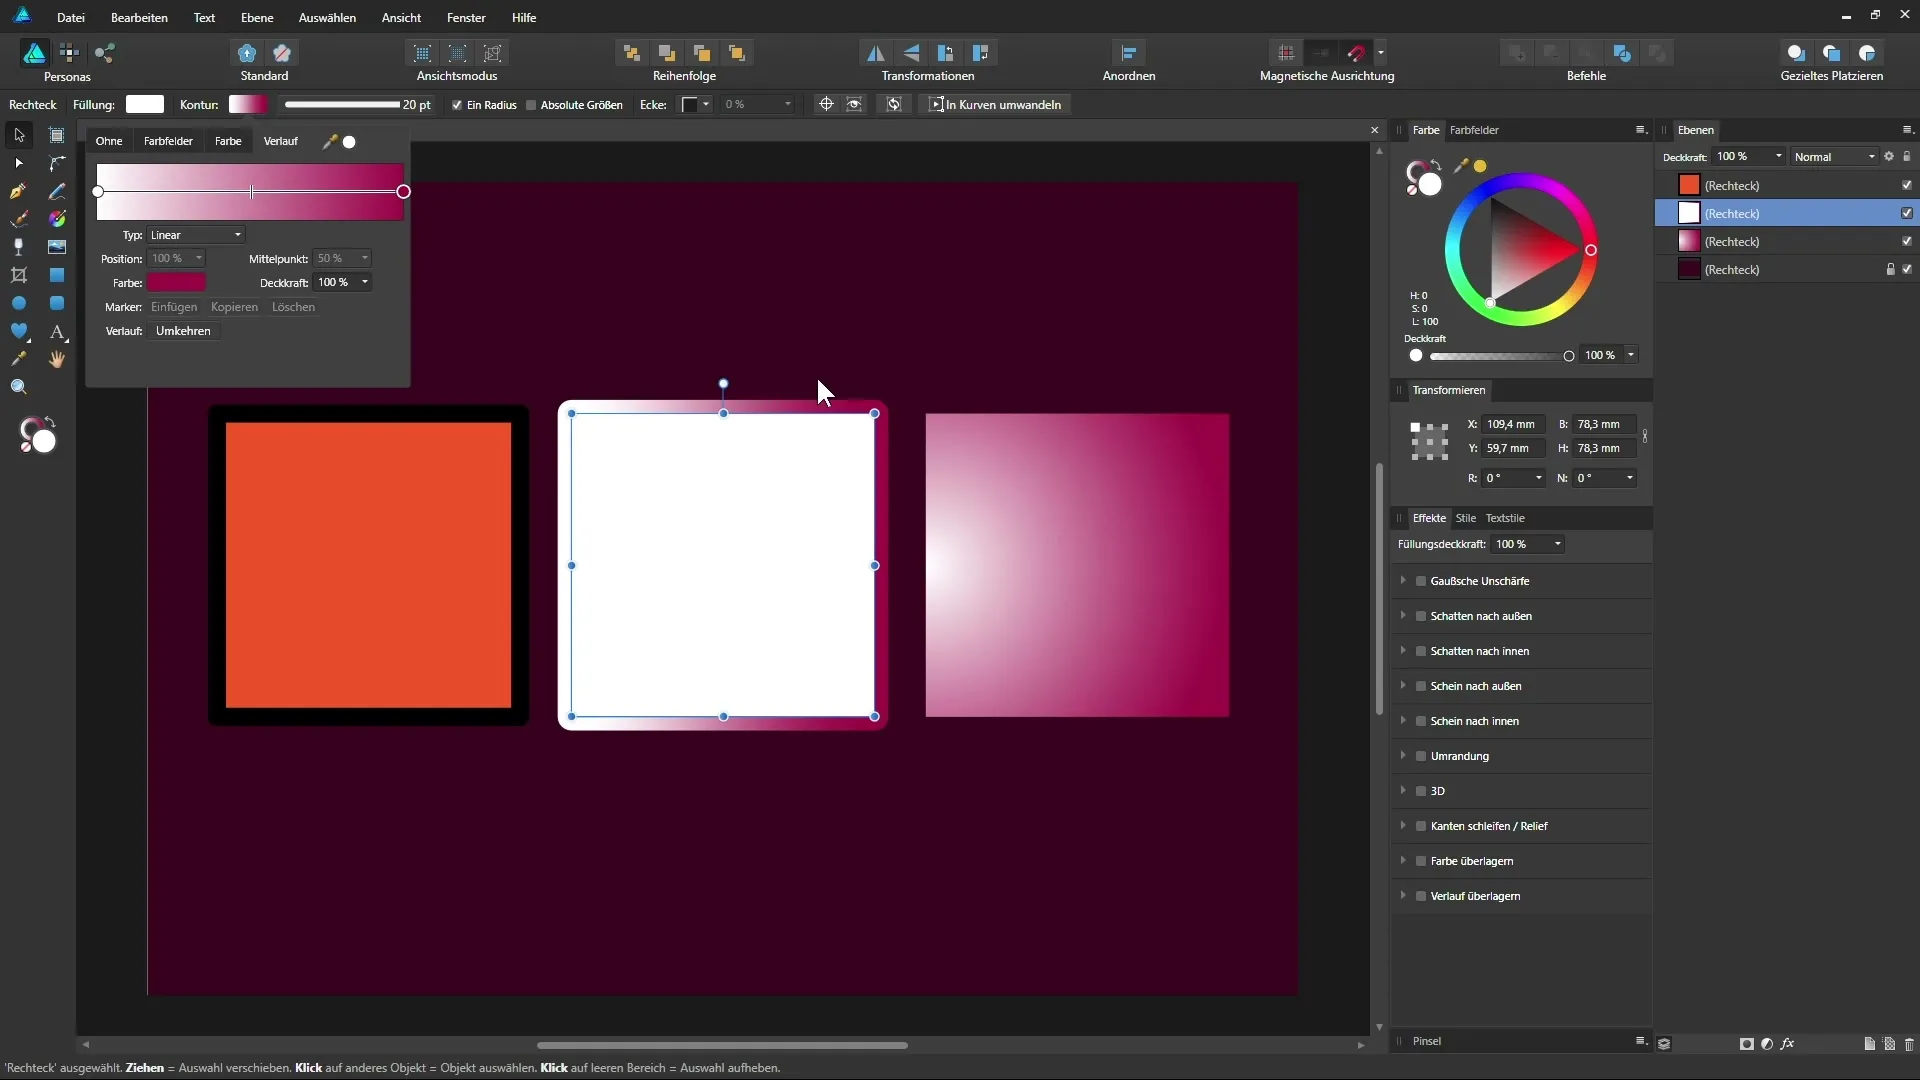
It gets especially creative when you also apply the gradient to contours. Select the middle square again, go to the contour, and enable the gradient. You can adjust the color points as usual to achieve an appealing effect here as well.

Summary – Mastering Affinity Designer: Shapes, Contours, and Gradients
Working with shapes, contours, and gradients in Affinity Designer is easy to learn once you master the basic functions. With these skills, you can significantly enhance your designs and bring in more creativity.
Frequently Asked Questions
How do I change the fill color of an object?Click on the object, select the fill in the context bar, and change the color.
Can I also make a contour transparent?Yes, you can adjust the opacity of the contour to make it more transparent.
How do I add a gradient?Select the object, click on the fill option, and choose a gradient.
What is the difference between opacity and transparency?Opacity refers to the visibility of a color, while transparency affects the visibility of the entire layer.
How do I apply a gradient to a contour?Select the object, go to the contour, and enable the gradient, just as you would with a fill.


