In Affinity Designer, you play with different layers to create exciting graphics and designs. An important tool in this process is the so-called layer blend modes. They allow you to control how one layer interacts with the layer underneath it to create visual effects. With the right understanding and application of these blend modes, you can give your designs more depth and more interesting visual effects.
Key insights
- Layer blend modes affect the interaction between layers.
- By adjusting the opacity, you can create transparency.
- Blend modes can manipulate the representation of light and color.
- Using blend options allows for more precise adjustments.
Step-by-Step Guide
Step 1: Understand the Basics of the Layers Palette
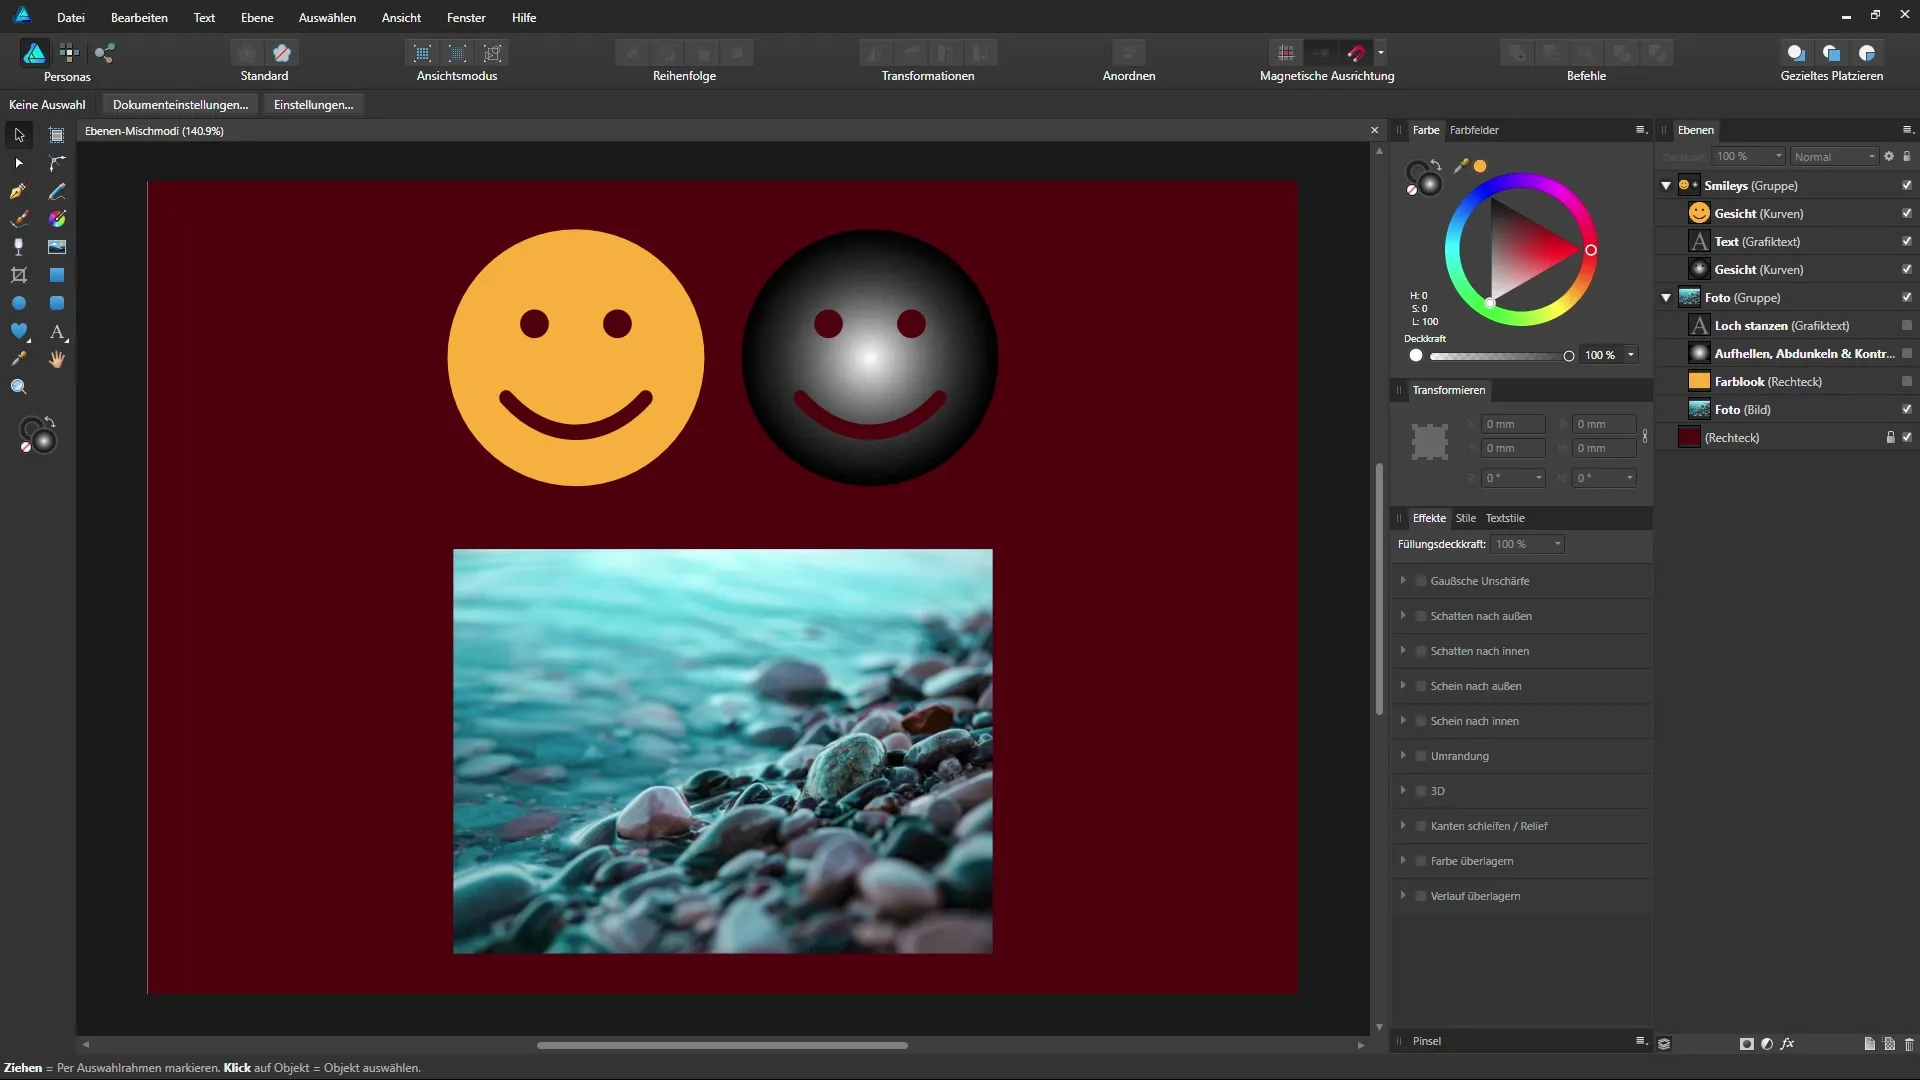
Start your project in Affinity Designer and familiarize yourself with the layers palette. Here, you will see some elements like groups and the arrangement of layers. Open the groups to make all the contained layers visible. For example, you have created one group with smileys and another group for photos. Use the arrows to show or hide the groups.
Step 2: Select a Layer and Adjust Opacity
Now select the smiley in the left group. Upon selection, you have the option to change the opacity of the layer. At 100%, the layer is fully visible, while reducing the opacity makes parts of the underlying layers visible. To demonstrate this, move the opacity slider to the left. You will see how the underlying text layer becomes visible.
Step 3: Applying Gradients and Blend Modes
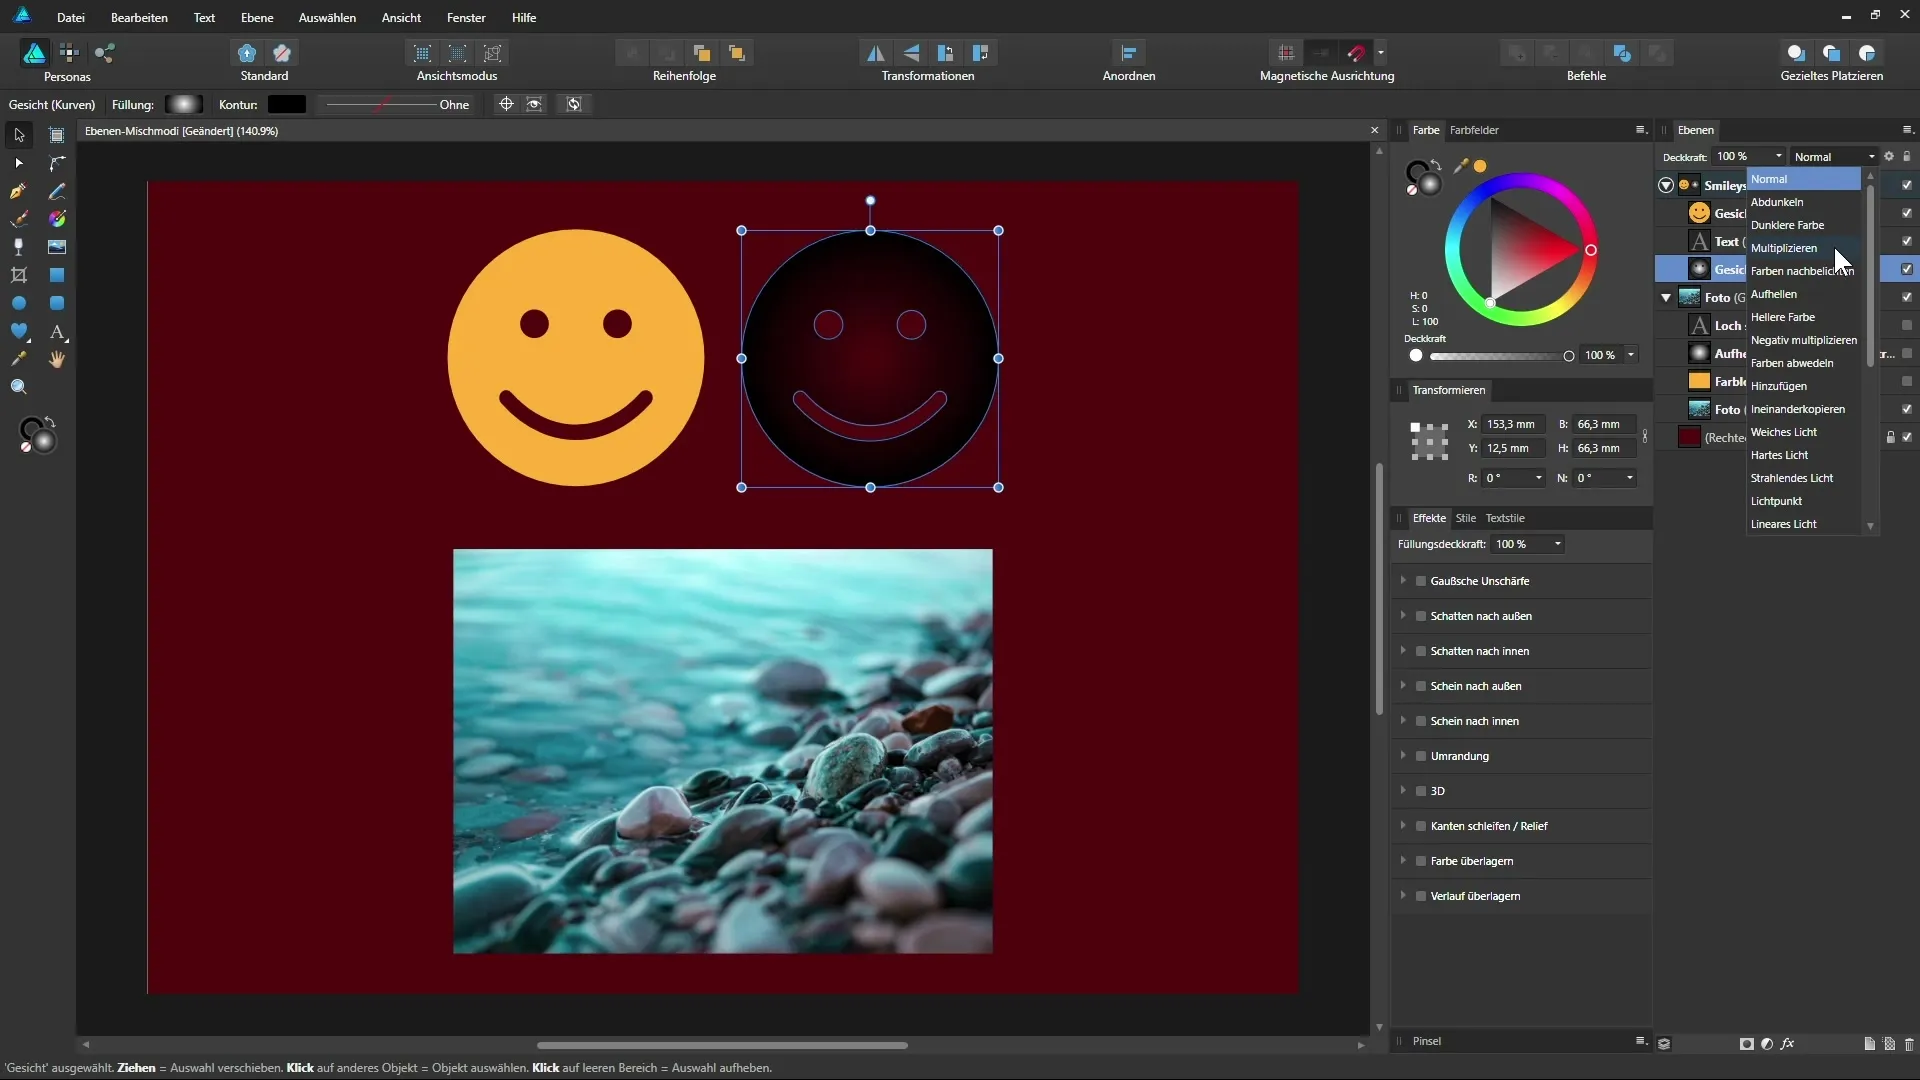
Look at the right smiley, which is filled with a gradient. Select this layer and use the blend mode menu at the top. You will find many options: from Darken to Lighten to special blend modes. When you hover over the different modes with your mouse, you will instantly see a preview of how the change affects the appearance of your smiley. Try it out and find the impression you want.
Step 4: Color and Contrast Adjustments
Furthermore, there are blend modes like "Color Dodge". This mode can be interesting for increasing contrasts within your design. When you select this mode, you will notice that the bright areas are intensified while black areas become more transparent. Watch closely how the design changes as you experiment with different blend modes.
Step 5: Overlaying Photos with Colors
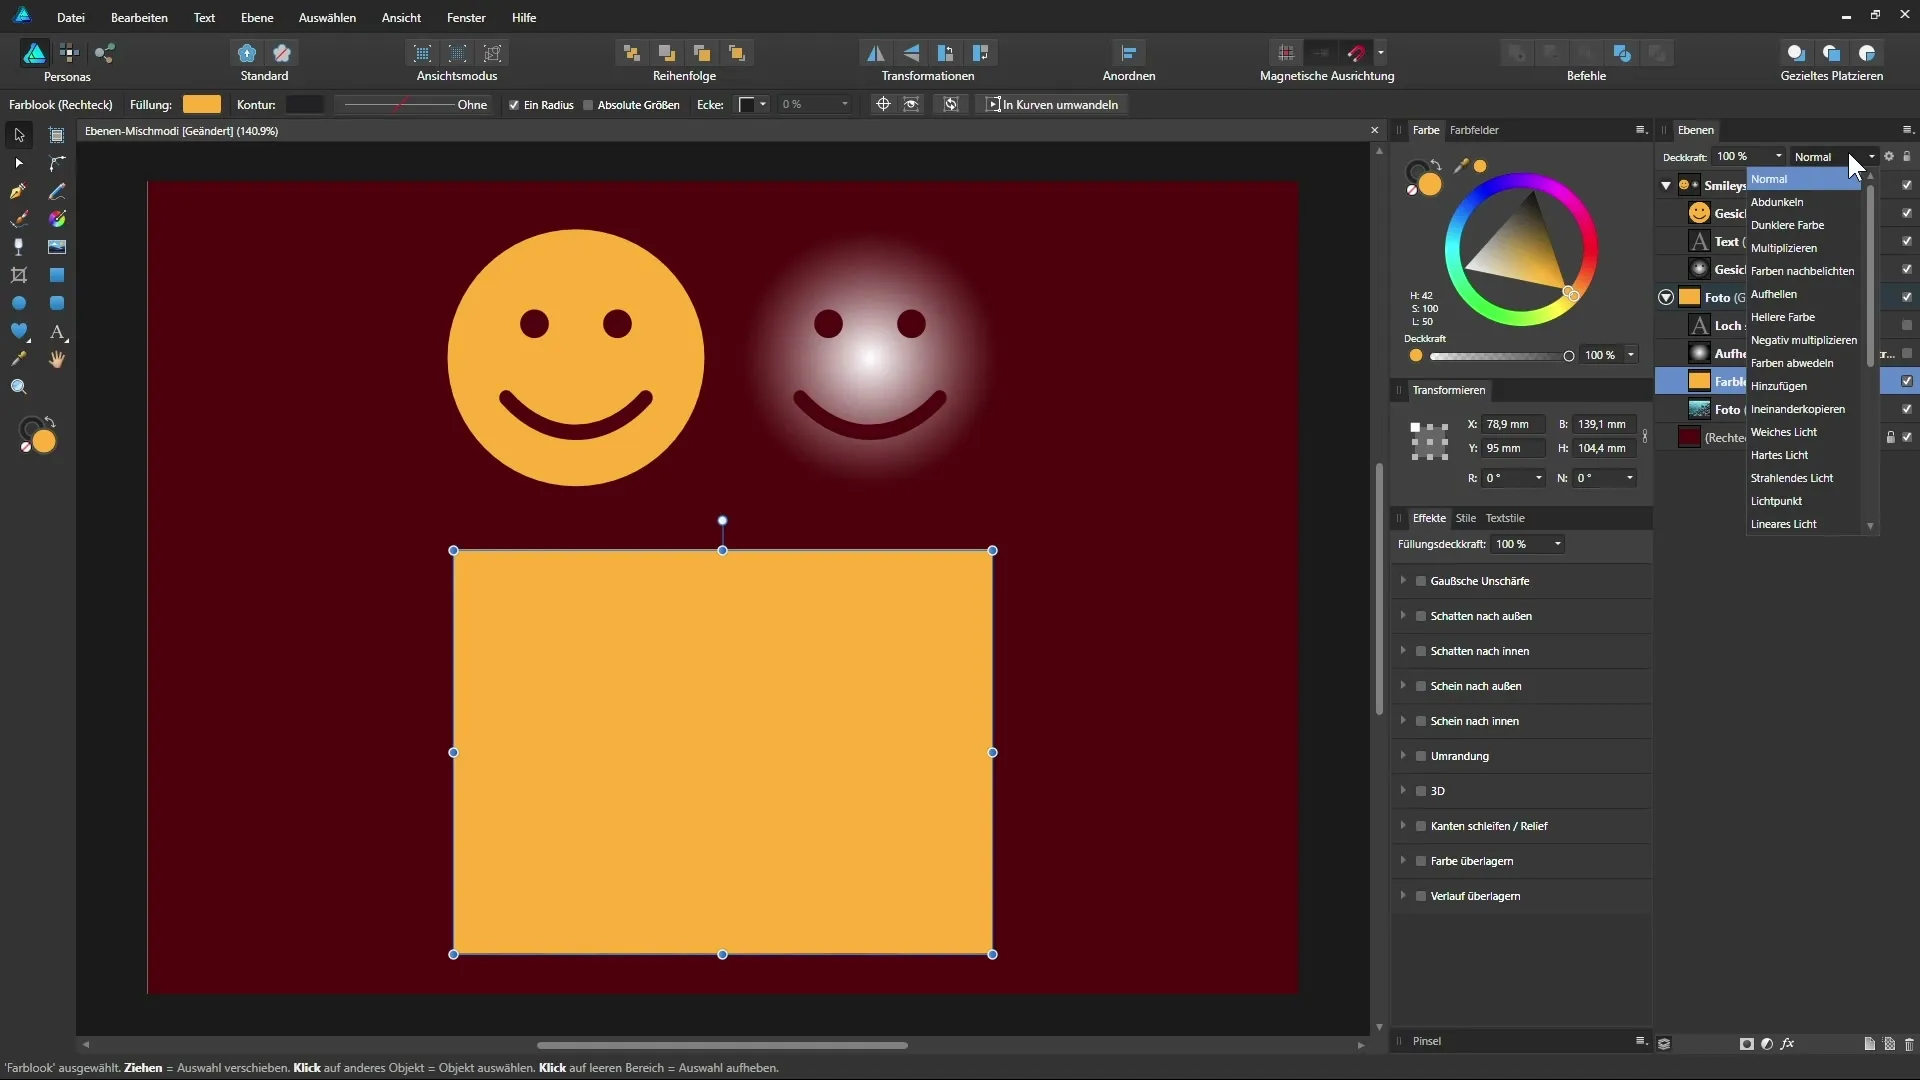
Now look at how you can color images. Create a rectangle the same size as your photo and choose a color, such as sun yellow. Place the rectangle over the photo and experiment with the blend modes to influence the image color. You can find out which blend mode gives you the best result by sliding over the types of blend modes.
Step 6: Erasing Through the Subtract Method
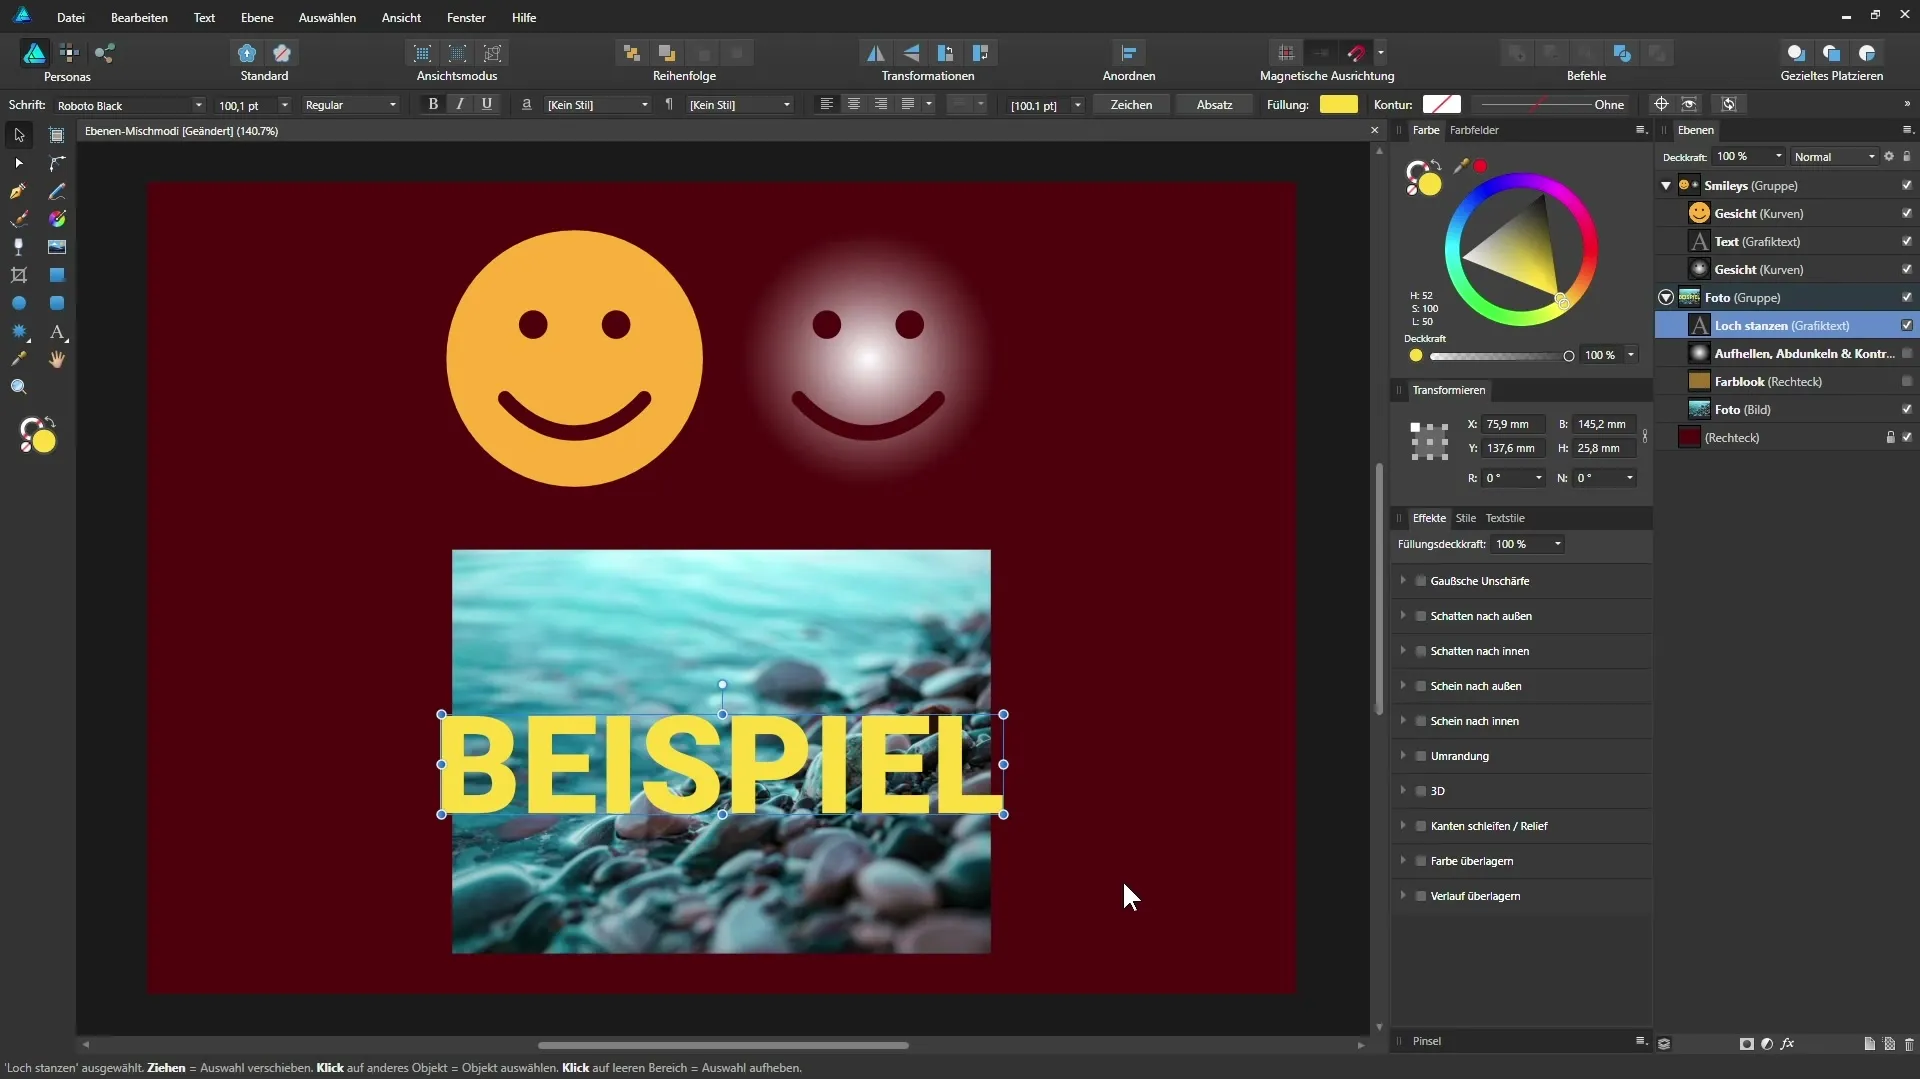
A particularly impressive feature is the ability to "punch" a "hole" through the underlying layers with a text layer. Place your text layer at the top of the list and change the blend mode to "Erase". This way, the text layer becomes transparent, and you can let the contents of the underlying layers shine through.
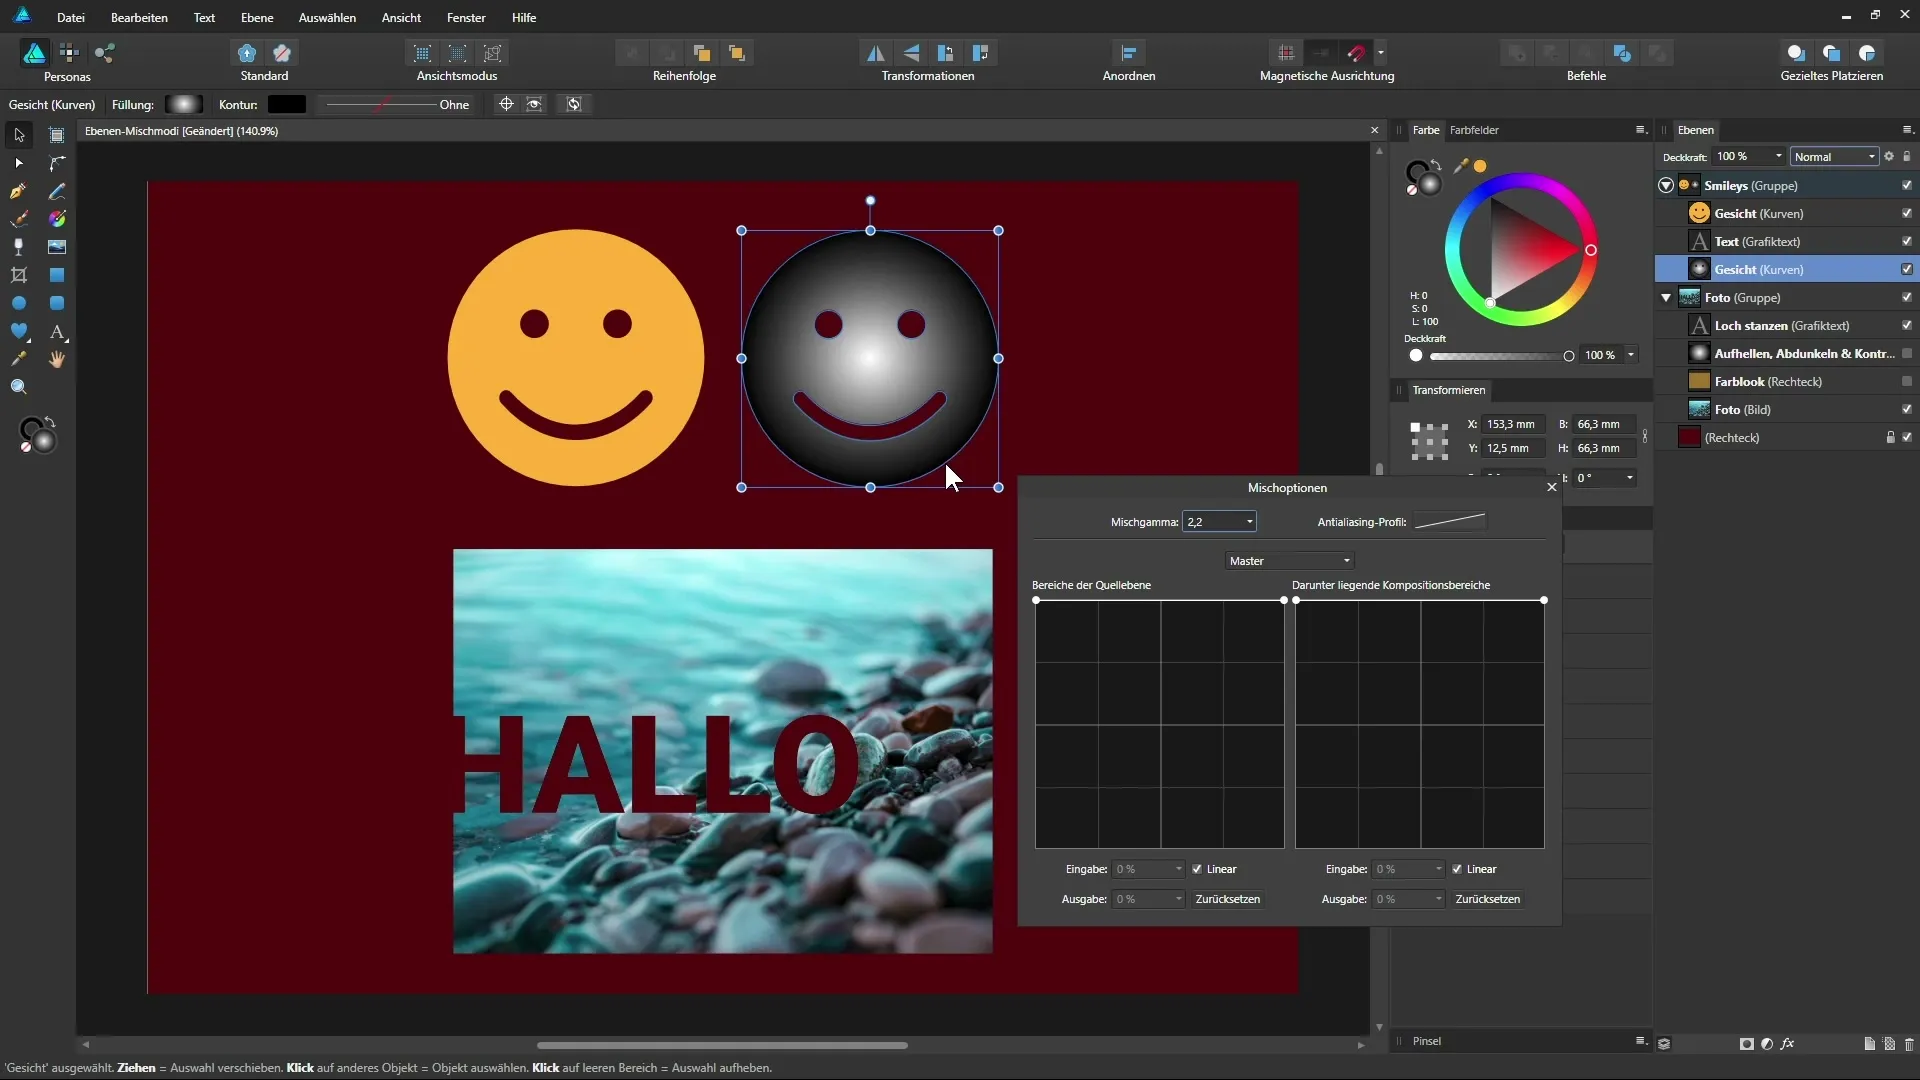
Step 7: Using Blend Options
Finally, you will want to explore the blend options. Select a layer and click on the gear icon in the options. Here you can fine-tune the intensity of transparency for different tones within the layer. Move the anchor points to change areas as you wish. This way, you can make specific areas visible or invisible.
Summary – Affinity Designer: Exploring Layer Blend Modes in Detail
The mixing of layers in Affinity Designer opens up many possibilities for refining your designs. Understand the differences between the various blend modes and experiment with opacity to achieve the desired visual effects. Use the blend options to make specific adjustments and create more unique designs.
Frequently Asked Questions
What functions do the layer blend modes have?Layer blend modes regulate how different layers interact with each other, affecting transparency, lighting conditions, and colors.
Where can I find the blend modes in Affinity Designer?You can find the blend modes in the upper area of the user interface when you have a layer selected.
Can I change the blend modes afterward?Yes, you can change the blend modes of a selected layer at any time to adjust the design.
How can I change the opacity of a layer?Select the layer and move the opacity slider in the top menu to increase or decrease visibility.
What happens when I set the blend mode to Erase?The "Erase" mode allows you to punch a hole through all underlying layers, making the text transparent.


