Black-Whitephotography has its own aesthetic appeal. In this tutorial, you will learn how to effectively use the "Black and White" adjustment layer in AffinityDesignerto transform colored images or vector shapes into impressive black-and-white variants. This is not only a technical skill but also a creative process that allows you to selectively emphasize or diminish various details of an image. Let's get started!
Key Insights
The "Black and White" adjustment layer in Affinity Designer allows you to conduct a personalized black-and-white conversionusing various sliders. With it, you can specifically influence different colors in your image to achieve a unique representation.
Step-by-Step Guide
To apply the black-and-white adjustment layer, follow these steps.
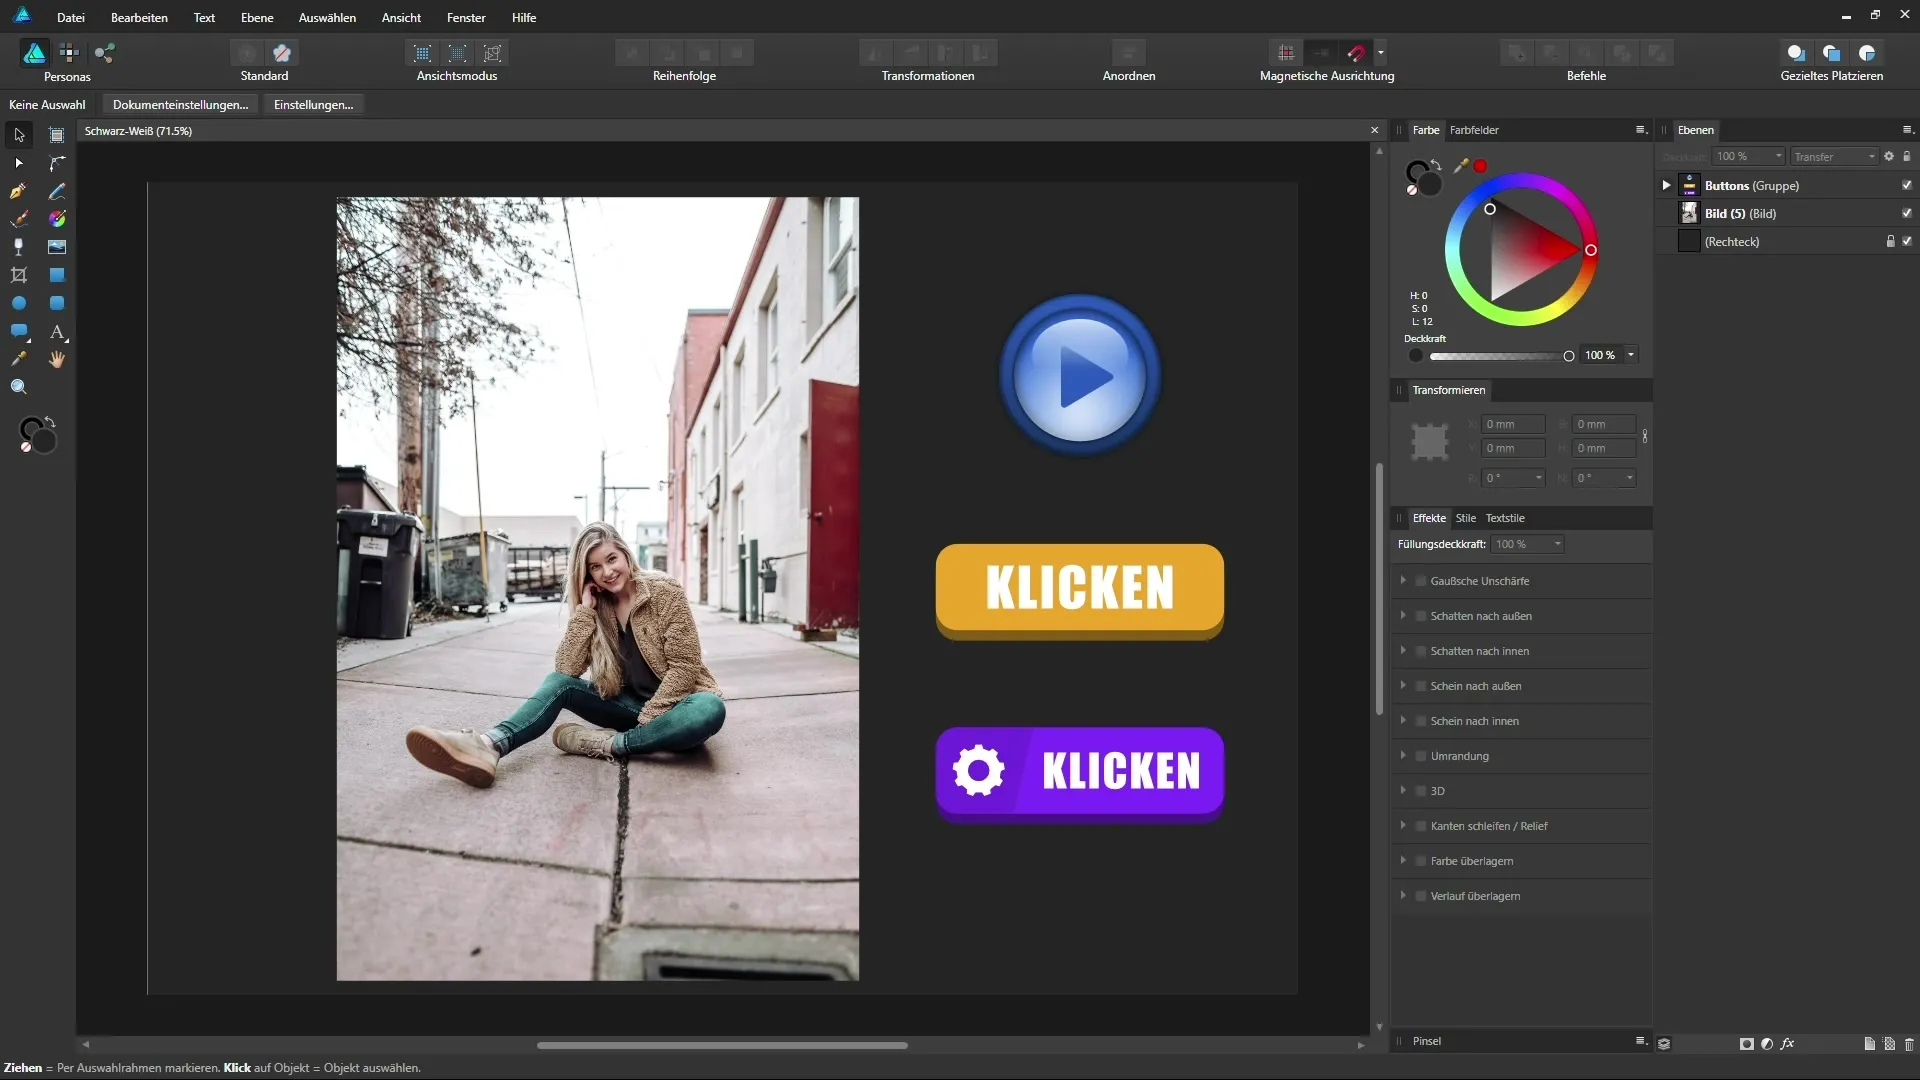
The first steps to a black-and-white conversion begin in the layers palette of Affinity Designer. Make sure you have no layer selected to create a new adjustment layer. Now click in the adjustments menu and select "Black and White." You can find this in the adjustment layers area.
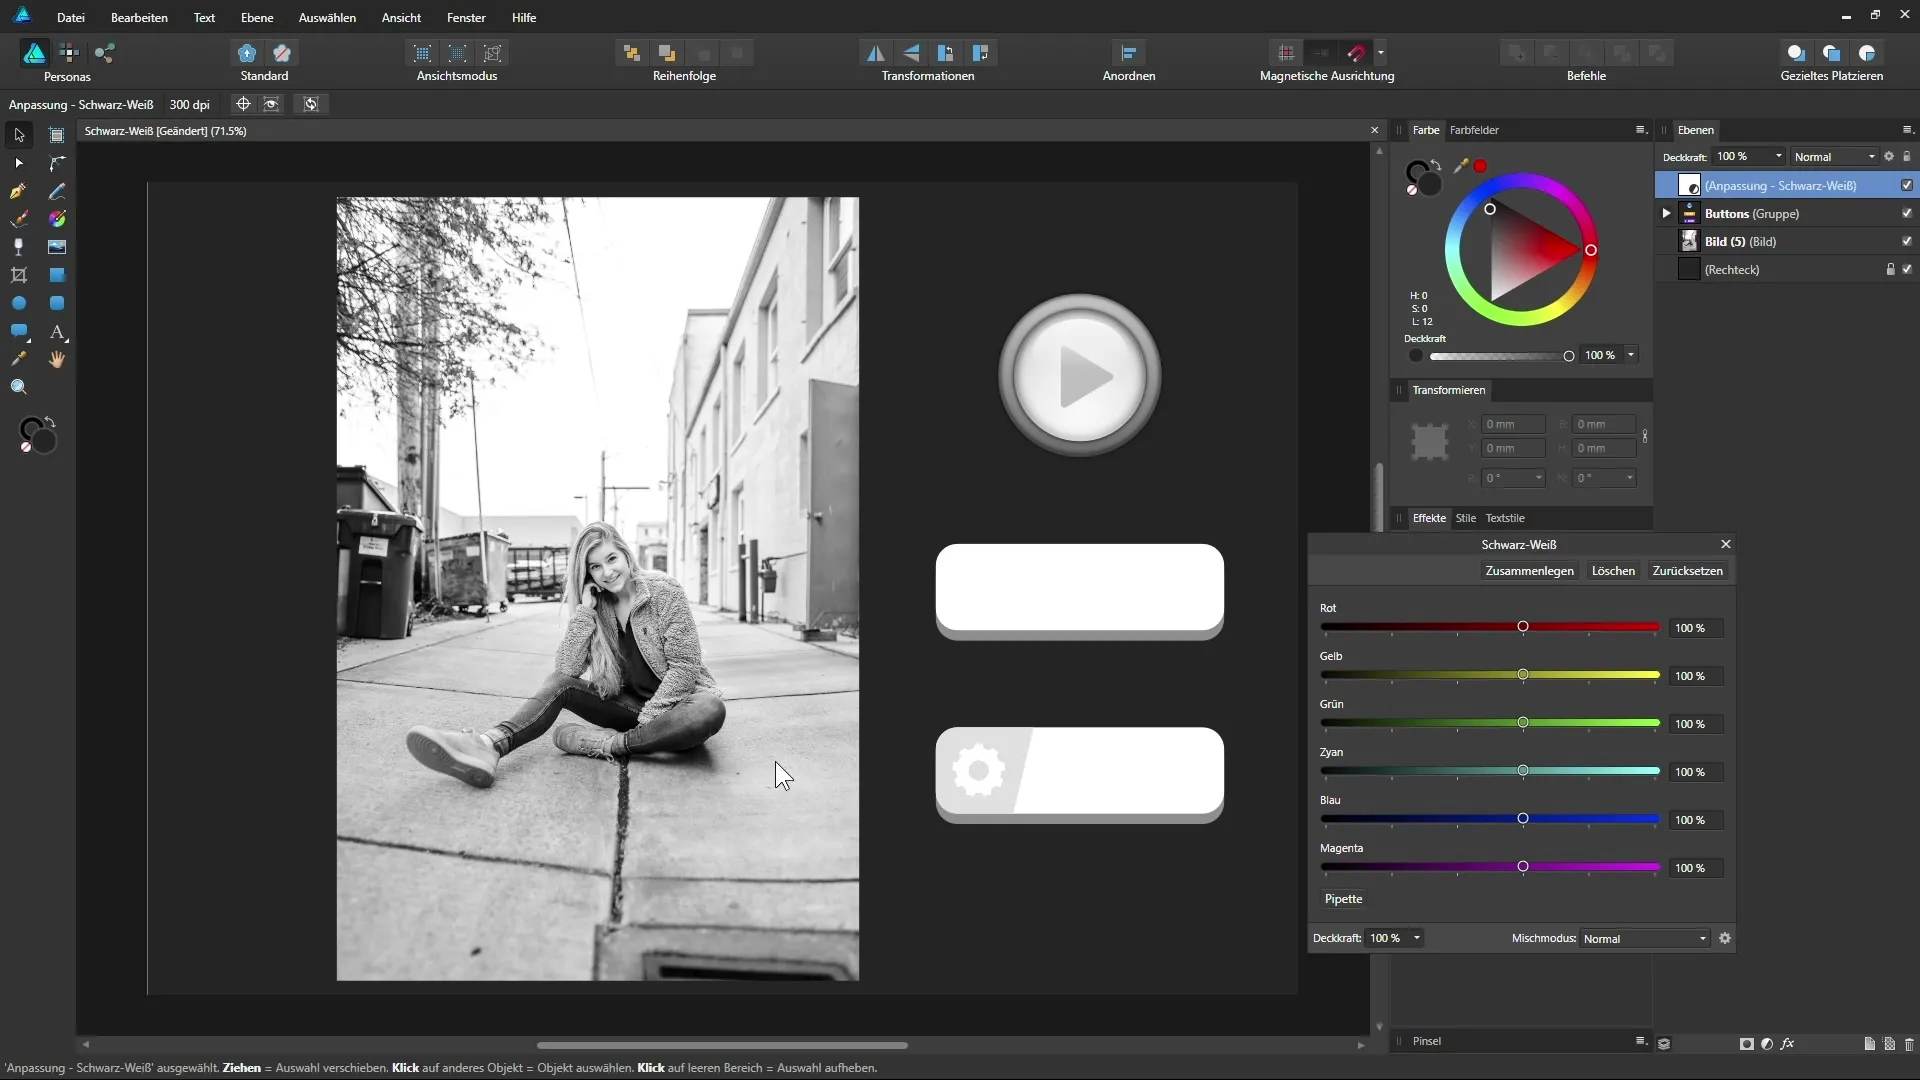
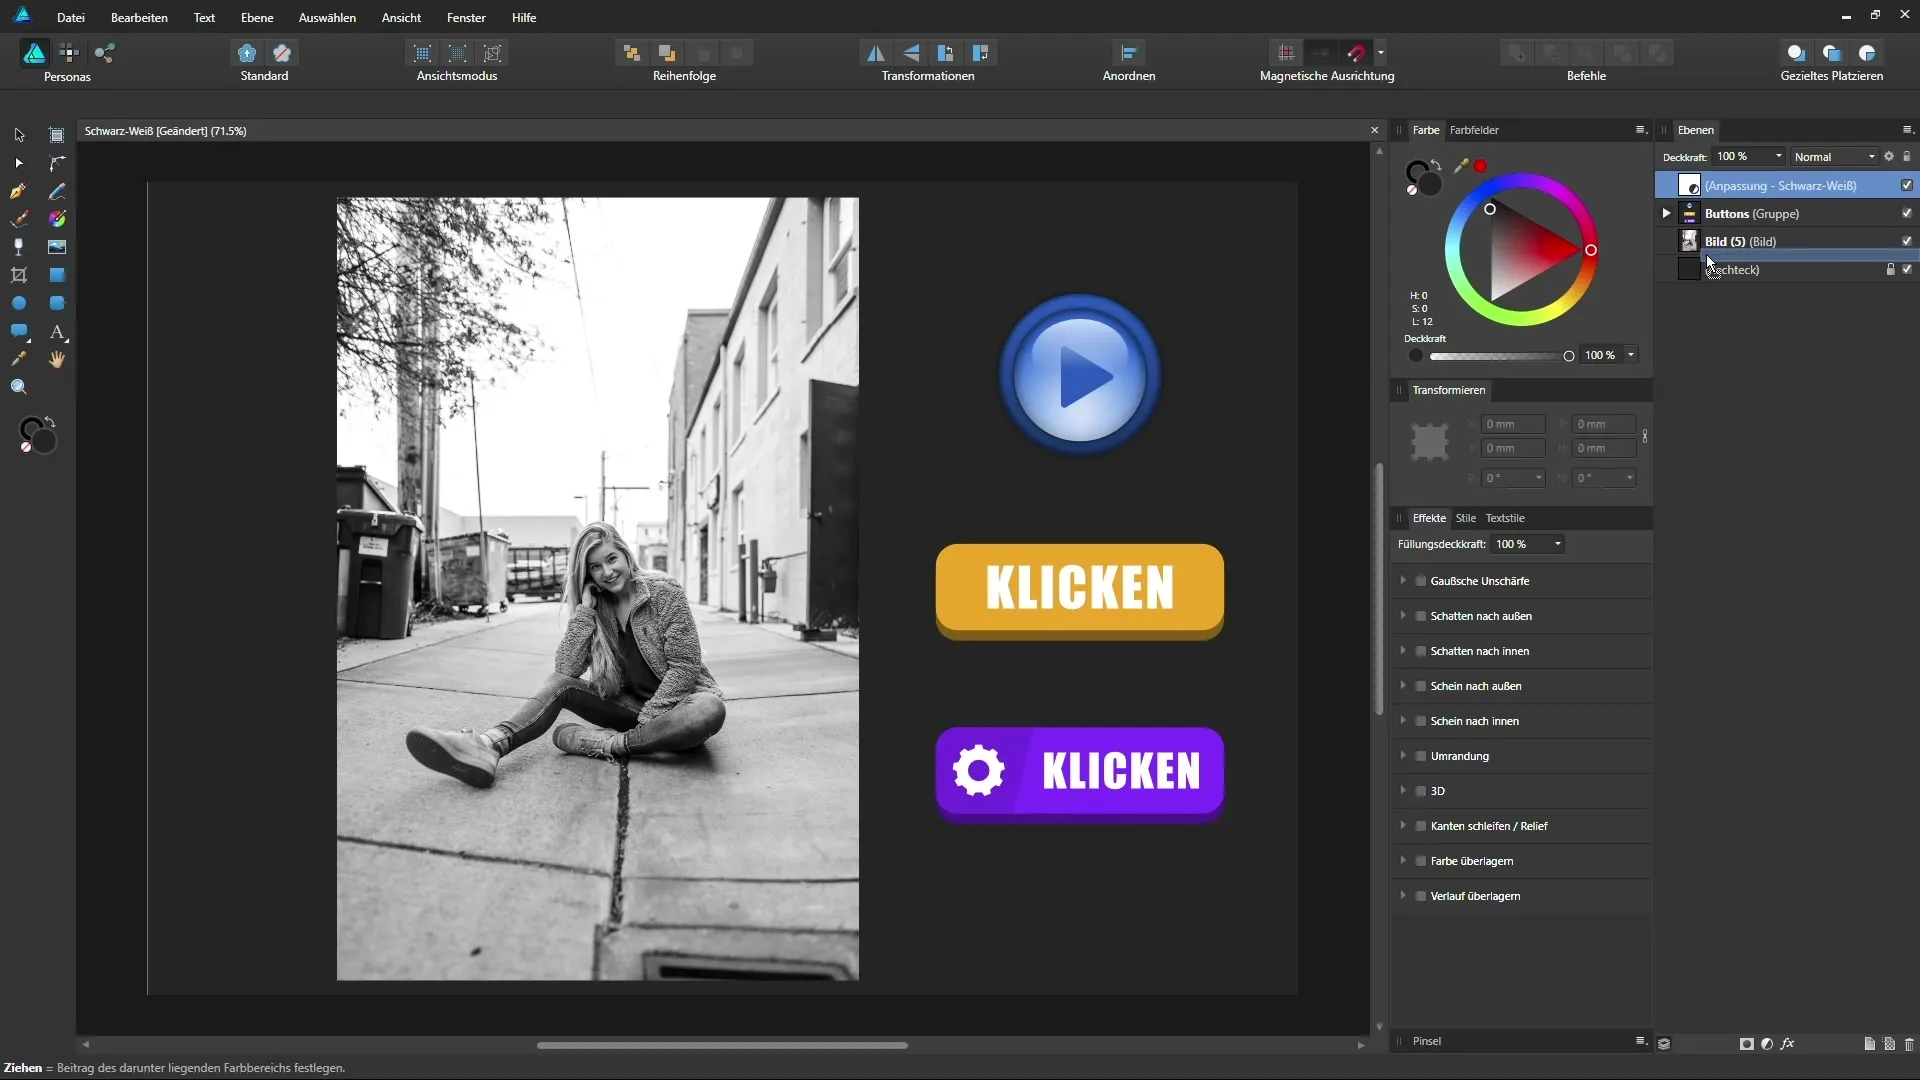
Now, the entire document is automatically displayed in black and white. This means all colors are converted to grayscale. You can now start making adjustments. This is especially important when working with photos or vector elements that have their own color aesthetics.
You will notice that you can specifically control the brightness or darkness of certain colors. Use the sliders for Red, Yellow, Green, Cyan, Blue, and Magenta for this purpose. You are practically painting over the different hues of your image and influencing the overall impression.
Start with the red slider. Move it left and then right to see how the image changes. This adjustment influences various elements in your image, such as skin tone or the colors of the jacket. It becomes fascinating when you realize that you can create individual nuances this way.
The yellow slider will also be useful to adjust skin tones or other yellow parts in your image. Experiment with what happens when you move it left or right. Even the slightest adjustments can make a big difference.
It is also important to set the bright tones correctly. The cyan slider can dramatically affect the depiction of certain objects, like pants. Ensure that the drawing of the objects remains clearly recognizable without losing clarity in the image.
The blue and green sliders also assist in your black-and-white conversion. Here, you can further refine the overall brightness of the image. It gets exciting when you use them in combination with other sliders.
In an additional step, you can use the eyedropper to specifically adjust certain areas of the image. For example, if you want to darken the skin, click with the eyedropper on that area and move the mouse left or right. This gives you very precise control over the respective color adjustments.
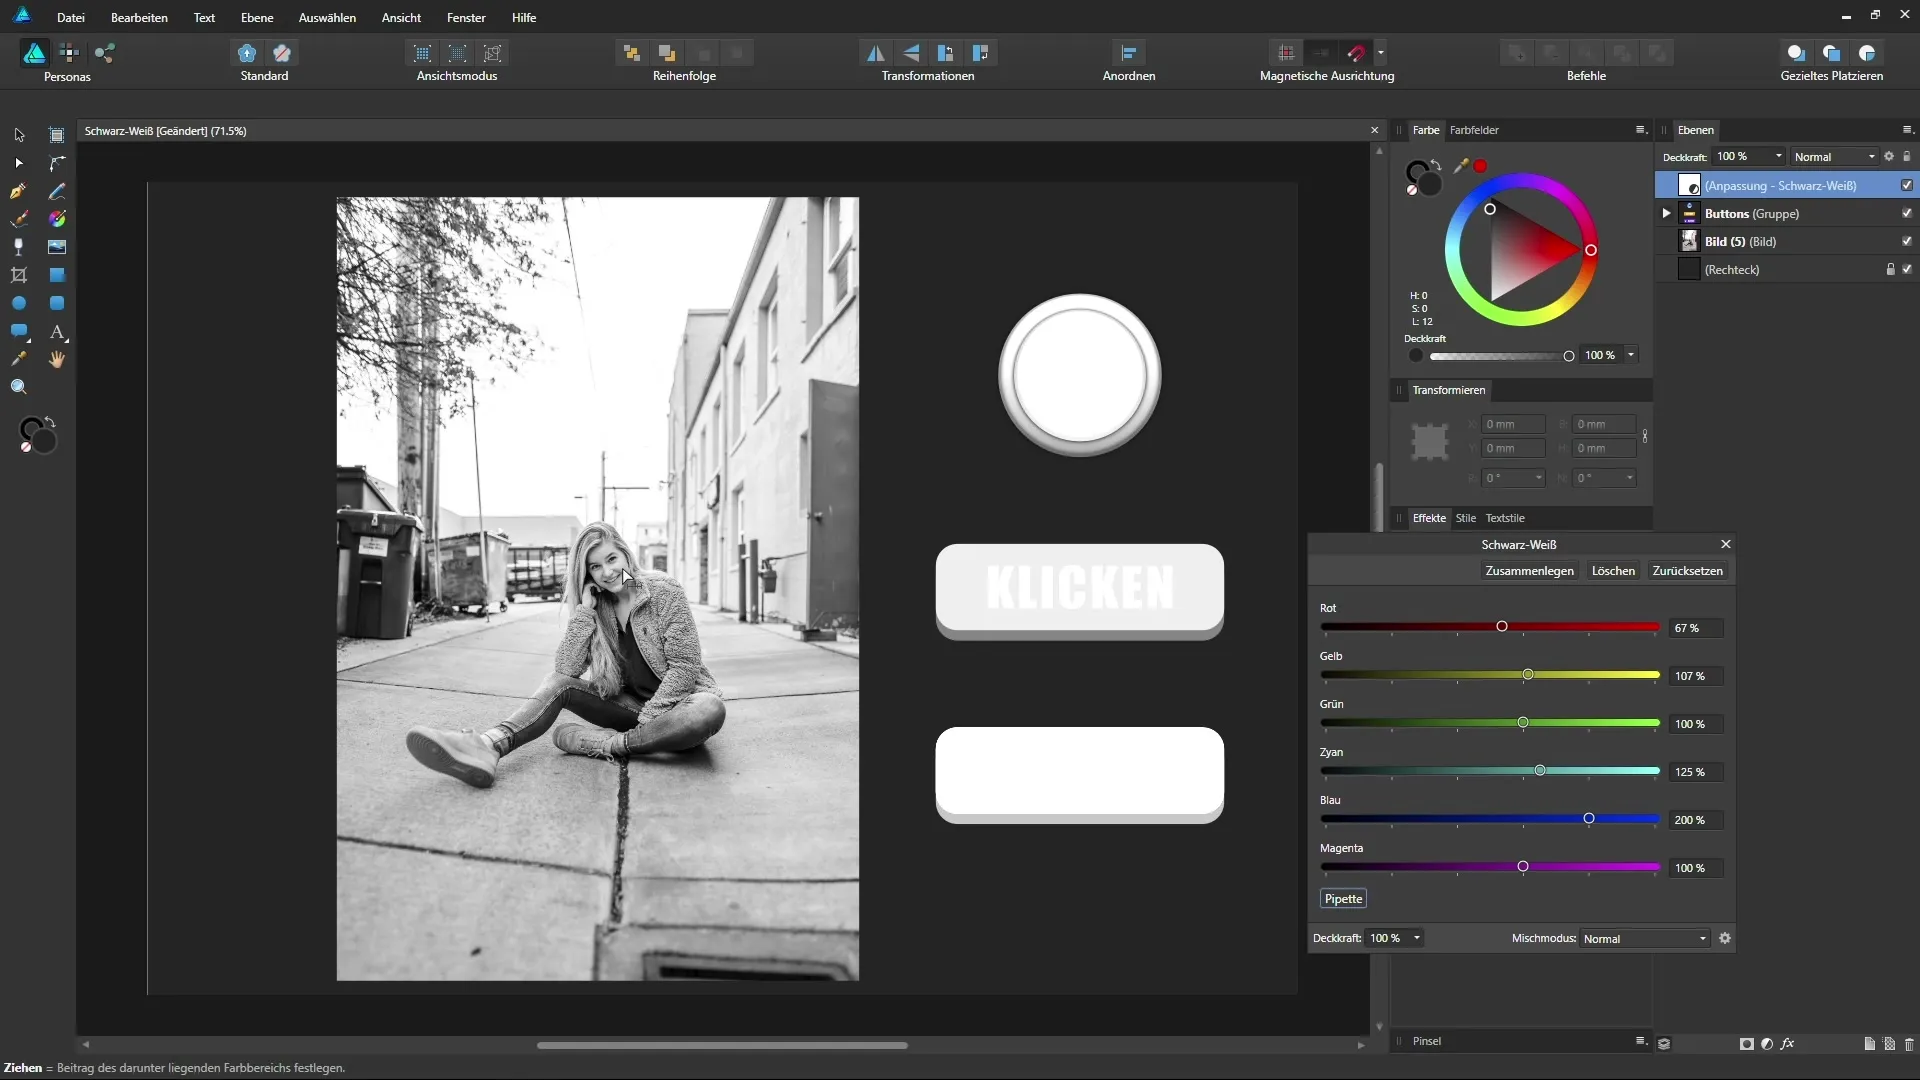
Now return to the buttons on your user interface. Again, use the eyedropper to control and adjust the color values for these elements. This way, you can emphasize or tone down the visual strength of each button in your design.
Each individual button can be customized in this way to optimize the interplay between text and background. Consider how you can improve the visual hierarchy within your designs.
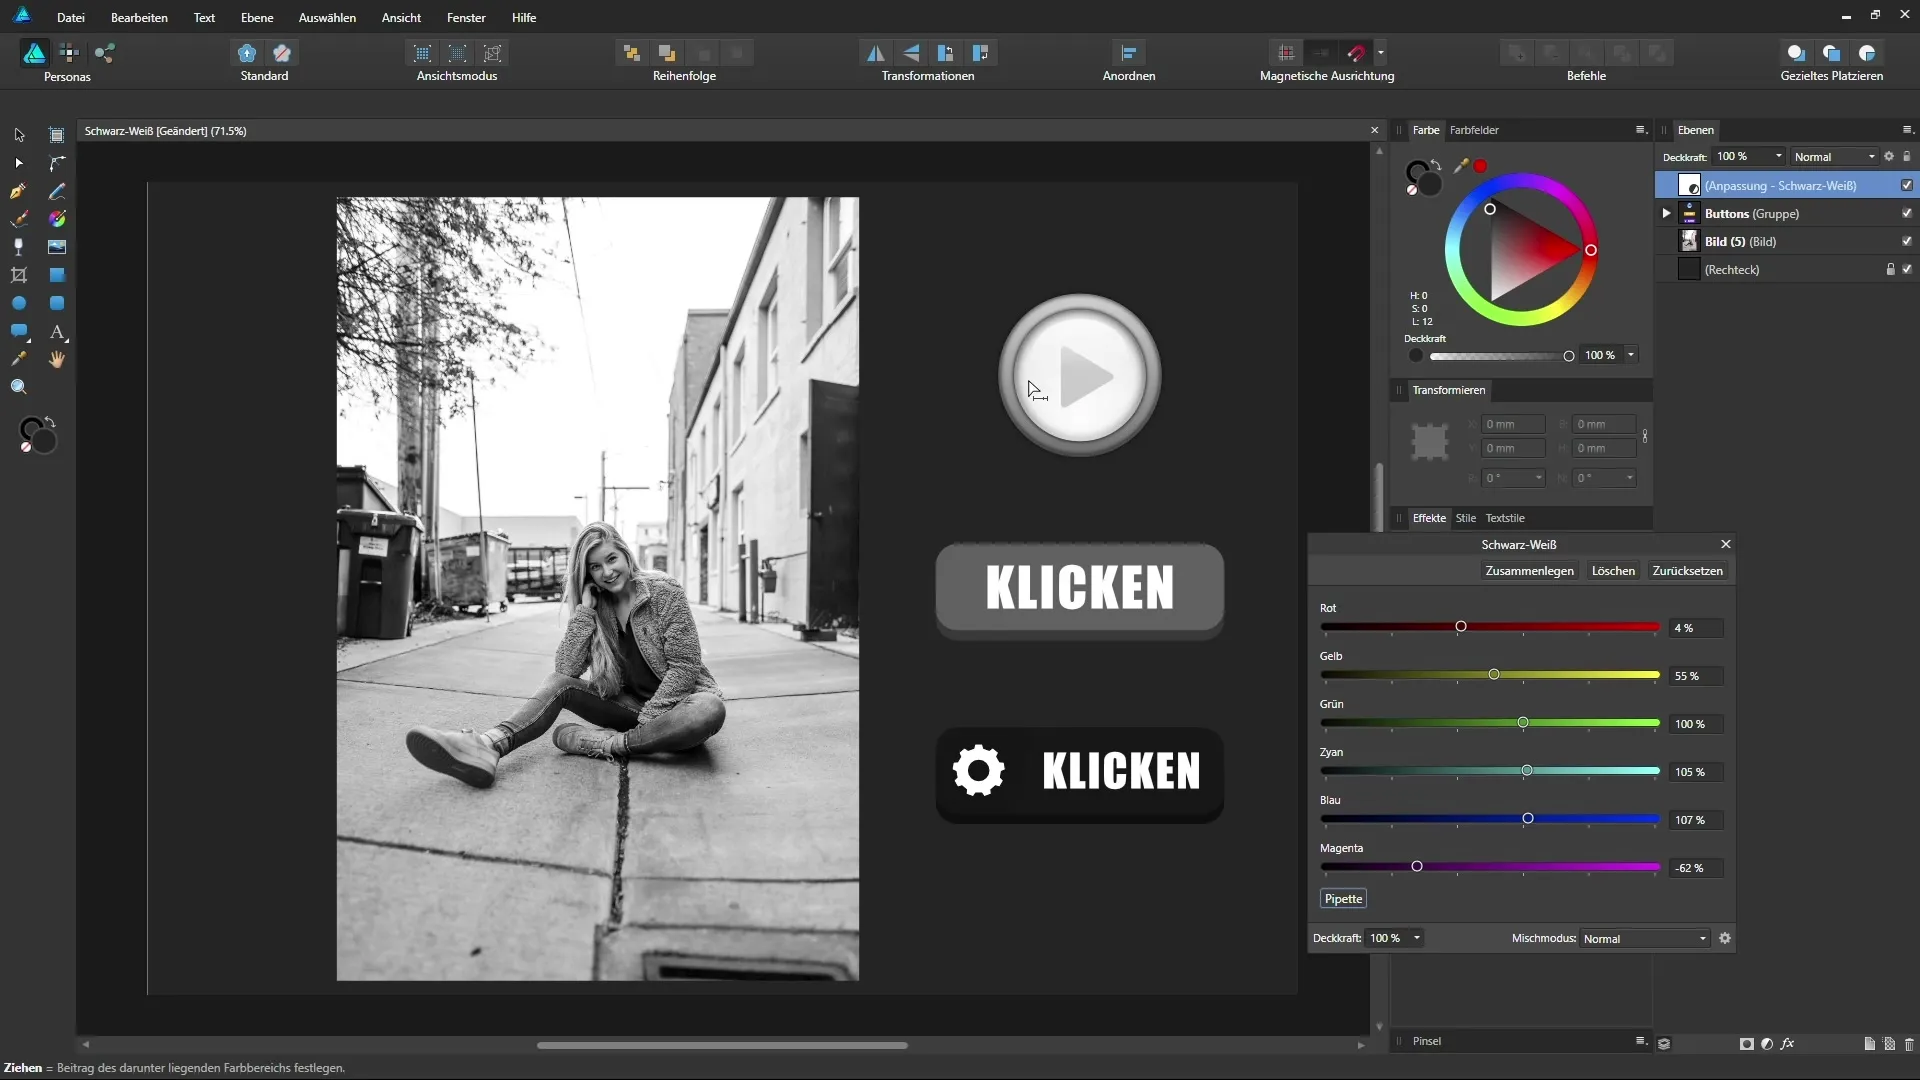
If you don't like the adjustment, it's easy to reset the settings. This way, you can start a new attempt at any time or explore other settings. You can also use an adjustment layer for specific areas instead of the entire image. This gives you a completely new dimension in image editing with the adjustment layers in Affinity Designer.
Summary – Black and White Transformation in Affinity Designer: Creative Possibilities
You have now learned the key steps for applying the black-and-white adjustment layer in Affinity Designer. You can specifically move sliders and use the eyedropper to influence the image design individually and creatively. Every image can be perfected according to your vision.
FAQ
How do I apply the black-and-white adjustment layer?Select "Black and White" in the adjustments menu and adjust the sliders.
Can I apply the adjustment layer only to certain parts of an image?Yes, you can use the adjustment layer as a mask for specific layers.
What happens if I move the slider too far?The representation can appear exaggerated and lose details.
Can I reset my settings?Yes, you can bring the sliders back to their original position with the reset function.
Are the adjustments also applicable to vectors?Yes, both photos and vector elements can be adjusted.


