The design of user interfaces, especially for chat applications, can be a challenging but also creative task. In this tutorial, I will show you how to effectively design the chat controller in Sketch. We will particularly work with layering elements to save you time and develop a clean design.
Key Insights
- Layering elements in Sketch helps keep track of design changes and implement them quickly.
- Using reusable styles saves time and ensures consistency in design.
- Integrating design guidelines ensures an appealing and professional appearance.
Step-by-Step Guide
First, we start with creating the chat controller. You should already be familiar with the interface of Sketch, so we will dive directly into the design.
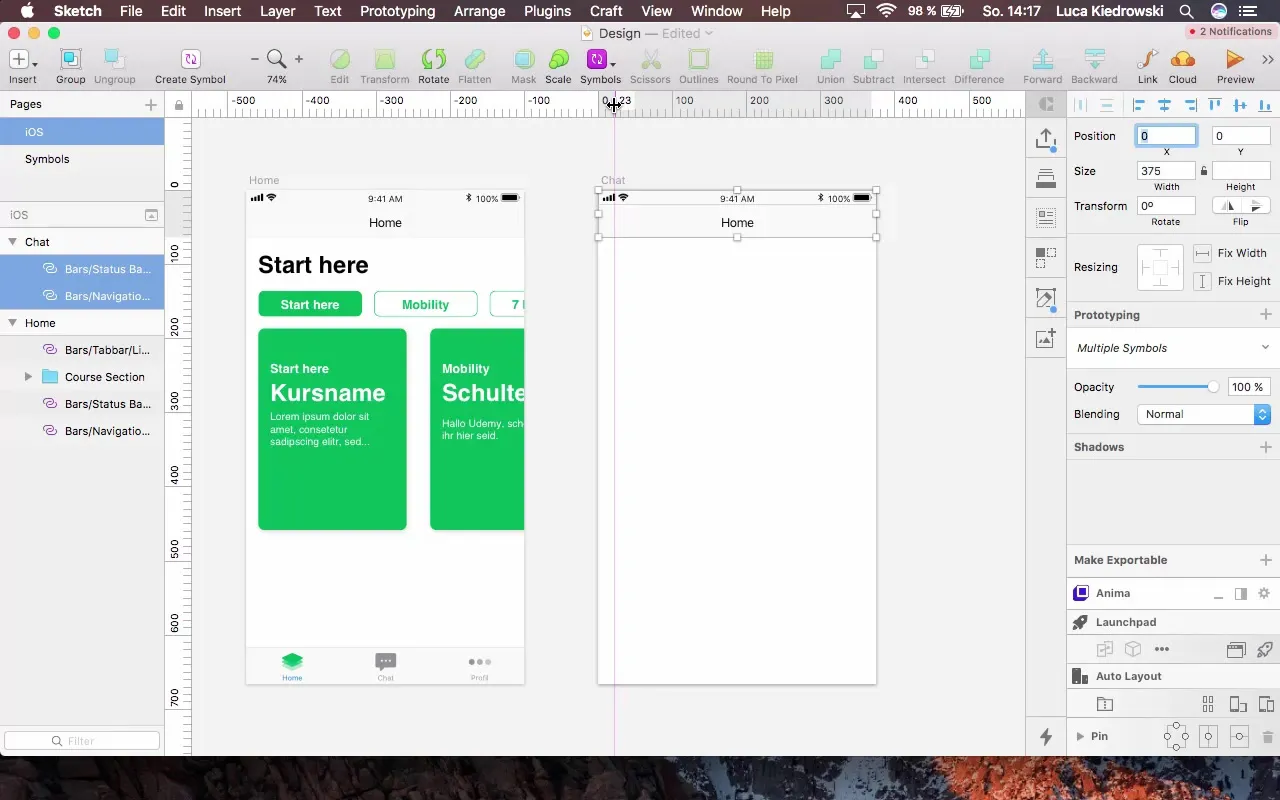
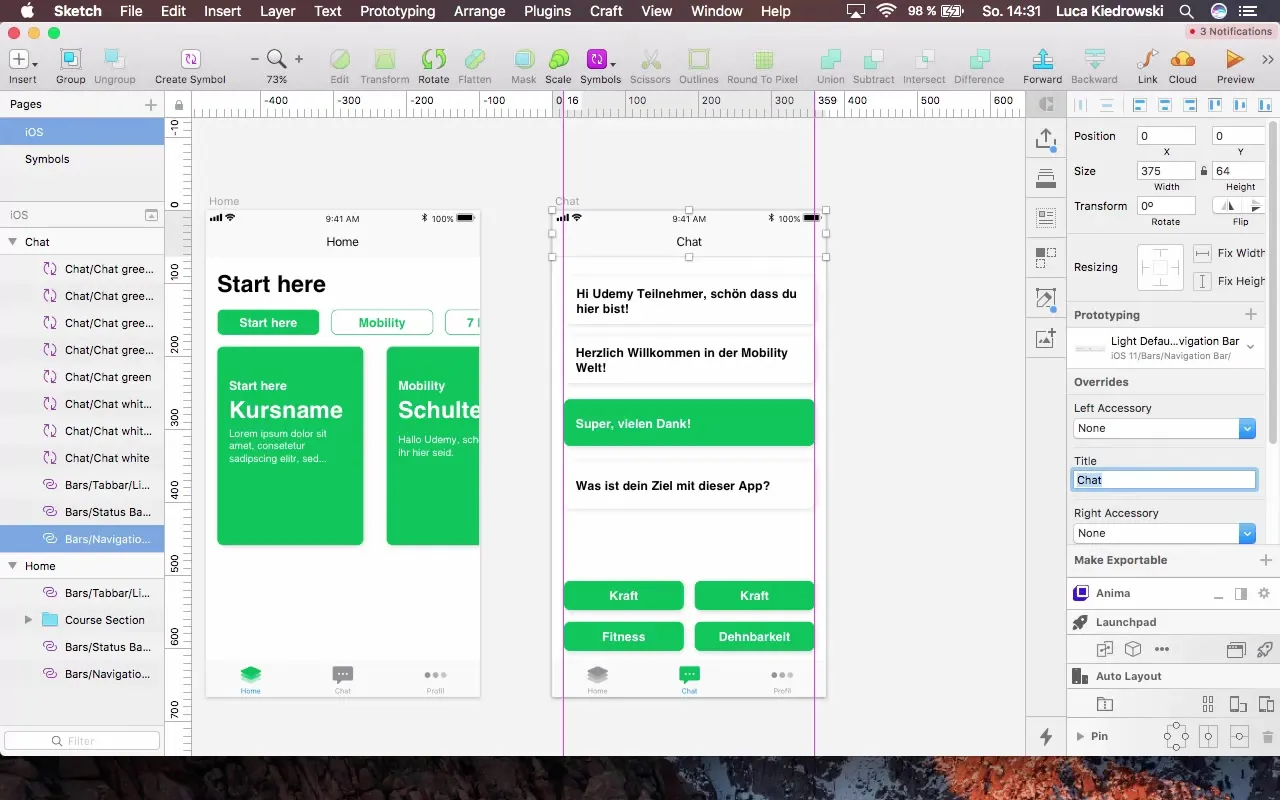
Step 1: Creating the Chat Controller Open your current project in Sketch and select a new artboard for the chat controller. Make sure to select the iPhone 8 as the device to have an appropriate screen size. Name the artboard "Chat" for easier identification.
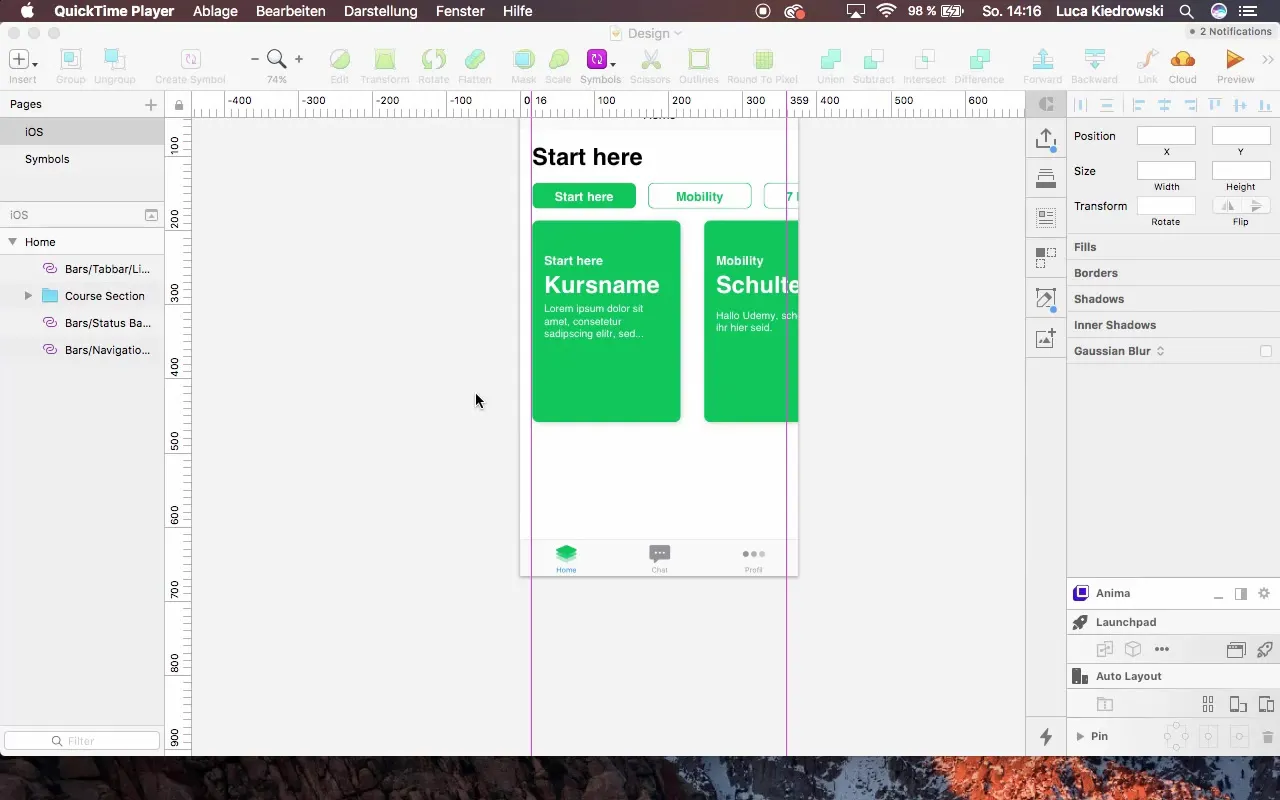
Step 2: Copying the Navigation Bar To achieve a uniform design, copy the navigation bars from your home controller. Position these in the same layout as before to maintain consistency. The status and navigation bars should be identical.
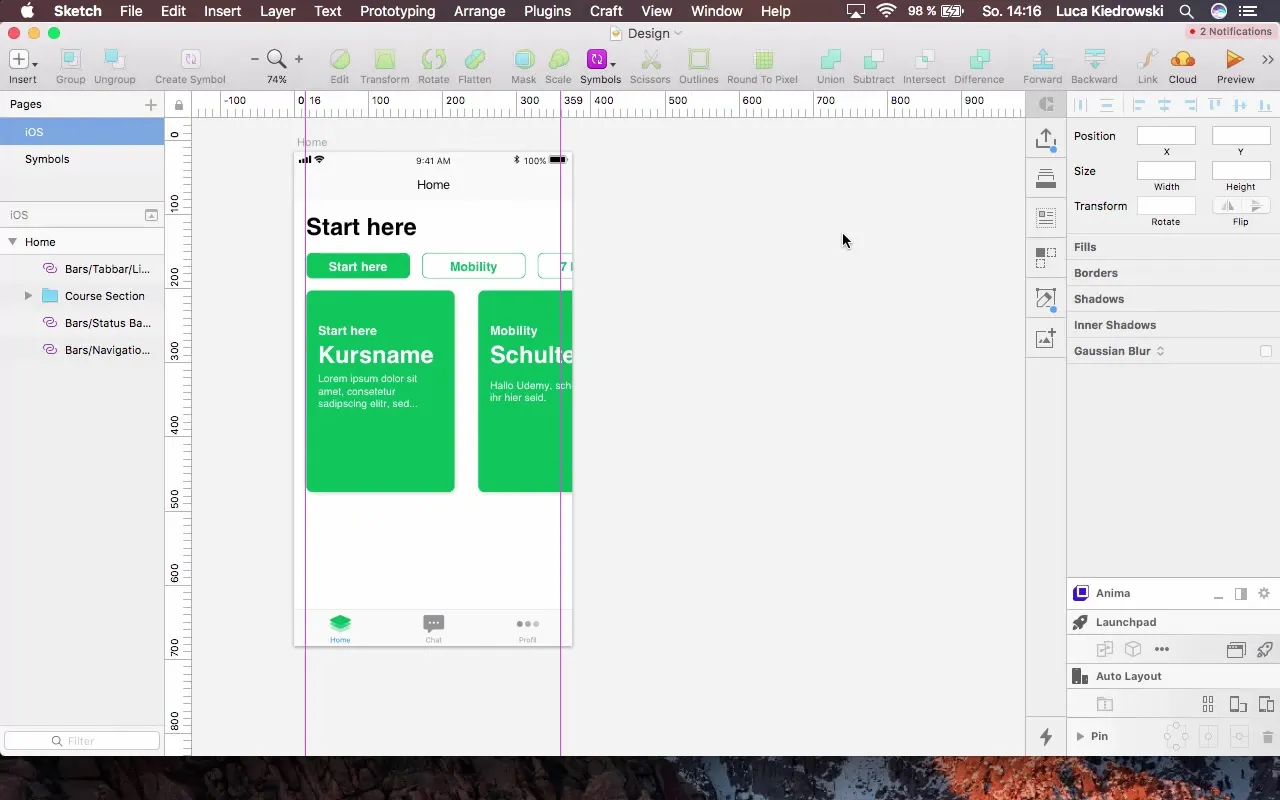
Step 3: Adjusting the Layout Set guides at 16 pixels apart to ensure all elements are accurately and neatly aligned. Make sure that no "glitches" occur in alignment by adjusting the values through the inspector view.
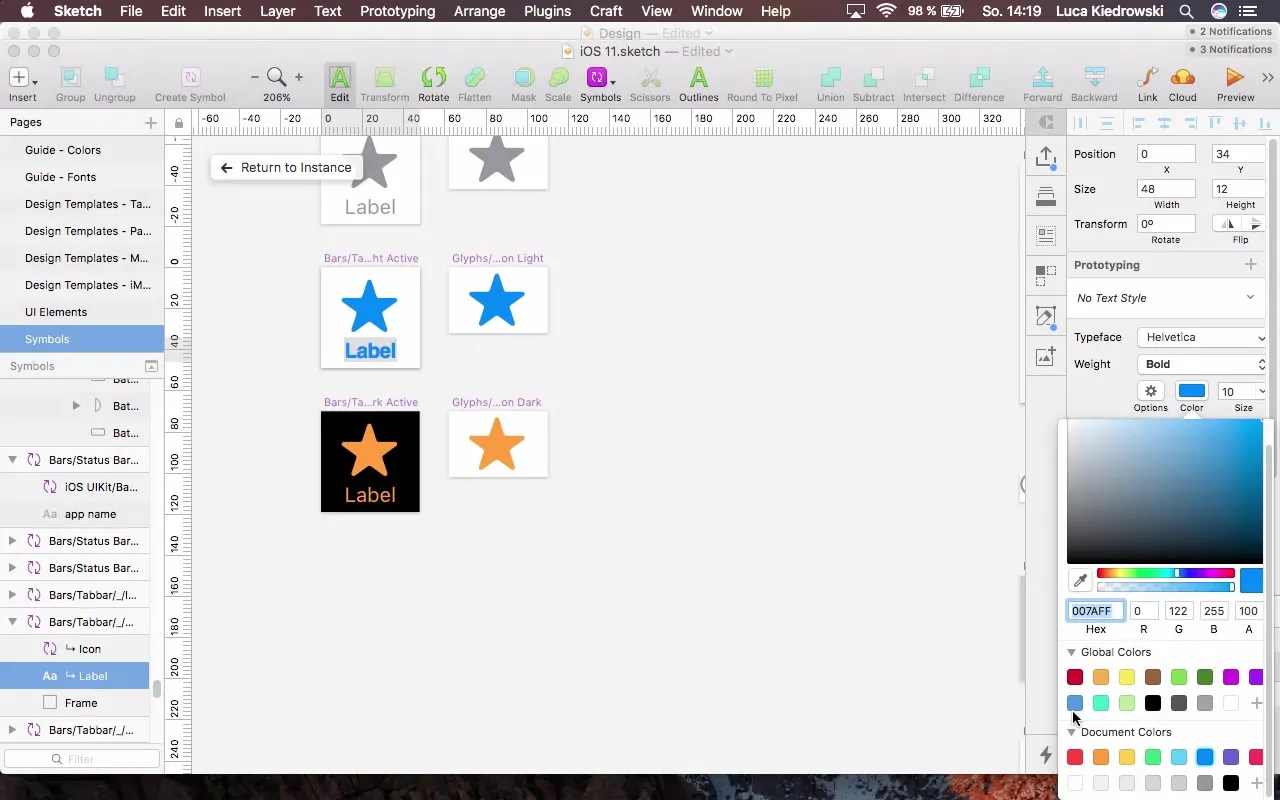
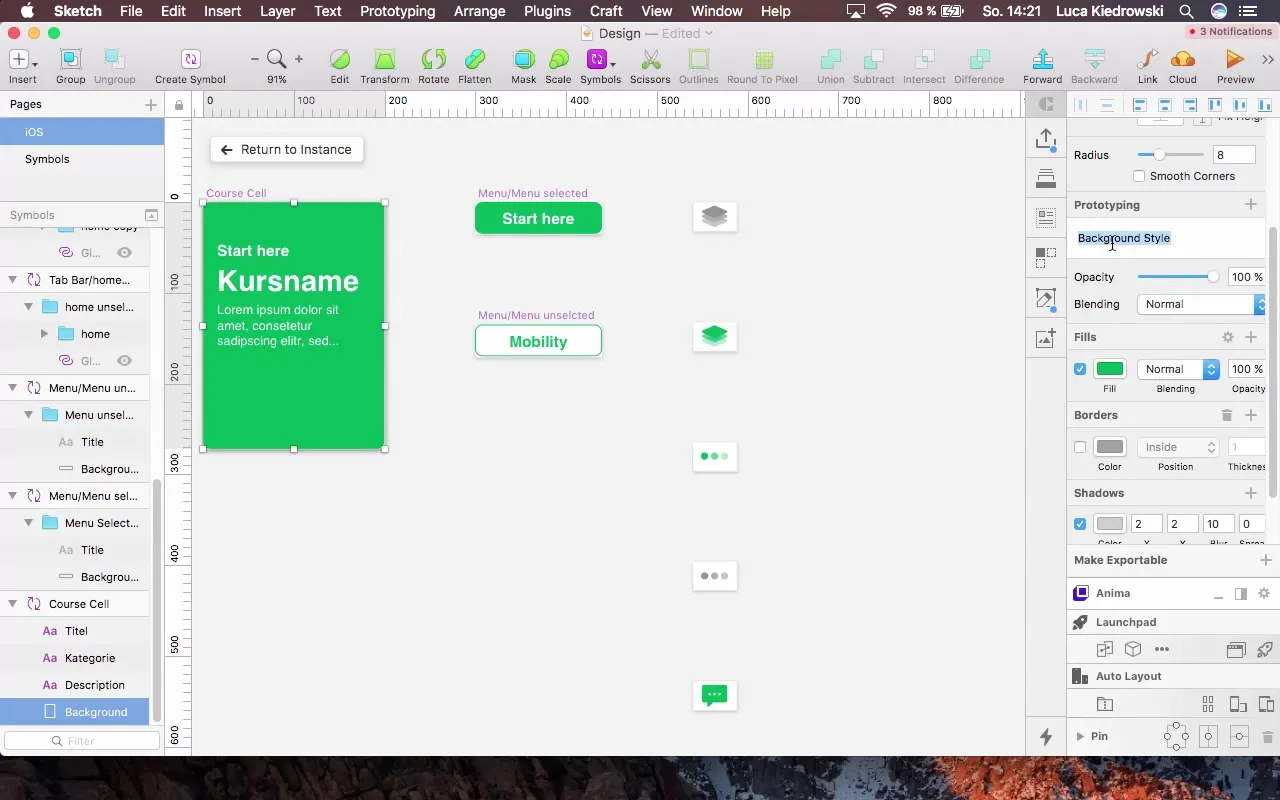
Step 4: Transferring Styles If you want to use styles from external libraries, open the original document to make changes. You can adjust colors and fonts that should be used throughout the project here. This allows you to quickly apply changes to all related elements.
Step 5: Creating the Chat Bubble To represent messages, create a new shape in the chat controller. Choose the background color for the new chat bubble. We will create a blue and a green variant for incoming and outgoing messages.
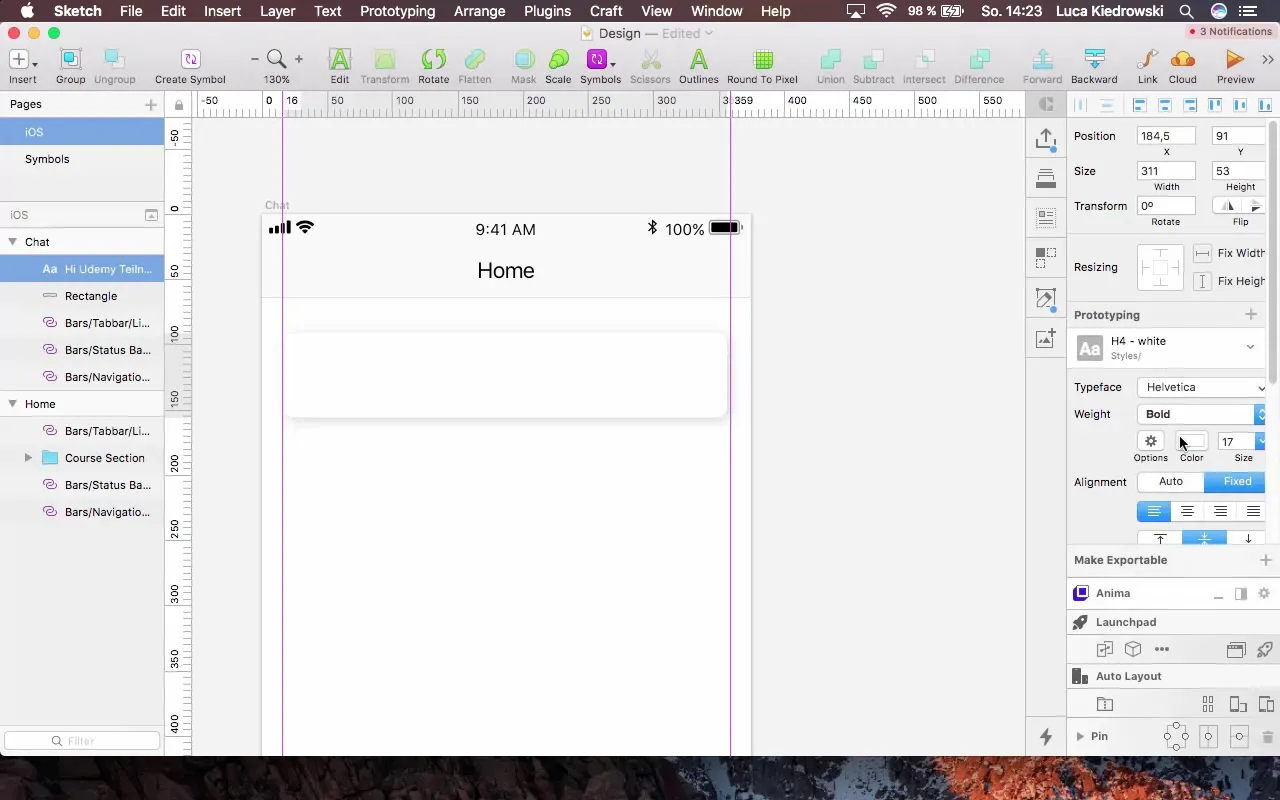
Step 6: Inserting Text Create a text box in the chat bubble and enter a greeting message such as "Hello, great to have you here!" Make sure to adjust the font color and style so the text stands out and is easily readable.
Step 7: Creating Multiple Response Options To present various response options to the user, you can use copies of the chat bubbles. Ensure that the spacing between elements remains uniform. You can add additional text boxes with suggestions for responses, such as "What is your goal?"
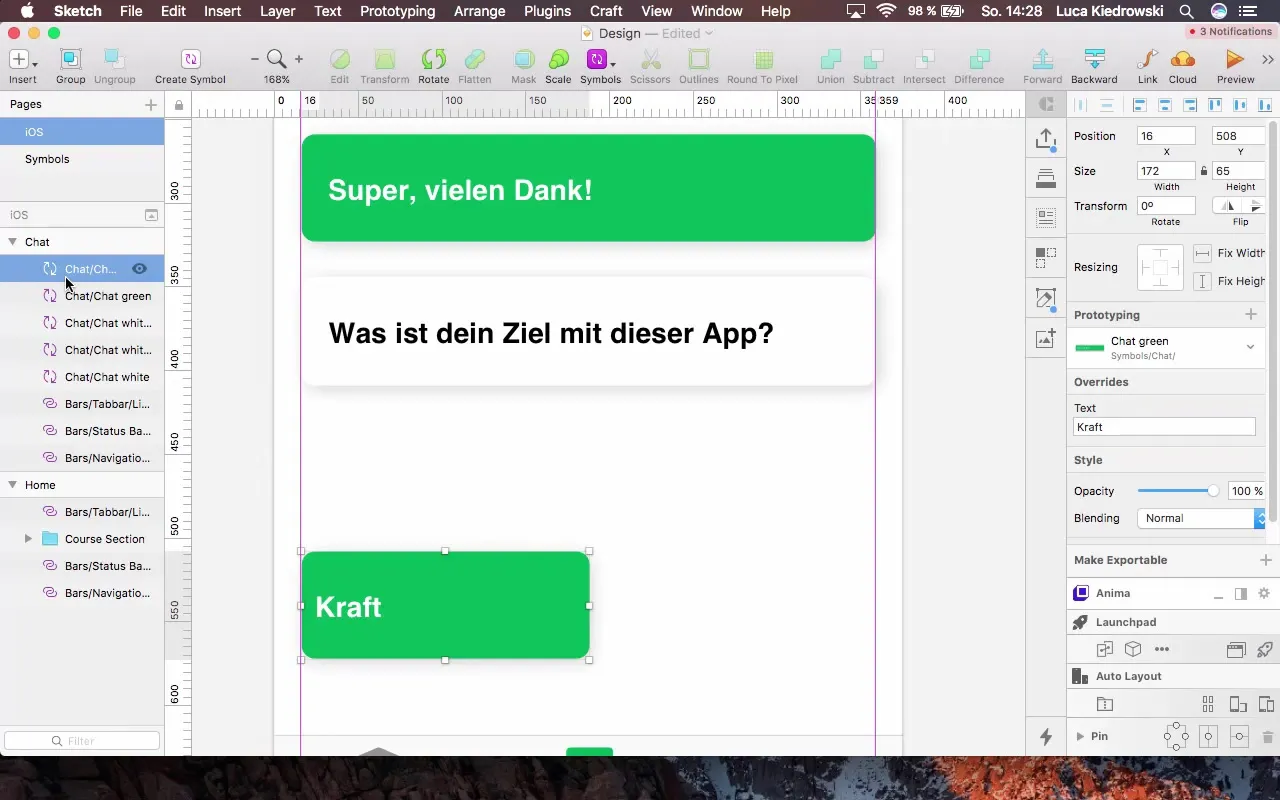
Step 8: Adjusting the Elements Make sure all elements have the same height and copy them to complete the design more quickly. When making adjustments, you can use the groups and symbols that you created to keep changes consistent and straightforward.
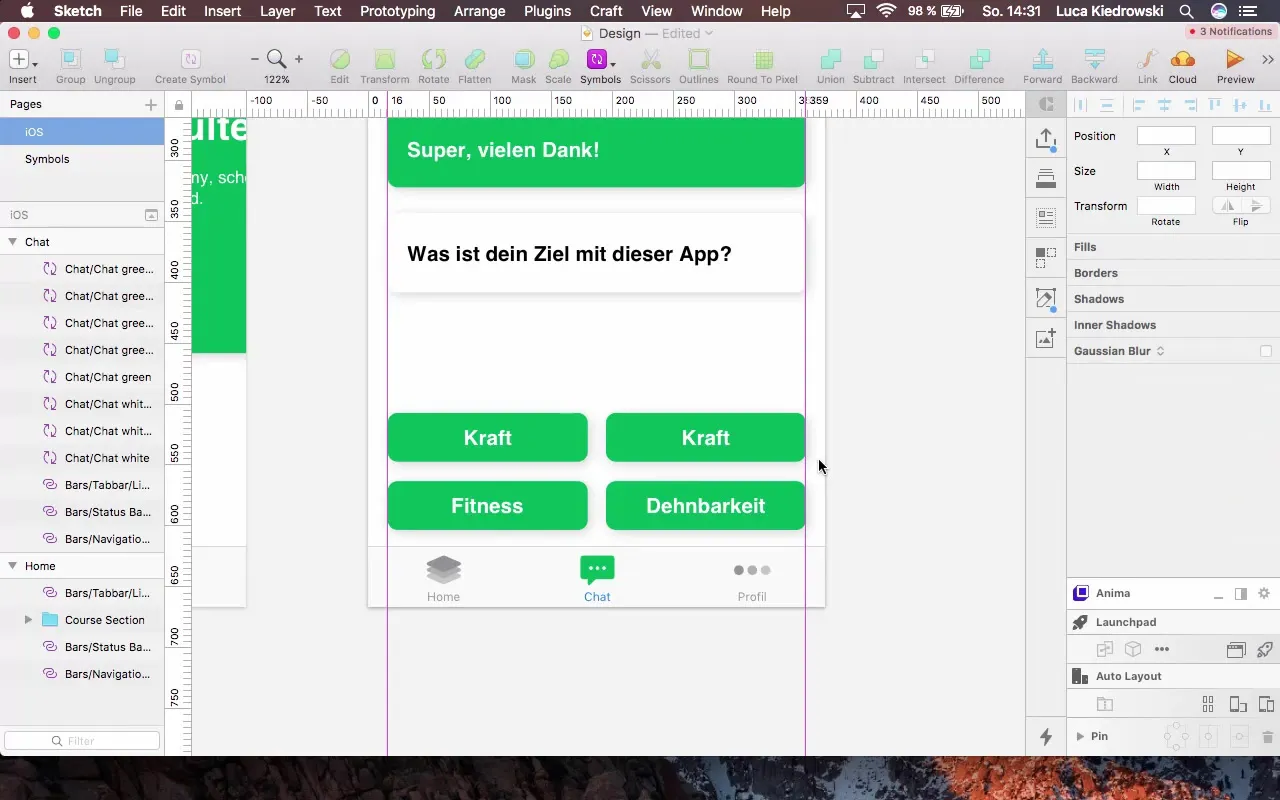
Step 9: Final Adjustments and Grouping Group all elements together to increase clarity. You can name the groups to make them easily identifiable, such as "Chat_Bubble" or "Response_Options."
Summary - Chat Design with Layers in Sketch: A Step-by-Step Guide
You have now learned how to design a chat controller with Sketch. From selecting the right artboard to creating chat bubbles and applying styles, you have learned effective techniques to save time and create a cohesive design.
Frequently Asked Questions
How can I create reusable styles in Sketch?You can create styles by creating a text or background style and then applying it to other elements.
What is the advantage of layers in Sketch?Layers help organize different design elements and simplify changes as well as design management.
How can I keep the spacing between elements uniform in Sketch?Use guides and alignment tools to check and confirm the spacing between your design elements.
What is a good approach to consider chat data privacy?Ensure that your design includes clear indications of privacy policies that are visible to users.
What role does color choice play in chat design?Colors can evoke emotions and influence user experience. Choose colors that fit your app's identity and promote readability.


