In this guide, I will show you how to design an appealing User Profile in an app using an exciting Blur effect to enhance visual attractiveness. You will learn how to efficiently combine various elements and provide your users with an impressive experience.
Key Insights
- Creating a user profile with appealing design is crucial for the user experience.
- The use of blur effects can help direct focus to essential information.
- Proper use of masks in your graphic software can greatly enhance the layout.
- You will be able to effectively combine image and text elements to create a harmonious overall picture.
Step 1: Add New Controller
Start by adding a new controller in your design tool. In this example, we will use the iPhone 8 template. Copy the existing elements such as the tab navigation and status bar by using the keys "Control + C" (for copy) and "Control + V" (for paste).
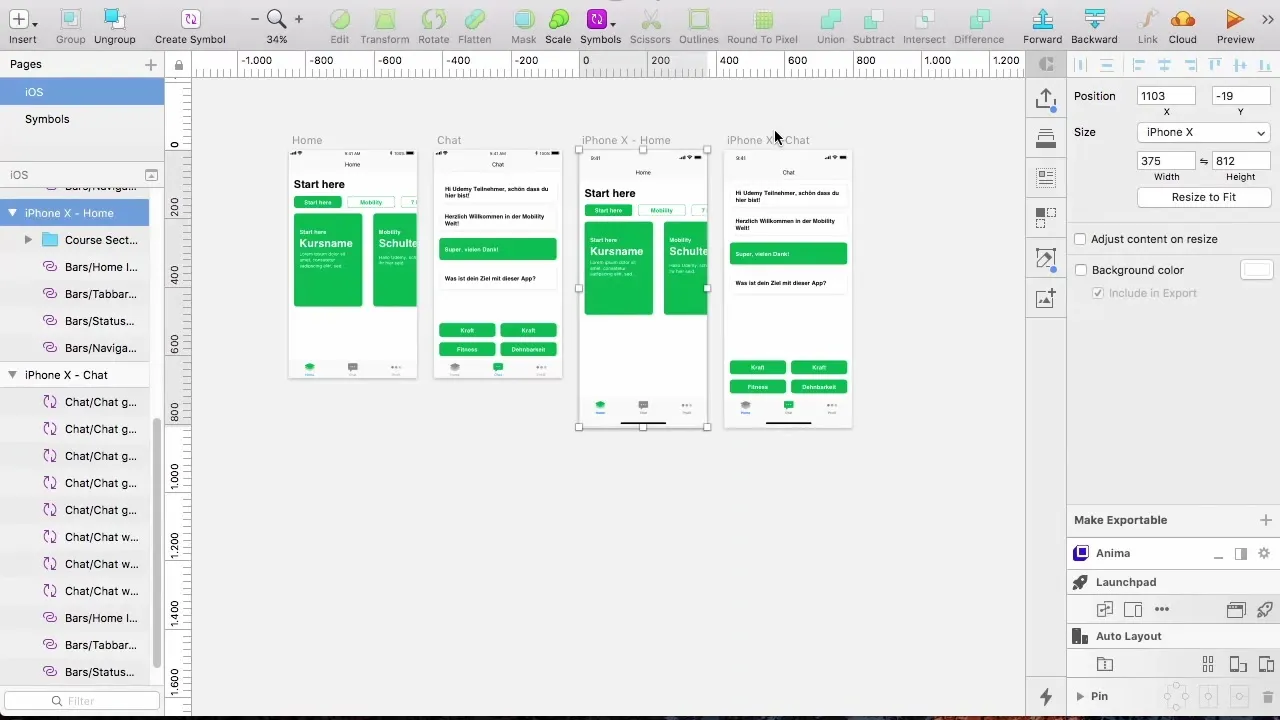
Make sure everything is aligned correctly. In this step, you ensure that the structure of the controller is already established and provides space for future content.
Step 2: Adjust Navigation Bar
Change the name in the navigation bar from "Chat" to "Profile" to inform users that they are in the profile section. Also, adjust the icon in the tab bar to ensure user-friendliness.
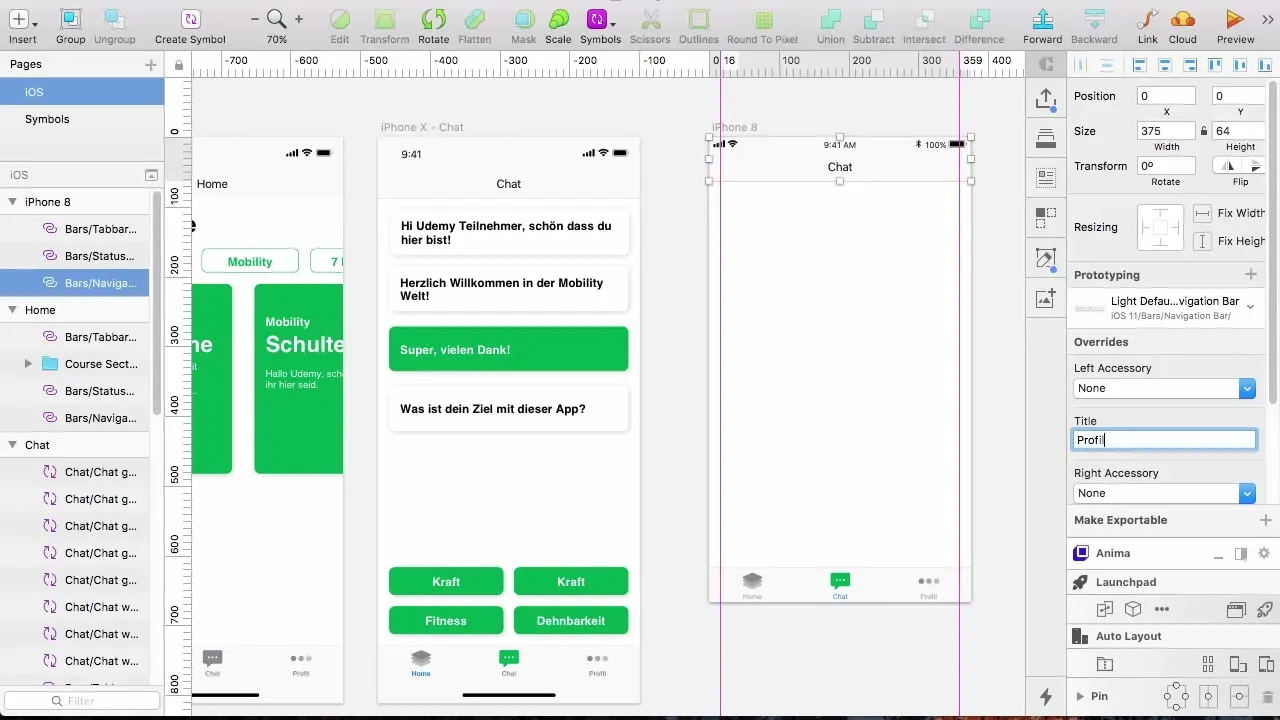
A clear and intuitive navigation is essential so that users always know where they are within the app.
Step 3: Insert Background Image and Blur Effect
Now let's insert the background image. First, create a rectangle that is 375 pixels wide and 200 pixels high. Remove the border of the rectangle and align it to the top edge of your profile.
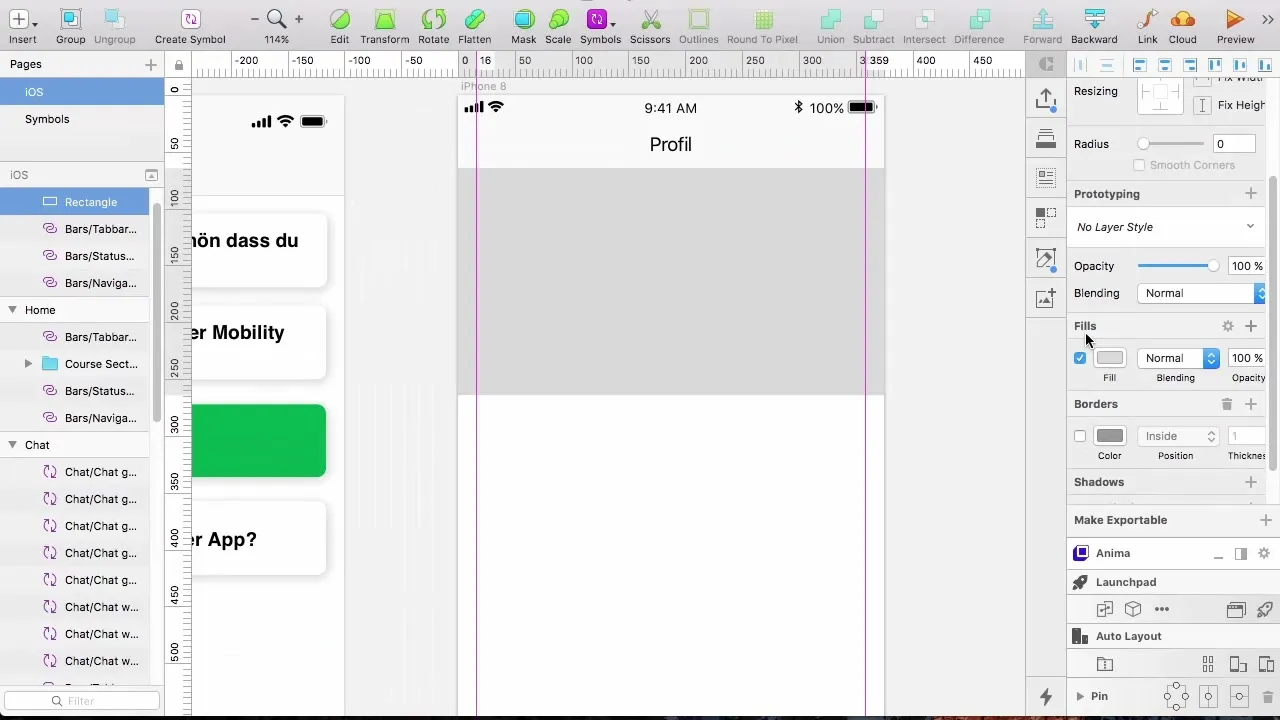
Copy the image from your assets and paste it into the rectangle by pressing "Control + Shift + V". This will align the image correctly. If necessary, resize the image by editing it with the mask so that it fits well into the rectangle and shows the desired area.
Step 4: Apply Blur Effect
To create the desired blur effect, create another rectangle over the already inserted image. Set the blur effect to about 15 pixels to make the image appear slightly blurred while the outlines are still recognizable.
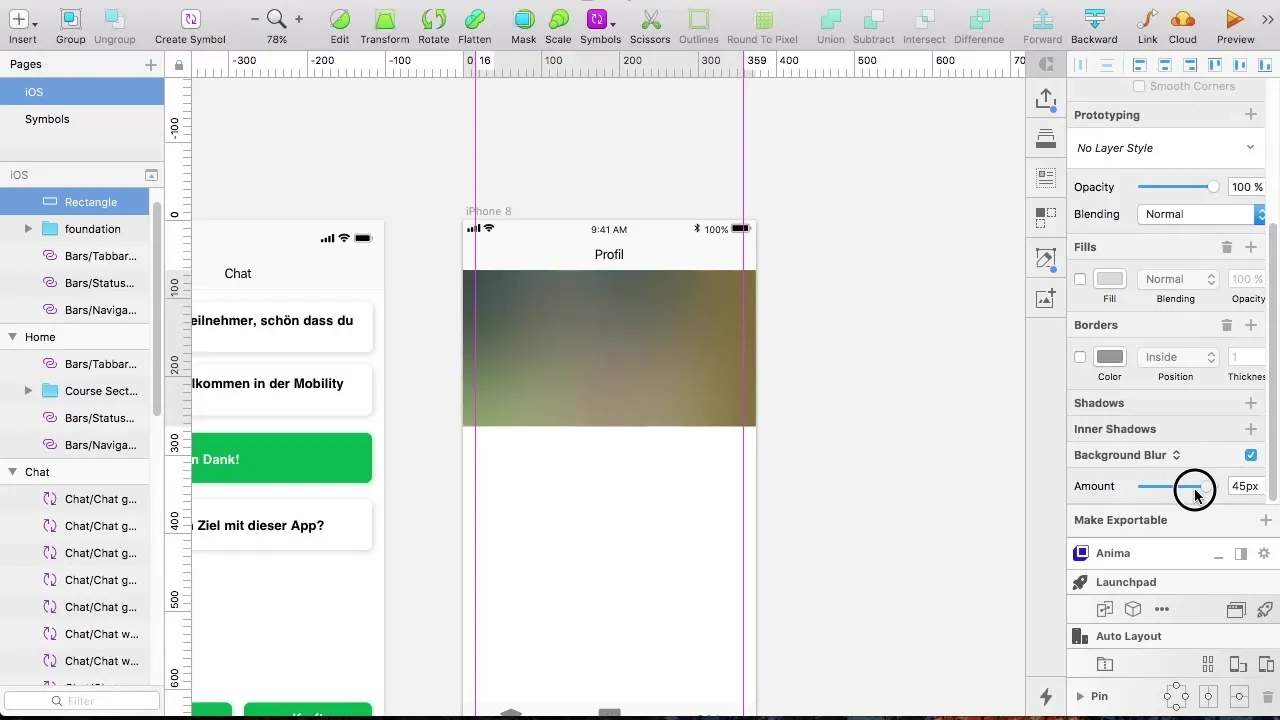
If you want to further refine the transparency or effect, play with the settings to find the perfect measure that benefits your design.
Step 5: Add Profile Picture
Add an oval for the profile picture. You can insert a square of 125 x 125 pixels and round the corners so that it fits nicely into the overall picture. Don't forget to leave a little space at the top so that it looks harmonious.
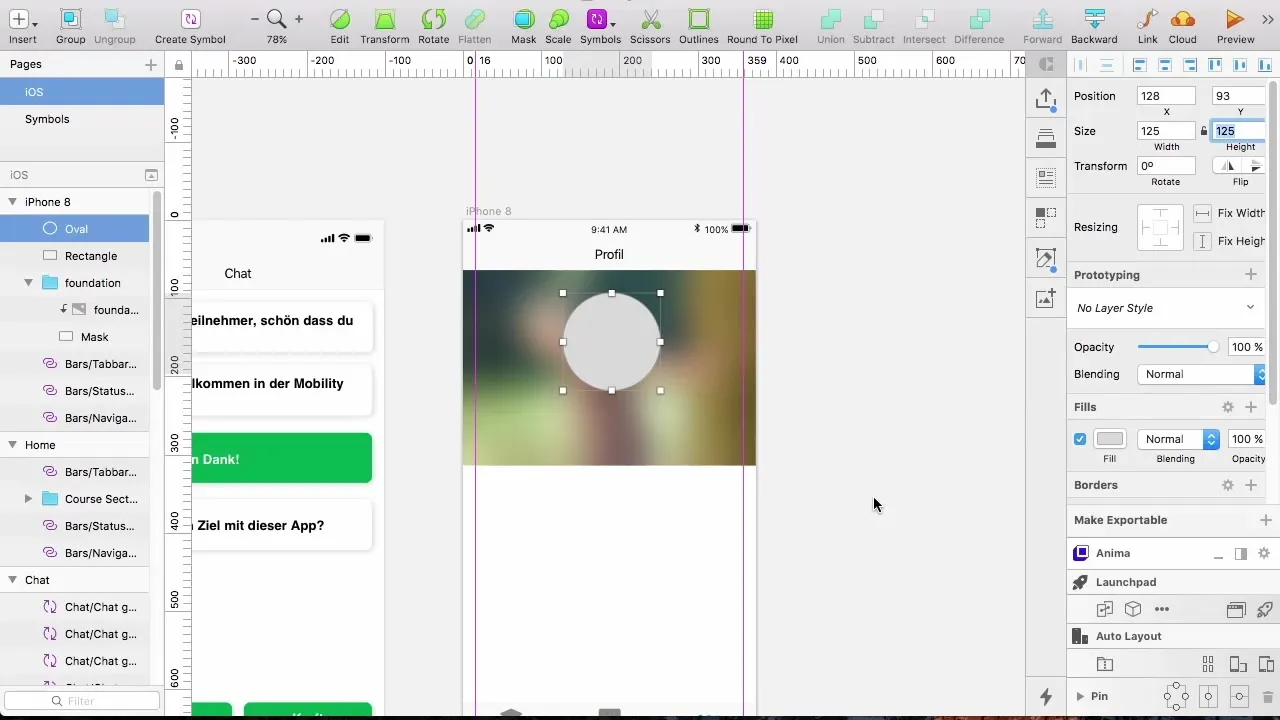
Copy the image again into the oval and create a mask so that it looks well-framed. A border of 3 pixels can help to better separate the profile picture from the background.
Step 6: Text Fields for Name and Progress
Now create text fields for the username and progress display. Use an H4 heading for the name and place it below the profile picture.
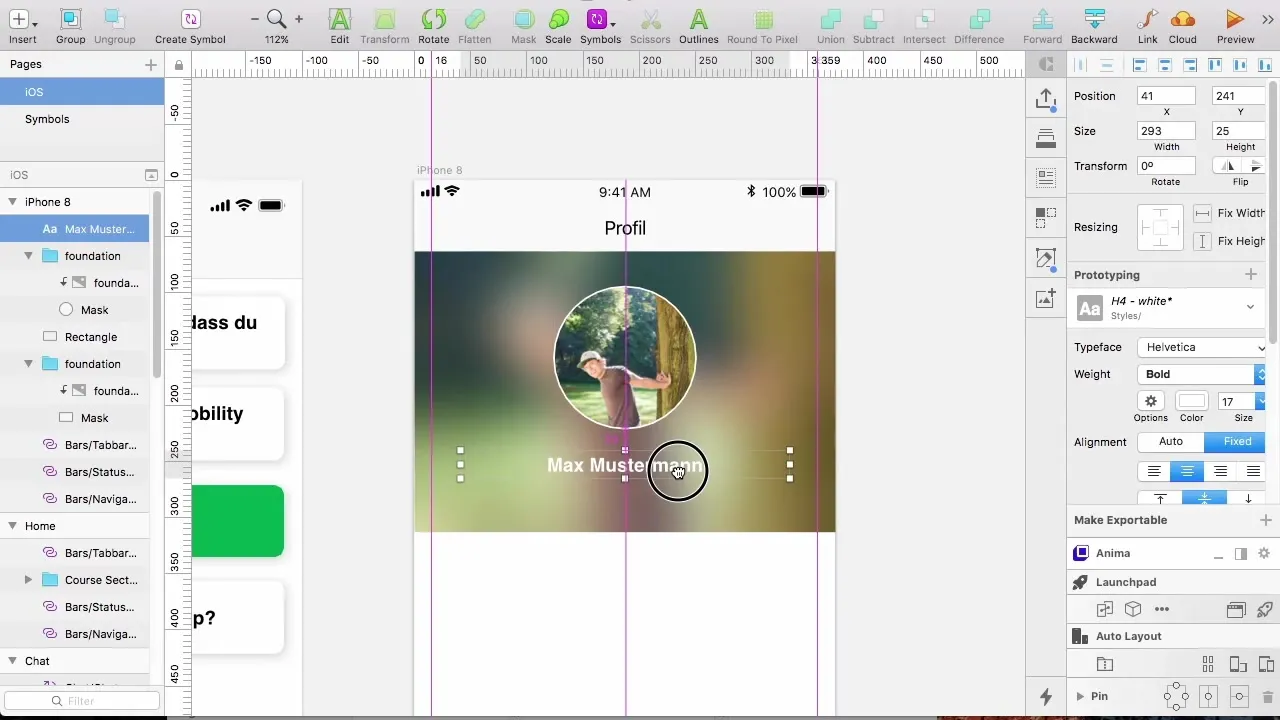
Make sure to choose a clear and attractive font and center the text. The font size should be appropriate to ensure usability.
Step 7: Set Up Progress Display
Add a progress display to show users how much they have already achieved. Use a gray label and adjust the height so that it fits well with the other section.
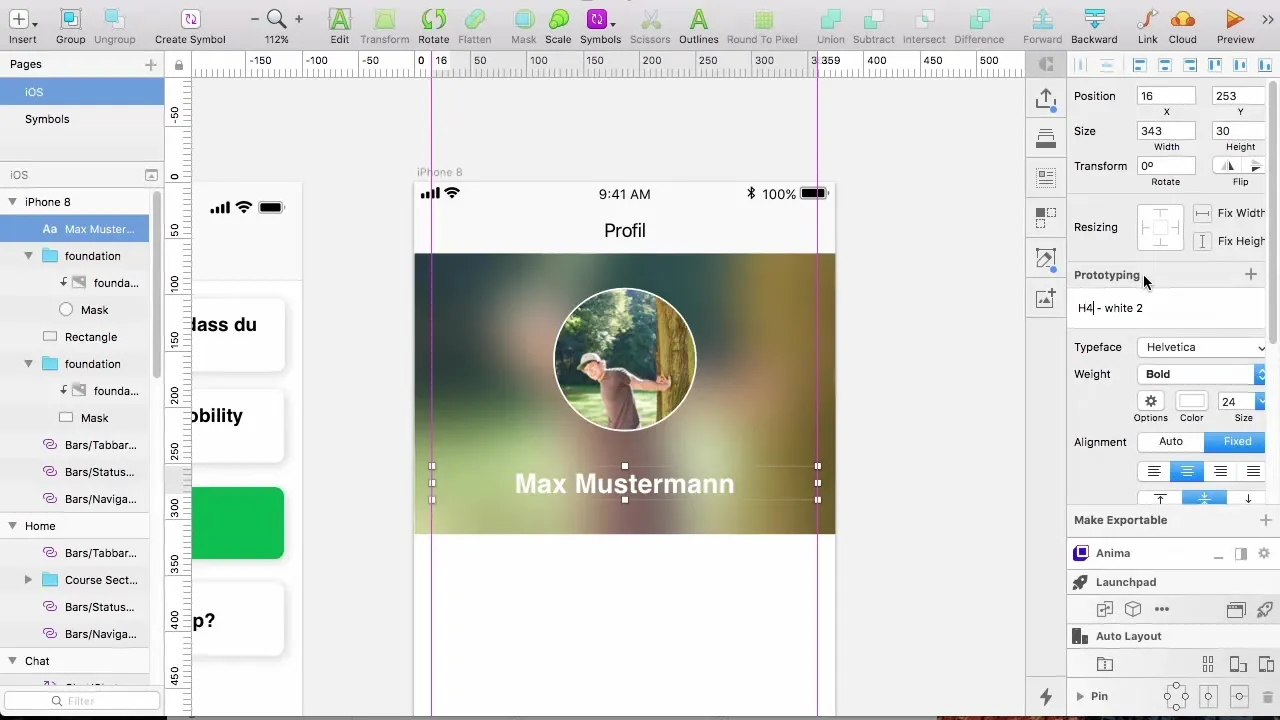
Enter the text "Your Progress" and a counter display. Be sure to use different colors to distinguish the progress display from the description.
Step 8: Add Button for Pro Version
Create a button for the “Get Pro Version” option. Ensure that the button is clearly visible and has a consistent design with an appealing background style. The distance to the bottom edge should be 16 pixels so that it is easily reachable.
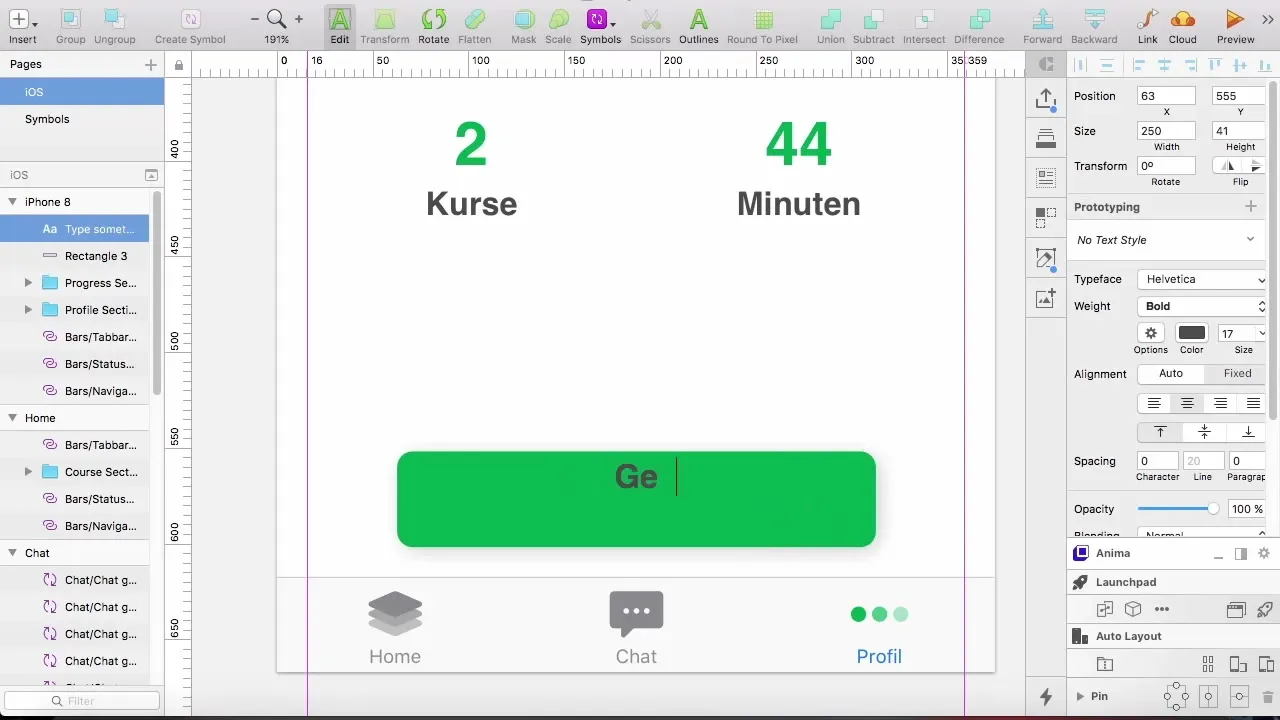
The text on the button could be "Get Pro Now", in a well-readable font. It is important to formulate a clear call to action.
Summary – Creating a User Profile with Blur Effect
In this guide, you learned how to create an appealing user profile and integrate an exciting blur effect into your design. You went through various steps such as adding images, creating masks, and adjusting text fields. These techniques will help you design visually appealing and functional app layouts.
Frequently Asked Questions
How do I insert an image into a rectangle?You can copy an image and then paste it into the rectangle using "Control + Shift + V" to ensure it is aligned correctly.
What is the purpose of the blur effect?The blur effect helps to direct the user's focus to essential information by softening the background.
How can I ensure that my design looks good on different devices?Test your design on various device types and sizes to ensure everything is well-aligned and readable.
How do I adjust the spacing between elements?You can easily adjust the spacing by dragging the elements or entering values in the spacing sliders.
