The presentation of designs is one of the central requirements in app development. Developers rely on your designs to successfully implement the app. In this guide, I will show you how to easily present your designs in InVision, so that your design team always has access to the latest versions. With InVision, you ensure that your ideas are visualized and communicated optimally, while also being able to incorporate changes easily.
Key Insights
- InVision allows for easy synchronization and presentation of designs.
- You can export your designs directly from Sketch and upload them to InVision.
- The tool offers various modes for viewing and interacting with prototypes.
- Feedback and commenting features support collaboration between designers and developers.
Step-by-Step Guide
Step 1: Create a New Project in InVision
First, open InVision and create a new project. Select the option to create a "Prototype" and choose the iPhone template to present your designs optimally for mobile devices. Select "Mobility Stream Udemy" as the project name and click on "Create."
Step 2: Export Designs from Sketch
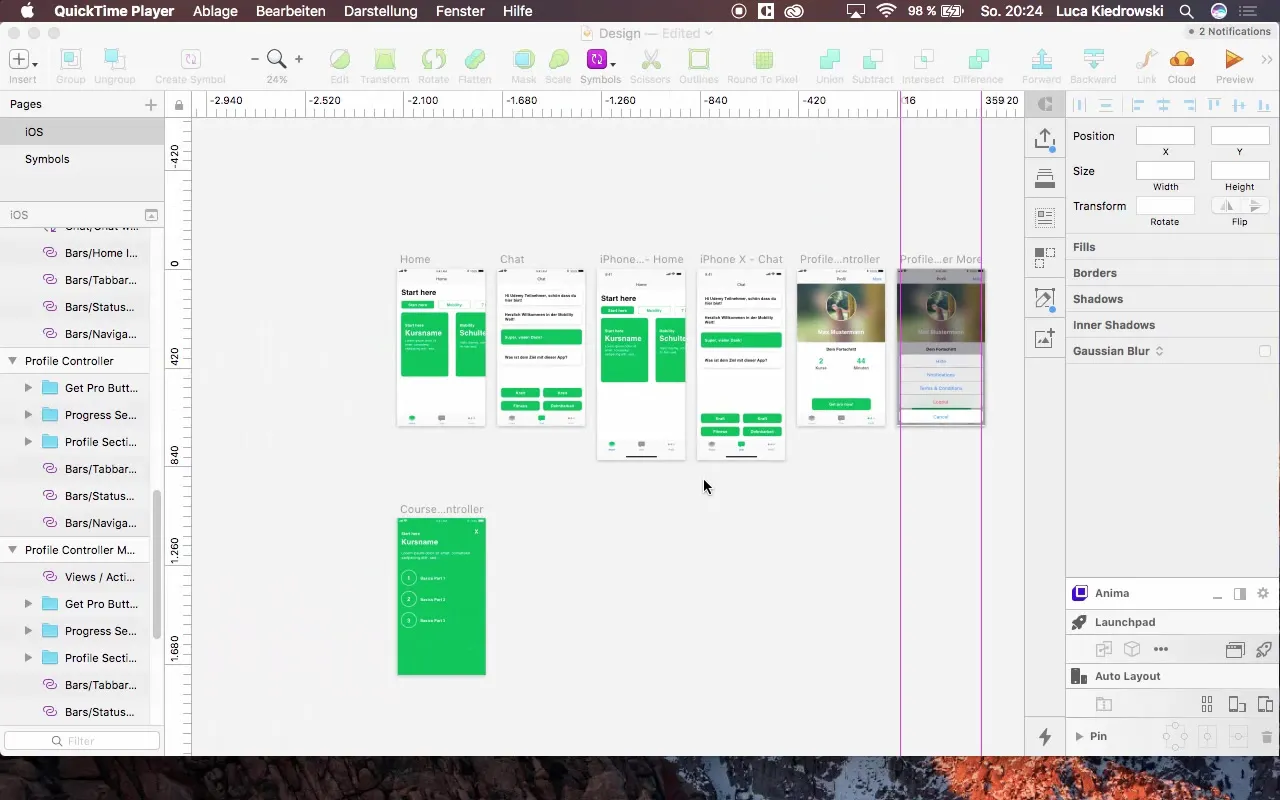
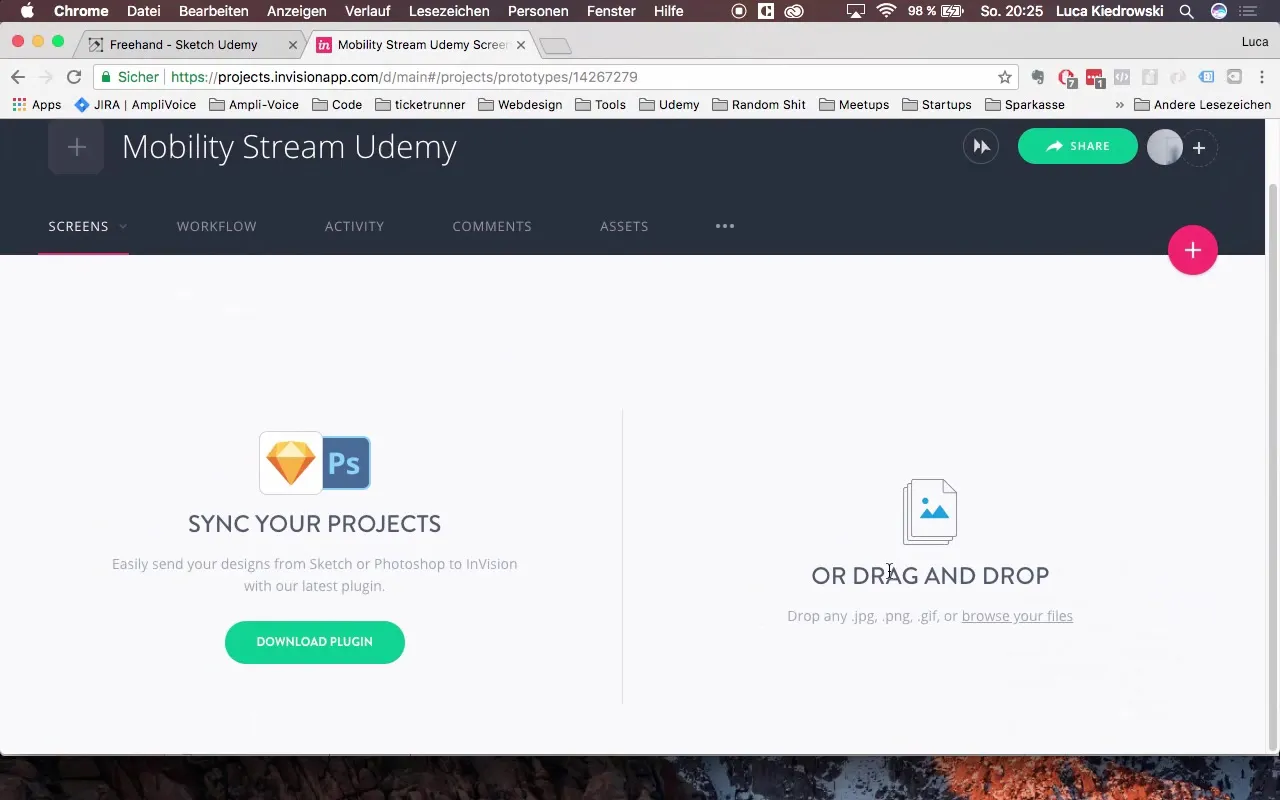
After setting up your project, import your designs from Sketch. During this process, you need to ensure that you select the right artboards and upload them to InVision. You can drag and drop the files directly into the InVision project. It is important to choose the correct export format from Sketch to avoid complications.
Step 3: Install InVision Plugin
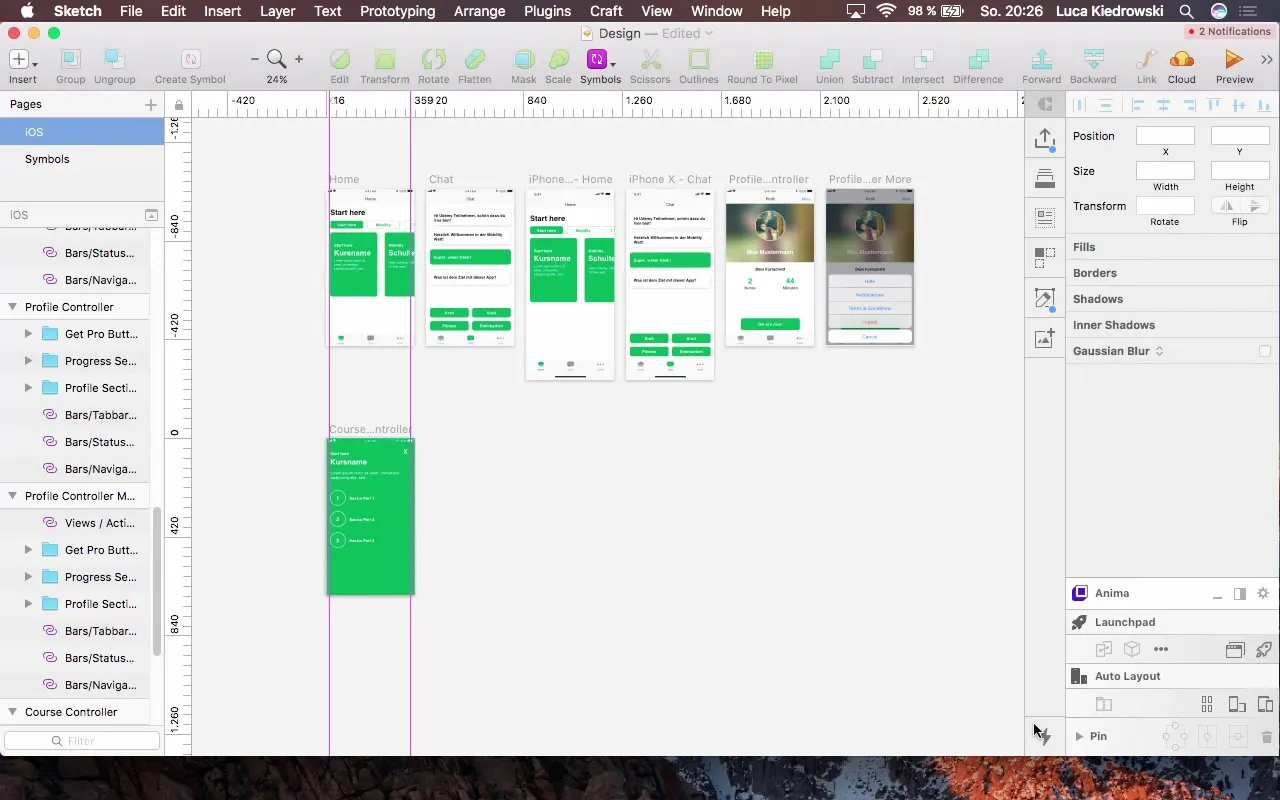
To simplify the synchronization process, you should use the InVision plugin for Sketch. Install the plugin, log in with your InVision account, and enable the synchronization option. This allows you to transfer design changes directly from Sketch to your InVision project without manually uploading the files.
Step 4: Add Interfaces to Artifacts
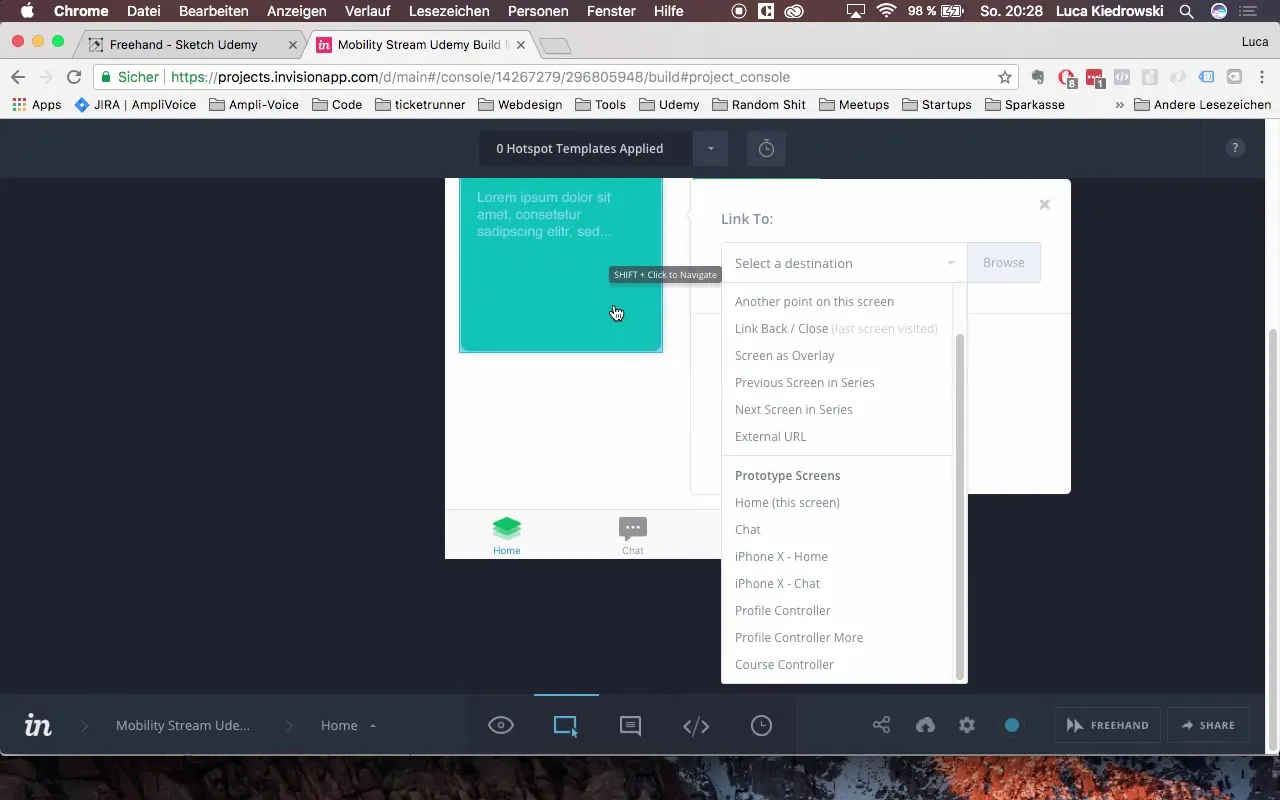
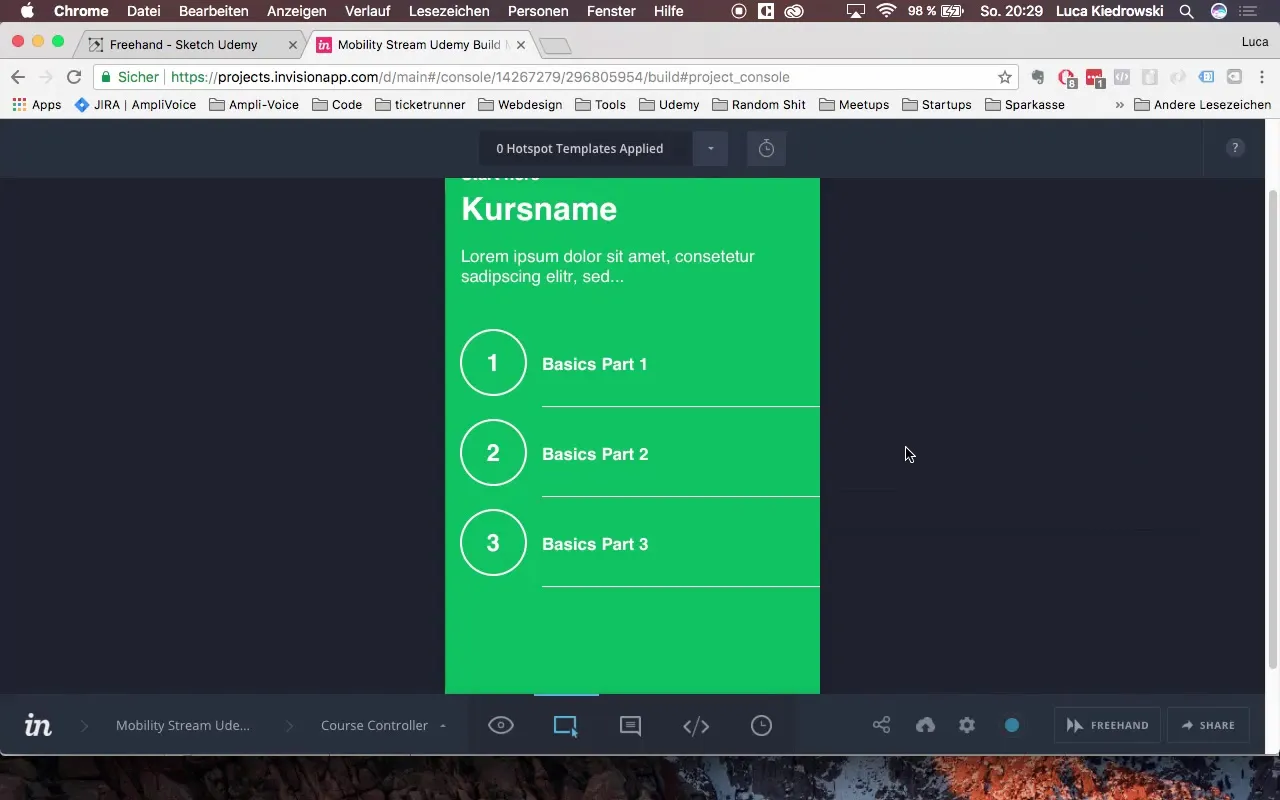
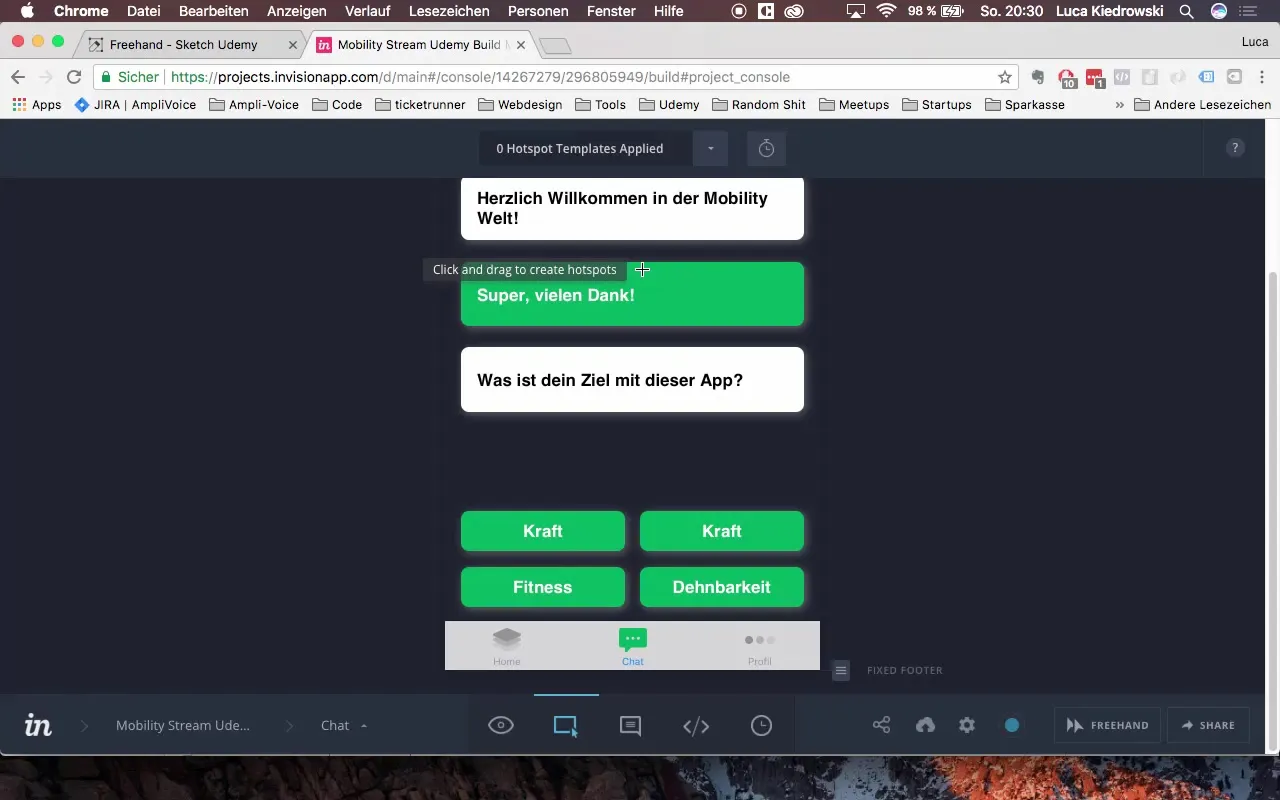
Now you can create the user interface of your app and design the individual screens interactively. Click on the buttons in Build Mode to create hotspots that simulate navigation within the app. You can choose different transitions like "Slide in" or "Instant" to realistically depict the user experience.
Step 5: Set Transitions
Once you have added interactions, it is important to set the right animations for transitions between screens. Here, you can choose the type of animation that takes effect when switching to another screen. Ensure that these details are clearly and precisely presented for the developers so they can implement the desired behavior.
Step 6: Set Colors and Backgrounds
You should also ensure that all background colors and stylistic details are correct. Often, background colors in the Sketch files are forgotten. Go through each screen and check if the backgrounds you intended in the design are also displayed in InVision. Make sure everything looks harmonious.
Step 7: Synchronization and Update
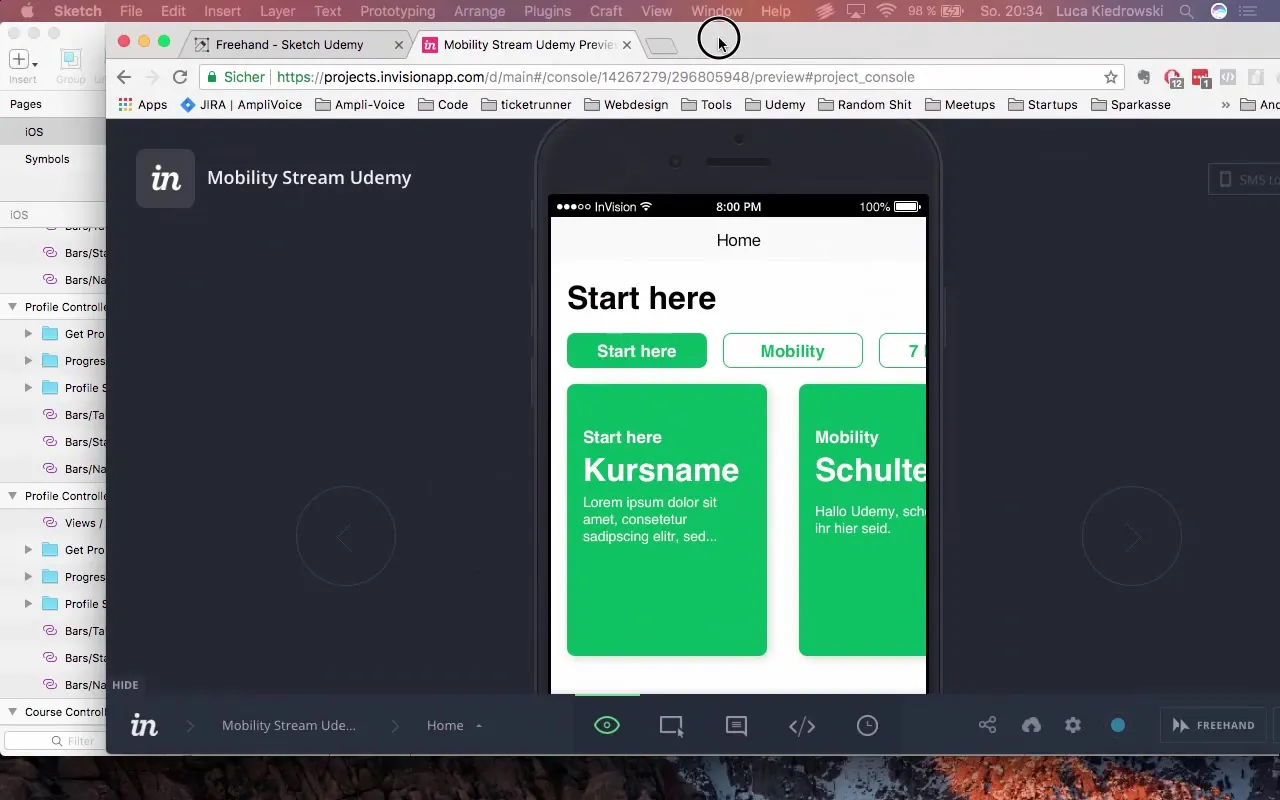
After making all changes, it is time to synchronize everything. Save the changes in Sketch and click the synchronization button in the plugin. This will automatically update your new screens and adjustments in InVision. Note that this process may take some time.
Step 8: Gather Feedback
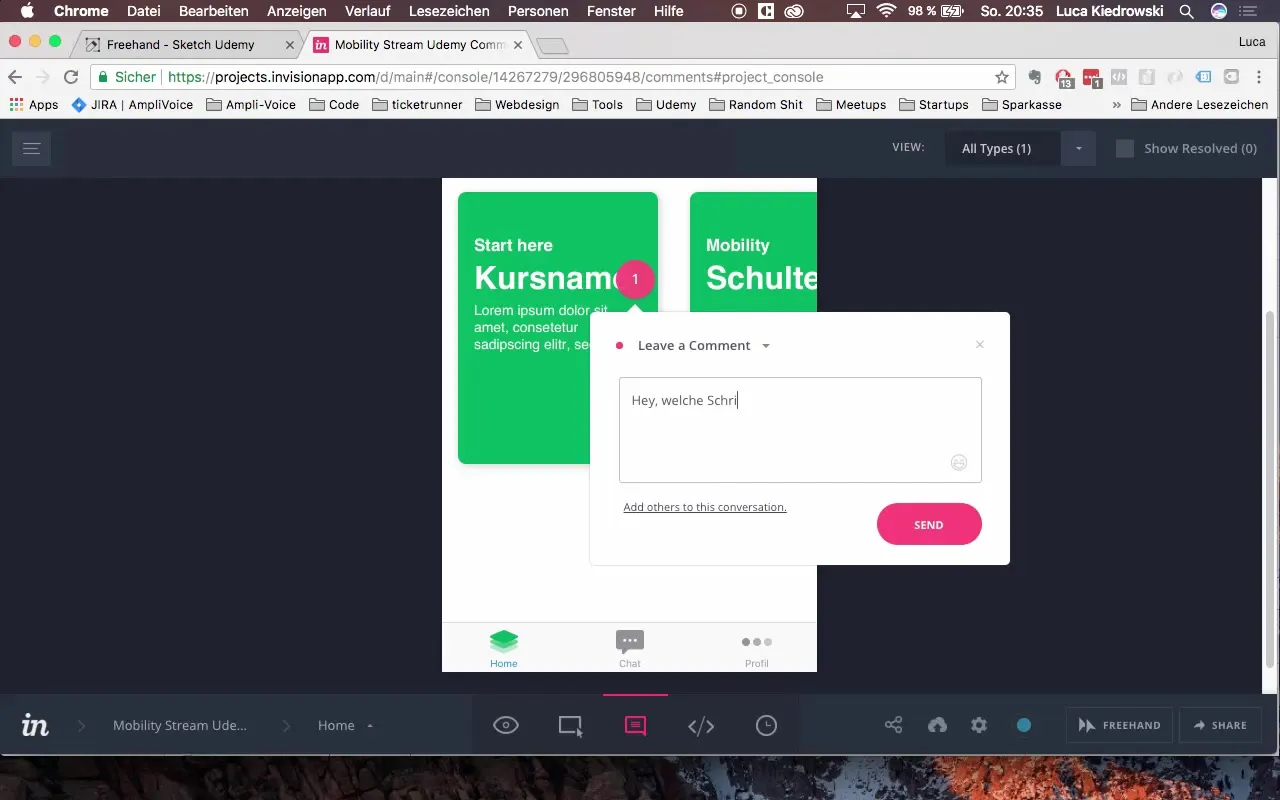
Use the commenting and feedback feature in InVision to clarify general questions about your designs. You can add a comment directly in the prototype, which can then be addressed by other team members. This is particularly helpful to ensure that your design meets the briefing and fulfills all expectations.
Step 9: Finalizing the Presentation
Finally, you should test your designs and ensure that everything works perfectly. Check all the hotspots you have created and simulate the interaction to gain insights from the user's perspective. This way, you ensure that the overall picture is coherent before presenting it to your team or the developers.
Summary - Successfully Presenting Designs in InVision
In this guide, you have learned how to present your designs step by step in InVision. You have discovered how easy it is to work with InVision and how you can increase the efficiency of your design transfers. Careful preparation and the use of helpful features will help you successfully shape your projects and provide your developers with the necessary information.
Frequently Asked Questions
How do I install the InVision plugin for Sketch?Download the plugin from the InVision website and follow the installation instructions.
How do I synchronize designs from Sketch with InVision?Save your changes and click on the synchronization button in the InVision plugin to upload the designs.
What backgrounds should be used in the designs?Use distinct background colors for all screens to ensure they display correctly in InVision.
Can I collect feedback directly in InVision?Yes, you can add comments to your prototype and receive feedback from other team members.
What should I do if the animations are not working correctly?Check the selection of transitions and test each screen to ensure everything works as desired.
