Sketch is a powerful design tool that not only helps you design user interfaces (UIs) but also offers best practices for efficient work. In this guide, you will learn how to create groups in Sketch and define text-styles to optimize your design processes. These skills are not only useful for saving time but also crucial for collaboration with other team members.
Key Insights
- Creating groups helps in organizing and managing design elements.
- Text styles allow you to use consistent fonts and sizes throughout the design, making changes easier.
Creating Groups
To create groups, follow these steps:
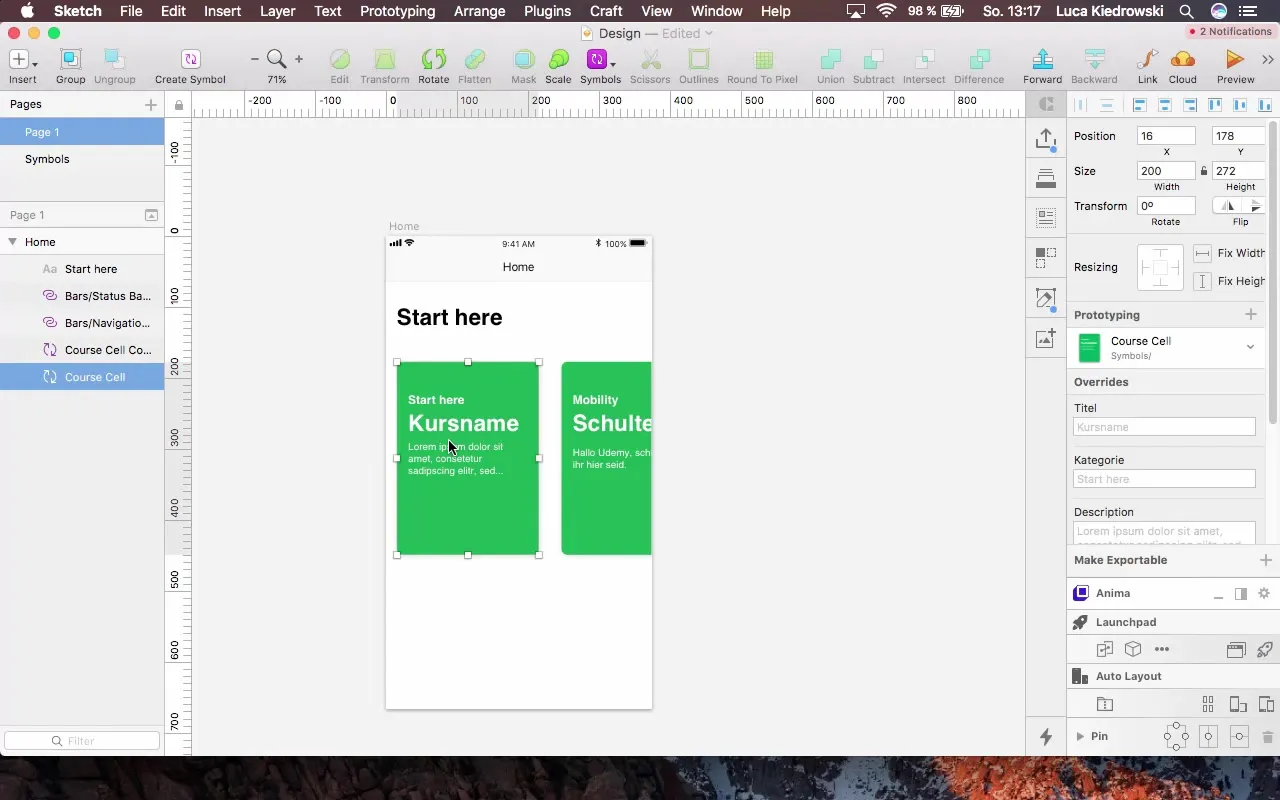
Step 1: Select Elements
Select the design elements you want to group together. These can be text boxes, rectangles, or other shapes. You can select multiple elements by holding down the Shift or Command key.
Step 2: Create Group
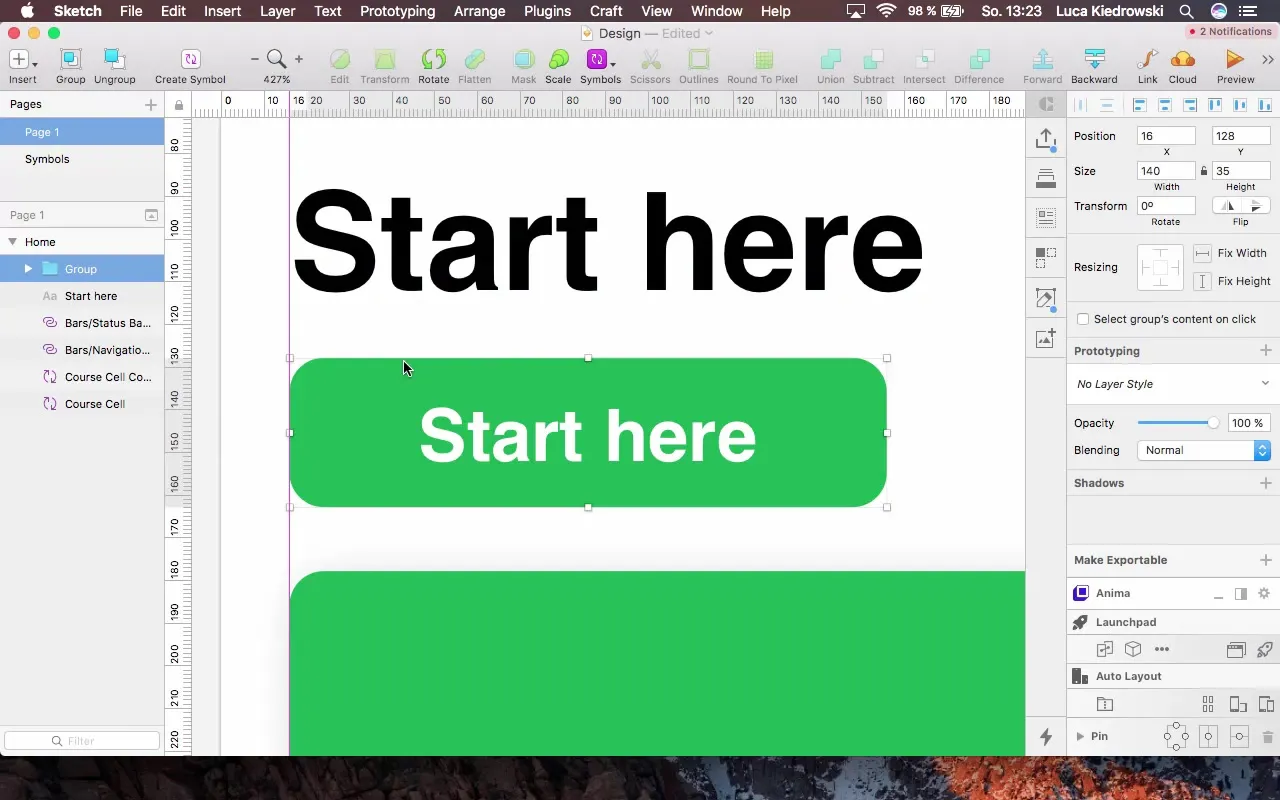
Once you have selected the desired elements, press the keyboard shortcut Command + G to group them together. This makes it easier to edit or move these elements collectively.
Step 3: Name the Group
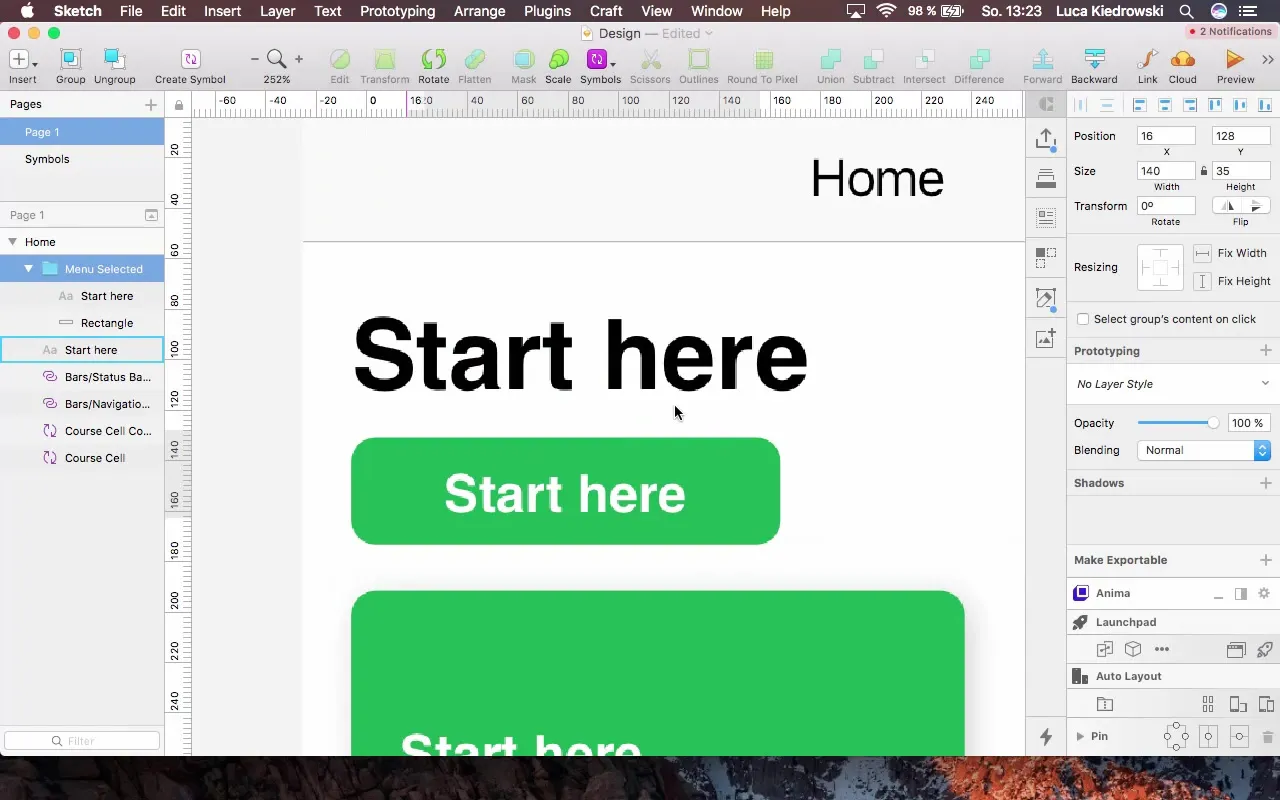
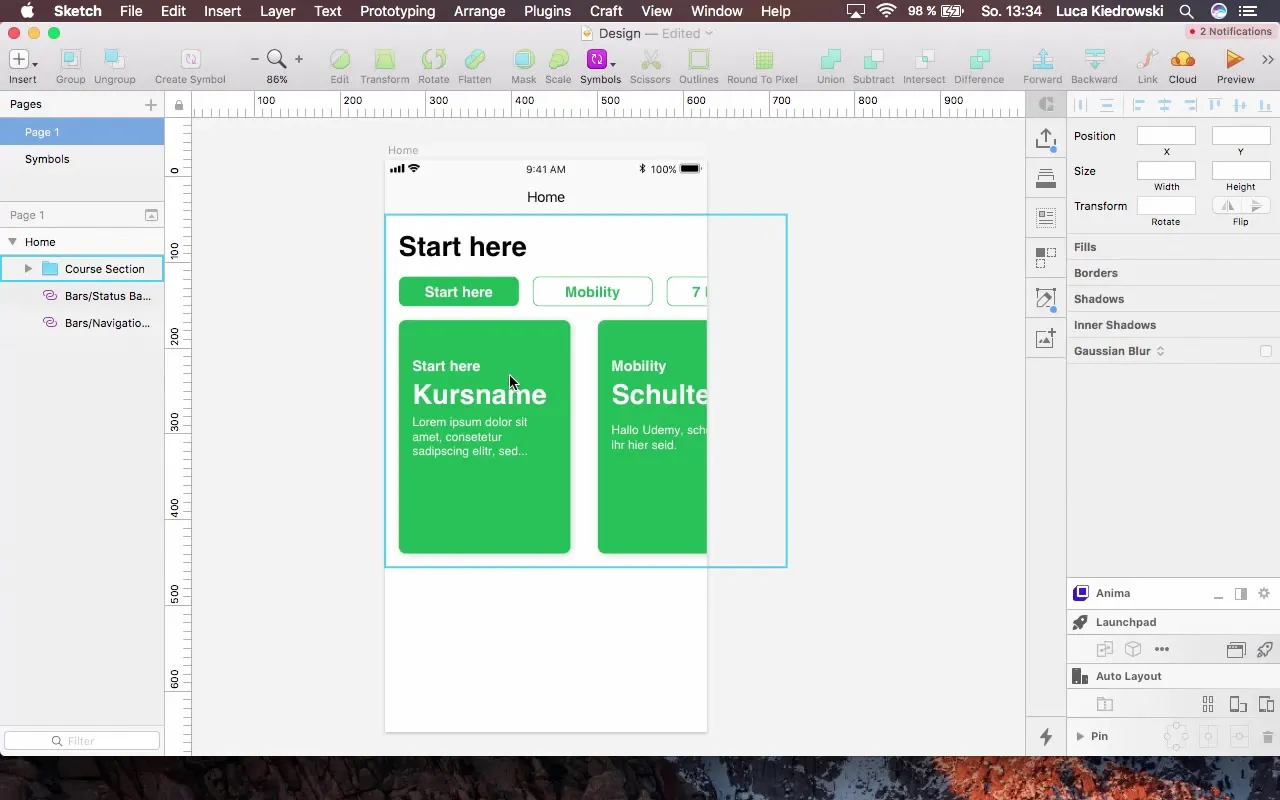
To keep track, it's important to give your group a meaningful name. Double-click on the group name in the layer list and enter a new name that describes the contents of the group, such as "Menu Selected".
Step 4: Manage Groups
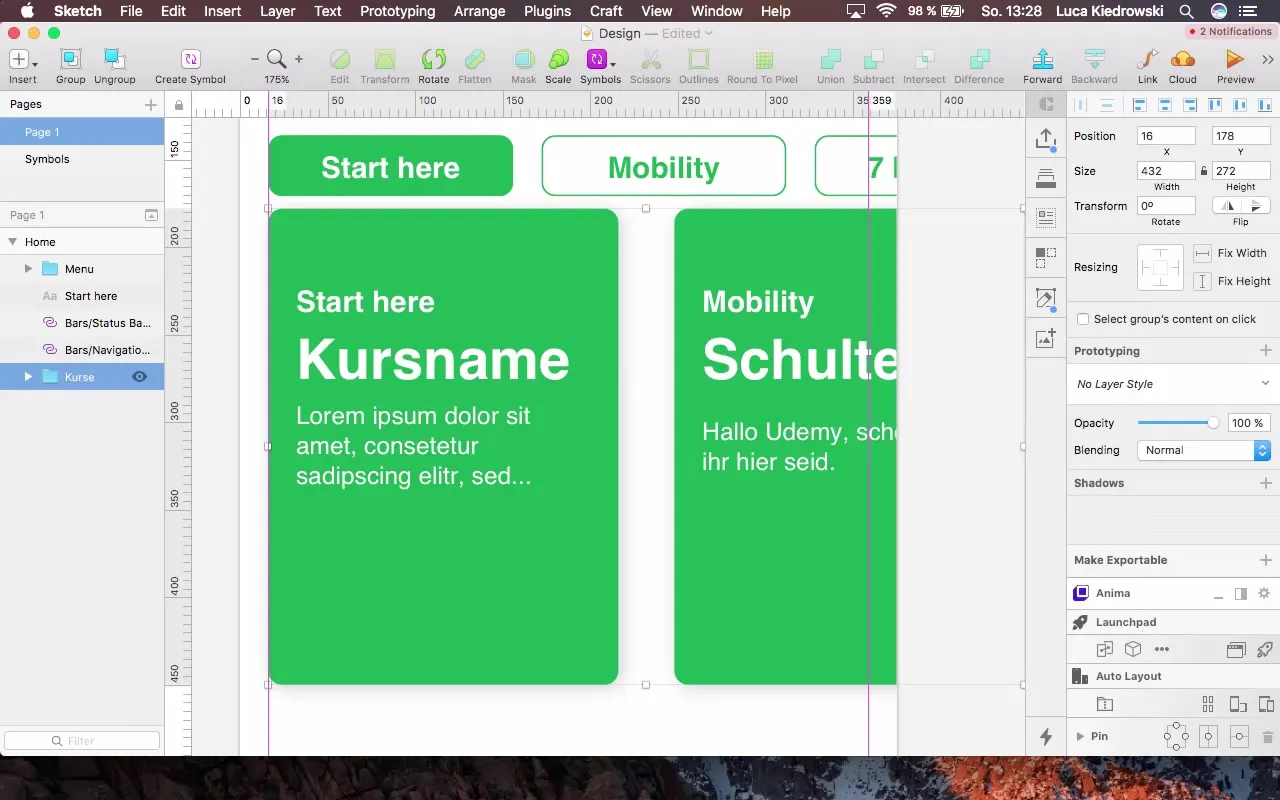
You can now select the group and continue working on it in your design. If you want to add more elements to this group or subdivide it, you can easily do so via drag-and-drop within the group view.
Setting Up Text Styles
Text styles are essential for sound design documentation and facilitate the reuse of text-related settings.
Step 1: Create a Text Box
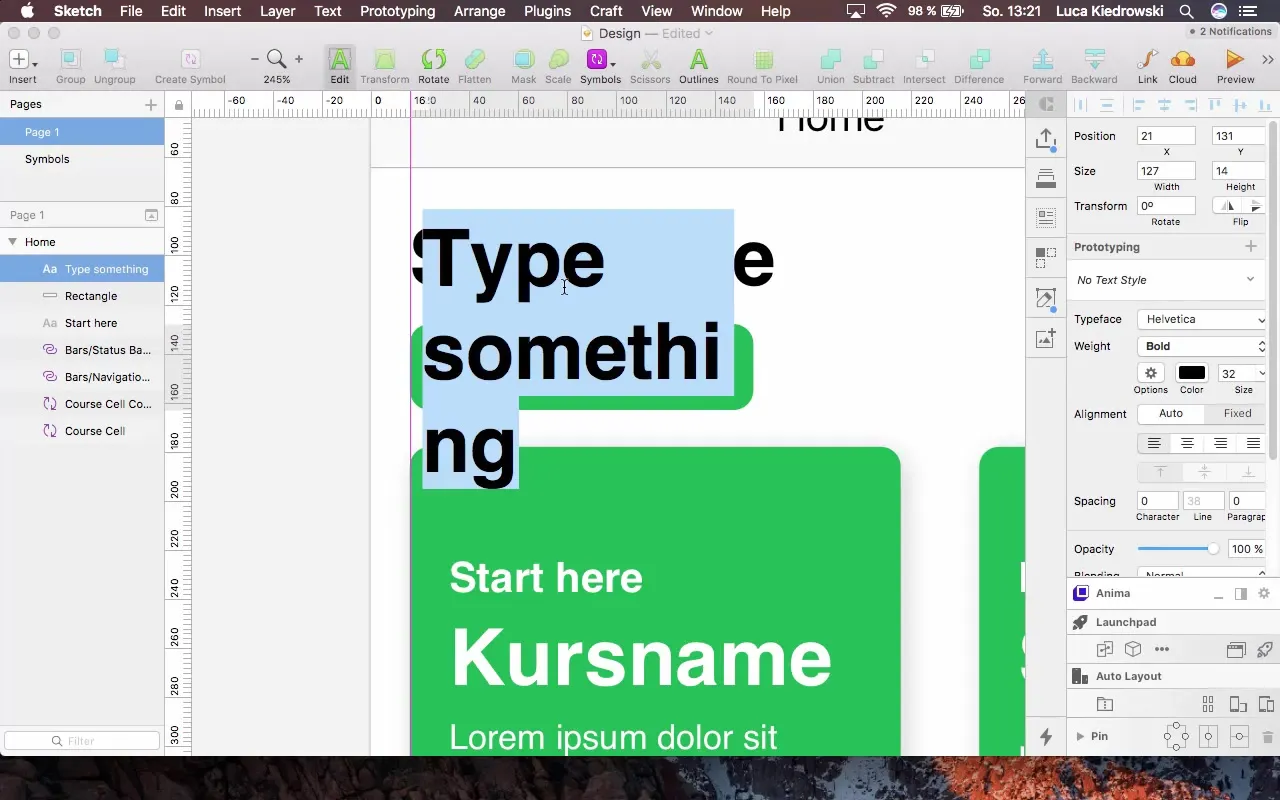
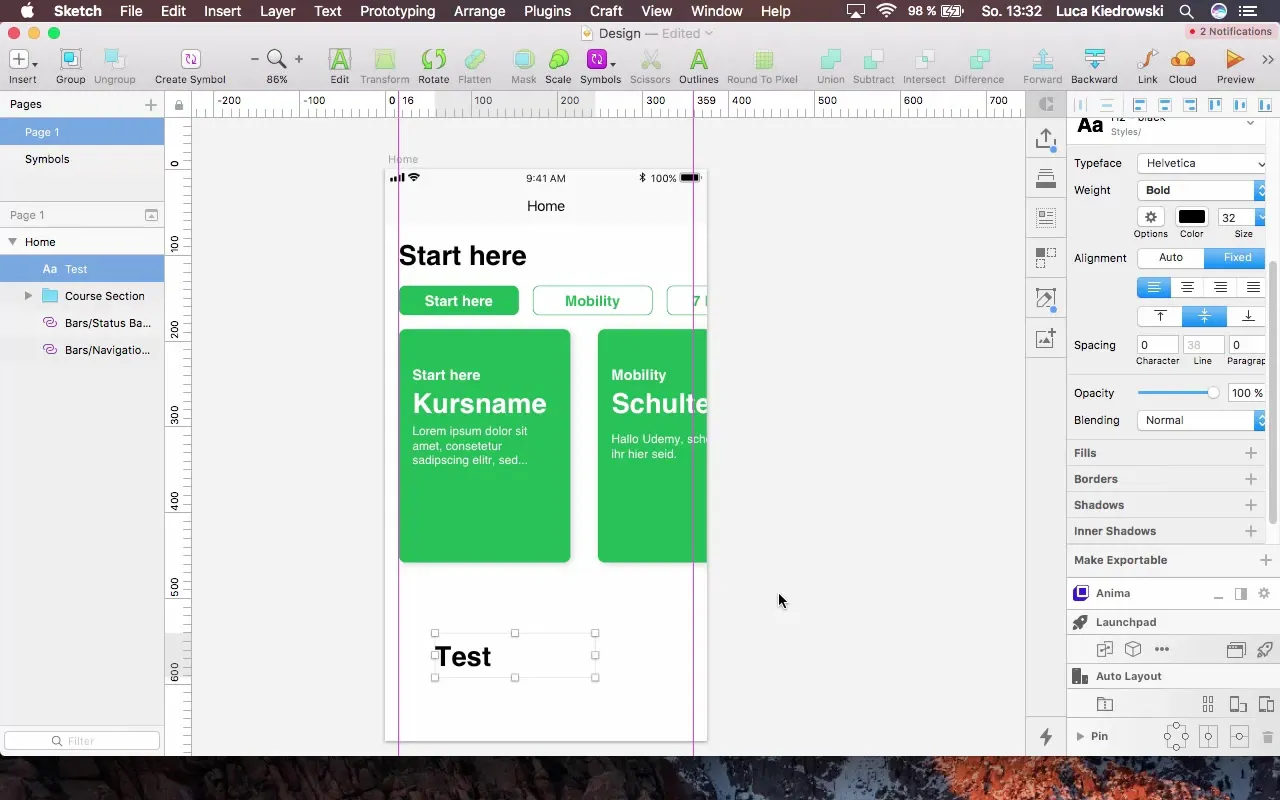
Start by creating a text box using the "Text" tool (T). Insert your desired text and adjust the font size to ensure the text is easily readable.
Step 2: Select Fonts and Sizes
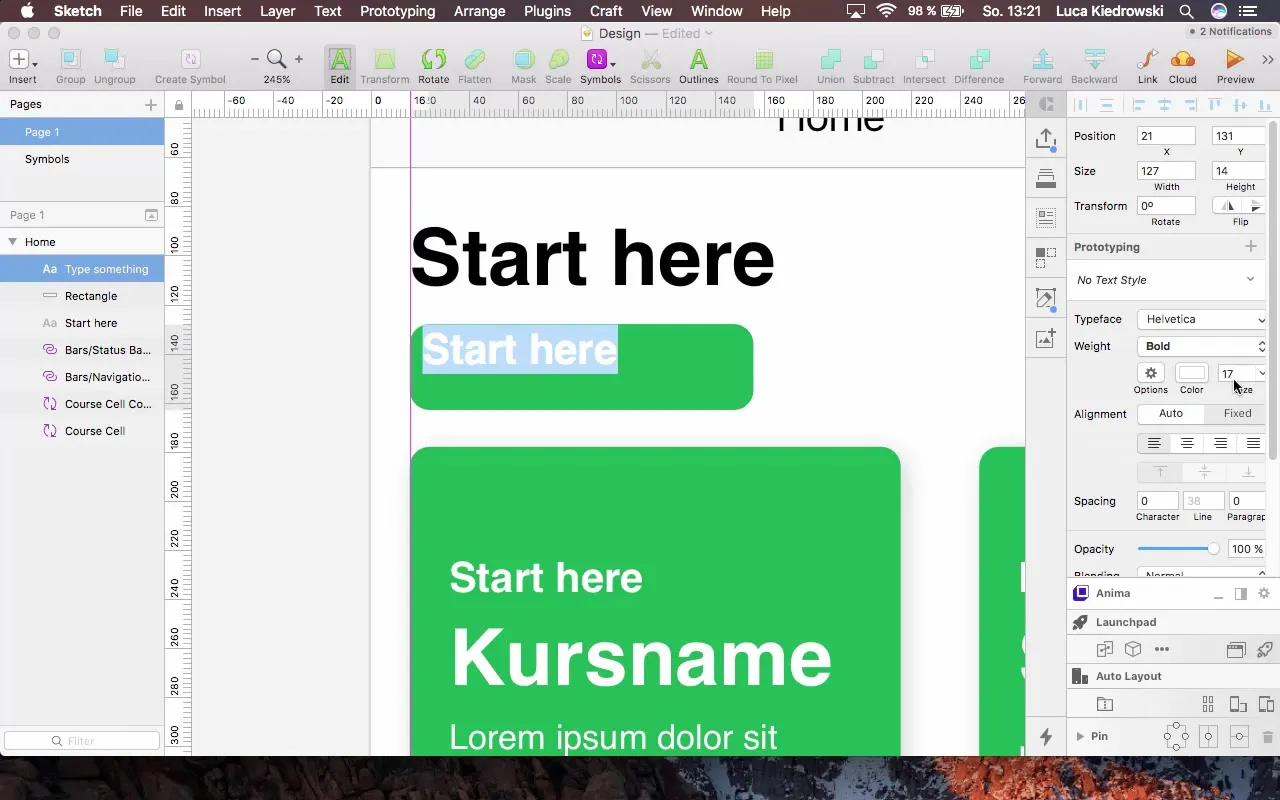
Select the font and size you want to use. Make sure the font size is between 17 and 32 pixels to ensure high readability.
Step 3: Create New Text Style
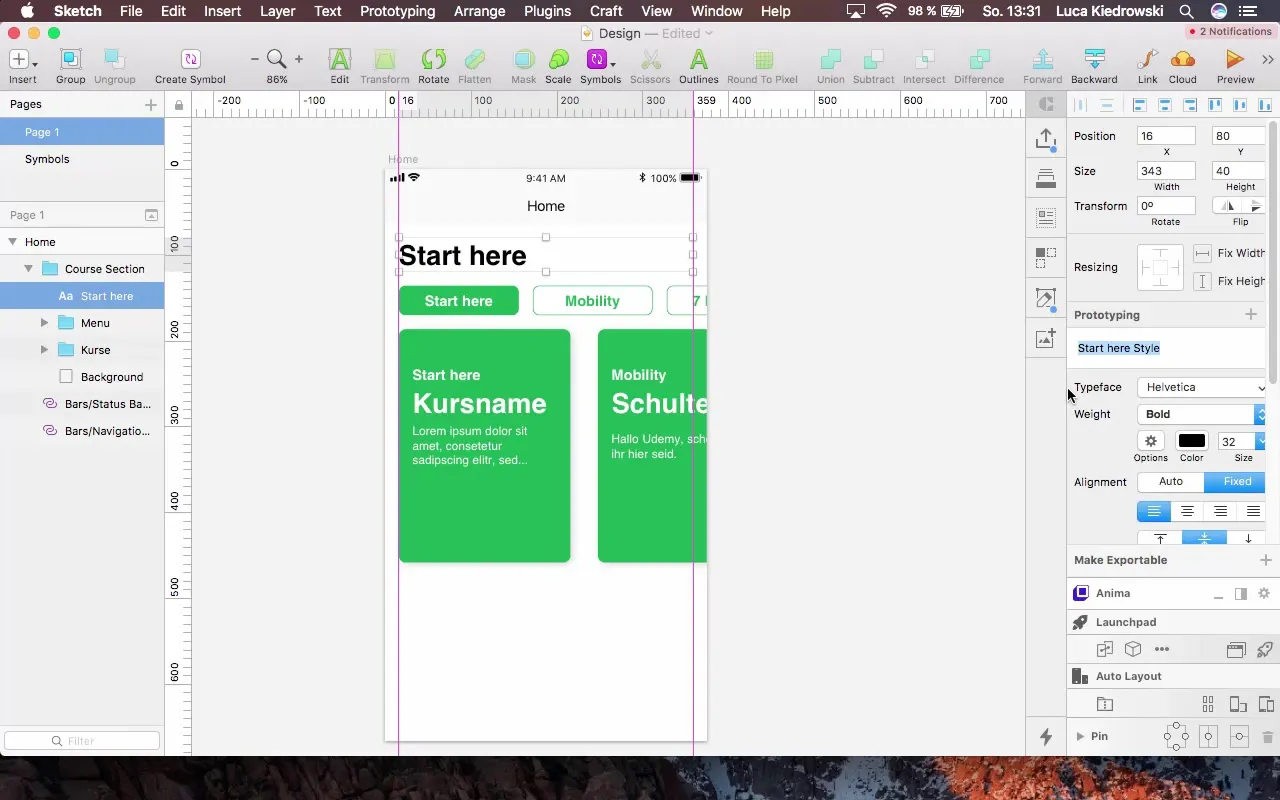
Click on the text styles dropdown menu in the top menu bar and select "Create New Text Style". Name your text style accordingly so you can easily find it later.
Step 4: Adjust Properties
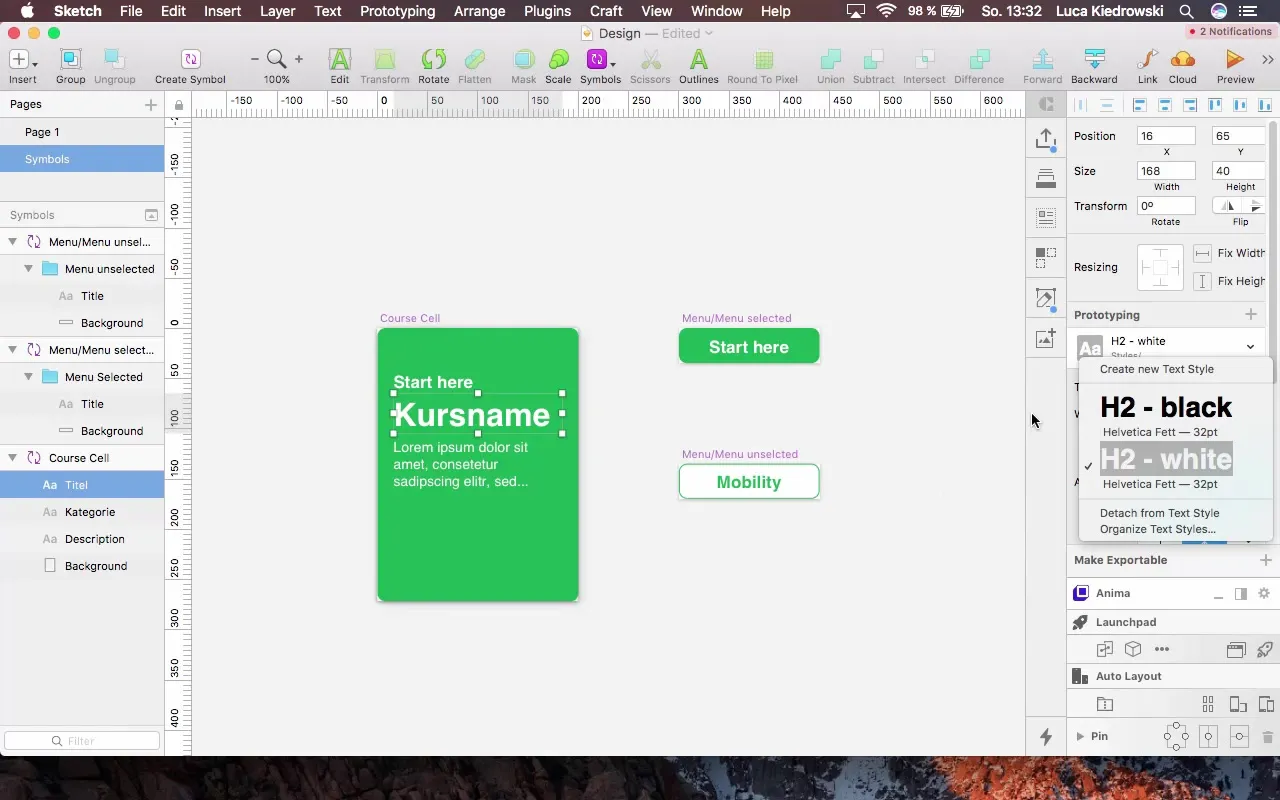
In the text style dialog, you can set the font, font size, weight (bold or normal), and color. Make sure each style has a clear label to assist later in implementation in the code.
Step 5: Apply Text Style
To apply the new text style to other text boxes, simply select the respective text box and navigate back to the text style dropdown. Select the desired style from the list.
Step 6: Keep Styles Consistent
To maintain consistent design guidelines, you can continue to create and manage text styles. This will not only help the programmers but also maintain consistency throughout the project.
Summary - Creating Groups and Text Styles in Sketch
In this guide, you have learned how to create effectively groups in Sketch and implement text styles. These methods help organize your design, promote clarity, and work more efficiently. Experiment with the steps and adapt them to your specific needs. This will make your work with Sketch a smooth process.
Frequently Asked Questions
What is the advantage of grouping in Sketch?Groups help organize and combine design elements, making them easier to edit and adjust.
How can I create a text style?You can create a new text style by selecting a text box and choosing "Create New Text Style" from the dropdown menu.
Can I use multiple text styles for the same element?It is advisable to apply only one text style per element to ensure consistency. However, you can use different text styles for different text boxes in the same design.
Why are consistent text styles important?Consistent text styles improve readability and make designs more professional, facilitating collaboration between designers and developers.


