With the latest version of Sketch, you get comprehensive tools to create prototypes directly from your designs. This new feature allows you to define interactions and transitions without having to rely on external plugins. Here you will learn how to effectively use the prototyping features and bring your designs to life.
Key Insights Sketch has introduced a built-in prototyping feature. You can connect design elements with other screens, create interactions, and add animations. This way, you quickly build a functional prototype and receive valuable feedback from users or investors.
Step-by-Step Guide
To create prototypes in Sketch, follow these easy-to-understand steps:
Setting Up the Environment
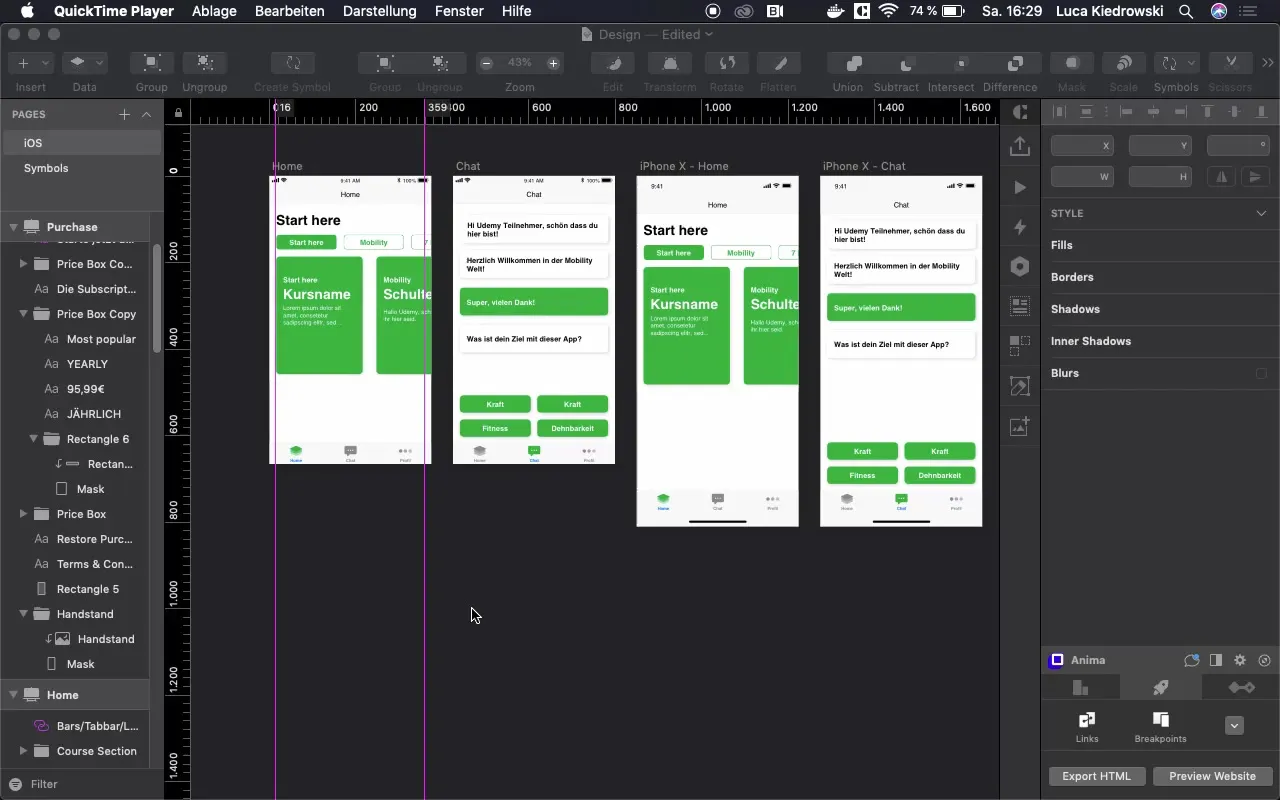
Start Sketch and make sure you have the latest version installed. If you have set your Mac's design to Dark Mode, the Sketch interface will appear darker. This does not affect functionality but provides a modern user experience.

Activating Prototyping
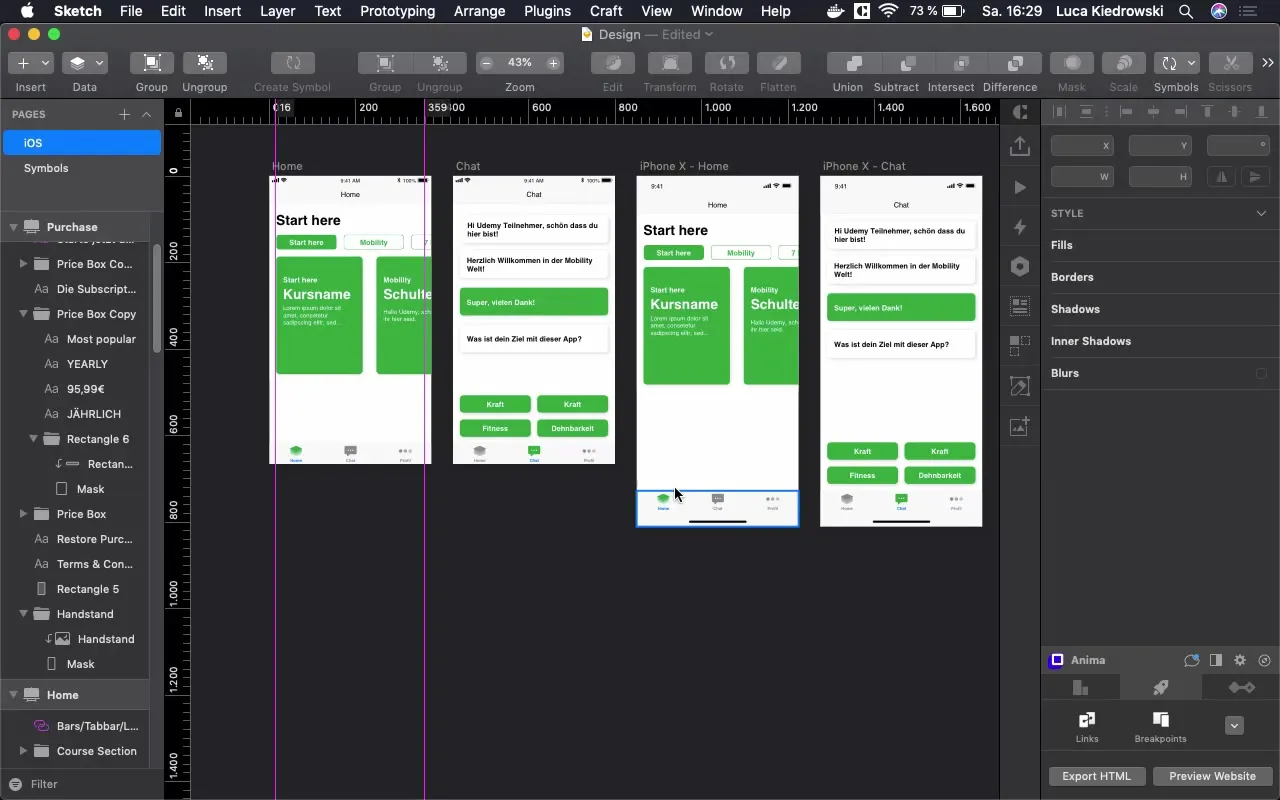
To start prototyping, look for the new "Prototyping" button in the interface. This feature is new and replaces the previously required plugins. Click on this tab to open the prototyping options.
Selecting a New Screen
Now select the component (e.g., a button) that should be connected to another screen. Select the desired target screen accordingly. Here you can decide how the transition between the screens should look.
Establishing Connections
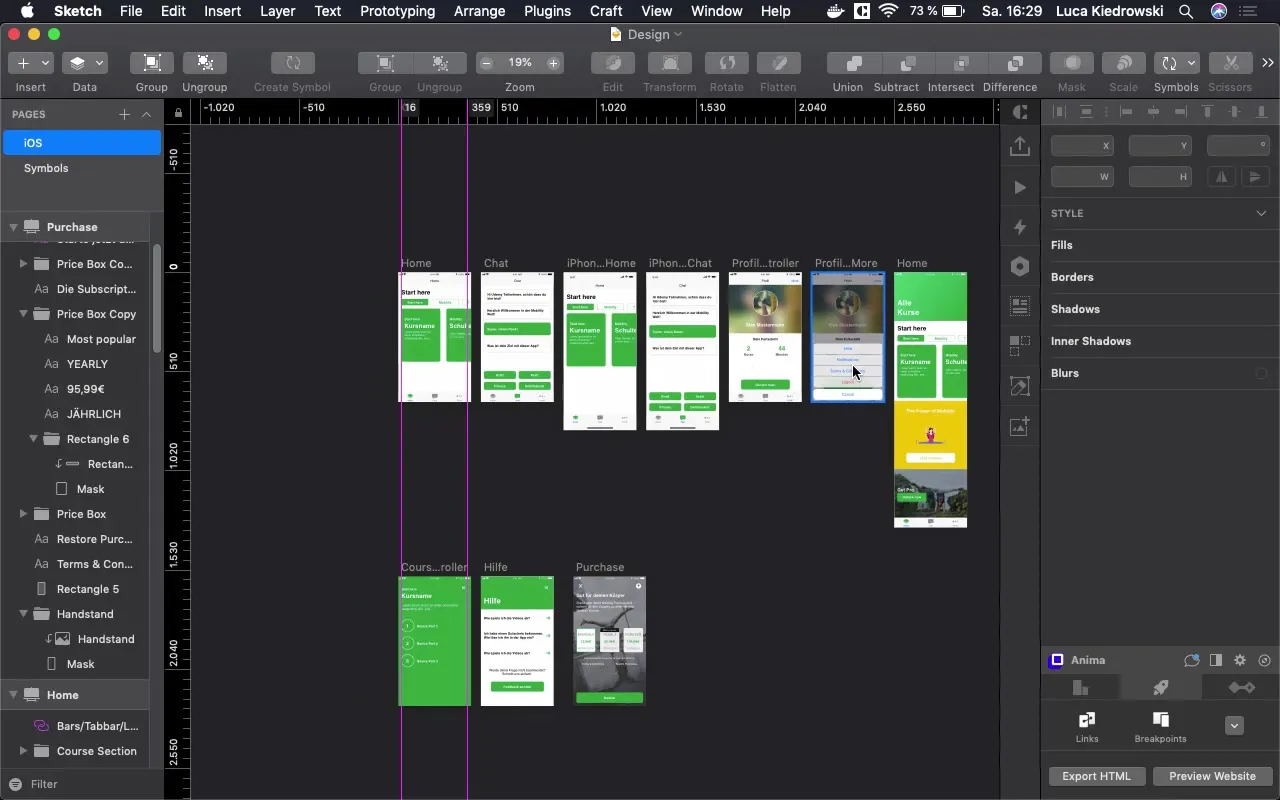
After selecting the button, a line will pull from the first screen to the second page. This indicates that the two screens are connected. You have the option to select animations to style the transition, reference an icon indirectly, or use other artboards.

Testing the Preview
To see if everything works as desired, go to "Preview" and test the interactions. Click on the buttons and check if the connections have been successfully implemented. Here you will see how the cursor changes when you hover over the buttons.

Optimizing Animations
To improve the animation for transitions between screens, you can select the type of animation. Experiment with different options until you achieve the desired effect. You can also easily adjust animations by animating from different directions – from above, below, or from the sides.
Prototyping in Different Scenarios
To create an even smoother prototype, you can also use the Home Controller. Through the X, you can navigate between screens. This has the advantage of not only creating a dynamic feel for the user but also making the interactions clearer.
Testing and Gathering Feedback
Now you can run your prototype and show it to others: investors, potential customers, or friends. This helps you quickly gather feedback on your designs and gain valuable insights before the final development begins.
Making Final Adjustments
If you need to make changes, you can adjust the prototyping anytime. Just go back to the connections and edit them in the prototyping view. Check each animation and make sure everything runs optimally.
Conclusion and Applications
This was a brief introduction to the new prototyping functions of Sketch. Let your creativity run free and use these tools to create functional and engaging prototypes that help you effectively advance your project.
Summary - Creating Prototypes in Sketch: Your Comprehensive Guide
With the new prototyping features in Sketch, you can make your designs interactive. The process is quick and efficient, allowing you to receive early feedback. Use the described steps to fully leverage Sketch's benefits.
Frequently Asked Questions
How do I start a prototyping project in Sketch?Open Sketch and activate the "Prototyping" tab to link your designs.
Can I customize animations in my prototype?Yes, you can choose different animations and specify the type of transition between screens.
What are the benefits of prototyping in Sketch?It saves time and resources as you can quickly test designs and get feedback before starting actual development.
What types of screens can I integrate into the prototypes?All artboards and symbols you have created in your design can be connected.

