The art of designing characters and figures in comic-style opens up a variety of creative possibilities. Especially when working on faces, it can be exciting to exaggerate or narrow certain features to create a humorous effect. In this tutorial, I will show you how to shrink a character's ears in an unconventional way to create a funny and original look. The goal is to achieve a special visual impact through the contrast of large eyes and small ears.
Main findings
- Choosing ears from an original image is fundamental for creating a comic character.
- Smart objects help maintain the quality of the image while you edit the ear.
- Adjusting the opacity allows for better visibility of the transitions and leads to more realistic results.
- Retouching the transitions can be done using tools like the clone stamp to achieve a clean result.
Step-by-step guide
To achieve your goal, follow these steps in a clear structure:
First, select a suitable image for your comic character model. Make sure the ears are clearly visible in the image. This selection is important to carry out a precise editing process.
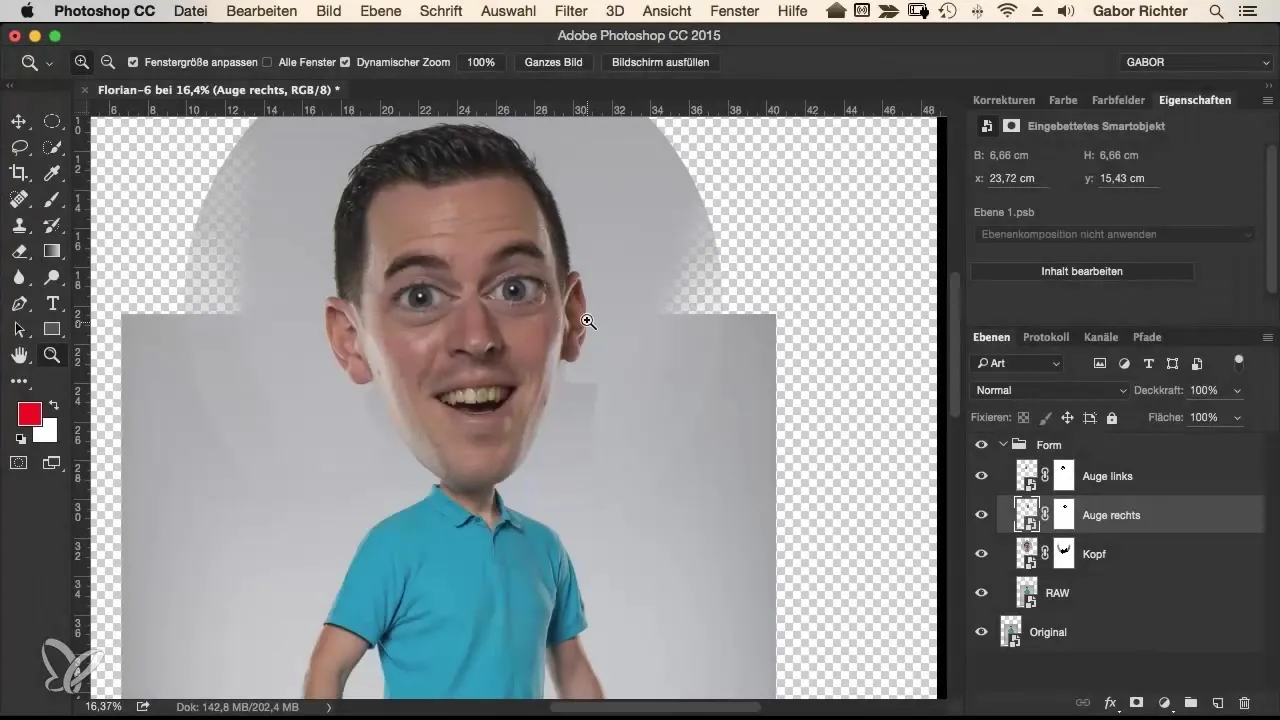
Now that you have the image, make a selection around the ear. Keep in mind to make a larger selection to have enough material available for shrinking later on. A larger selection allows you to better edit the details in the transition.
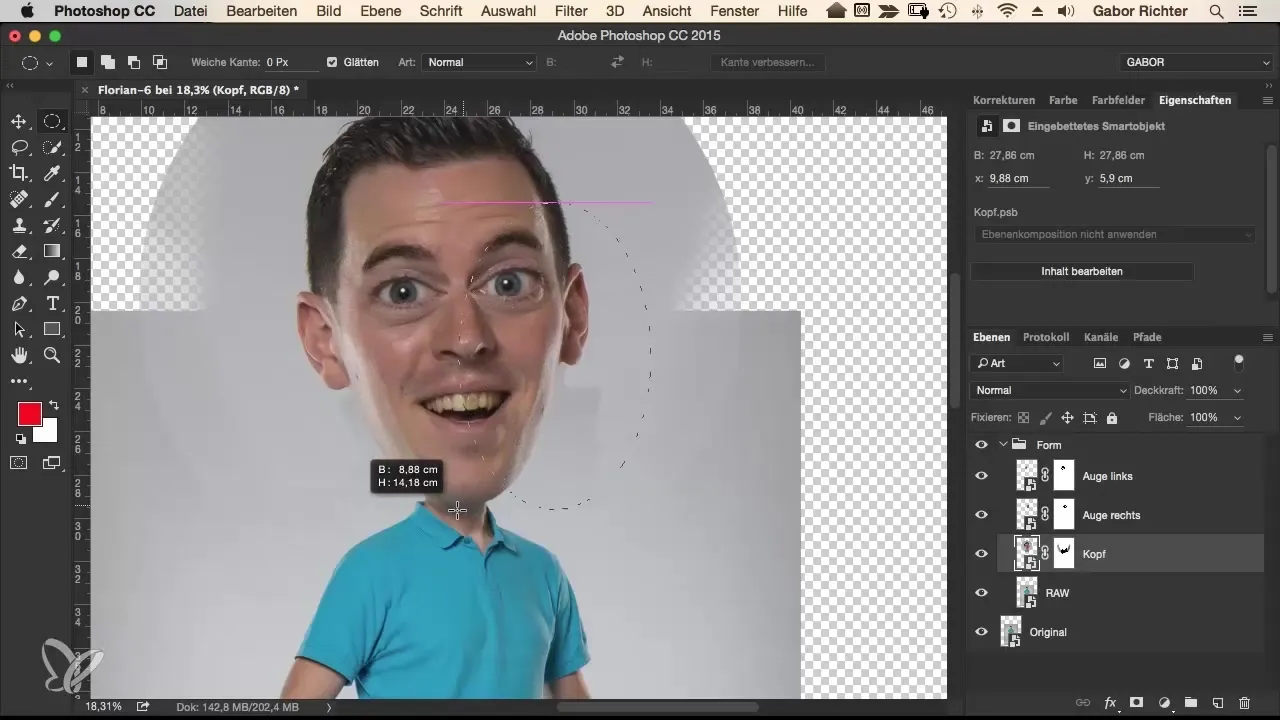
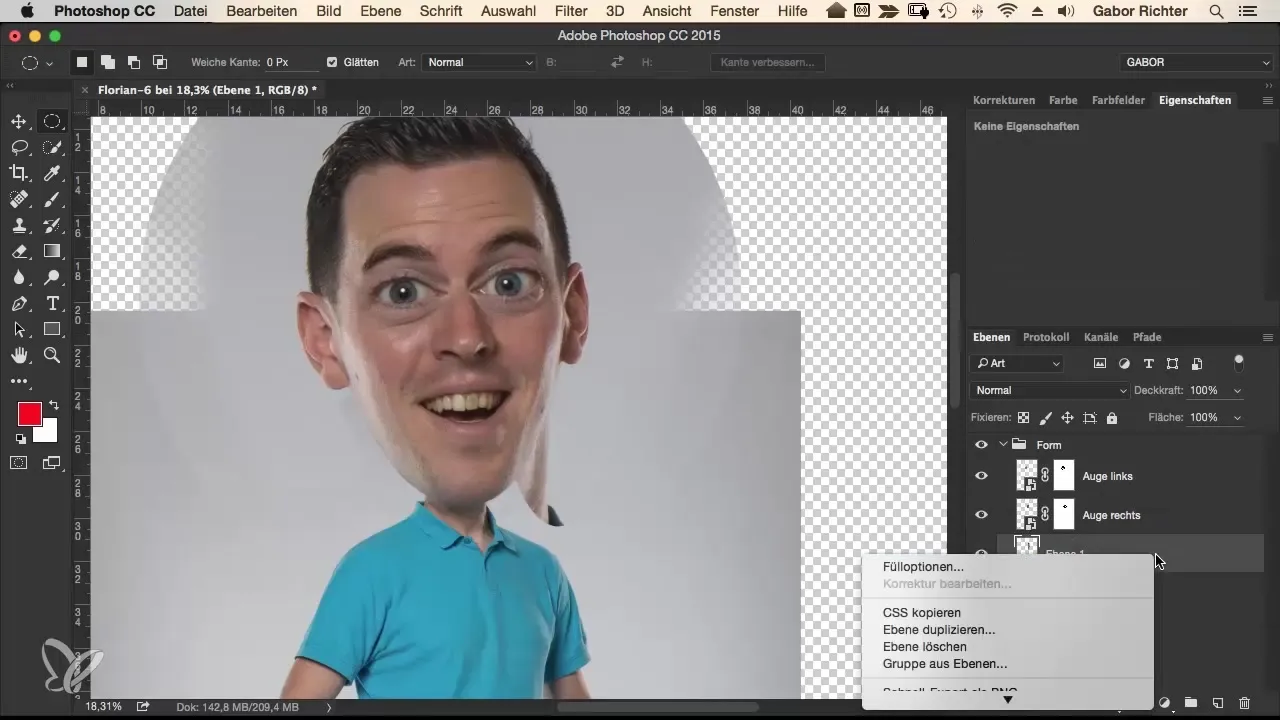
Copy the selection and create a new smart object. This ensures that the quality of the image data is preserved during shrinking and allows you to repeat the process without loss. Convert the selection into a smart object, giving you flexibility for future adjustments.
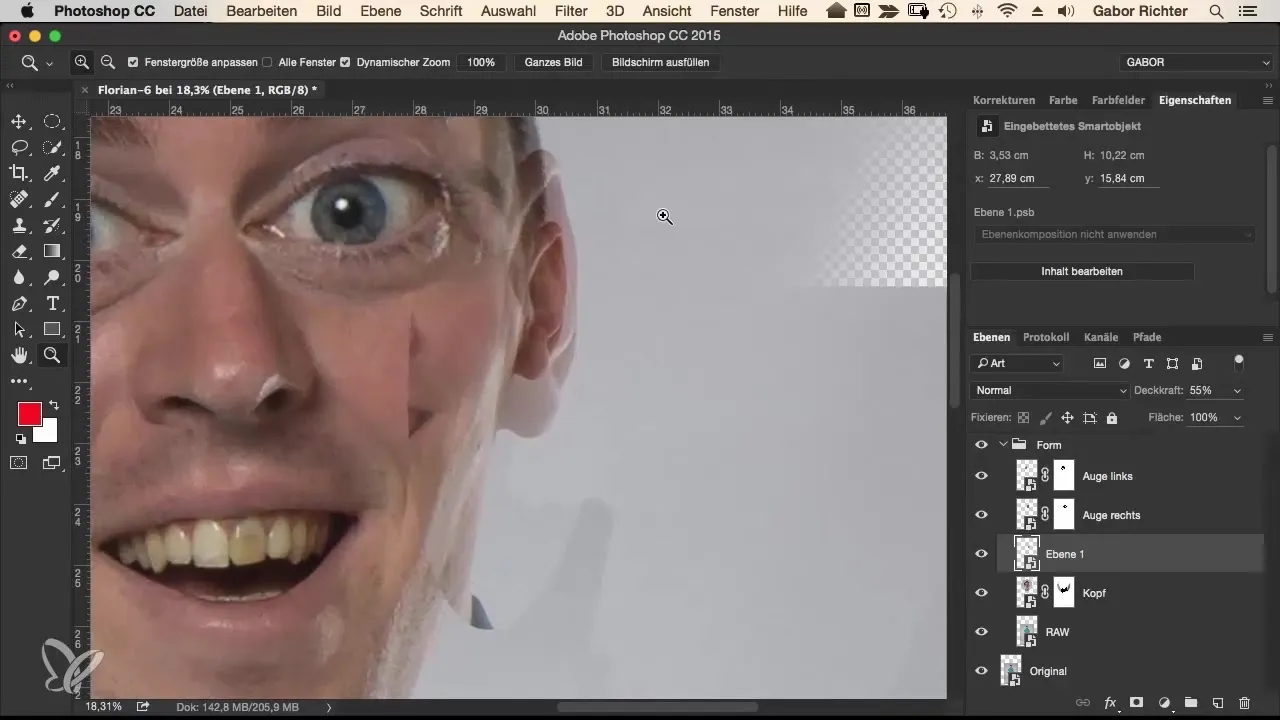
Now shrink the ear by effectively halving its size. You will find it easier to work with the opacity set to 50%, allowing you to see the position and size of the ear relative to the head. A reduced opacity gives you a sense of the areas and their relationship to each other.
Position the ear so that it looks visually appealing. Slightly rotate the ear if necessary to create a more harmonious transition between the ear and the head. Evaluate the result by resetting the opacity and seeing the ear in its environment.
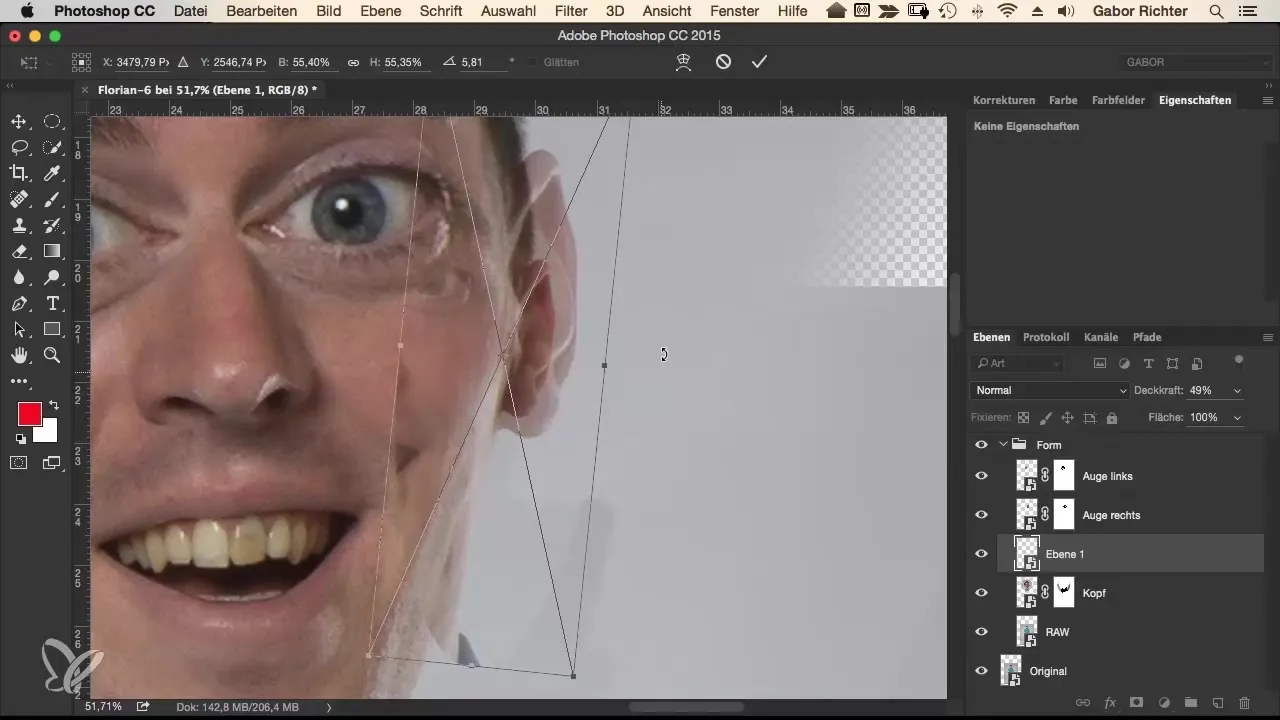
Now use a mask to selectively reveal the areas. You can invert the mask so that everything is initially hidden. Now you have the freedom to gradually reveal the ear to control the transition better.
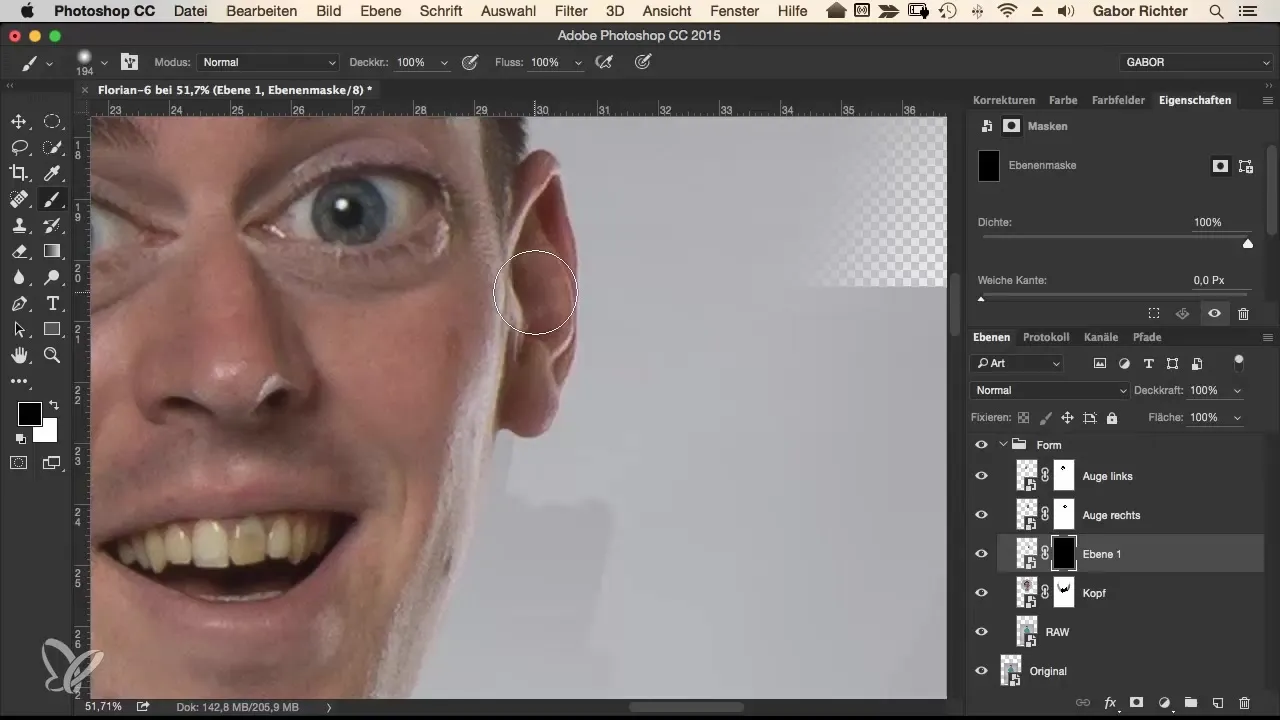
Be meticulous in working on the transition area. Use the convenience of the clone stamp to correct small mistakes. If you’re still not completely satisfied, it's always possible to fine-tune with liquify tools.
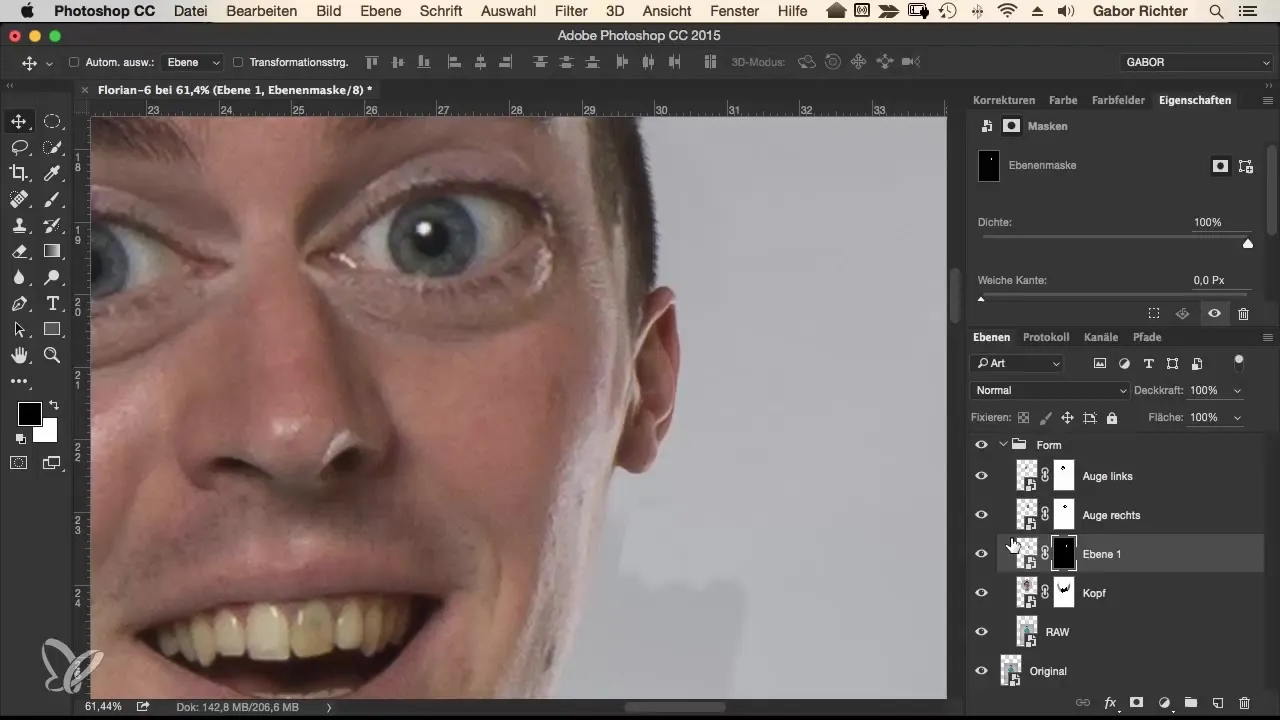
Repeat these steps for the other ear. Ensure that both ears are at a similar height, as this is crucial for the symmetry of the face. You may also choose to make one ear smaller than the other for a humorous effect.
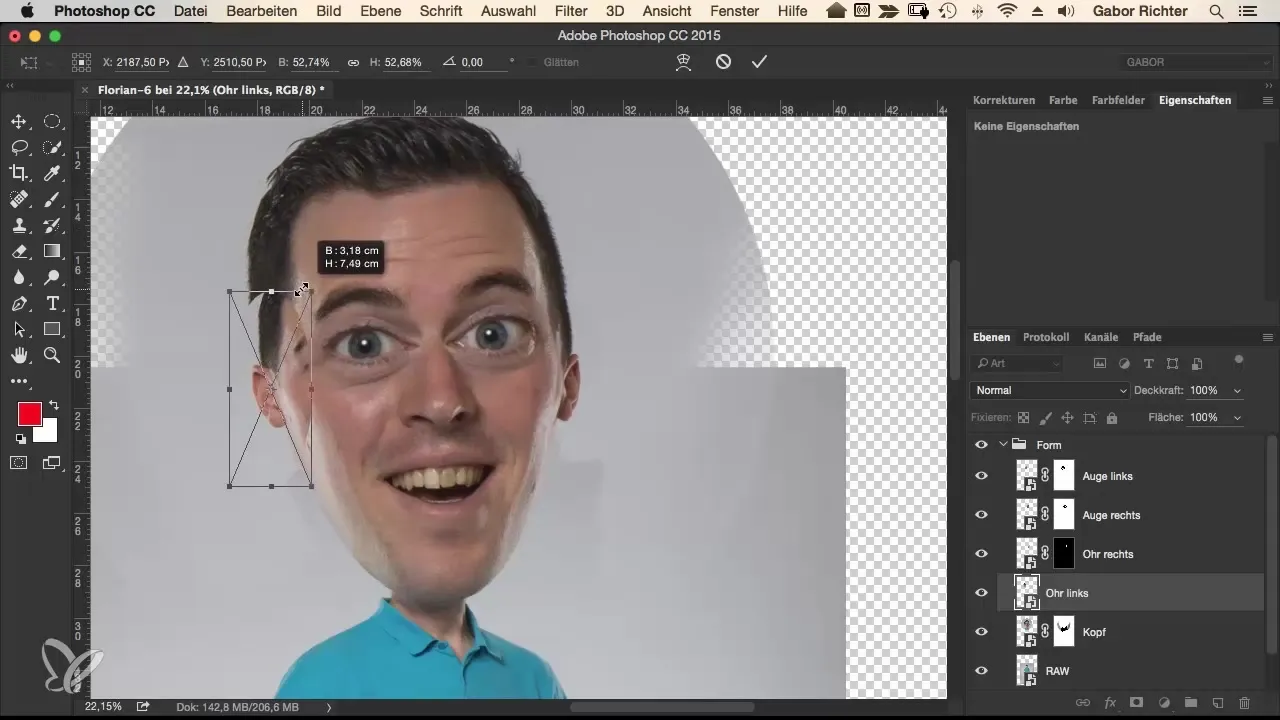
Place the ear and make sure to adjust the proportions accordingly. A small difference in placement can have significant effects on the overall impression. Align the ear so that it looks natural, even if its size has been significantly reduced.
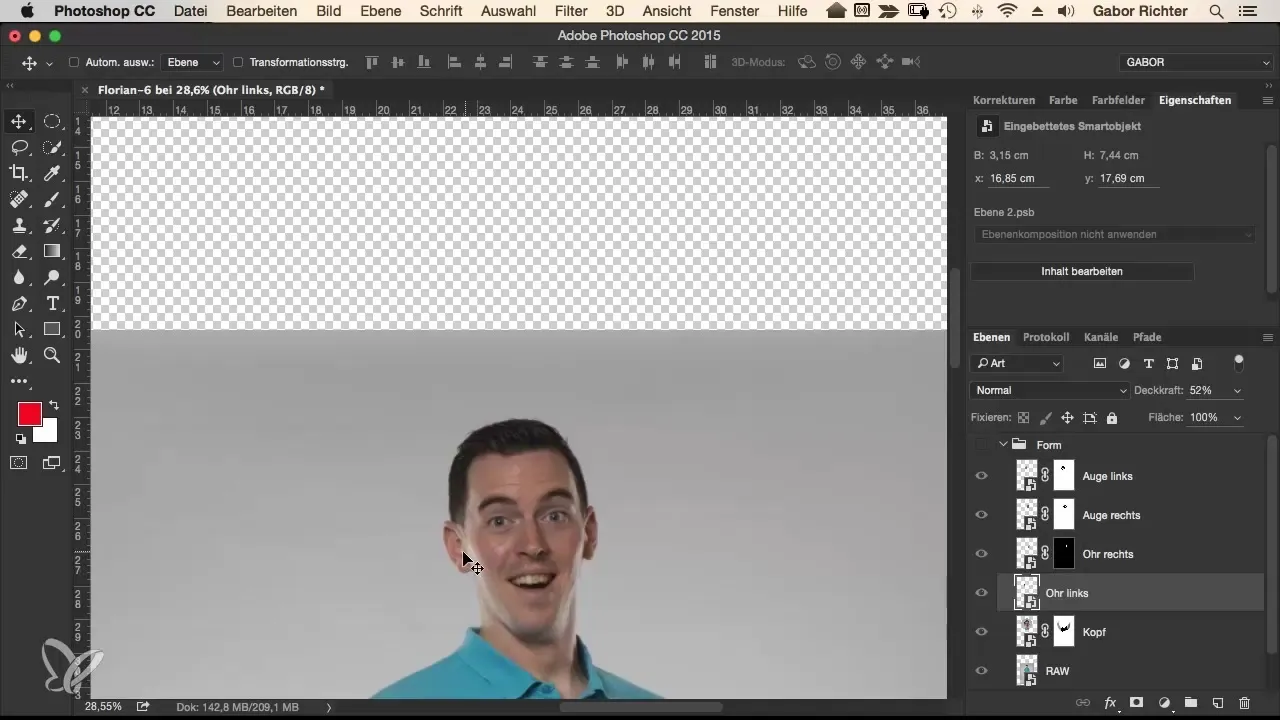
After positioning, check the transitions and make adjustments if necessary. Sometimes it can be helpful to re-edit the entire layer to ensure that the final result is coherent and harmonious.
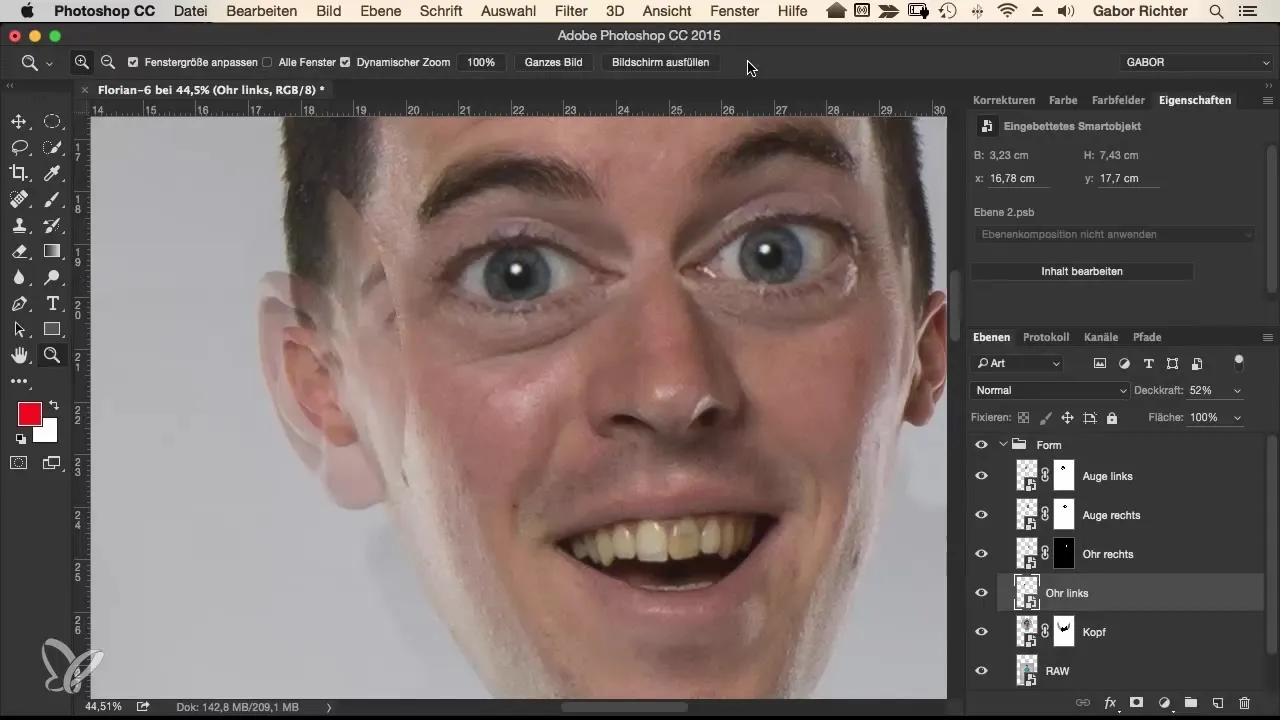
Finally, review the entire image for any inconsistencies. Use the retouching tool to clean up all transitions and eliminate any irregularities. These final adjustments give the work its finishing touches.
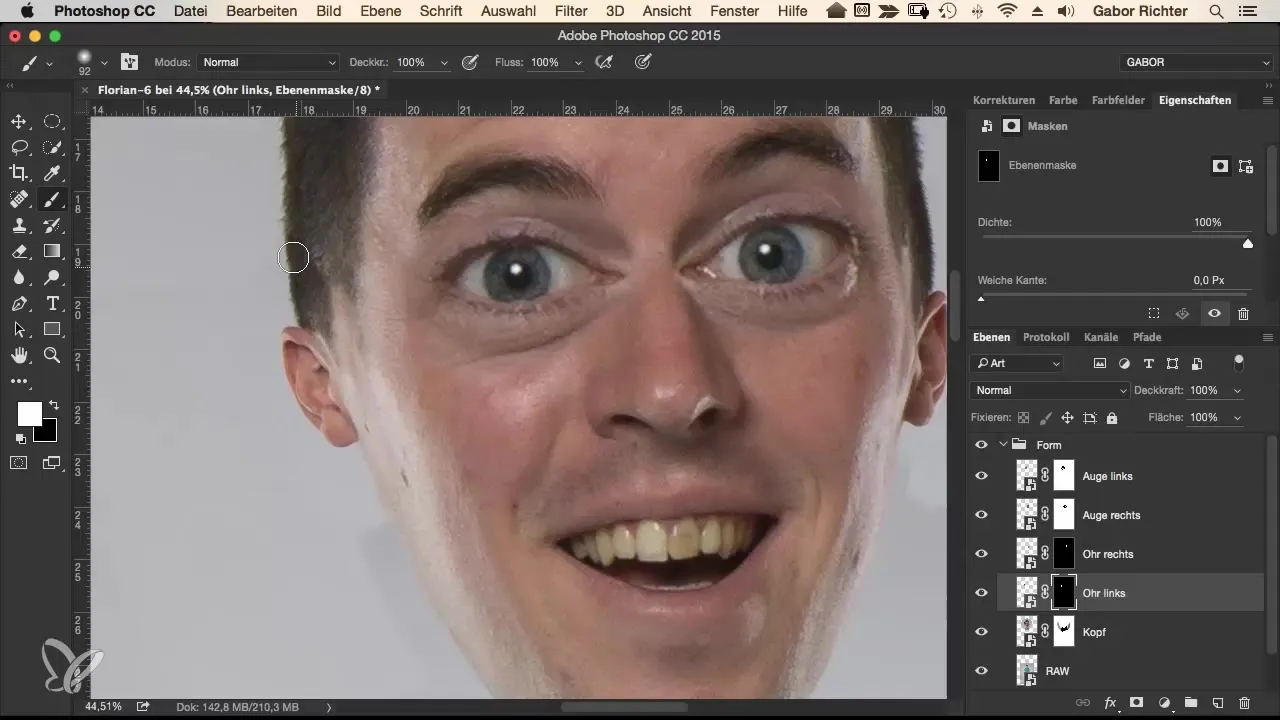
Summary – Guide to Shrinking Ears in Comic-Style
Editing and shrinking ears in a comic style can be both challenging and entertaining. By utilizing smart objects, opacity adjustments, and precise masking, you can achieve impressive results. Pay attention to the transitions when retouching to create a harmonious overall picture.
Frequently Asked Questions
How can I make the ears even smaller?Experiment with the size in the transformation settings, but be mindful of balancing the facial proportions.
What are smart objects and why are they important?Smart objects preserve image quality and allow for easy adjustments without loss of quality.
Can I change the ears again later?Yes, as long as they are saved as a smart object, you can make changes at any time.
Are the techniques also applicable to other body parts?Yes, most techniques are universal and can be applied to other features.
Do I need to be a perfectionist when editing the transitions?Perfection is not required; what matters is that the overall picture looks cohesive.


